Create Self-Service Resources
This guide shows you how to create the resources a new installation needs in Self-Service, in the order they depend on each other: the organisation and its first user, then the cluster, instance, environment, topic and application.
Type |
How-to guide |
Goal |
Turn a freshly installed platform into one that can carry data. |
Audience |
Tenant Admin, the role the first registered user receives. |
When to use |
Use this guide once per installation, after the governance components are running. |
Each section below is a delegated procedure rather than a set of steps: it lists the values to enter and links to the Self-Service page that owns the steps for that resource. Work through the sections in order, because each resource depends on the one created before it. Other guides link straight to a single section, so a section also stands on its own.
The values are one worked example, taken from a local installation. Names, short names and descriptions are yours to choose. The bootstrap URL, the certificates and the registry values describe one specific cluster, so replace those with the ones your own cluster uses.
Prerequisites
Confirm the following before you begin.
Access and permissions required
You need the following access and permissions:
-
A browser that reaches Self-Service at your installation’s host name. The local login page is at
<self-service.host>/login/local. -
The
TENANT_ADMINrole, which every resource below needs. The first user to register through the local realm receives it, which is what the next section does.
Tools and versions required
Every step runs in the Self-Service web interface, so a browser is the only tool needed. Nothing here is done with kubectl or helm.
Resources that must exist before starting
The following must already exist:
-
The governance components, running and reachable, so Self-Service answers. See Install Axual Governance.
-
An Apache Kafka cluster, and the bootstrap URL its brokers listen on.
-
A
super-usercertificate and its private key for that cluster, which authenticate Platform Manager to the brokers, plus the Certificate Authority that signs your application certificates and one application certificate signed by it. See Certificates, TLS and DNS. -
An Apicurio Registry that Platform Manager can reach, and the username and password it authenticates with.
Sign up and register Organization
These steps create the tenant and the first user in Self-Service.
You receive the TENANT_ADMIN role, so you can create every resource the organisation needs.
-
Access the Local login page and press the
RegisterbuttonThe URL is <self-service.host>/login/local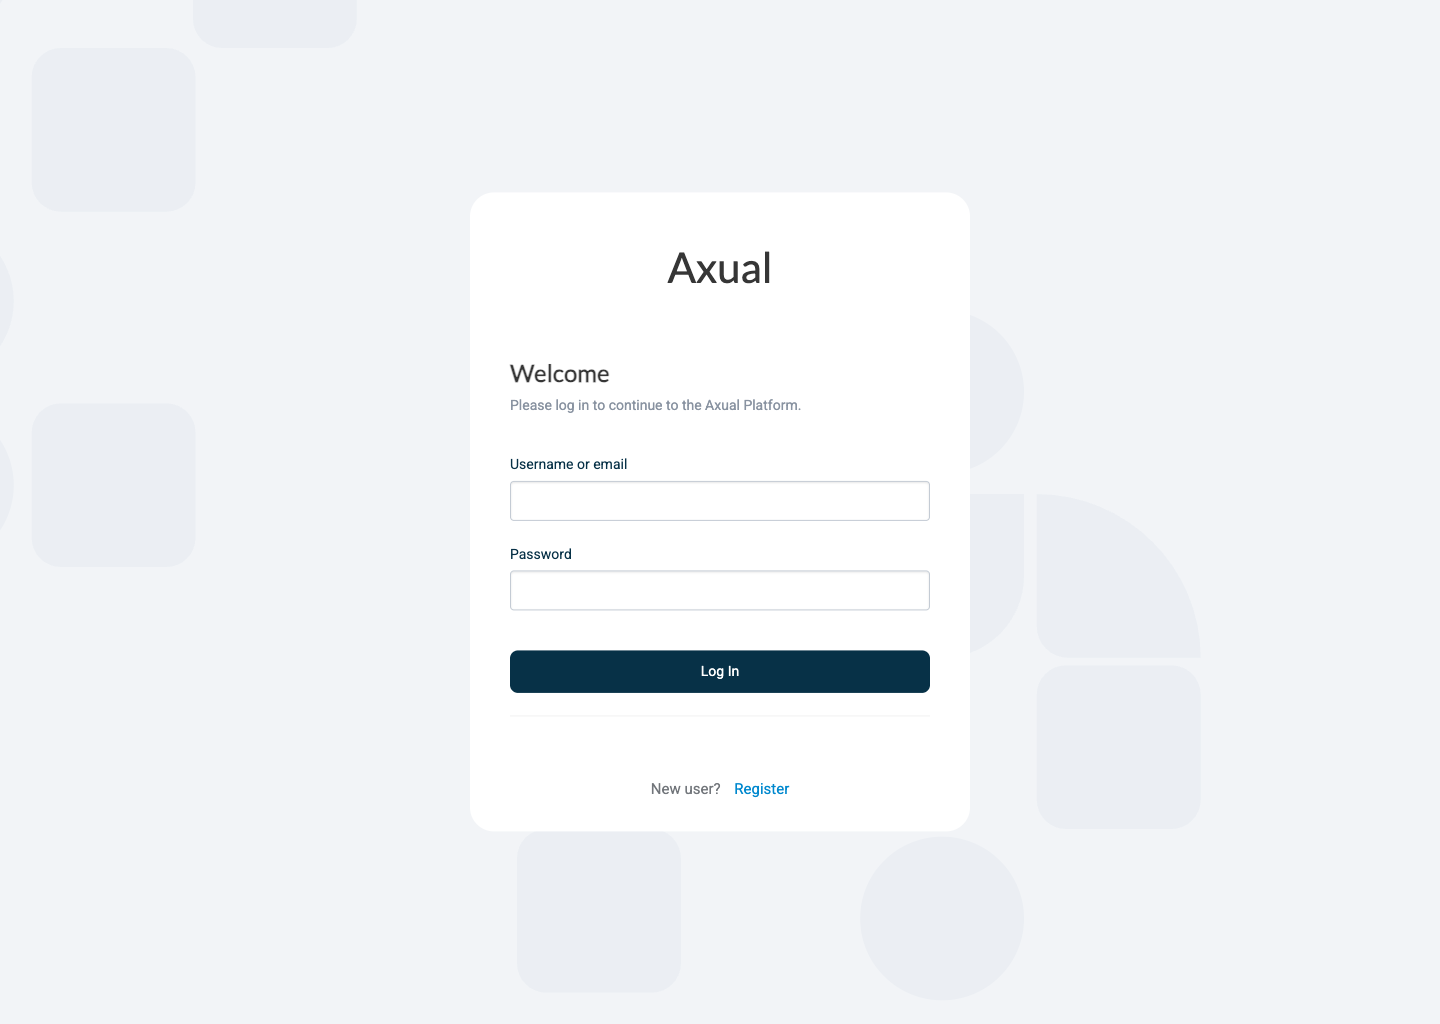
-
Fill in your details and press the
Registerbutton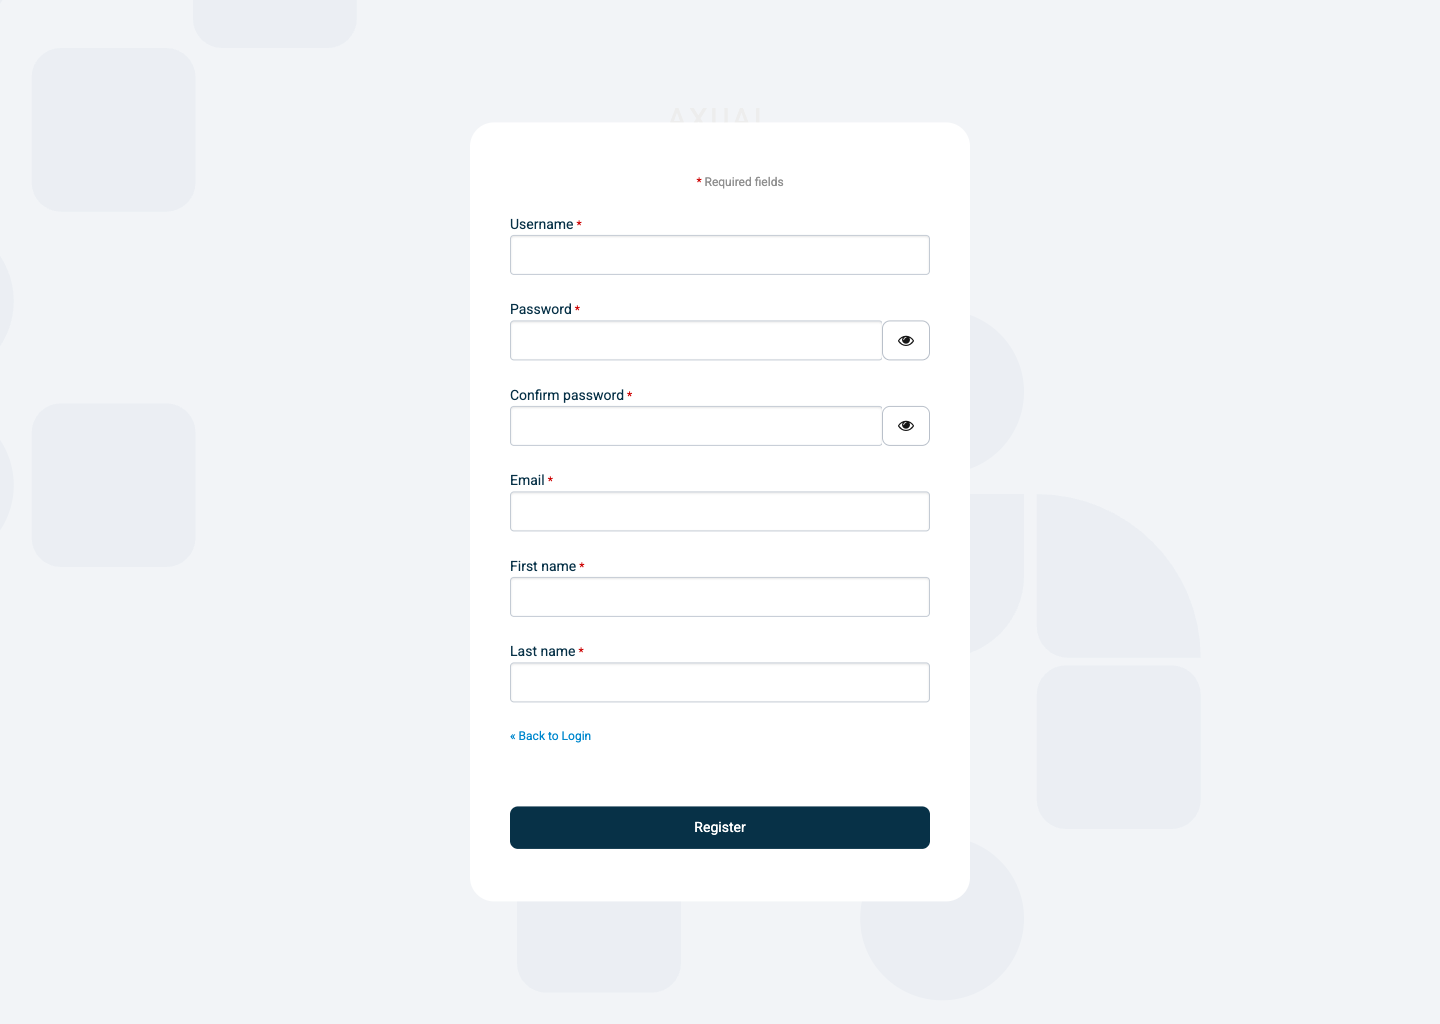
-
Provide the Organization details and press the
ContinuebuttonCheck Wizard configuration to configure the wizard to expect the Organization Short Name 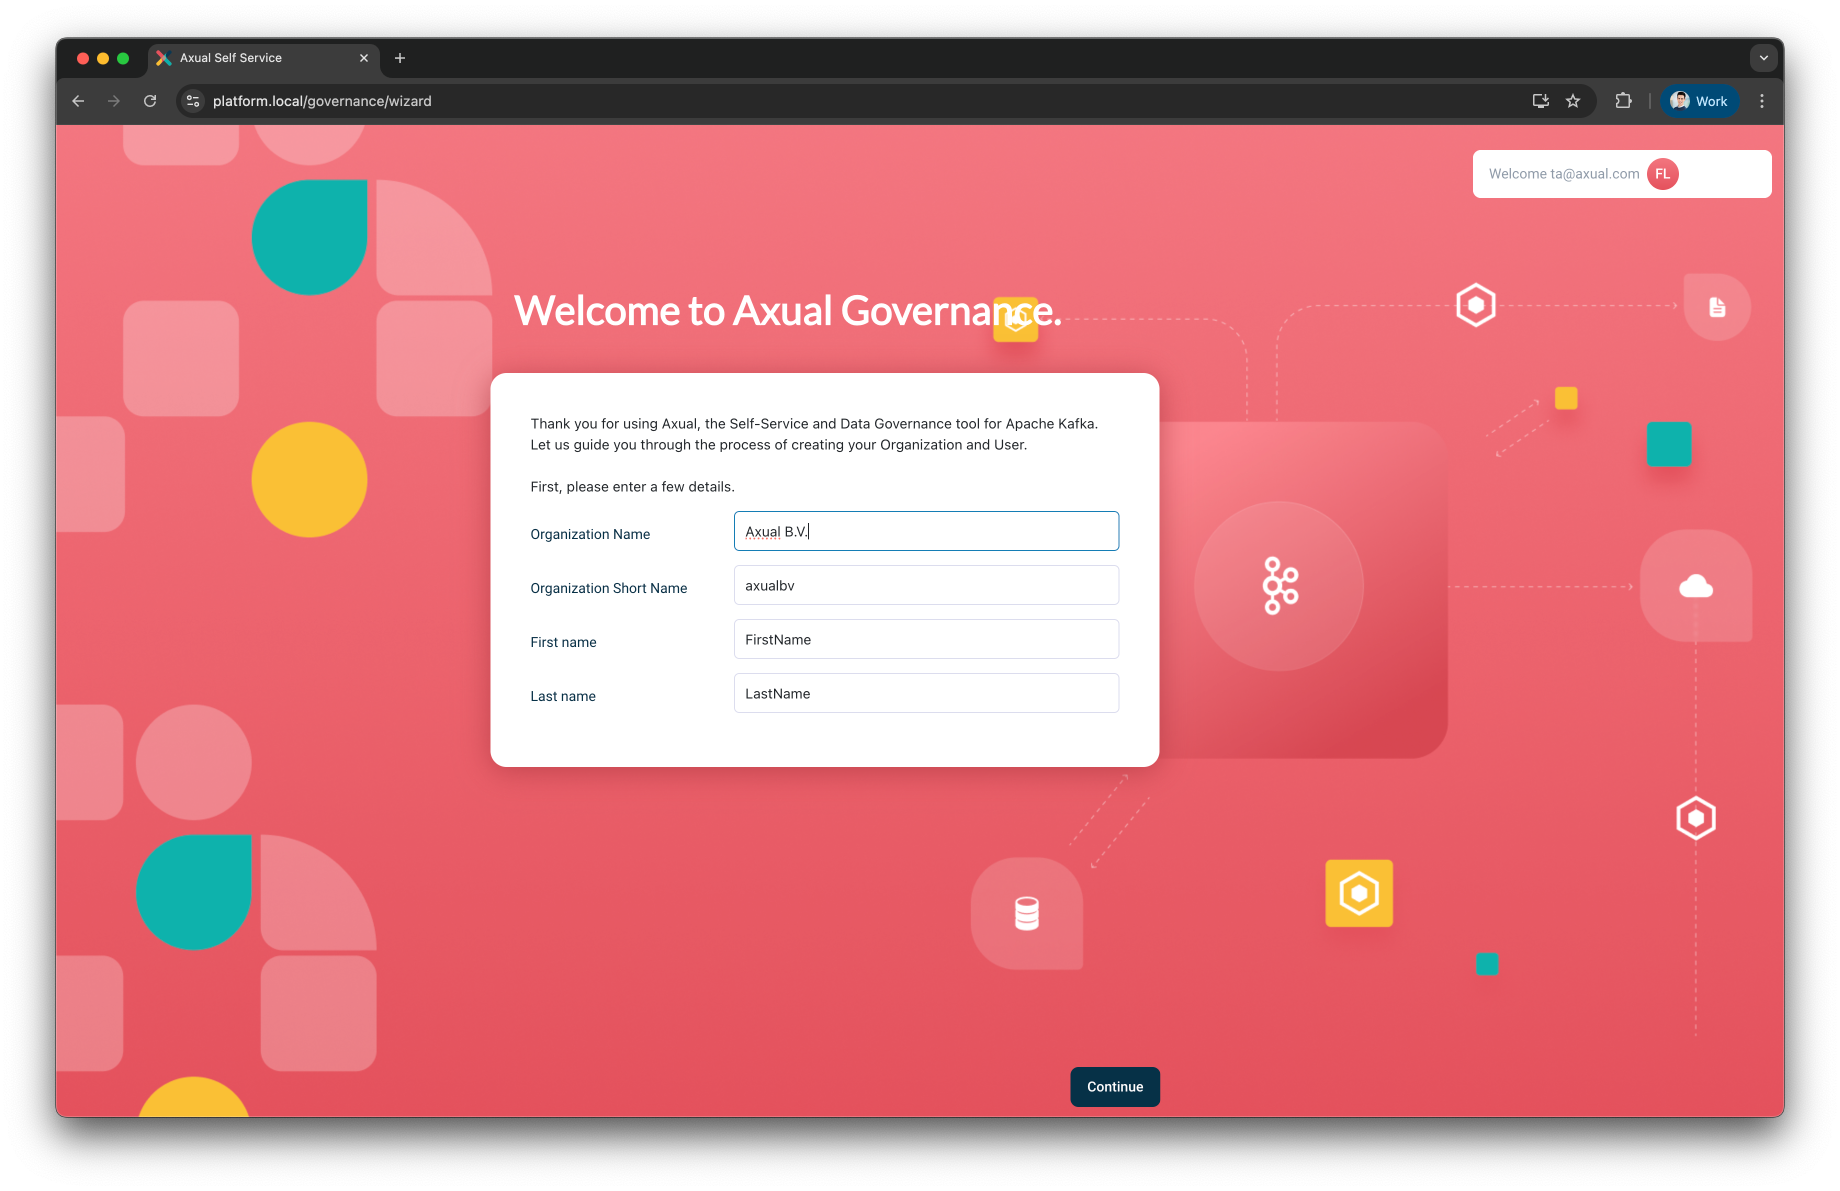
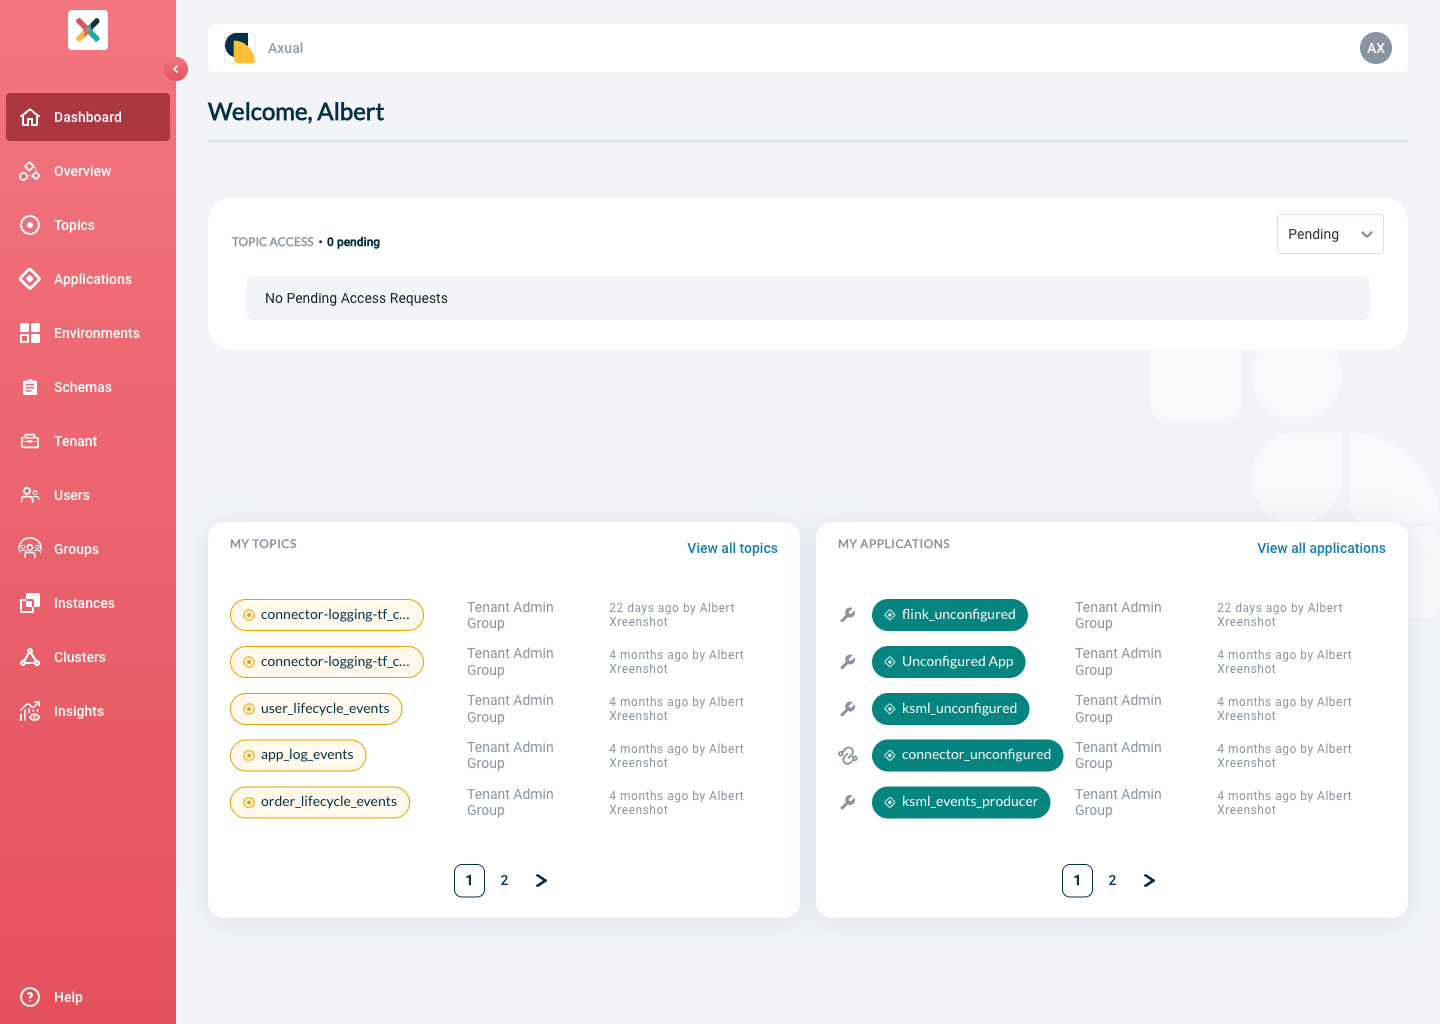
You have now reached the Self-Service dashboard.
Create the Cluster
The cluster record tells Platform Manager where the Apache Kafka brokers are and how to authenticate to them.
These steps add the local cluster started with the Axual Streaming Charts.
Use them as a reference for any cluster.
|
Follow the cluster creation guide using the following values:
-
Name:
local -
Description:
Local cluster -
Location:
local -
Provider Type:
Apache Kafka -
Kafka bootstrap URL:
platform.<domain>:31767 -
Authentication Method:
TLS, then upload asuper-usercertificate and private key and pressVerify -
Shared cluster:
noShared clusters are visible to all tenants defined in the Axual Platform. Only SUPER_ADMIN can manage these clusters.
Private clusters are visible to only the tenant that has defined it. TENANT_ADMIN can manage these clusters.
-
SSL Authentication Mode:
Full Chain CertificateThe
Full Chain Certificateoption is recommended for multi-tenant environments. -
Topic pattern:
{tenant}-{instance}-{environment}-{topic} -
Consumer Group pattern:
{tenant}-{instance}-{environment}-{group} -
Transactional ID pattern:
{tenant}-{instance}-{environment}-\{transactional.id\}
Create the Instance
Follow the instance creation guide using the following values:
-
Name:
Dev Test Acceptance -
ShortName:
dta -
Description:
DTA Instance
| Do not fill the Instance Manager URL field. It serves older installations only, and a future release removes it. |
Select the local cluster created in the previous step, then enable the Authentication Method:
-
Toggle
SSL (MUTUAL TLS) -
Upload the Signing CA used to sign your application certificate
Enable Environment mapping so anyone holding the ENVIRONMENT_AUTHOR role can create, update and edit environments on this instance. Leave Properties as is.
Schema Registry Configuration
Follow the schema registry configuration guide for the Dev Test Acceptance instance using the following values:
-
Schema Registry URL:
https://apicurio.axual.dta.local/apis/registry/v3 -
Schema Registry Type:
Apicurio -
Authentication Method:
Basic Authentication, with theusernameandpasswordPlatform Manager uses to authenticate against Apicurio Registry
Create the Environment
Follow the environment creation guide using the following values:
-
Name:
Development -
ShortName:
dev -
Description:
Dev Environment -
Instance:
Dev Test Acceptance -
Colour: any colour that helps users recognise this environment throughout Self-Service
-
Visibility:
Public -
Authorization Issuer:
Auto -
Owner:
Admins
Two of those choices are worth understanding rather than copying. Visibility decides who sees the environment: Private shows it to its owner only, Public to every user. Authorization Issuer decides who approves topic access requests: Auto grants them without review, which suits a test environment, and Stream owner sends each request to the topic owner.
Create the Topic
Follow the topic creation guide to create a string-string topic using the following values:
-
Name:
string-string -
Description:
String/String topic -
Owner:
Admins -
Key Type:
String -
Value Type:
String -
Retention Policy:
Delete
Then configure the Topic for the dev environment with:
-
Retention time:
3days -
Number of partitions:
4
Create the Application
Follow the application creation guide using the following values:
-
ID:
io.axual.producer -
Name:
Java Producer -
Short Name:
java_prd -
Owner:
Admins -
Application Type:
Custom -
Type:
Java -
Visibility:
Public -
Description:
Java producer application
Once the application is created, ensure the dev environment is selected in the Environment Dropdown, then:
-
Configure application authentication. Upload your application certificate and press
Applyonce Platform Manager validates it.The application certificate must be signed by a Certificate Authority the broker trusts, or authentication fails at connect time. -
Topic Authorizations. Press
+ Add request, chooseProduceras the Application Type, selectstring-stringas the Topic, and pressRequest Approval.When the environment’s Authorization Issuer is Stream owner, the topic owner has to approve the pending access request before it takes effect.
Since the dev environment was created with Auto Authorization Issuer, the access request is approved automatically.
Verify the application can produce
The platform carries data once one application holds an approved authorisation on one topic in one environment, so check that pairing rather than each resource in turn. Open the string-string topic in Self-Service and select dev in the Environment Dropdown.
-
Confirm the topic is configured for
dev. The gear icon on the topic card carries no blue circle, and the Configure Topic modal shows the3days retention time and4partitions you entered. A blue circle means the topic exists in Self-Service but has not been configured for this environment, so it is not on the cluster yet. -
Confirm the authorisation is approved. The
Java Producerrequest appears on the topic’s History tab, coloured green in the visualisation, and no longer appears on the Pending requests tab.
Expected result: Java Producer is authorised as a producer on string-string in dev. The topic’s Access Control List has been updated on the cluster, and the application can produce to the topic.
A request that stays on Pending requests means the environment’s Authorization Issuer is Stream owner rather than Auto, so the topic owner has to approve it by hand. See Topic Authorizations.