Configuring Application Authentication
This guide shows you how to authenticate an application to Kafka in Self-Service, using either SASL (Simple Authentication and Security Layer) with a generated credential or a custom principal, or SSL (Secure Sockets Layer) with an application certificate.
Type |
How-to guide |
Goal |
Authenticate an application to Kafka in a chosen environment, so it can produce to or consume from a topic. |
Audience |
A user who can edit the application in Self-Service (a member of its owning group). |
When to use |
Use this guide when preparing an application to connect to Kafka in an environment, before requesting topic access. |
Prerequisites
Before you configure authentication, confirm both your access and that the method you plan to use is enabled.
Access and permissions:
-
You can edit the application in Self-Service.
-
The environment you want to configure already exists.
Method enablement:
-
For SASL, the SASL method must be enabled on the Tenant and the Instance.
-
For SSL, the SSL method must be enabled on the Tenant and the Instance.
Choose an authentication method
An application authenticates to Kafka with one of two methods, and you configure the one your instance uses. Pick the method that matches how your application identifies itself:
-
SASL, when the application authenticates with a generated username and password, or with a client ID issued by your identity provider.
-
SSL, when the application authenticates with a client certificate.
Authenticate with SASL
SASL authenticates an application with a credential you generate per environment. Generate one credential set, copy it into your application, and remove any set you no longer need.
Generate a SASL credential
Generate a SASL credential for the environment the application will connect to.
-
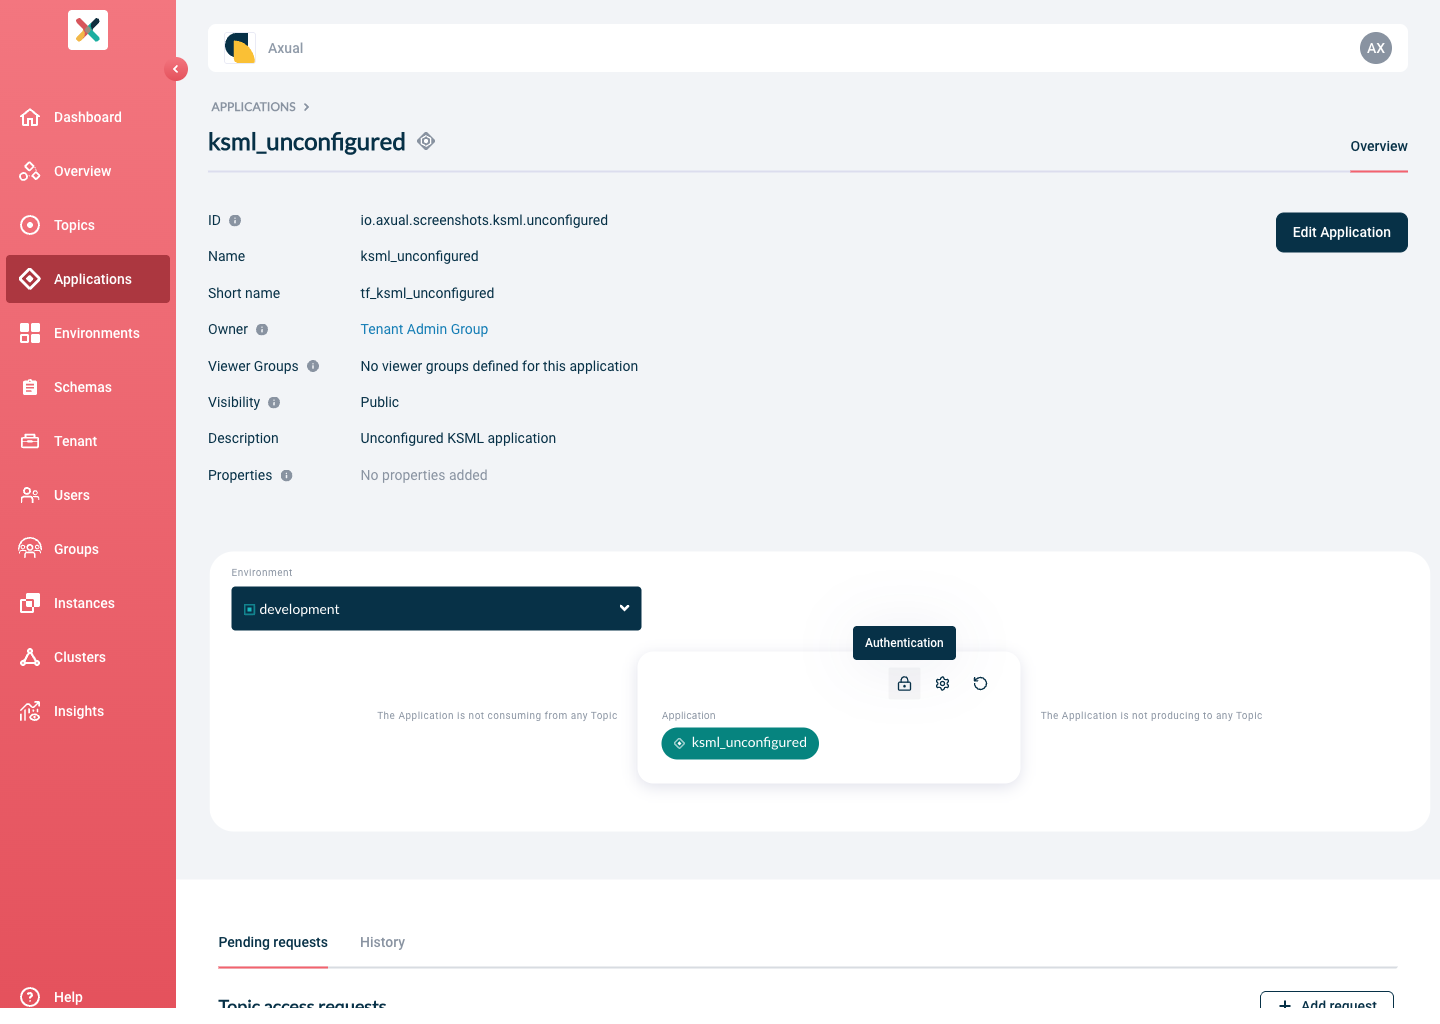
Visit the detail page of the application.
-
Select the environment for which you want to generate the credential.
-
Click the lock button in the application box (hovering over it shows 'Authentication').
-
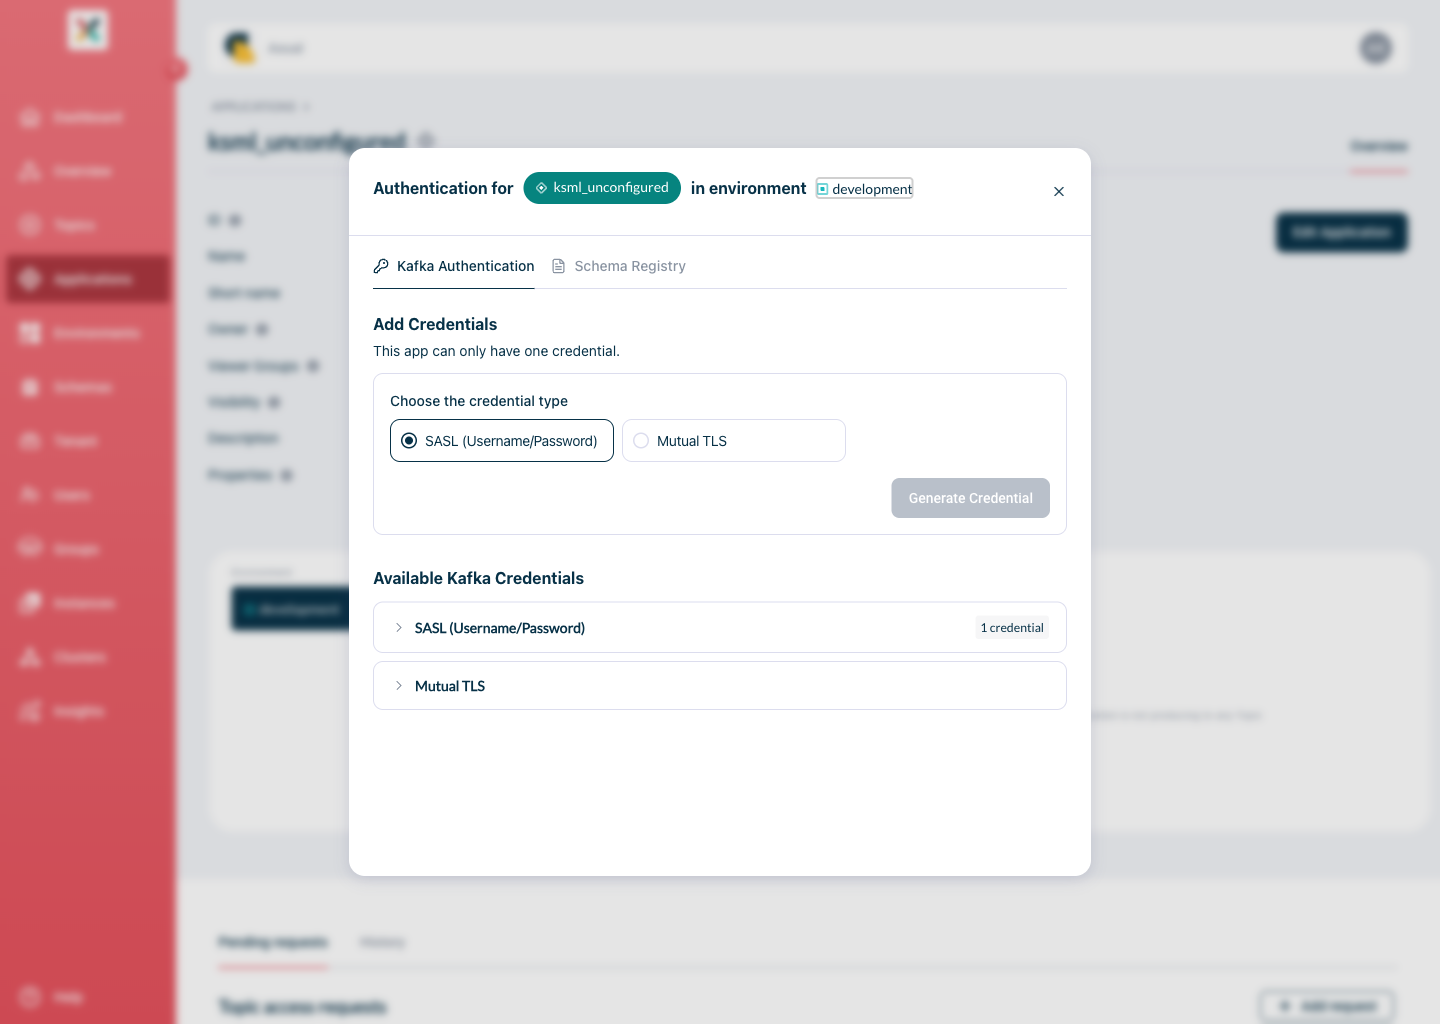
Review the credentials section in the modal that opens.
-
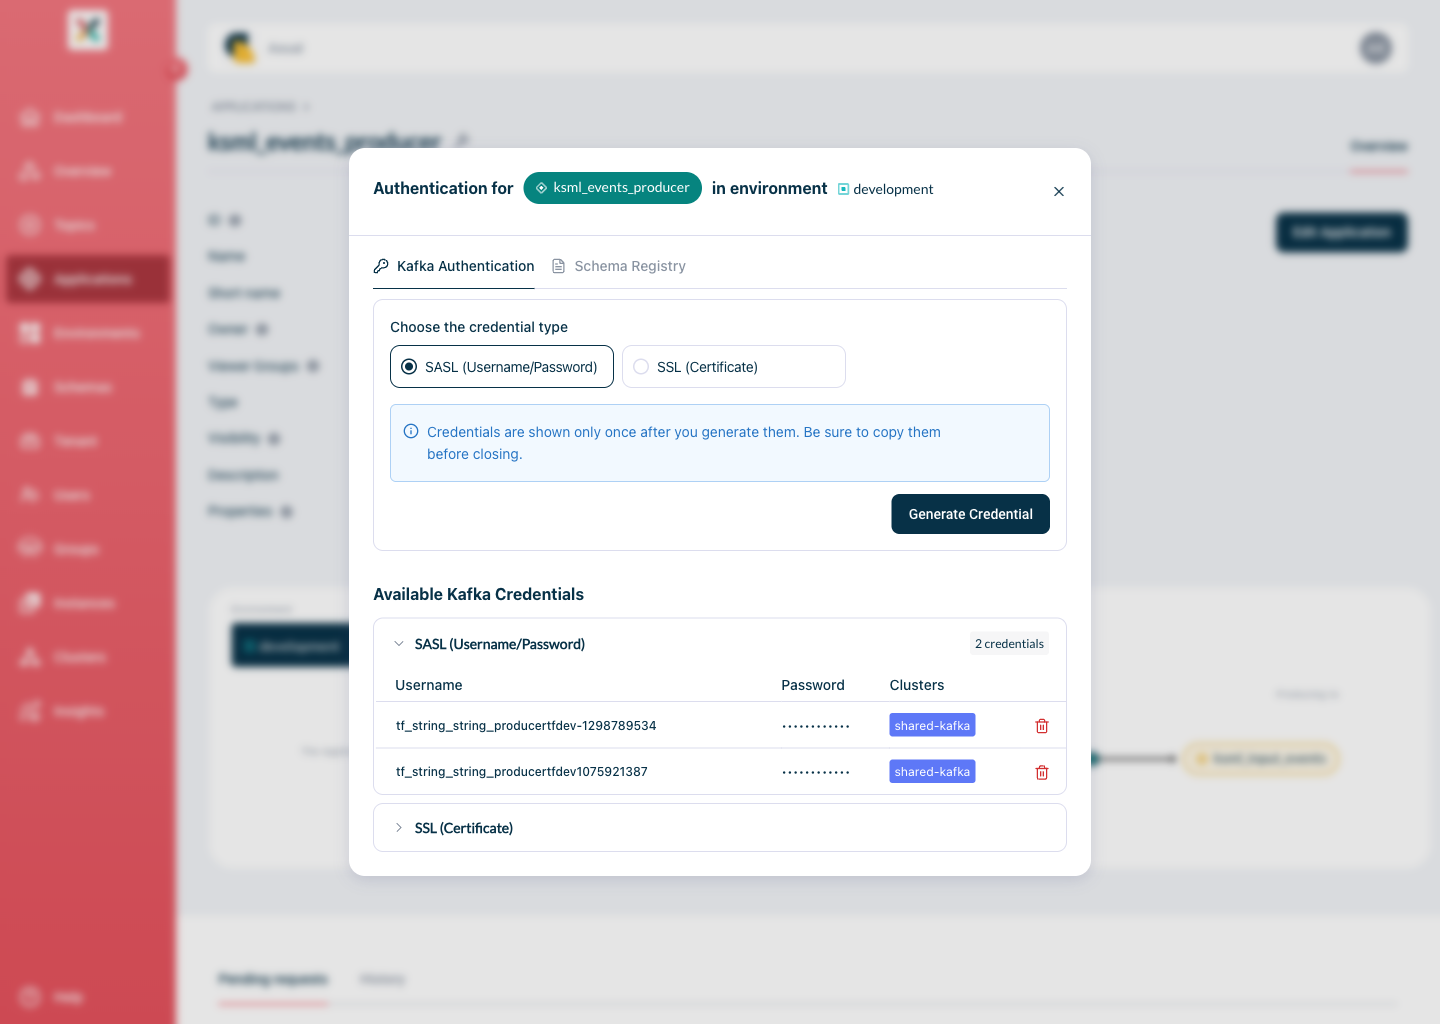
Click + Generate new Pair. A new username and password pair is shown.
-
Copy the username and password, and add them to your application.
| Copy the password and store it in a safe place as soon as it is displayed. It is only displayed right after generation. Any later view of the credential shows the username only. |
| You can generate as many credentials as you need. |
Delete a SASL credential
Remove a credential set the application no longer uses.
-
Click the bin icon next to the credential set to delete it.
Use SASL across multiple clusters
When several clusters of the same provider type are connected to an instance in an environment, one application credential is created and applied to all of those clusters. The credential lists the cluster names it applies to.
| When no clusters are shown, the SASL credential was applied to all clusters that were active at the time of creation. |
Use a custom principal
A custom principal lets an application authenticate with a client ID you have registered in your identity provider, instead of a generated password. Configure it per environment.
-
Visit the detail page of the application.
-
Select the environment for which you want to use a client ID.
-
Click the padlock button in the application box (hovering over it shows 'Authentication').
-
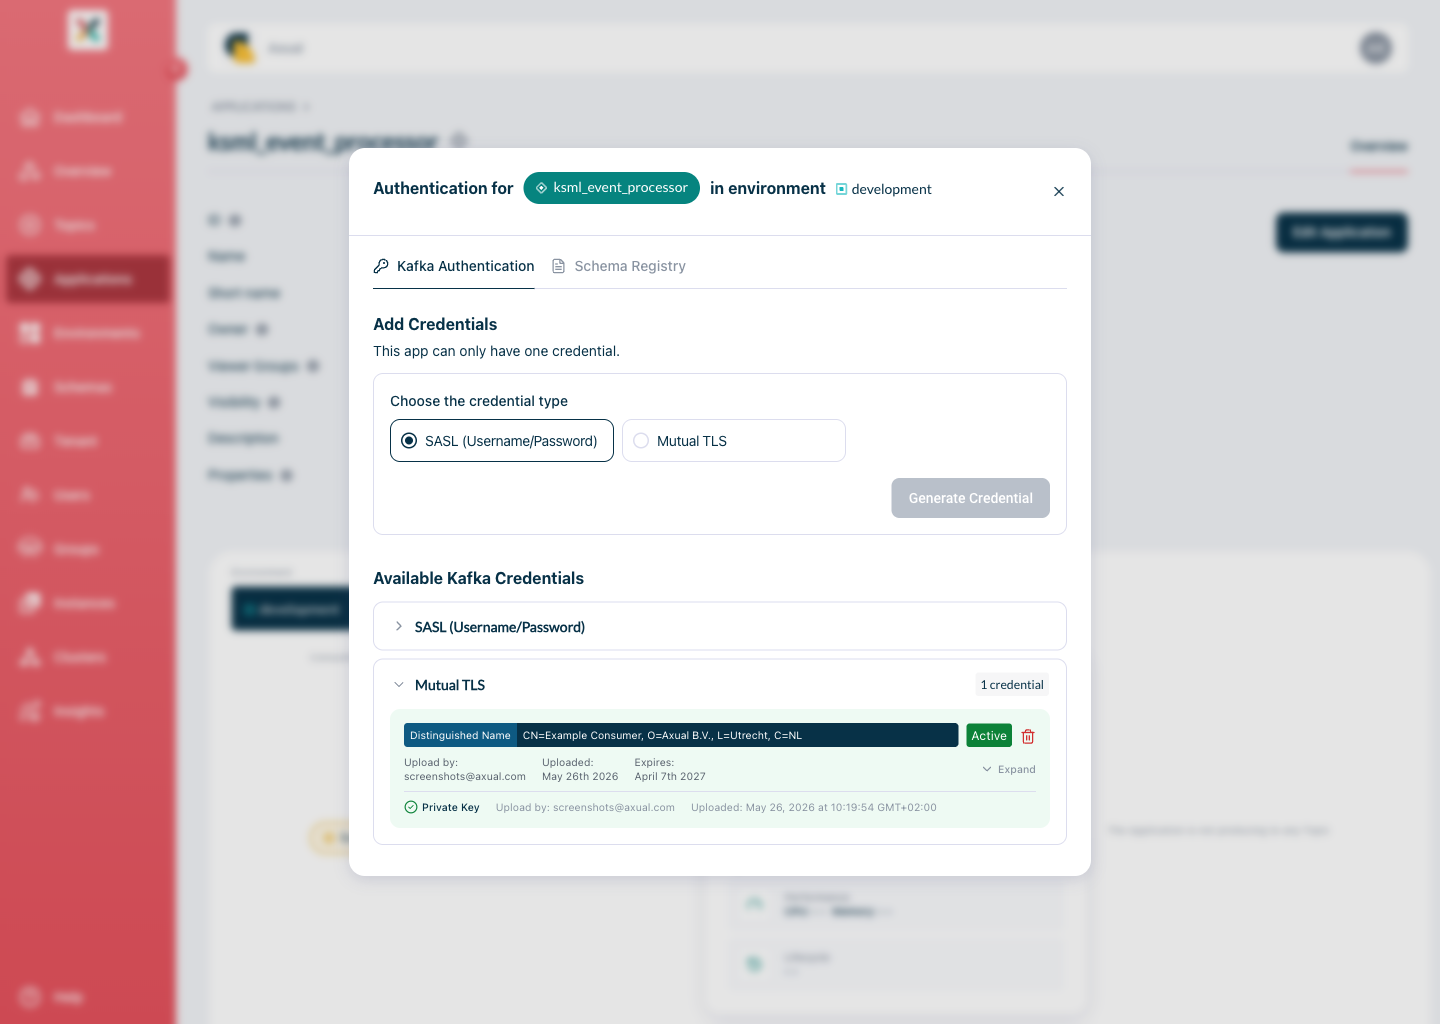
Find the client ID section in the modal that opens.
-
Provide the client ID registered in your identity provider.
-
Click Apply.
-
Use the custom principal in your application.
| You can add as many custom principals as you need. |
Authenticate with SSL
SSL authenticates an application with an application principal, which pairs the Distinguished Name (DN) of the application’s certificate with its full chain of signing authorities. The chain lets the application reach the brokers, and the DN verifies the application’s access rights (Access Control List, or ACL) to a particular topic; both are required for a successful connection to an Axual topic.
| Define an application principal for every environment the application runs in. A principal can be re-used, but a unique one per environment is strongly advised. Without a principal, an application cannot produce to or consume from a topic. |
Configure the application principal
Upload the application certificate as a principal for the environment the application will connect to.
-
Visit the detail page of the application.
-
Select the environment for which you want to configure the principal.
-
Click the padlock button in the application box (hovering over it shows 'Authentication'). The modal opens.
-
Upload the PEM (Privacy Enhanced Mail) file of your application certificate. To create one, see Generate a certificate PEM file.
-
Confirm that the certificate chain shown, from the subject through each signing authority, matches the certificate your application will use in that environment.
-
Click Apply. The application box name turns green, indicating the application is configured on that environment. Repeat these steps for each environment where the application needs topic access.
| When replacing an application certificate, register both principals at the same time, then delete the old one once the application no longer uses it. |
Generate a certificate PEM file
Self-Service validates the certificate chain you upload, so you provide it as a .pem file. Most applications already use a .jks (Java KeyStore) file, so the steps below extract a .pem from a .jks file ready for upload.
| These commands assume a bash terminal, not ZSH or another custom shell. |
-
Export the
.jkskeystore to the PKCS12 format with Keytool, which ships with most JRE installations. ReplaceyourAliaswith your application certificate alias,sourceKeyStorewith the path to your.jksfile, andpasswordwith your own password.keytool -importkeystore \ -alias yourAlias \ -srckeystore sourceKeyStore.jks \ -srcstoretype jks \ -srcstorepass password \ -destkeystore destFile.p12 \ -deststoretype PKCS12 \ -deststorepass password -
Retrieve the application certificate to the target
.pemfile with theopensslcommand.openssl pkcs12 \ -in destFile.p12 \ -nokeys \ -passin pass:password \ -passout pass:password \ | grep -v -e '^\s' | grep -v '^\(Bag\|subject\|issuer\)' > destKeyStore.pem
The resulting .pem file can be uploaded as an application principal.
Update an expired certificate
Replace an expired certificate by adding the new one before removing the old one, so the application keeps access throughout.
In Self-Service, add the new certificate alongside the expired certificate, then remove the expired certificate. You can perform both the update and delete operations before pressing Apply.
When you interact with the Platform Manager over REST API calls, follow this flow:
-
Add the new certificate with
POST /application_principals. -
Remove the expired certificate with
DELETE /application_principals/{uid}.
| ACLs created in the Kafka topics do not take the expiry date into consideration. |