Managing Flink Applications
This guide shows you how to register a Flink application, configure its deployment target, size, and SQL, start it, and manage its lifecycle in Self-Service.
Type |
How-to guide |
Goal |
Register a Flink application, configure its deployment target, deployment size, and SQL, start it, and manage its lifecycle. |
Audience |
A user who can edit applications in Self-Service (a member of the owning group). |
When to use |
Use this guide when you want Axual to run a Flink SQL transformation between Kafka topics for you. |
Creating Flink Applications
To create a Flink application, register it in Self-Service as you would any other application, then choose the Managed Flink SQL application type.
-
Visit the Applications page (Applications) and click New Application.
-
Fill out the form:
-
ID: a string that uniquely identifies your application. The maximum length is 255 and the value should be alphanumeric with no spaces; the
_character is allowed. -
Name: the name of the application. It should not be more than 50 characters.
-
Short Name: a unique human-readable short name, used as a label in Self-Service. The maximum length should not exceed 60 characters.
-
Owner: choose the group that will own this application. Is it not available yet? See Creating a group.
-
Application Type: choose
Managed Flink SQL. -
Visibility: see Application visibility.
-
Description: a short summary describing the purpose of this application. It must not exceed 200 characters.
-
Properties: allows you to add additional metadata as key-value pairs to describe the application.
-
-
Press Add Application.
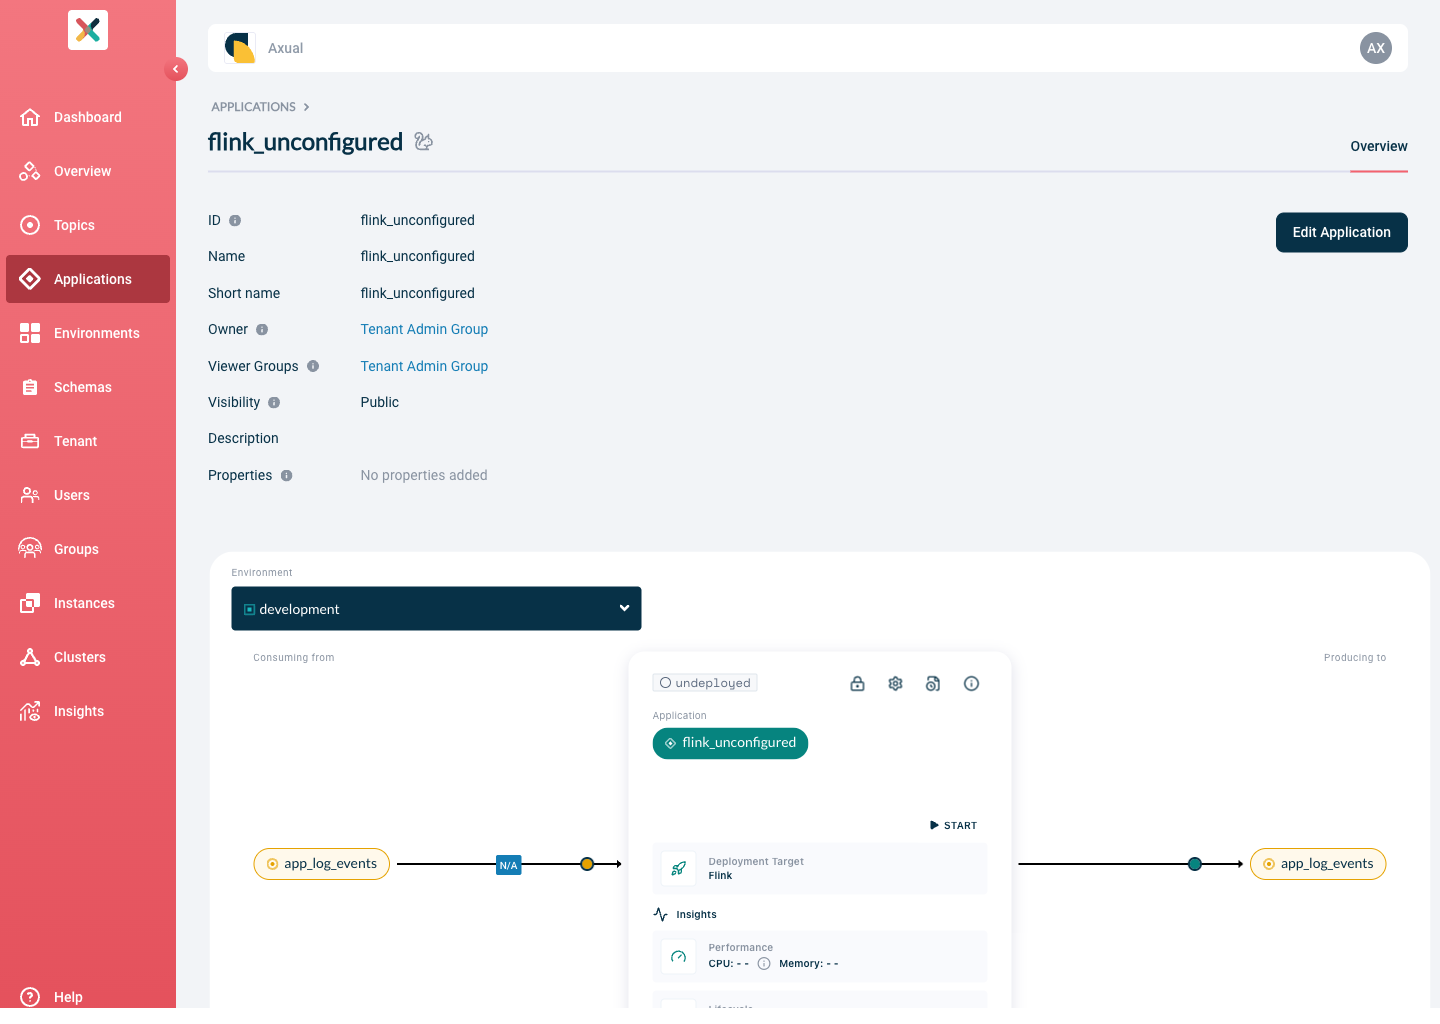
Configuring and starting Flink Applications
A Flink Application needs the following configured for every environment in which it’s deployed:
-
Deployment: the Flink Cluster it runs on and its deployment size.
-
Flink SQL: the
CREATE TEMPORARY TABLEandINSERT INTO … SELECTstatements that define the transformation. -
Authentication: the credentials used to authorise the application against Kafka, see Authentication configuration.
Deployment
Before a Flink Application can be started, it needs a Flink Cluster: the registered Flink Platform cluster it will run on. This selector is shown on the Application card per environment.
-
Open the Flink cluster dropdown. Only Flink Clusters registered for the Instance are listed. Instance Cluster has at most one registered Flink Cluster, so the dropdown pre-selects it when exactly one is eligible; you still confirm the selection.
-
Click Confirm.
Choosing a Deployment Size
Select a deployment size for the application’s TaskManager, the pod that runs your SQL.
The JobManager (the pod that coordinates the job) uses a fixed platform default and is not user-configurable. Parallelism is fixed at 1 , so a larger size gives the single TaskManager more CPU and memory to work with rather than adding parallel workers. Pick a larger size for SQL with heavier per-record processing or larger intermediate state, not to increase throughput through parallelism.
Select your preferred deployment size from the dropdown, or leave it unchanged to use the default. Click Save when done.
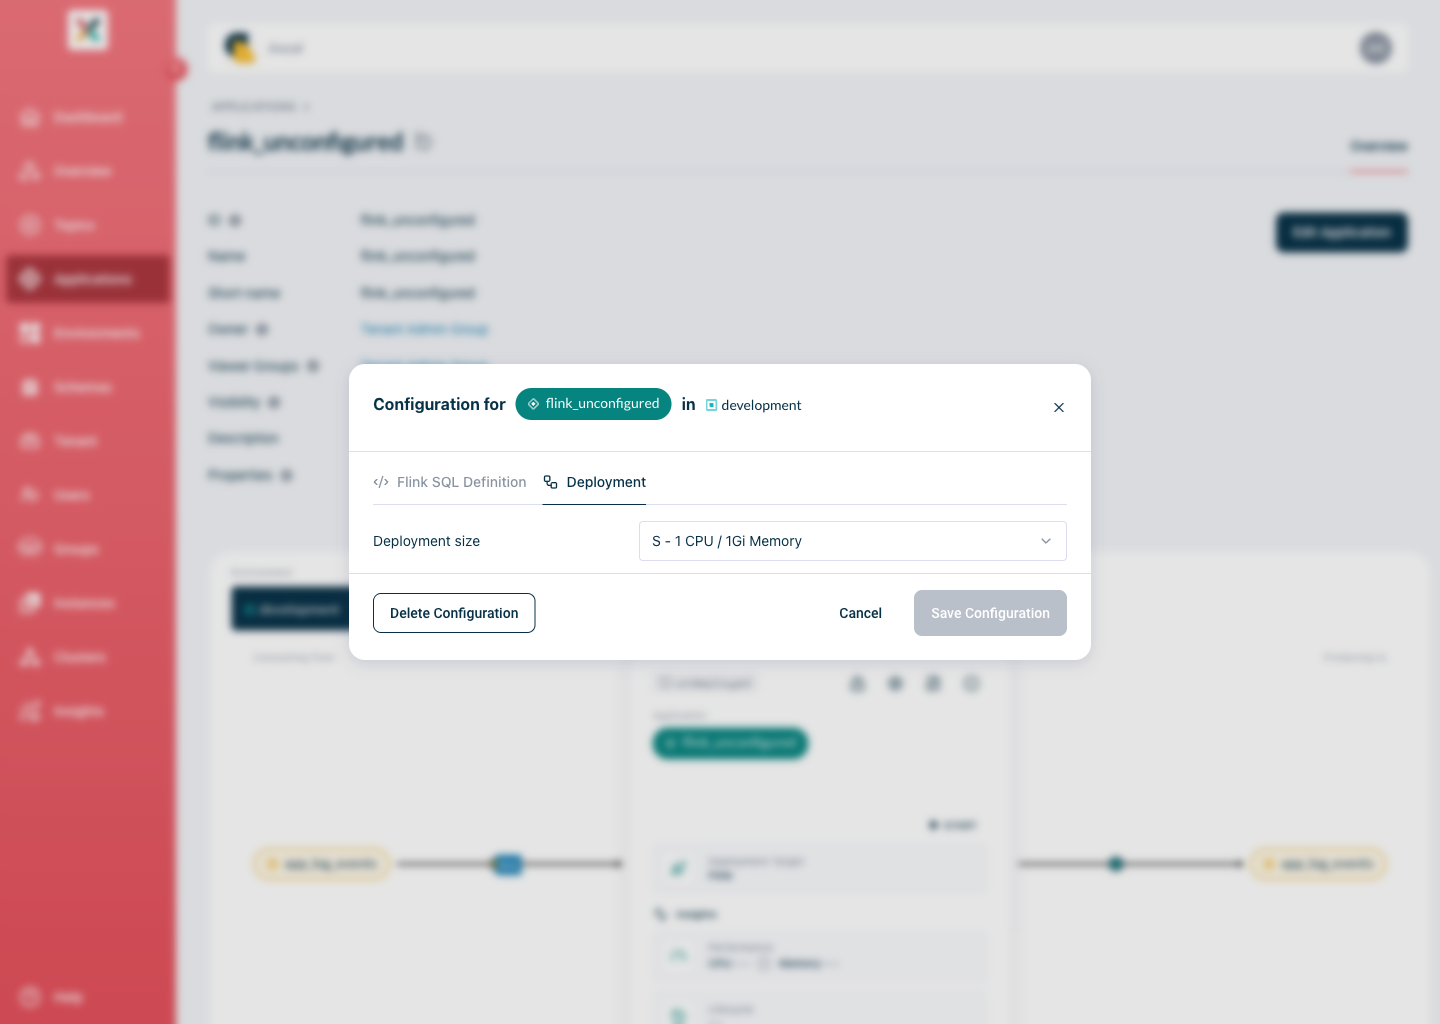
| Changing the deployment size takes effect on the next Start; it does not resize a running application. |
Flink SQL
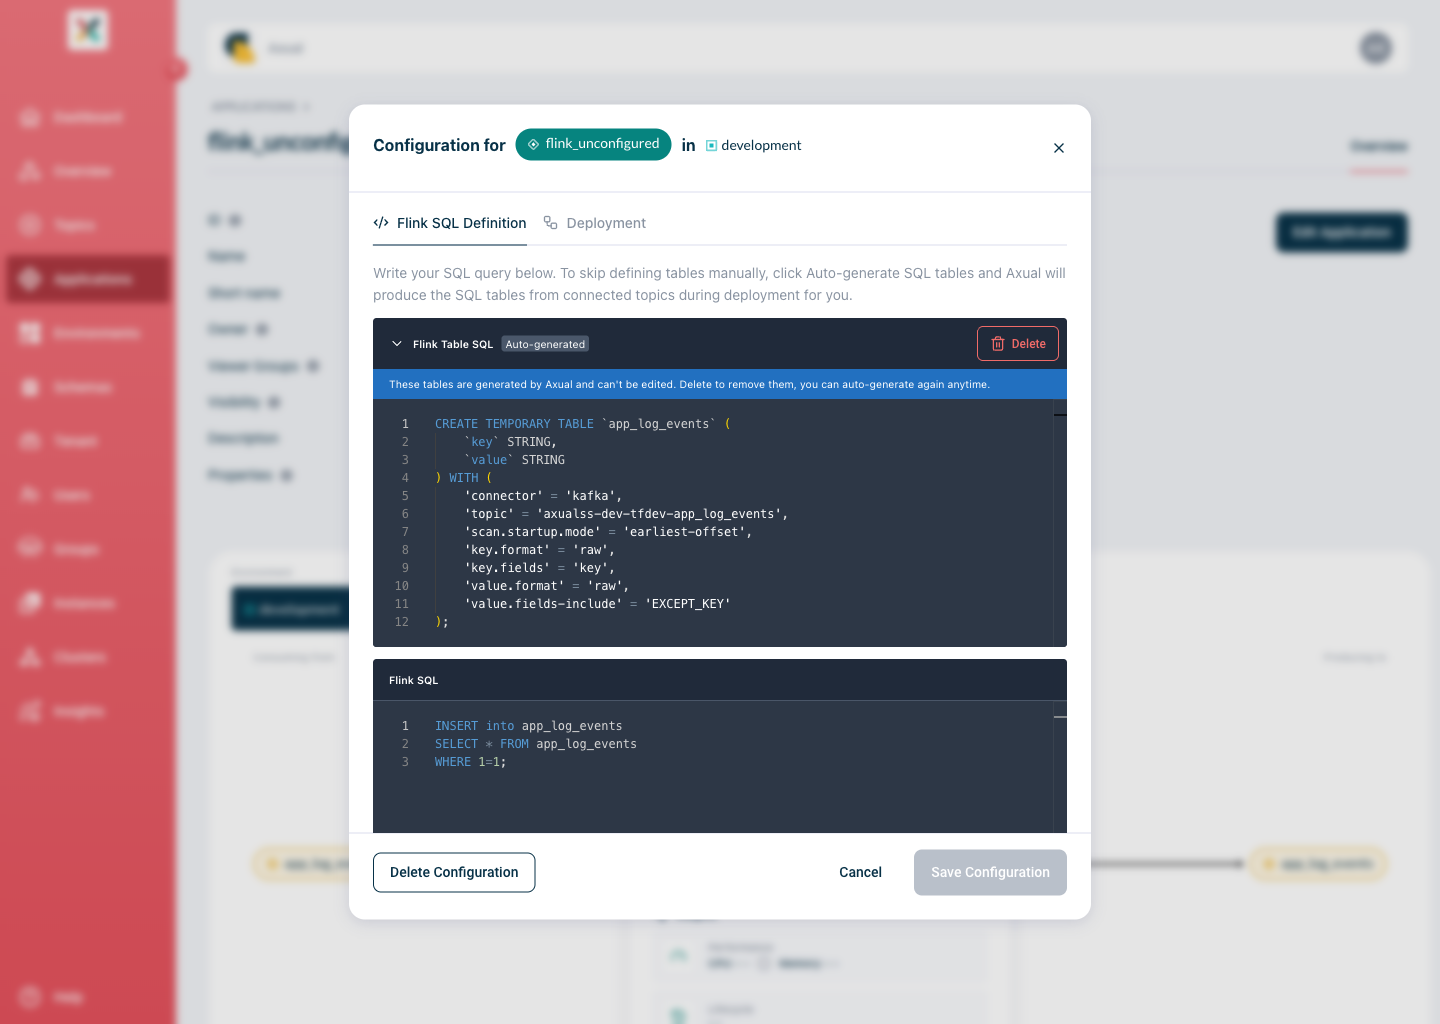
Open the SQL editor from the application’s Configuration modal to write the transformation logic.
Only two statement types are allowed: CREATE TEMPORARY TABLE to declare a Kafka topic as a table, and INSERT INTO … SELECT to write the transformation. Permanent tables, catalogs, and any other DDL (DROP, ALTER) are rejected.
-
Enable Auto-generate tables to have Self-Service prepend one
CREATE TEMPORARY TABLEstatement per topic your application already has approved access to, based on that topic’s latest registered AVRO schema. If topic doesn’t have any schema or other type schema (Protobuf, Json etc.) raw type table will be generated. The generated statements show only the connector type and topic name. Connection properties and credentials are injected when the application starts; they are never shown or editable here. -
Write your
INSERT INTO … SELECTlogic against the generated (or manually declared) tables. -
Click Save.
If validation fails, the response lists each problem:
| Error | Meaning |
|---|---|
Forbidden statement type |
A statement other than |
Reserved property |
The SQL sets a Kafka or Schema Registry property that Self-Service injects automatically (for example |
Unsupported connector |
The |
Missing Statement Block |
Multiple INSERT INTO statements must be wrapped in a BEGIN STATEMENT SET; … END; block |
Requesting Topic Access
Your Flink application needs authorisation to produce to or consume from a Kafka topic before it can start.
Follow the steps to grant it access.
Security configuration
Authentication is configured the same way as for any other Application type, see Authentication configuration.
| Managed Flink SQL applications support SASL (Simple Authentication and Security Layer) authentication only. Certificate authentication (mTLS) and OAuth authentication are not available for this application type. |
Apicurio Registry credentials
If the environment’s Instance uses Apicurio Registry, the Flink application needs Apicurio Registry credentials to resolve AVRO schemas, whether the table is auto-generated or manually declared. Platform Manager provisions these credentials automatically: on every start, it checks whether a valid credential pair already exists for that environment, and generates one if it doesn’t.
| This is fully automatic. You do not generate or manage these credentials yourself, and the Apicurio Registry section of the Authentication modal (described in Generating Apicurio Registry Credentials) does not apply to Managed Flink SQL applications. |
Application Lifecycle
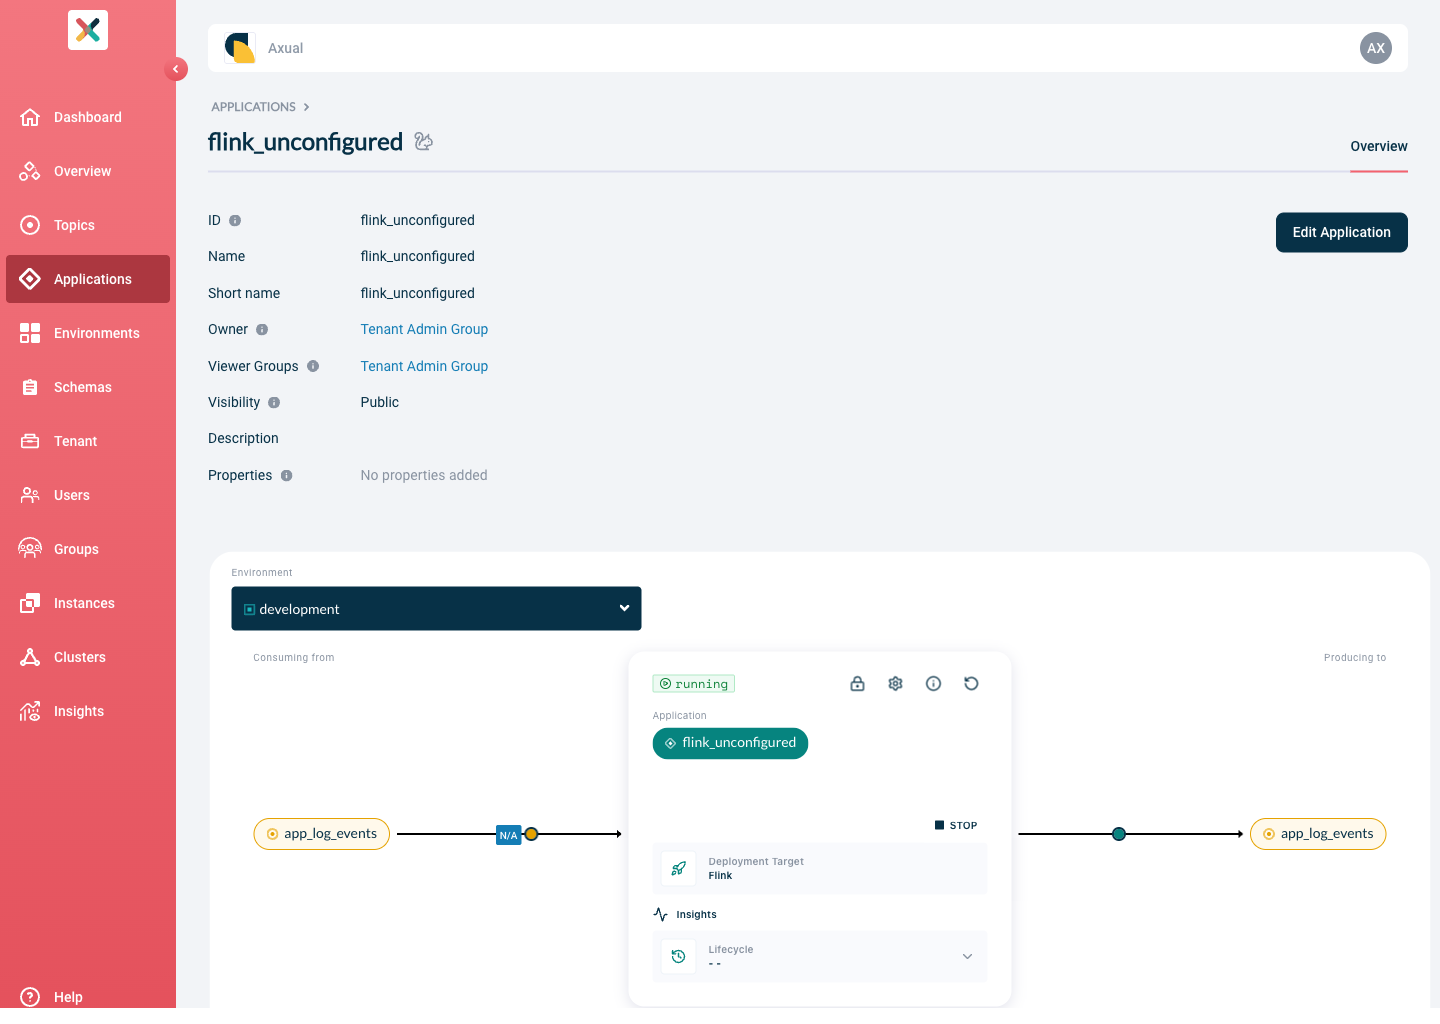
Flink applications run on the Flink Platform cluster selected as their Deployment Target. Self-Service polls the Platform Manager for the Flink job status while the Application Overview page is open.
For the actions, states, and status mapping, see Flink Application States.
Start
When the Application is properly configured, START becomes enabled. Starting begins processing with no state restored from a previous run. Use Start for a first run, or after a Reset.
Resume
RESUME restarts the application from its most recent Flink checkpoint, picking up where it left off instead of starting fresh. It’s available when the application is Stopped or Failed.
| Only checkpoint-based resume is supported. Savepoint-based stop/resume is not available. Default checkpoint interval is 180 second. |
Reset
RESET returns the application to Undeployed. It’s available when the application is Stopped or Failed. The next Start begins with no state restored.
Stop
Stop the application by clicking STOP. The running job is cancelled, but its state is preserved as a Flink checkpoint so a later Resume can pick up where it left off.
Viewing status, logs, and metrics
Open the Flink application’s detail page to see its current status, JobManager logs, and a fixed set of resource metrics (JVM heap/non-heap/metaspace memory, CPU load, task slots).
Editing SQL or deployment size
You can only change the SQL or the deployment size while the application is Undeployed, Stopped, or Failed. Stop the application first if it’s running.
Deleting a Flink application
Follow the docs to remove the application.
| Deleting the application stops the Flink job and removes its deployment on every environment. |