How to Configure Keycloak for the MCP Server
This guide shows you how to create the two Keycloak clients the Axual Model Context Protocol (MCP) Server needs, so it can authenticate users against Keycloak and obtain a JSON Web Token (JWT) access token on their behalf.
Type |
How-to guide |
Goal |
Give the MCP Server the Keycloak clients it authenticates through. |
Audience |
Platform Operator with admin access to the tenant’s Keycloak realm. |
When to use |
Use this guide before deploying the MCP Server. Its values reference the client id and secret created here. |
The MCP Server is bound to one tenant, so these clients are created in that tenant’s realm. A multi-tenant governance installation repeats this per tenant.
Prerequisites
Create the Keycloak clients
The MCP Server authenticates users through two Keycloak clients: a bearer-only client that represents the server, and a second client that obtains the access tokens.
-
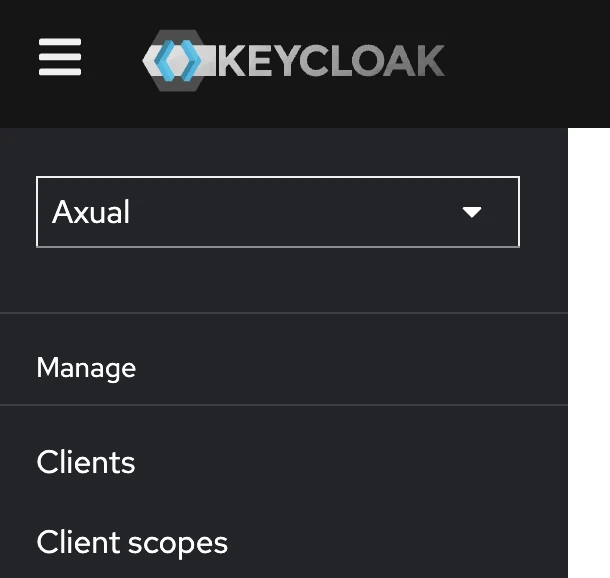
Log in to Keycloak as administrator and switch to the tenant’s realm.
-
Click on Clients in the left-side menu.
-
Create a new client
mcp-axualas per the screenshot below. This is the bearer-only client representing the MCP Server. An access token issued for the MCP Server carries the audience claim (aud) set tomcp-axual.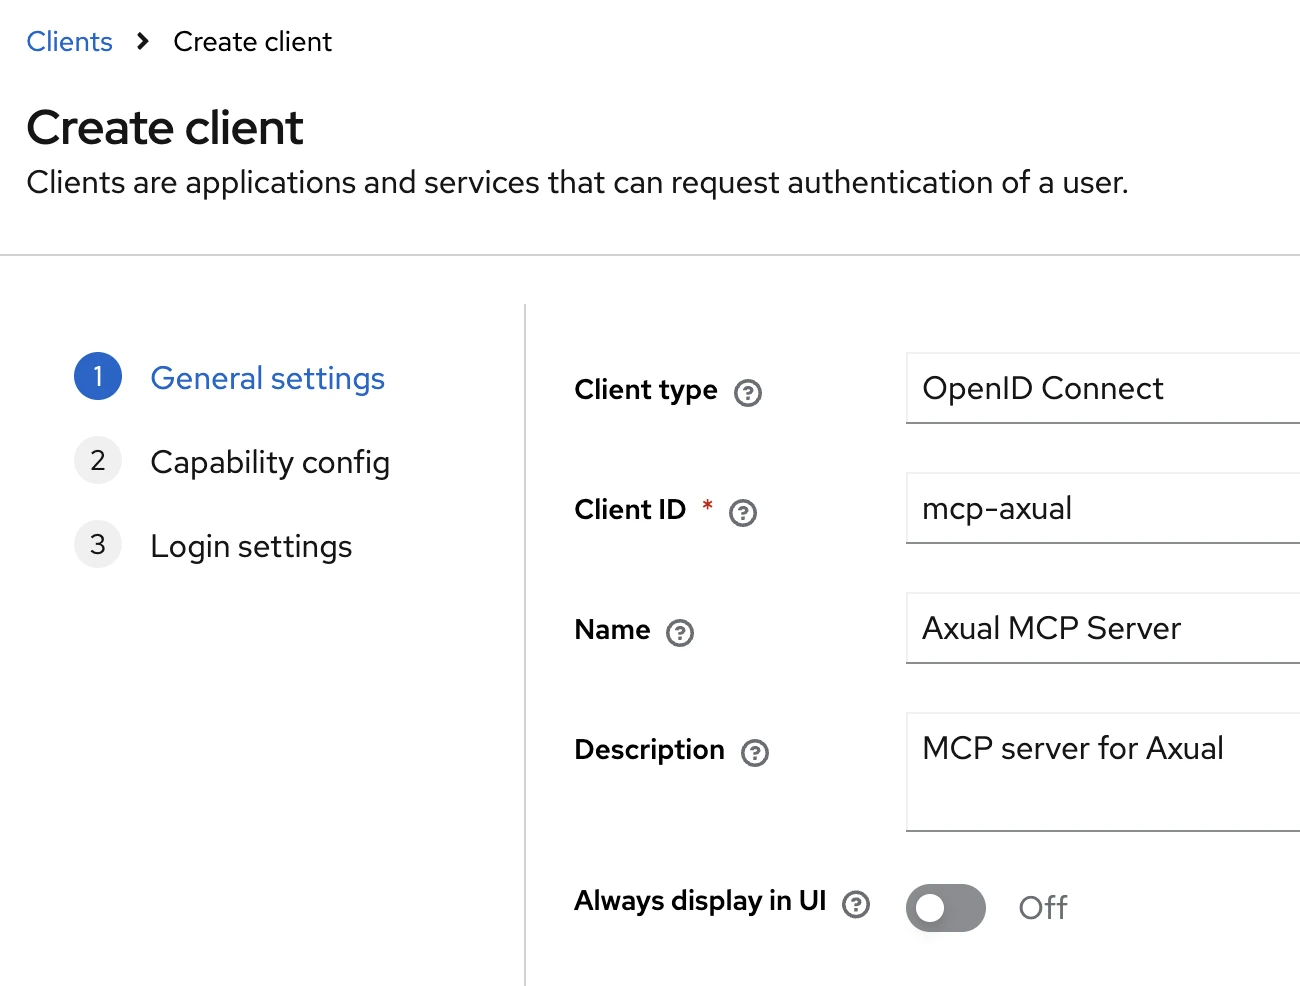
-
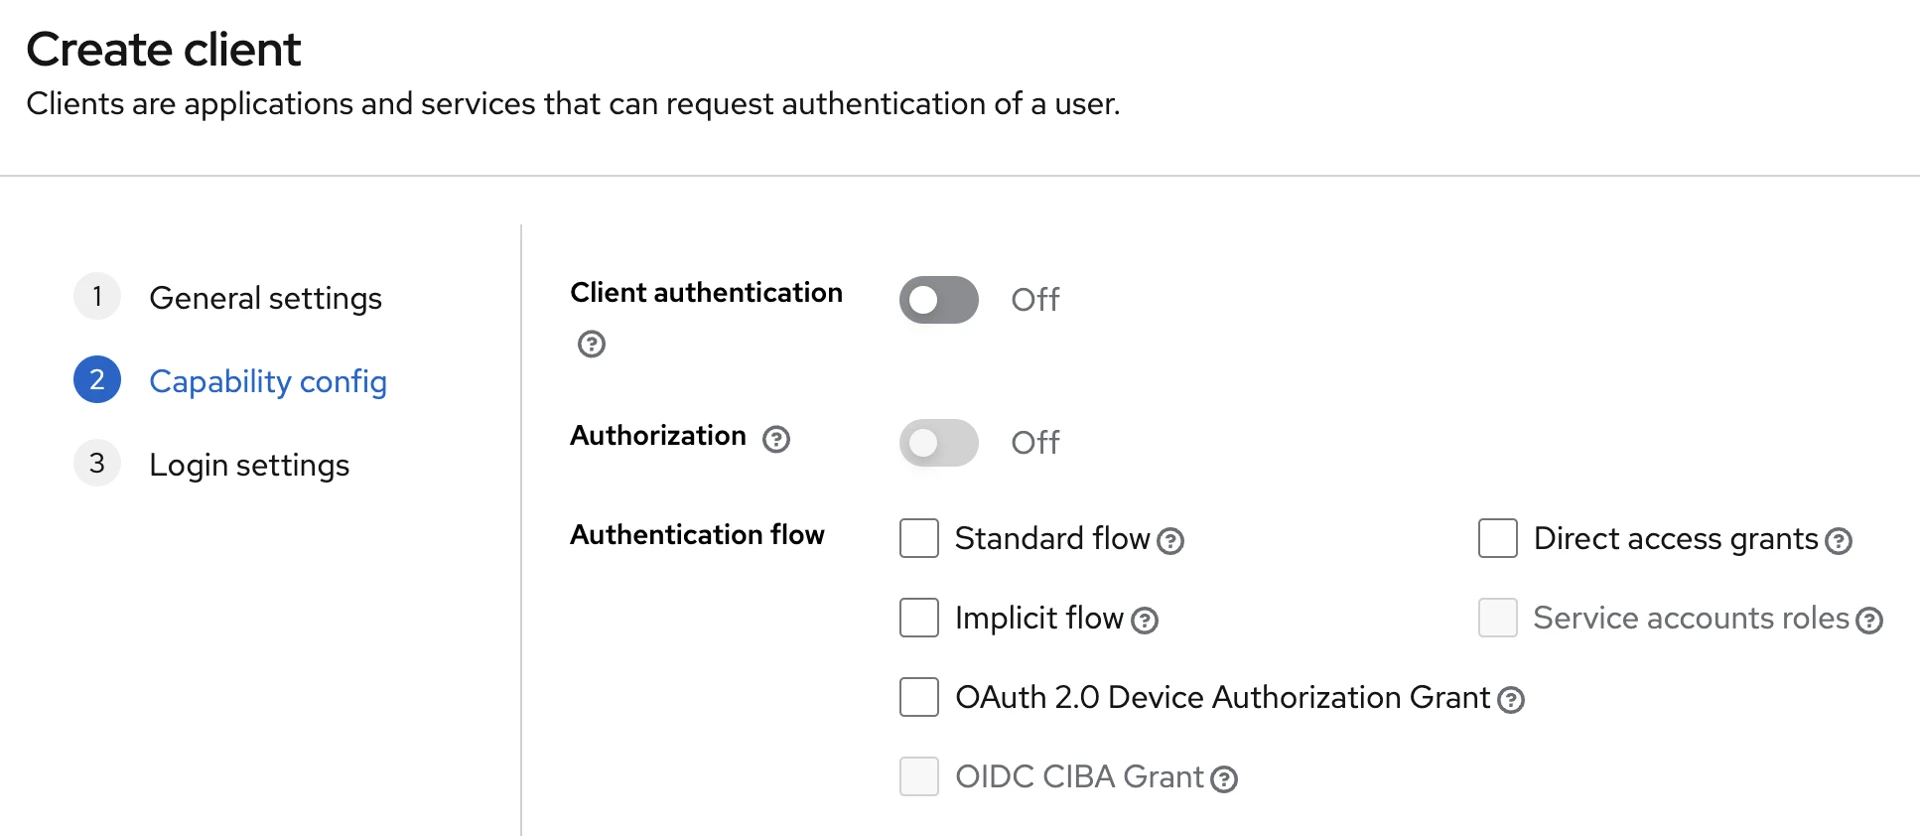
Ensure Client authentication is off and no Authentication flows are enabled. This makes the client bearer-only, so it cannot obtain access tokens itself. The client created in the next step does that.
-
Create a new client
mcp-oauth-proxy. AI clients obtain their access tokens through it. In Valid redirect URIs, enter<MCP_SERVER_BASE_URL>/auth/callback, scheme included. If the MCP Server is served atmcp-tenant1.example.org, the redirect URI ishttps://mcp-tenant1.example.org/auth/callback. Keycloak rejects a redirect URI with no scheme, and this value must matchMCP_OAUTH_SERVER_BASE_URLin How to Deploy the Axual MCP Server exactly.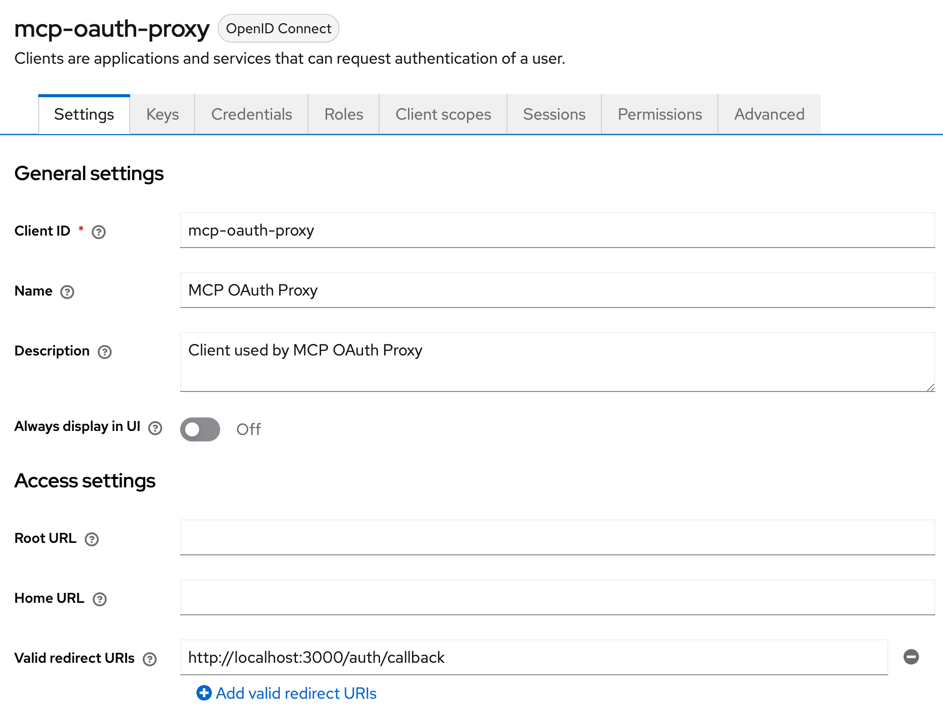
-
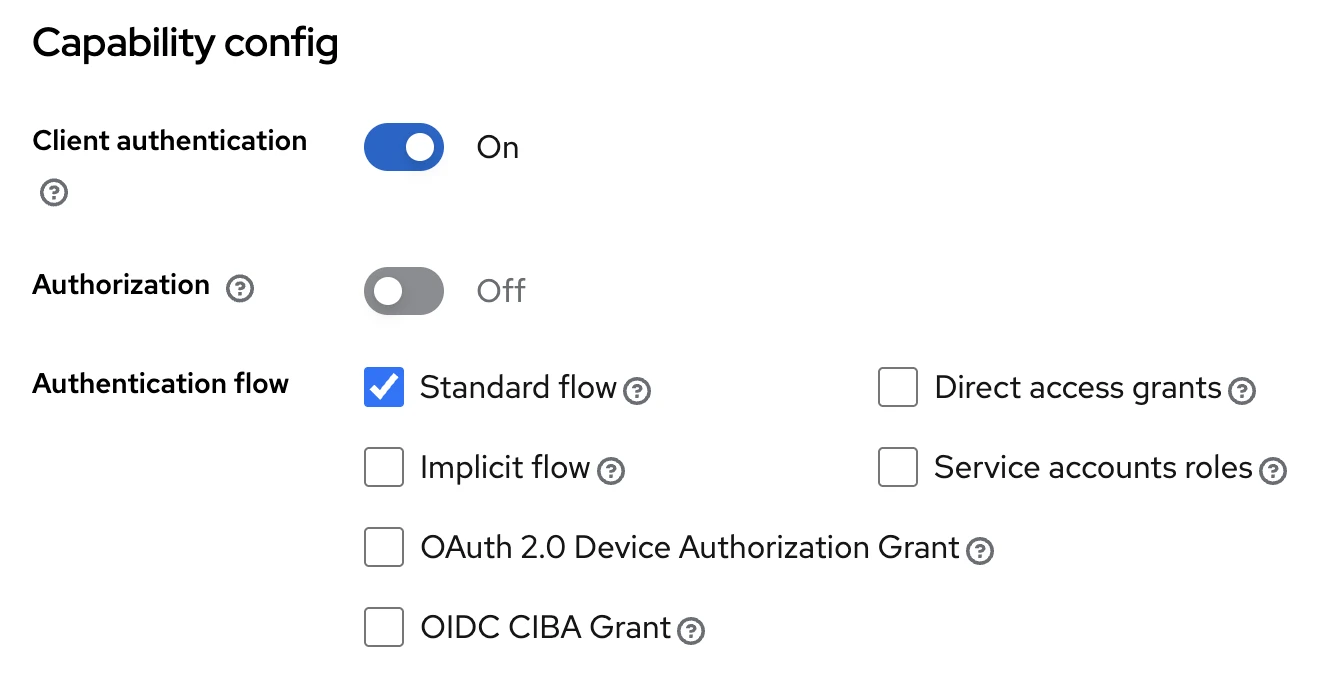
Under Capability Config, enable Client authentication and tick Standard flow under Authentication flow.
-
Switch to the Client scopes tab, then click on the
mcp-oauth-proxy-dedicatedlink.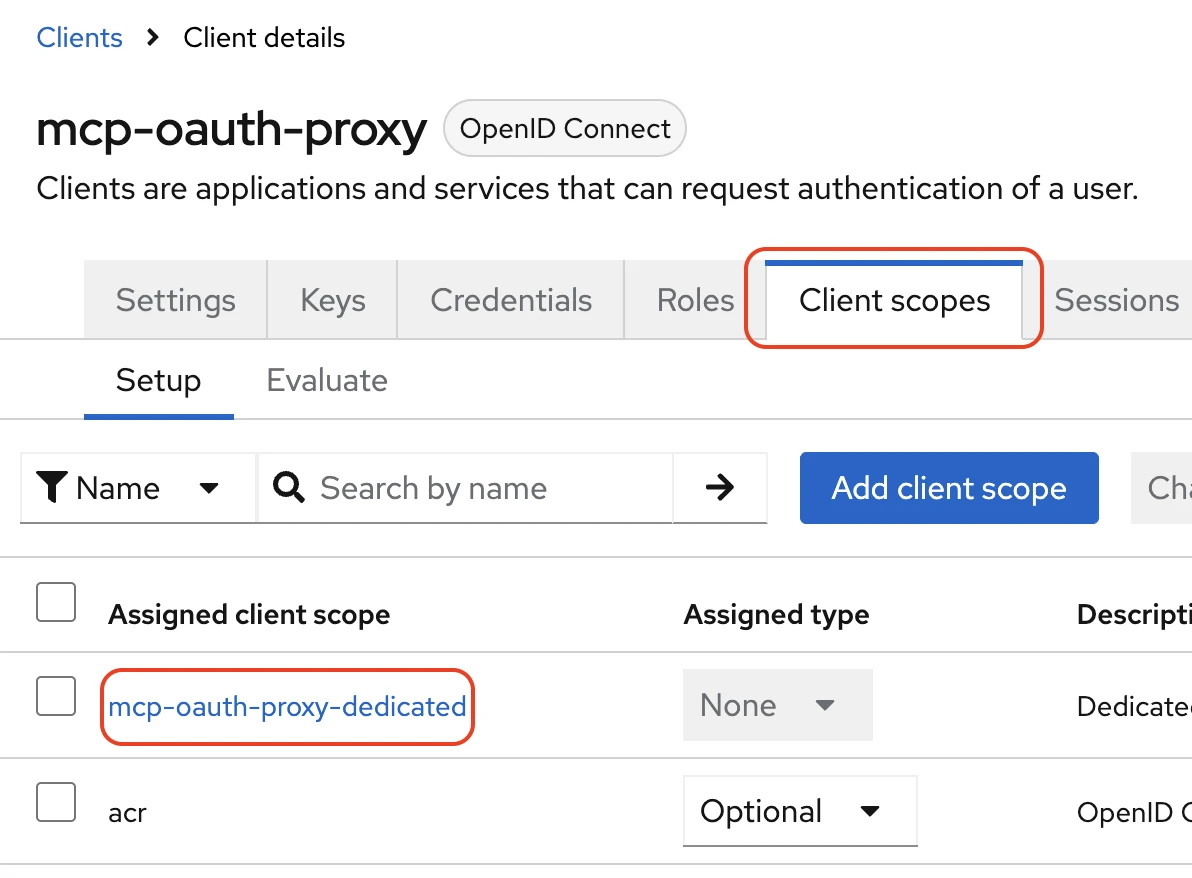
-
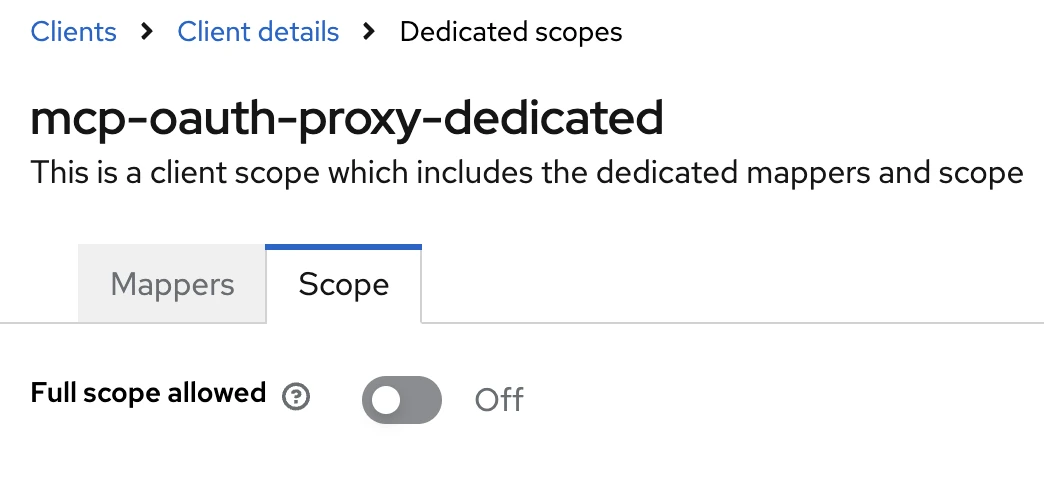
Switch to the Scope tab and turn off the Full scope allowed setting.
-
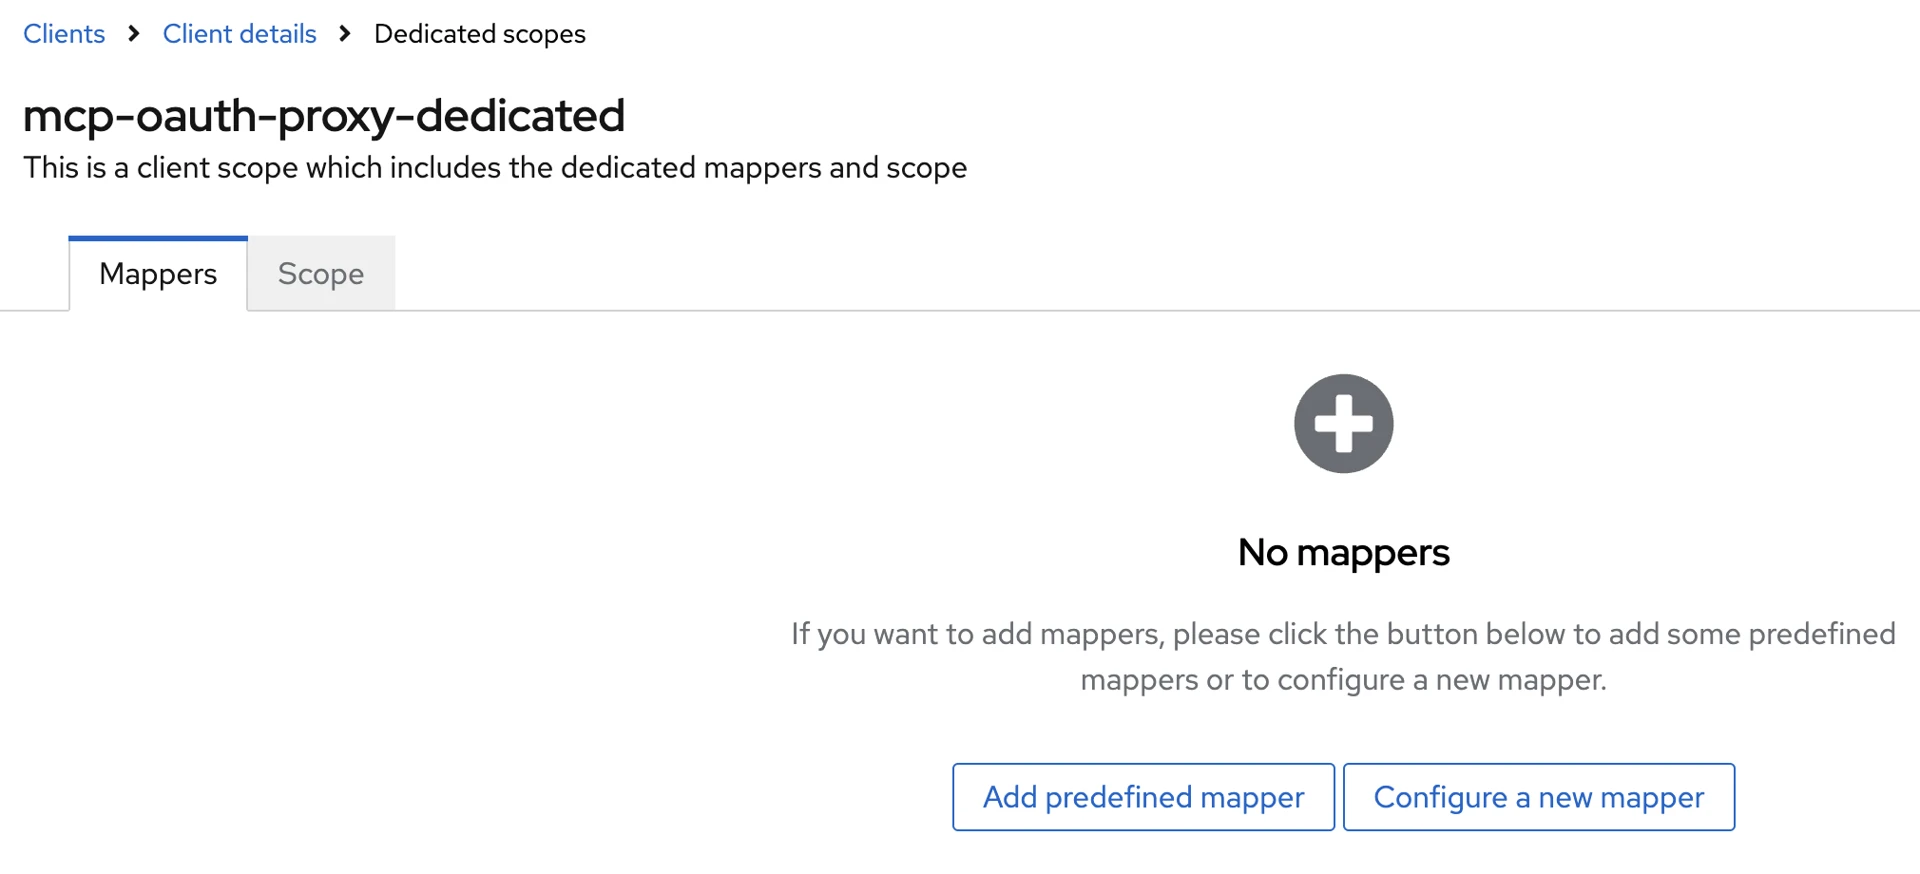
Switch to the Mappers tab. Click on the Configure a new mapper button.
-
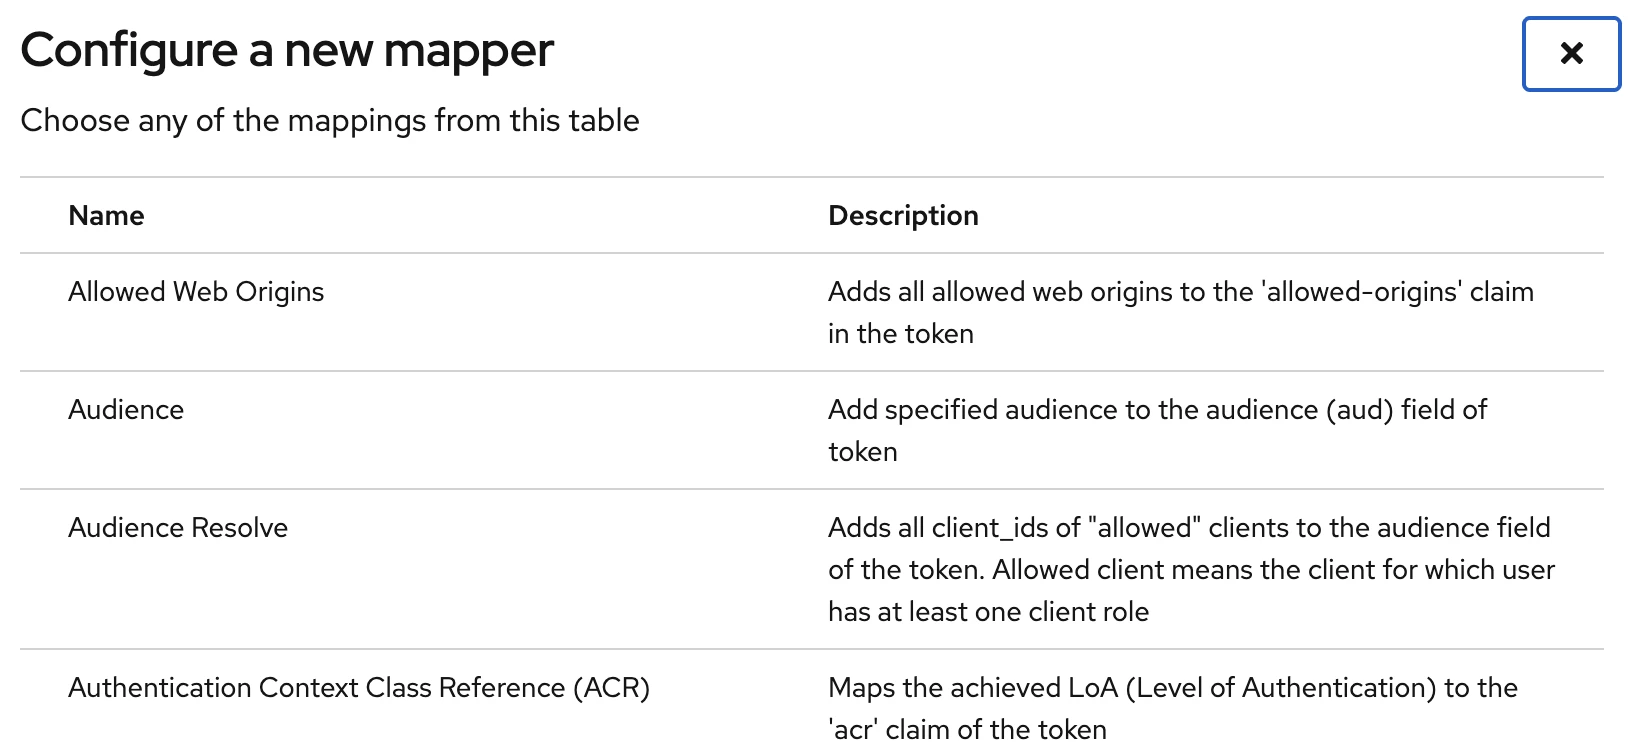
In the popup menu, select Audience.
-
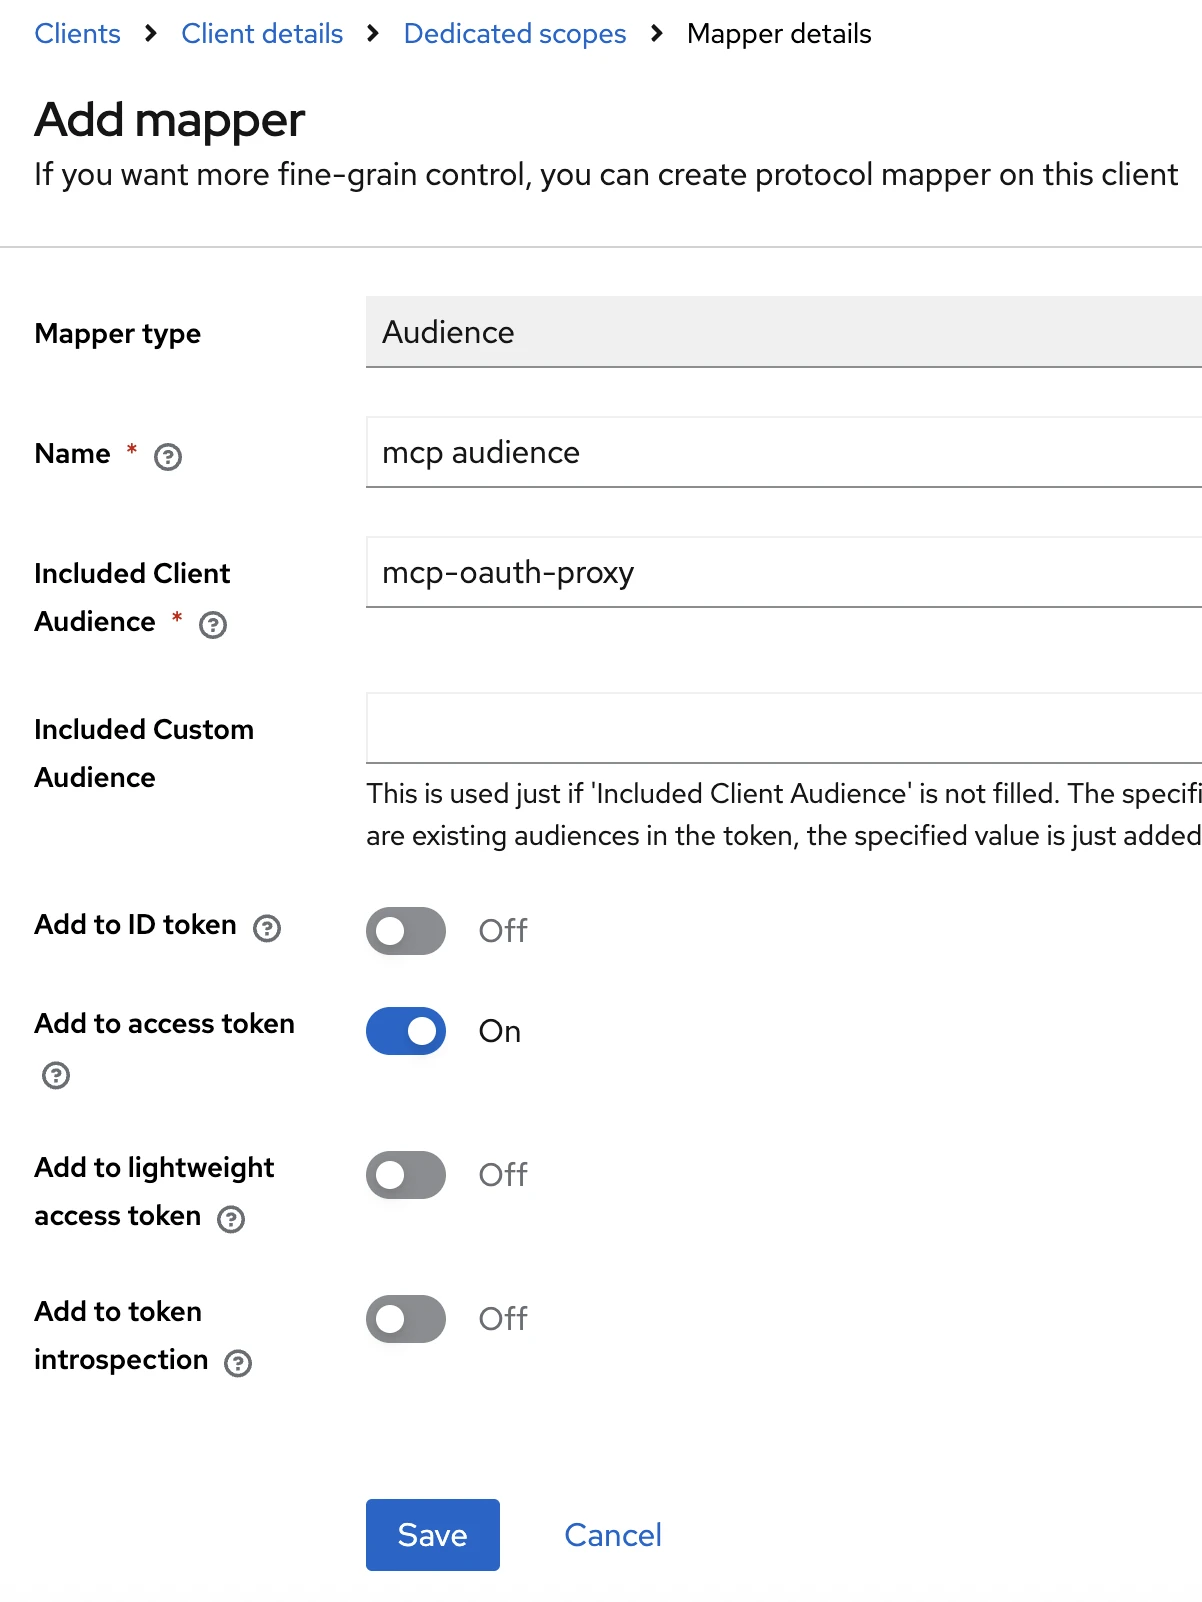
Fill the form as per the screenshot below. Click on Save.
-
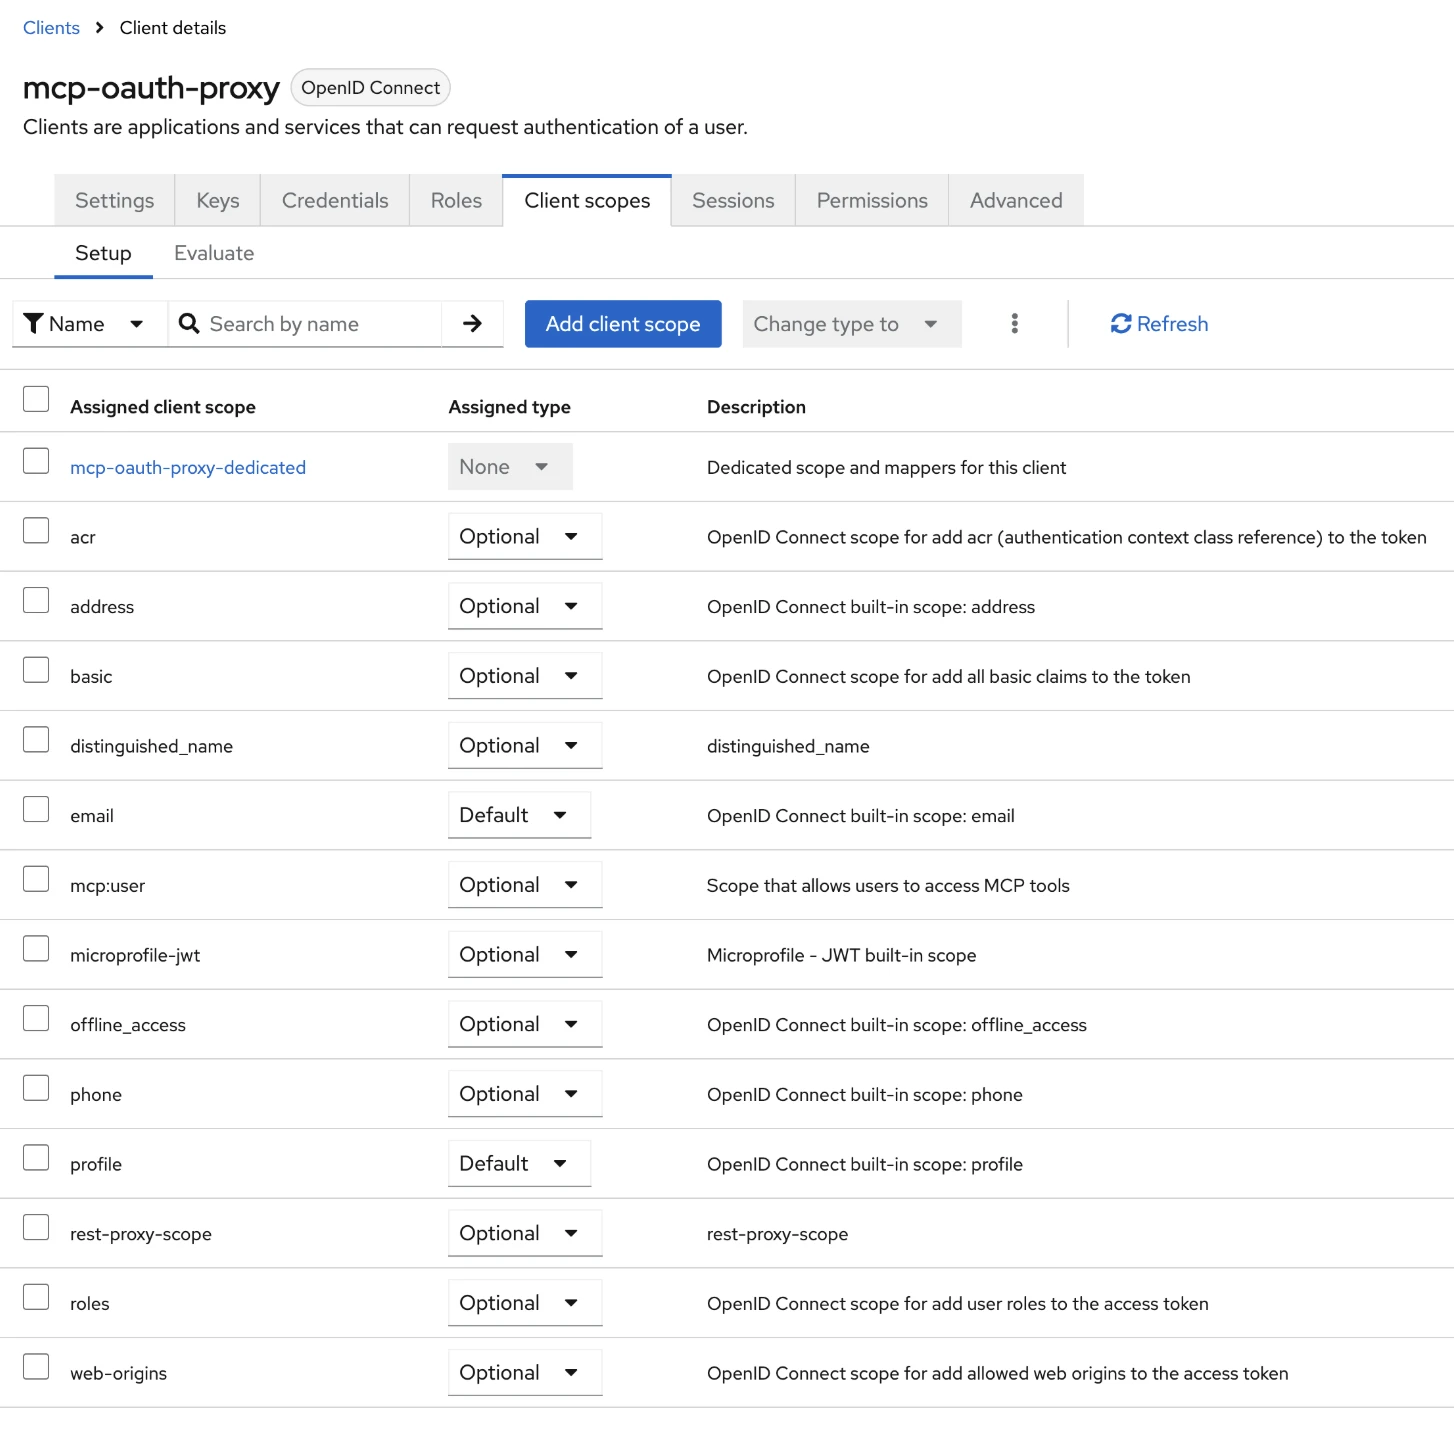
Switch back to the Client scopes tab, then mark every scope Optional except email and profile. These should be set to Default.
-
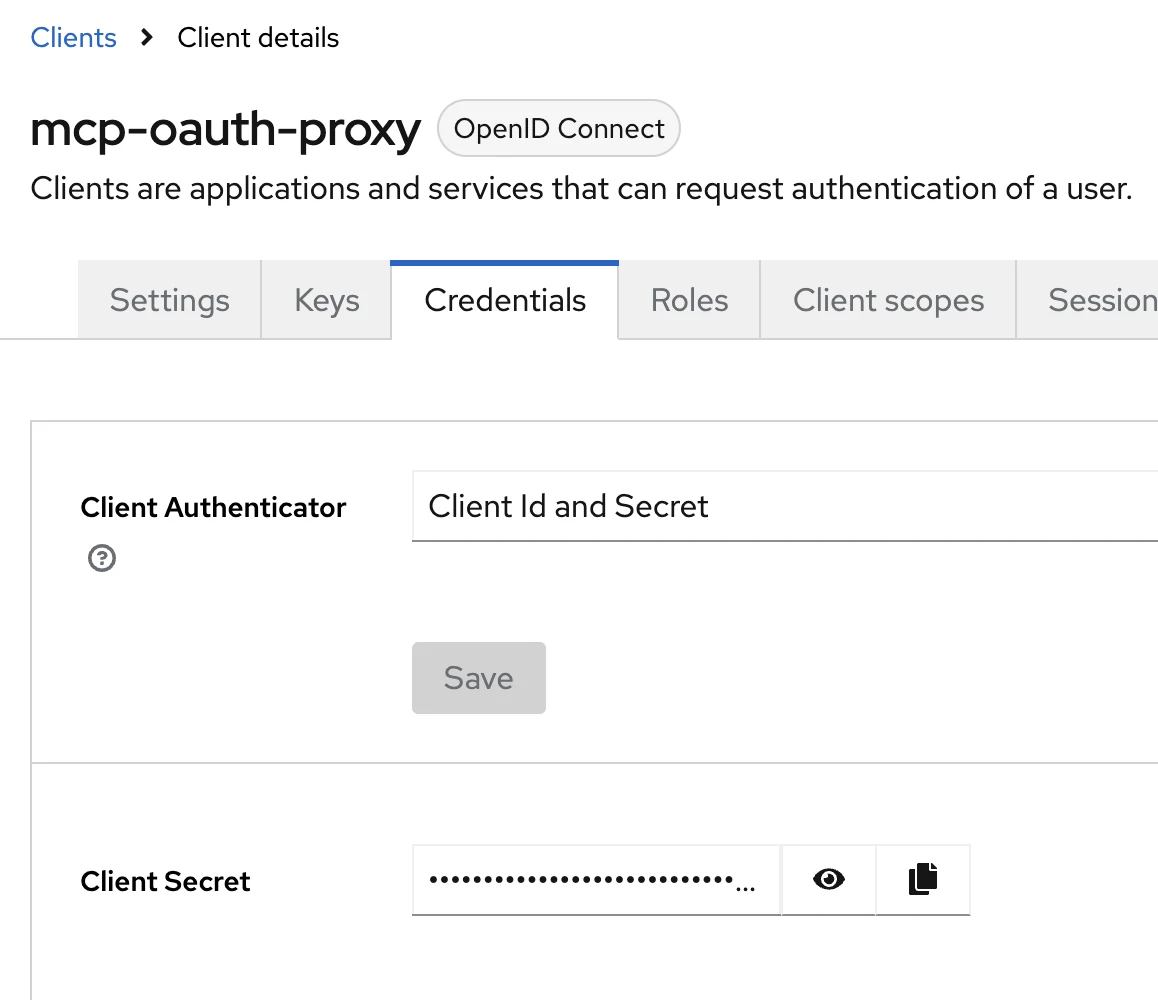
Switch to the Credentials tab and copy the value of Client Secret. The deployment guide needs it.
-
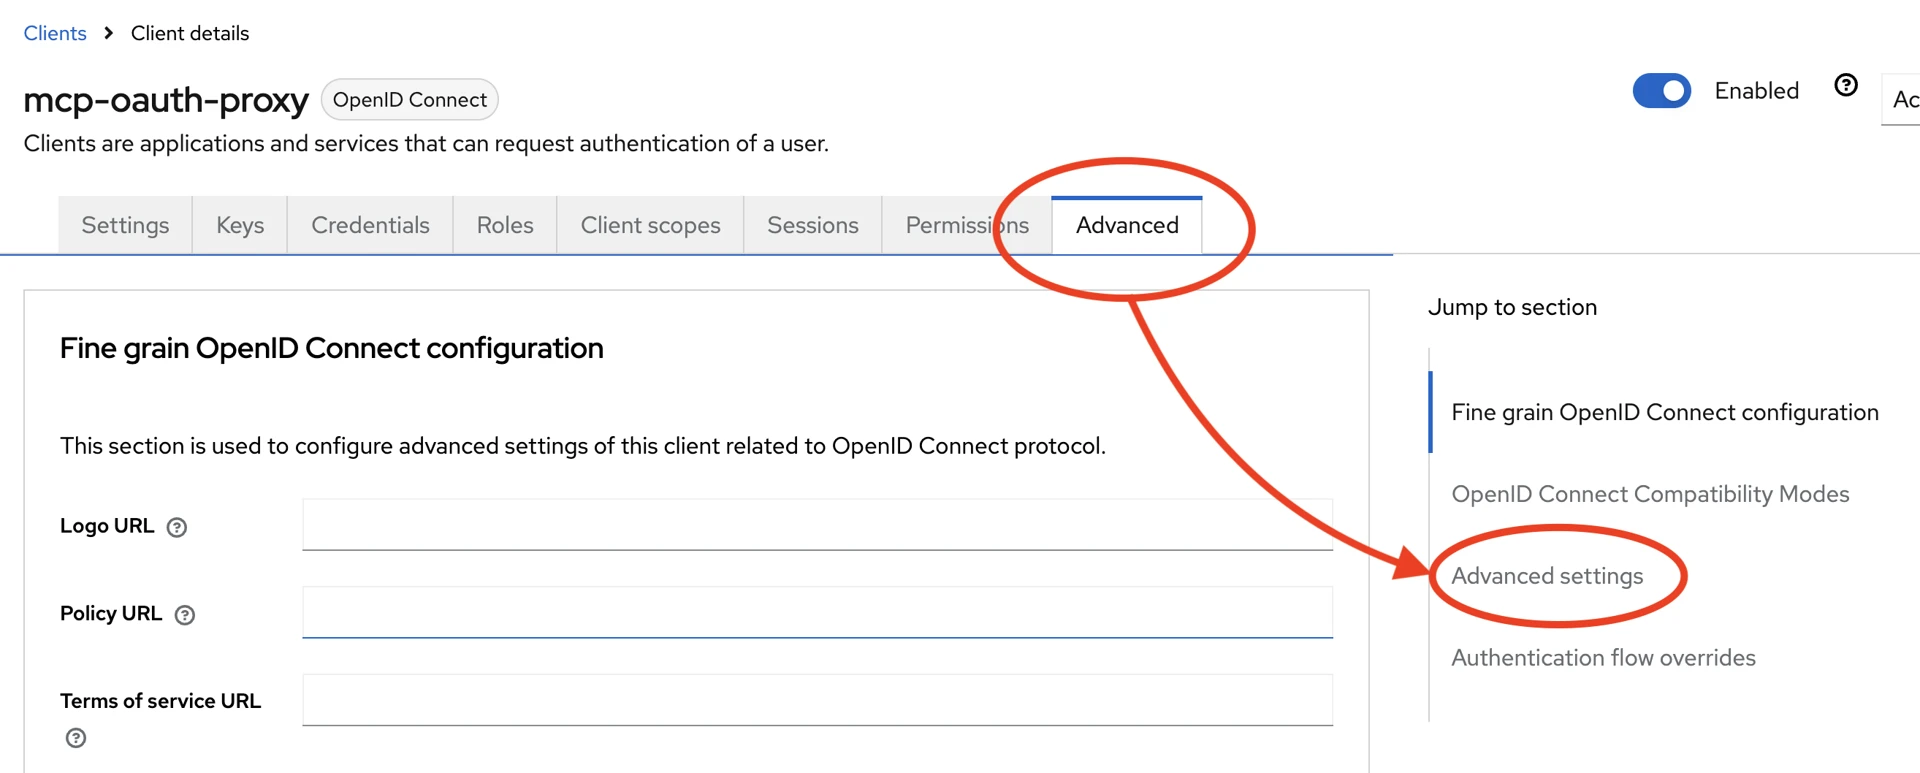
To enforce PKCE, switch to the Advanced tab, then click on Advanced settings.
-
Locate the setting Proof Key for Code Exchange Code Challenge Method and set it to
S256. This forces the client to present a code challenge on every Authorization Code flow.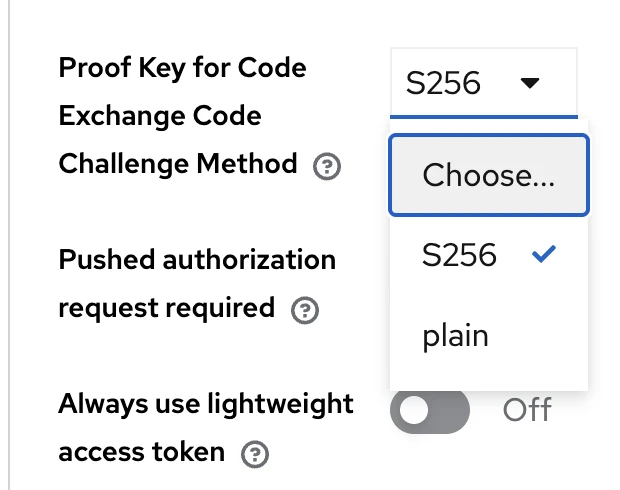
Both clients now exist in the tenant’s realm, which completes the Keycloak setup for the MCP Server.
Verify the clients
Both clients are configured correctly when mcp-oauth-proxy can obtain a token that mcp-axual accepts. Request one with the client credentials you set above.
Replace every <VALUE> placeholder with your own value before running a command.
|
curl -s -X POST \
  "https://<GOVERNANCE_URL>/auth/realms/<TENANT>/protocol/openid-connect/token" \
  -d grant_type=client_credentials \
  -d client_id=mcp-oauth-proxy \
  -d client_secret=<MCP_OAUTH_CLIENT_SECRET> | jq -r '.access_token'
A token comes back when the client exists, client authentication is on and the secret is right. An invalid_client error means one of those three is wrong.
Decode the token and confirm it carries the mcp:user scope and names mcp-axual in its audience. Keycloak still issues a token without them, and the MCP Server refuses it later, which surfaces as a deployment problem rather than a Keycloak one.
Next steps
Continue with How to Deploy the Axual MCP Server.