Apicurio Registry Authentication for SerDes
This guide shows you how to authenticate a Kafka client’s SerDes to the Apicurio Registry, with BasicAuth or OAuth, so the client can resolve and register schemas.
Type |
How-to guide |
Goal |
Configure BasicAuth or OAuth on your SerDes so the client can read and register schemas against Apicurio. |
Audience |
A developer building a Kafka client that uses schemas. |
When to use |
Use this when the Apicurio Registry has anonymous read disabled and your client must supply credentials. |
How SerDes authentication works
Serializers and Deserializers (SerDes) in Kafka clients communicate with the Apicurio Registry to resolve and register schemas. When the Apicurio Registry has anonymous read disabled, your application must supply credentials as part of its SerDes configuration. For the two read models an installation can run, and why a production installation disables anonymous reads, see Apicurio Registry Read Access Models.
Two authentication methods are supported for Apicurio:
Both methods are configured directly on the SerDes, independently of the broker authentication your application uses.
For background on schema registries and SerDes, see Selecting Data Formats.
Prerequisites
Before your application can use SerDes authentication, the following must be in place:
-
BasicAuth: The Instance must have Client Authentication enabled by the Instance Admin. See Client Authentication support for an Instance.
-
BasicAuth and OAuth: The Auth Proxy must be deployed for the Instance by the Operator. Apicurio does not support multiple authentication methods simultaneously, so the Auth Proxy acts as a sidecar that handles both OAuth and BasicAuth in front of Apicurio. See How to Enable the Apicurio Auth Proxy.
Generating Apicurio Registry Credentials
When configuring your Application, generate Apicurio Registry credentials in the Self-Service portal:
-
Navigate to the detail page of your Application
-
Select the environment for which you want credentials
The Environment must belong to an Instance with Apicurio and the settings mentioned earlier present -
Click the lock icon (Authentication) on the Application card
-
In the Authentication modal, click the Schema Registry tab and select the type of authentication you want
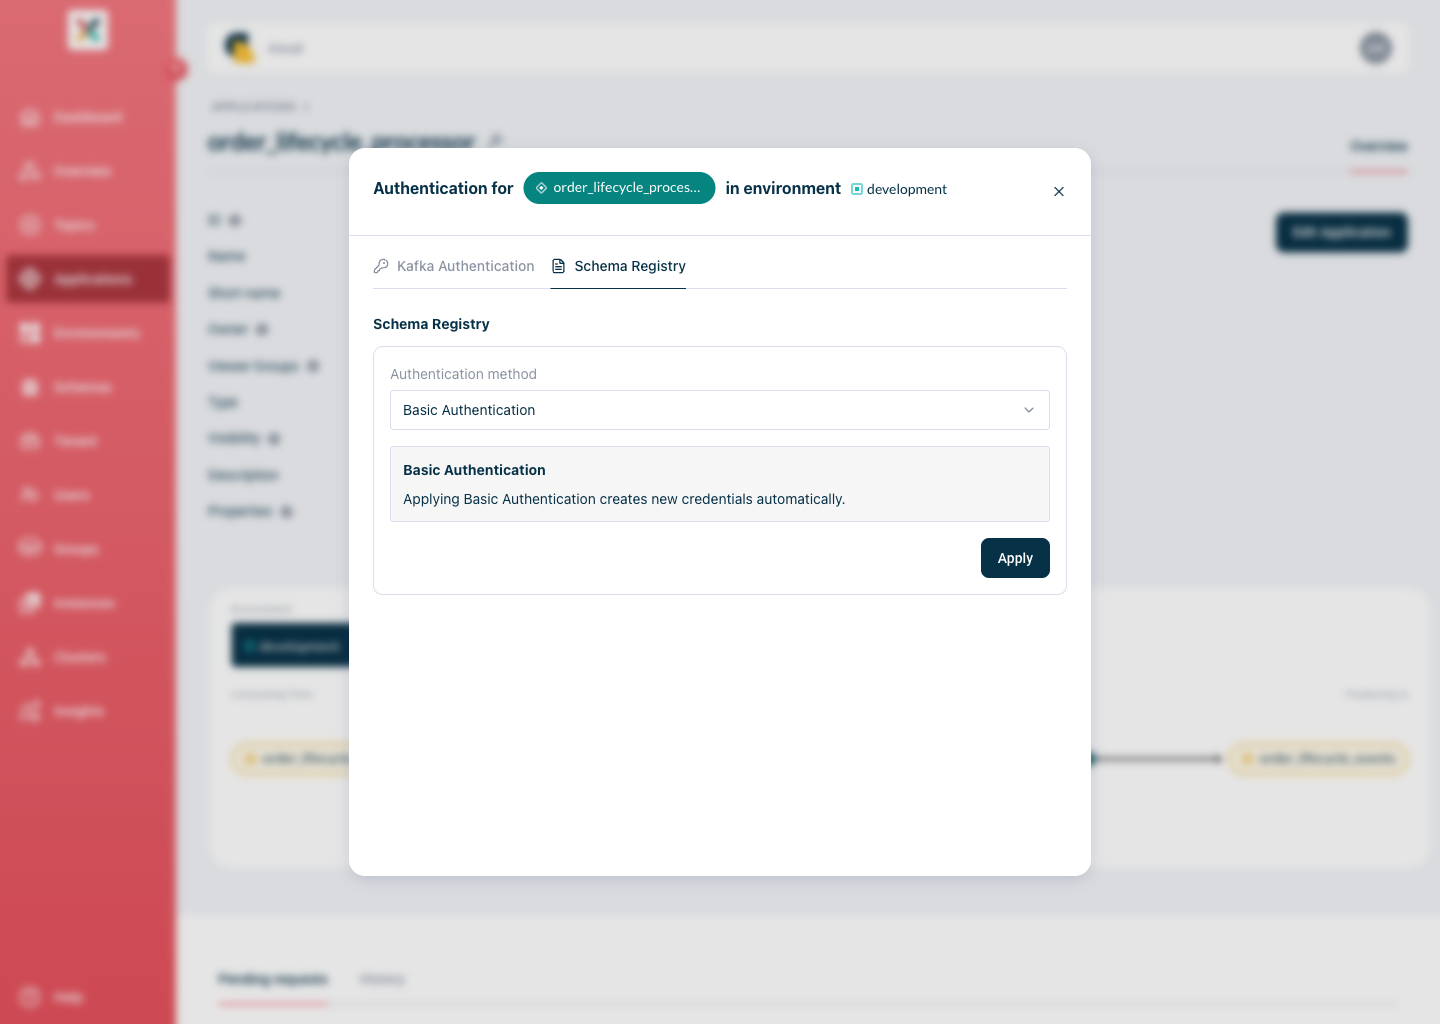
Limitation: Each application can use only one authentication method (BasicAuth or OAuth) per environment when connecting to Apicurio.
In case of Basic Authentication the password is only shown once at generation time. Store it securely before closing the modal.
-
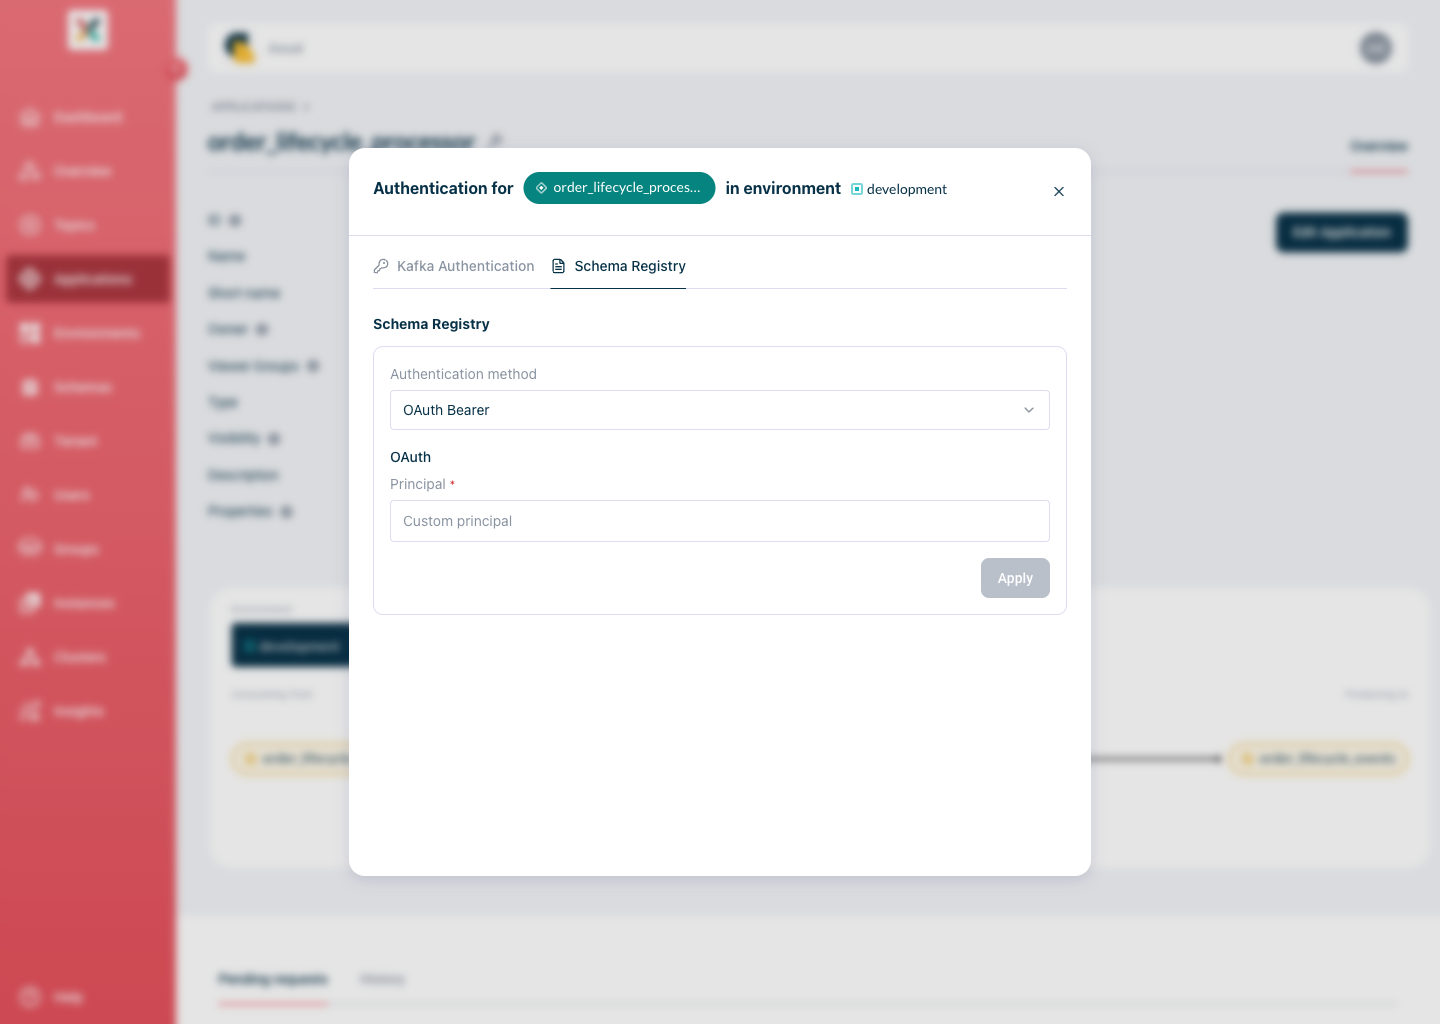
For OAuth, enter the Principal, then click Apply. For BasicAuth, click Apply and copy the generated username and password.
What principal should you provide? See Principal/Claim relationship below.
Client Code Setup
Add the Apicurio SerDes dependency:
<dependency>
    <groupId>io.apicurio</groupId>
    <artifactId>apicurio-registry-serdes-avro-serde</artifactId>
    <version>${apicurio.version}</version>
</dependency>
BasicAuth
BasicAuth uses the username and password pair generated in Self-Service to authenticate the SerDes client against Apicurio.
Configure the serializer/deserializer:
import io.apicurio.registry.serde.SerdeConfig;
import io.apicurio.registry.serde.avro.AvroSerde;

// Apicurio Registry connection
props.put(SerdeConfig.REGISTRY_URL, "https://platform.<domain>:24000/apis/ccompat/v7");
props.put(SerdeConfig.AUTO_REGISTER_ARTIFACT, false);

// BasicAuth credentials (generated in Self-Service)
props.put(SerdeConfig.AUTH_USERNAME, "<sr-username>");
props.put(SerdeConfig.AUTH_PASSWORD, "<sr-password>");

// SerDes class
props.put(StreamsConfig.DEFAULT_KEY_SERDE_CLASS_CONFIG, AvroSerde.class.getName());
props.put(StreamsConfig.DEFAULT_VALUE_SERDE_CLASS_CONFIG, AvroSerde.class.getName());|
For a producer or consumer application (not Kafka Streams), replace |
OAuth
OAuth uses the OIDC client credentials flow. The SerDes library obtains a bearer token from your Identity Provider and presents it to Apicurio on each request. Any OIDC-compatible provider is supported, including Keycloak and Azure Entra ID.
Contact your Tenant Admin to obtain the OAuth client credentials (client-id and client-secret) and the token endpoint details for the relevant instance.
|
import io.apicurio.registry.serde.SerdeConfig;
import io.apicurio.registry.serde.avro.AvroSerde;

// Apicurio Registry connection
props.put(SerdeConfig.REGISTRY_URL, "https://platform.<domain>:24000/apis/ccompat/v7");
props.put(SerdeConfig.AUTO_REGISTER_ARTIFACT, false);

// OAuth client credentials
props.put(SerdeConfig.AUTH_SERVICE_URL, "https://<keycloak-host>/auth");
props.put(SerdeConfig.AUTH_REALM, "<realm>");
props.put(SerdeConfig.AUTH_CLIENT_ID, "<client-id>");
props.put(SerdeConfig.AUTH_CLIENT_SECRET, "<client-secret>");

// SerDes class
props.put(StreamsConfig.DEFAULT_KEY_SERDE_CLASS_CONFIG, AvroSerde.class.getName());
props.put(StreamsConfig.DEFAULT_VALUE_SERDE_CLASS_CONFIG, AvroSerde.class.getName());
Principal/Claim relationship
The principal is the value of the claim configured on the Auth Proxy at startup, as specified in the How to Enable the Apicurio Auth Proxy.
For example, the Identity Provider returns this token:
{
 "sub": "1234567890",
 "name": "John Doe",
 "admin": true,
 "iat": 1516239022
}
If the user-name-claim set on the Apicurio Auth Proxy is sub, the Principal you enter in the Self-Service Authentication modal is 1234567890.
Choosing Between BasicAuth and OAuth
The two methods differ mainly in where credentials are managed and how they are rotated:
| BasicAuth | OAuth | |
|---|---|---|
Credentials managed in |
Self-Service (generated per application/environment) |
Self-Service and Identity Provider (managed by external party) |
Rotation |
Delete old pair and generate a new one in Self-Service |
Rotate the client secret in the Identity Provider |