How to Create an SSO Realm in Keycloak
This guide shows you how to create a tenant’s SSO realm in Keycloak and hand its sign-in to the identity provider that holds the tenant’s users.
Type |
How-to guide |
Goal |
Give a tenant a realm that authenticates its users through the organisation’s own identity provider. |
Audience |
Platform Operator with admin access to Keycloak, working with whoever administers the identity provider. |
When to use |
Use this guide once per tenant whose users come from its own identity provider, after that tenant’s first user has signed up through the local realm. |
Users of this realm skip the sign-up screen and log in through a dedicated URL. Users who sign up directly stay in the local realm, which How to Create the Local Realm in Keycloak covers.
Prerequisites
Confirm the following before you begin.
Access and permissions required
You need the following access and permissions:
-
The Keycloak
admincredentials for the Administration Console. -
The connection details of the identity provider, from whoever administers it.
Tools and versions required
You need the following tools:
-
A browser that reaches the Keycloak Administration Console at
<keycloak.host>/auth.
Resources that must exist before starting
The following must already exist:
-
A running Keycloak, deployed with the governance components. See Install Axual Governance.
-
The
localrealm, created by How to Create the Local Realm in Keycloak. -
A local user who has already signed up through that realm and supplied the organisation details. The realm you create here takes its name from the
tenant-short-nameattribute Keycloak holds on that account, so the sign-up comes first. Create a Tenant with a dedicated SSO Realm covers registering that user. -
The Self-Service hostname, which the client’s
Root URLand the SSO login URL are built from.
Replace every <…> placeholder with your own value before opening a URL.
|
Create the SSO realm
The realm name has to match the tenant’s short name, so the first steps read that value from the local user who registered the tenant.
-
Access the Keycloak Admin Console (
/auth)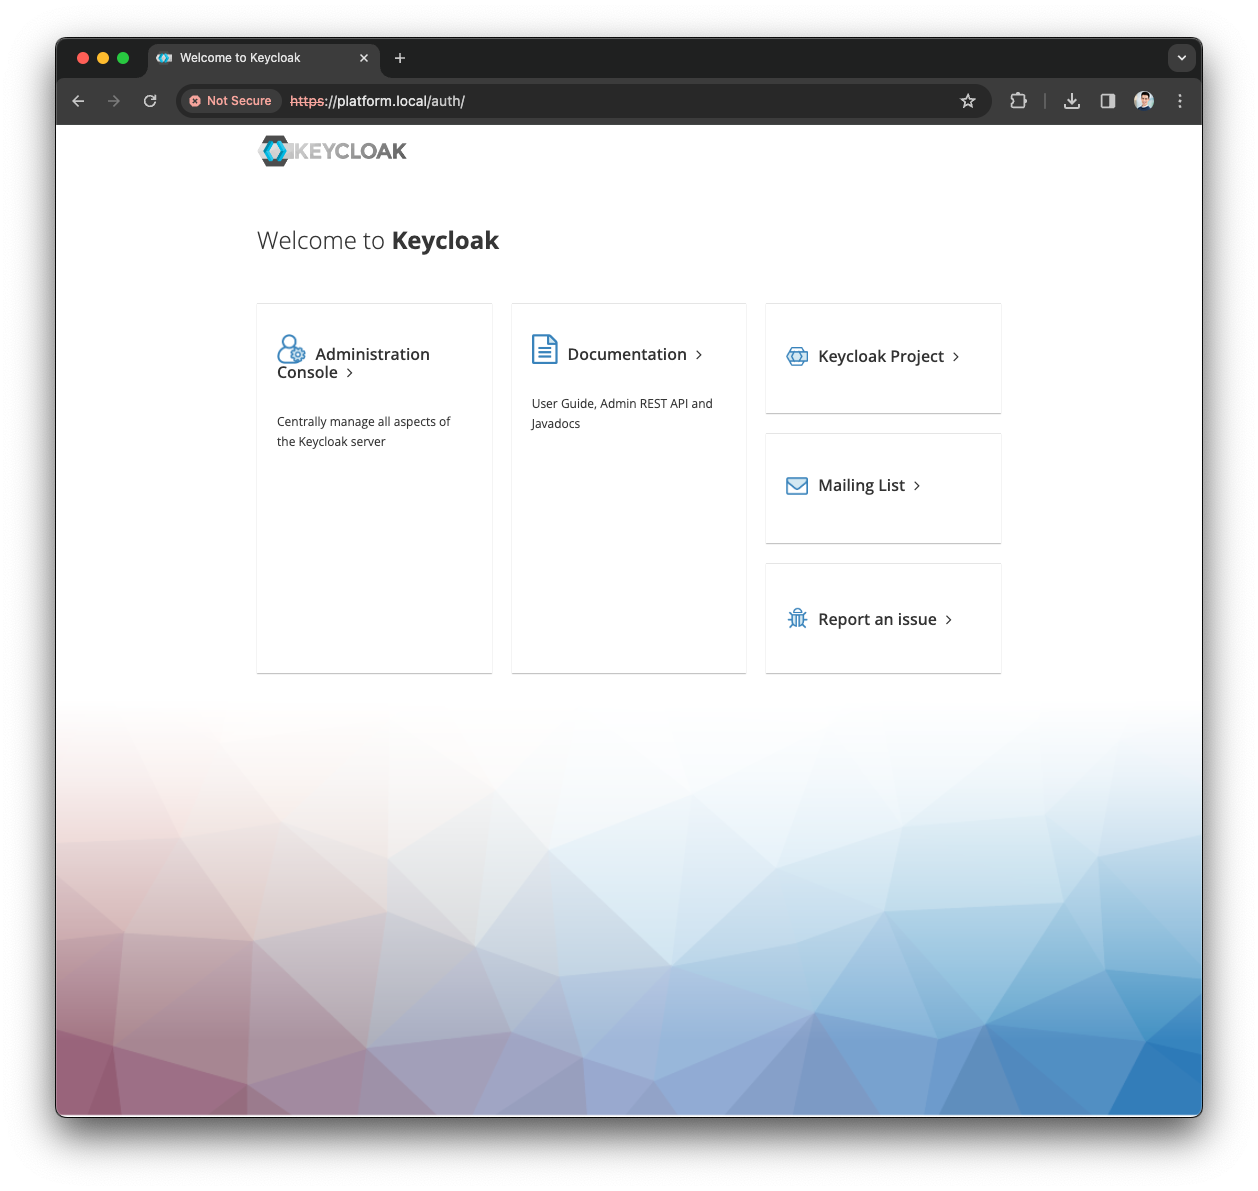
-
Press the
Administration Consoleand provide theadmincredentials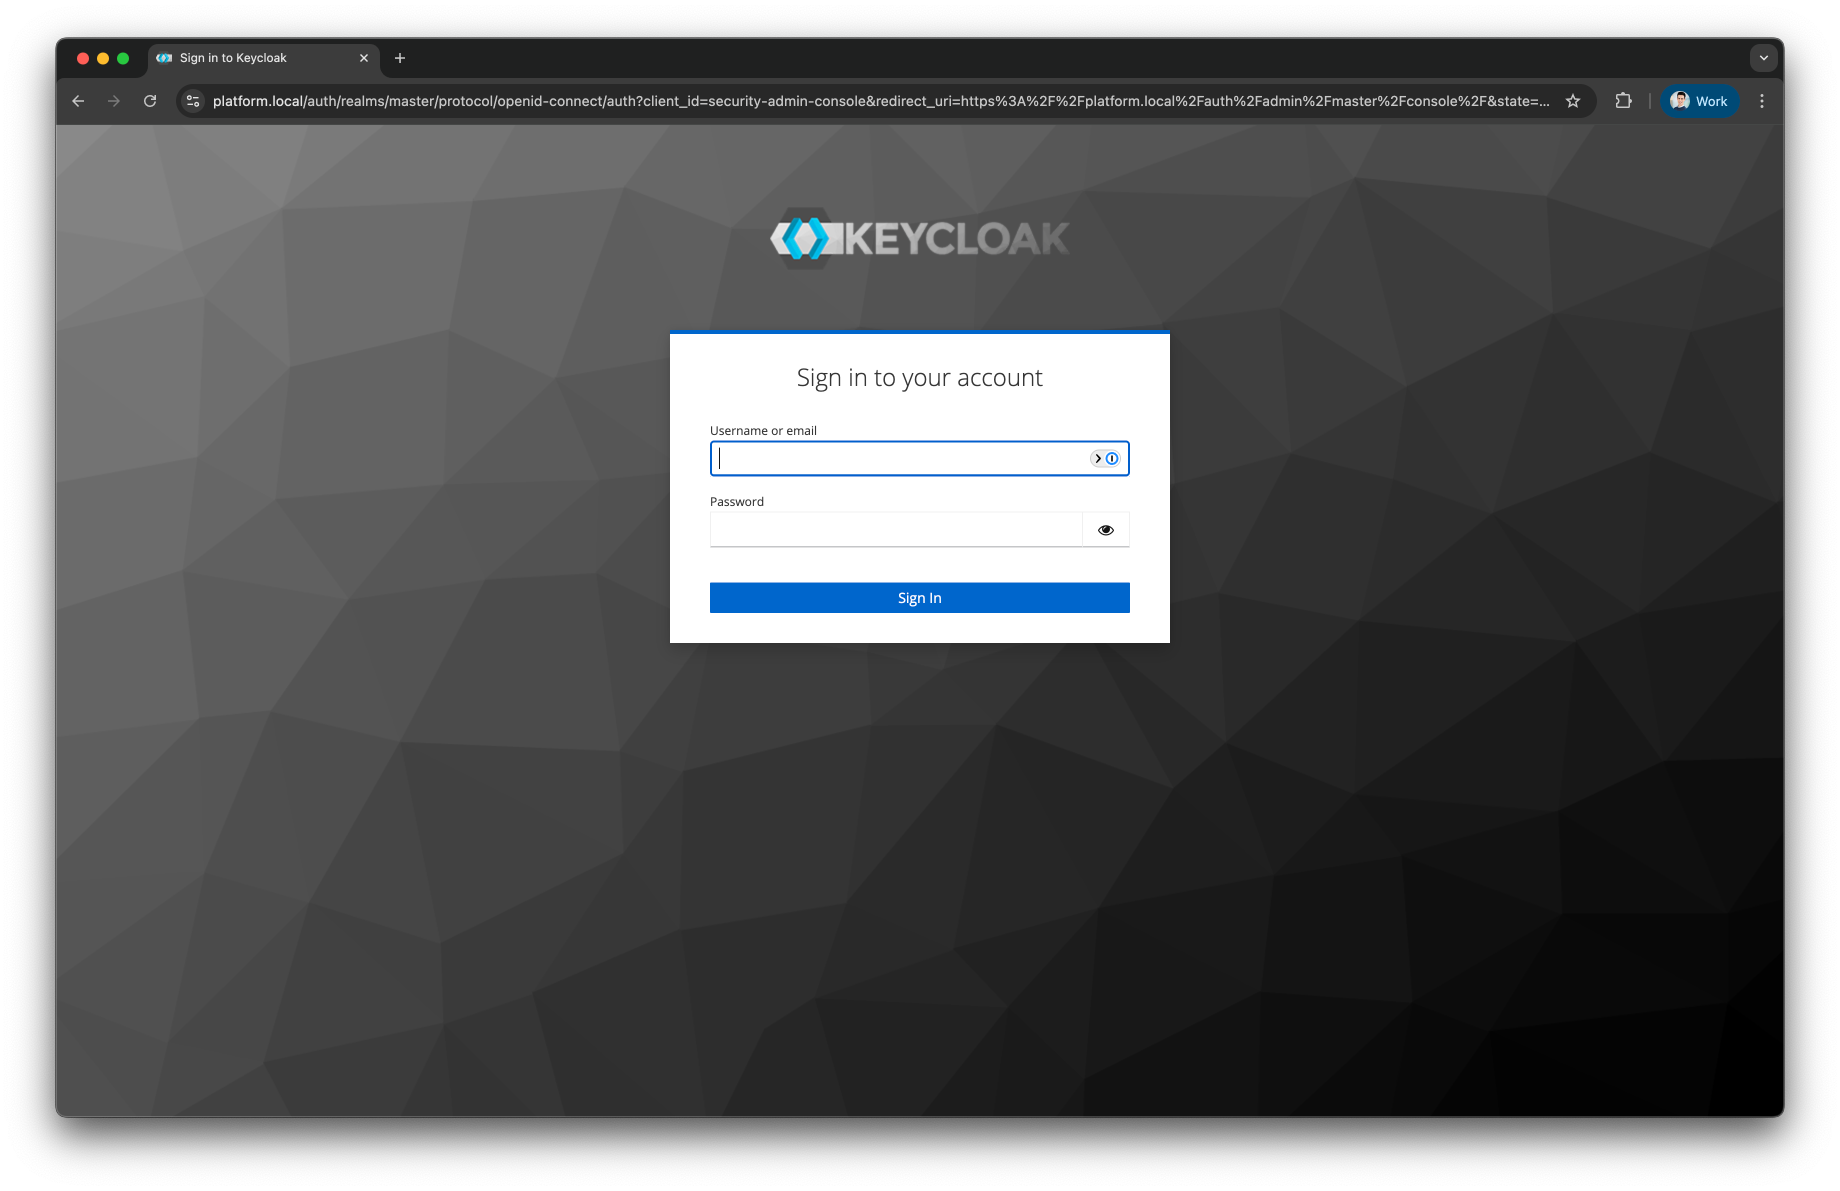
-
Open the Realm dropdown in the top-left corner and open the
Localrealm -
Open the Menu and press the
Usersmenu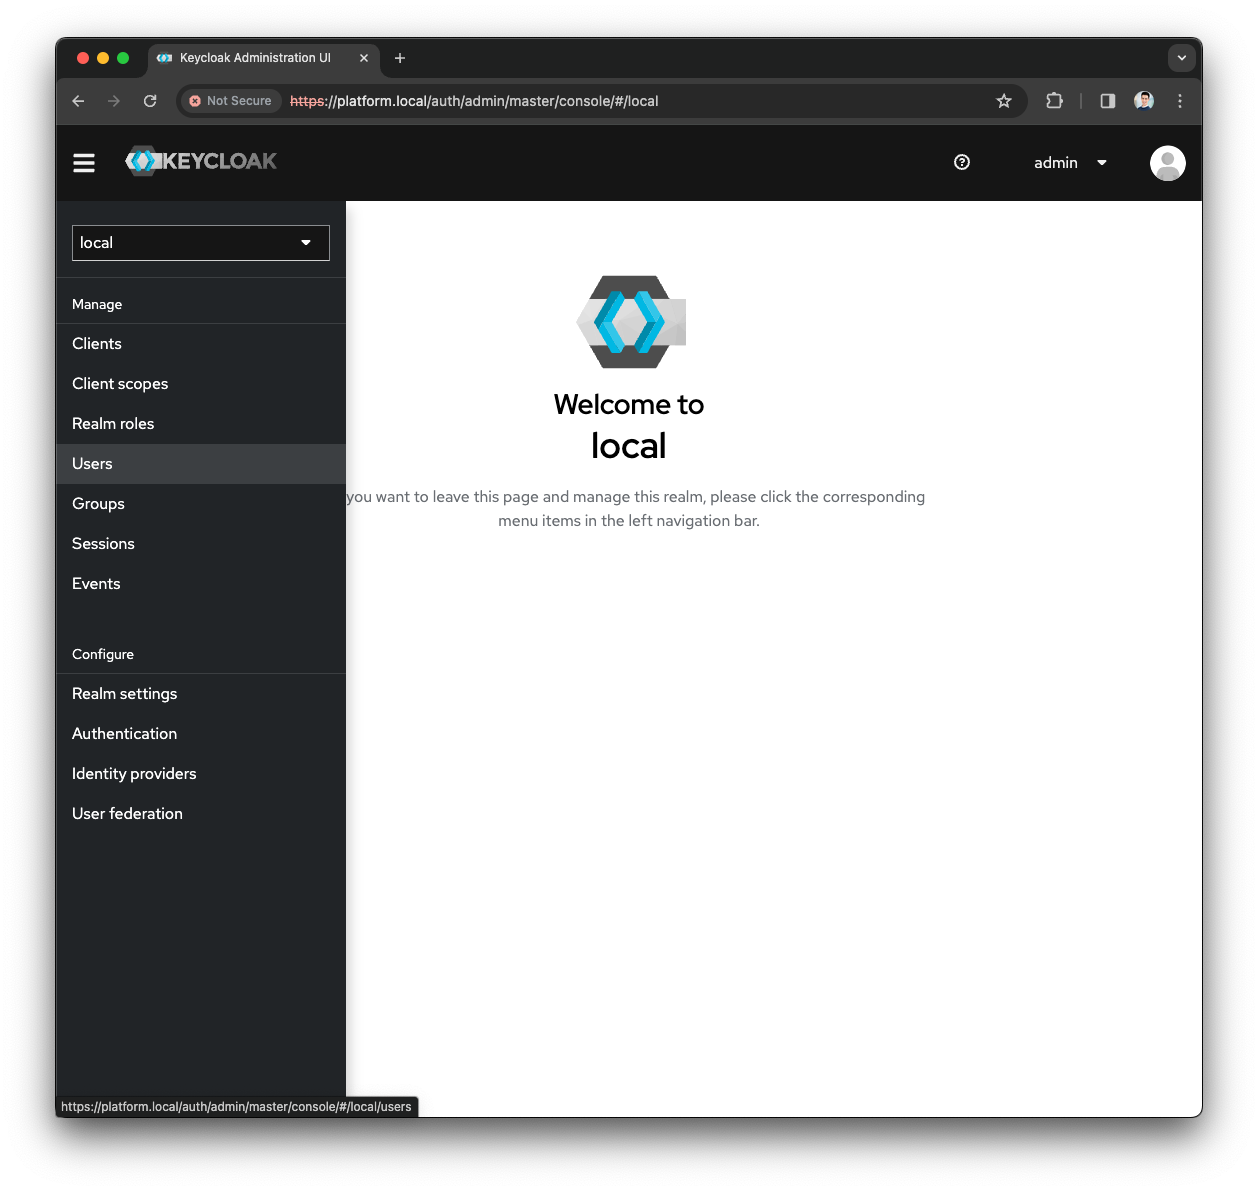
-
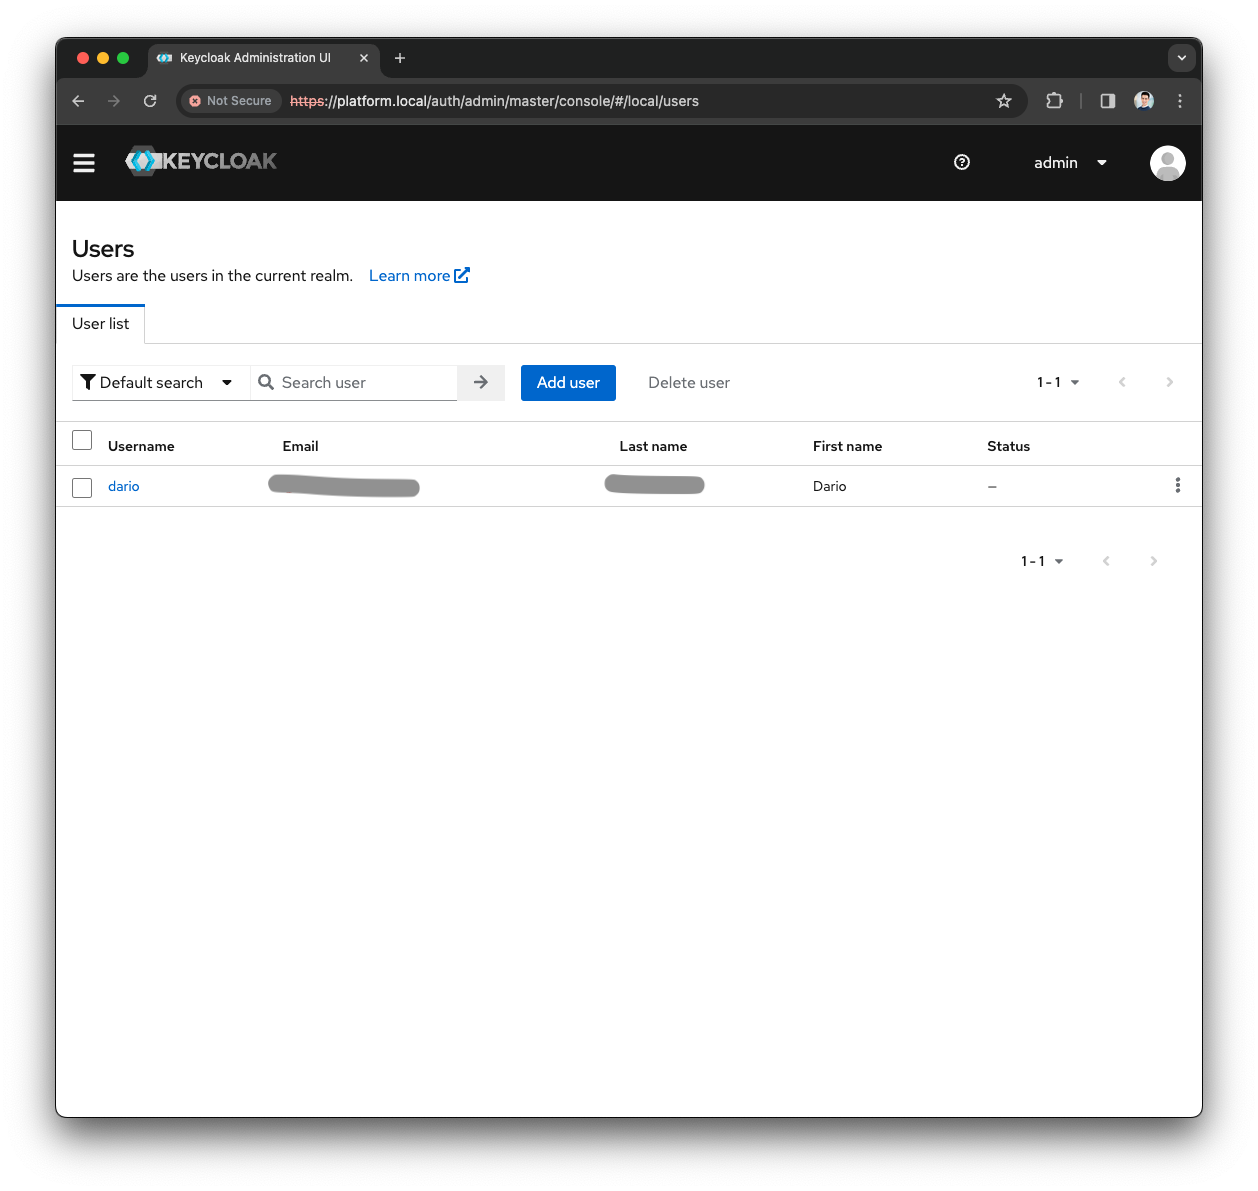
Click the local user you are creating the SSO realm for
-
Click the
Attributetab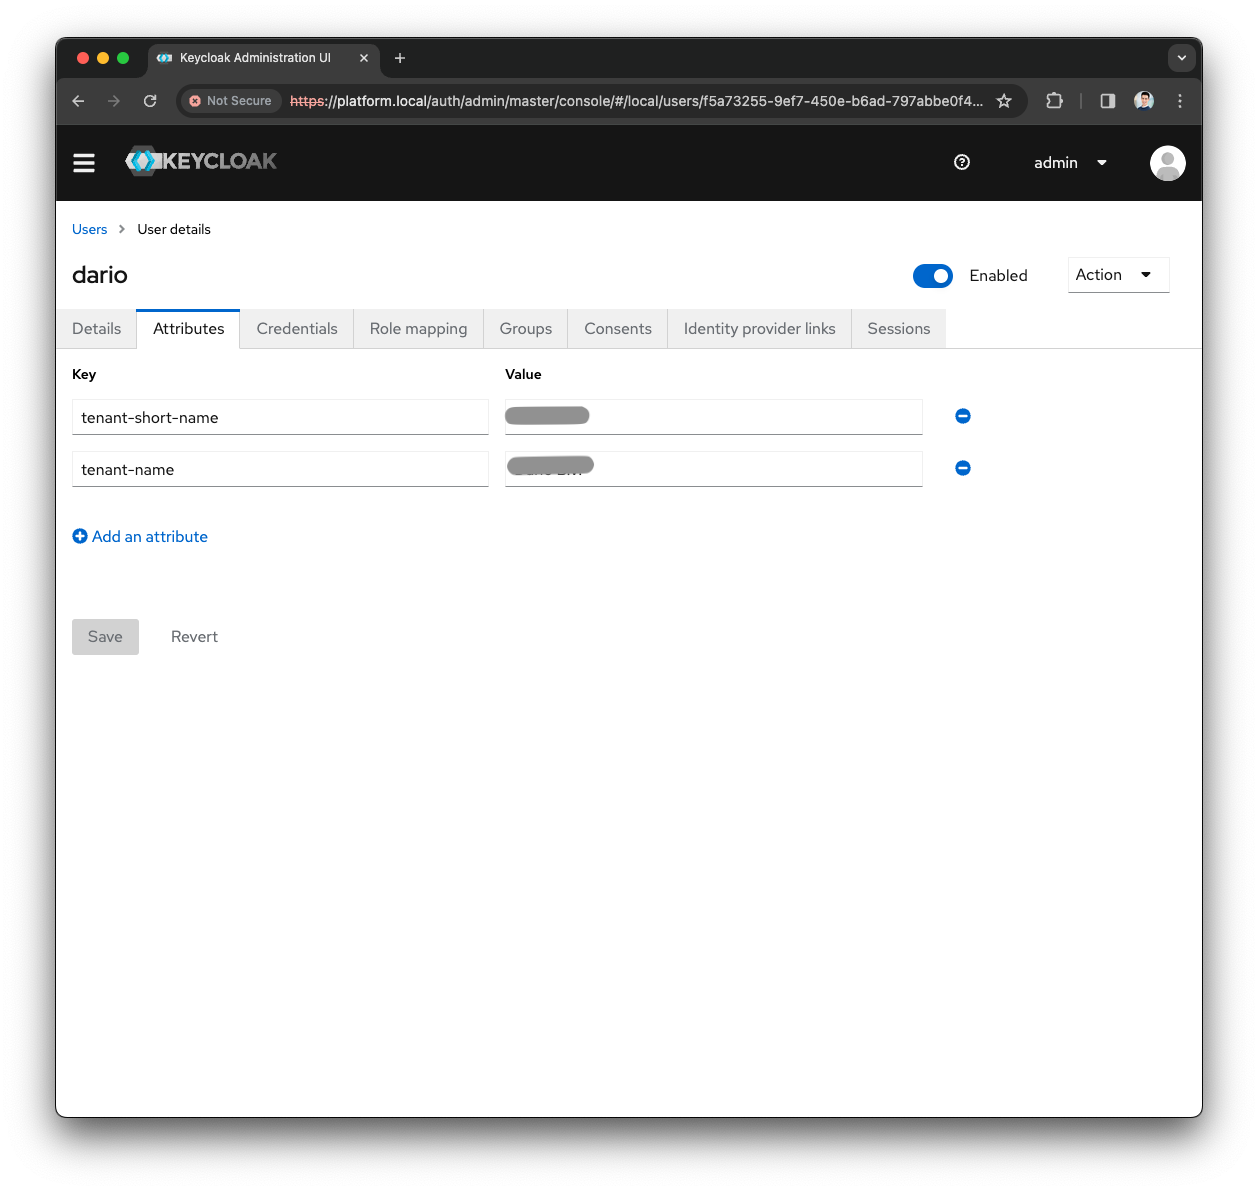
-
Note down the
tenant-short-namevalue, which the next steps useThe tenant-short-namenames the realm you create next and appears in the SSO login URL, so both have to match it exactly. The steps below assume it is test123. -
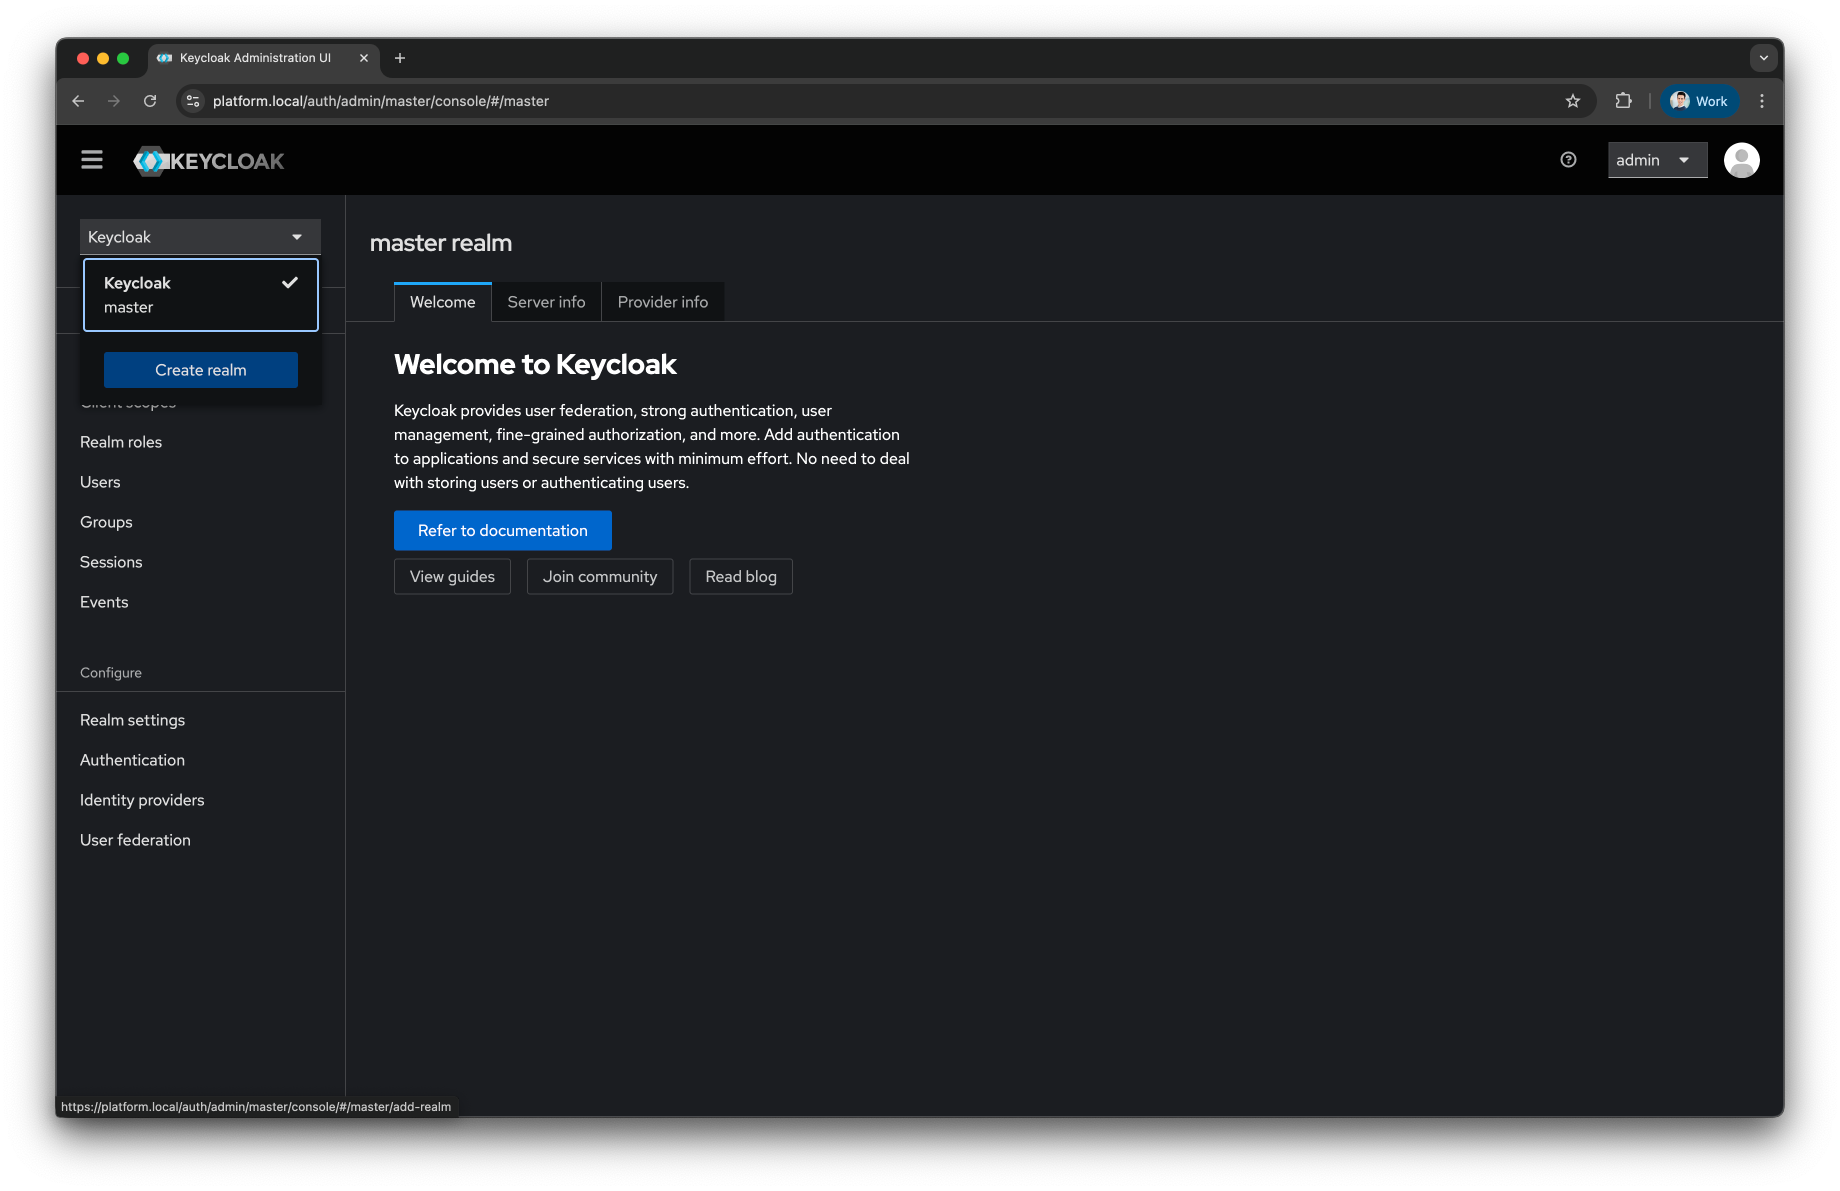
Open the Realm dropdown in the top-left corner
-
Press the
Create Realmbutton -
Fill the
Realm namewith test123 and press theCreatebutton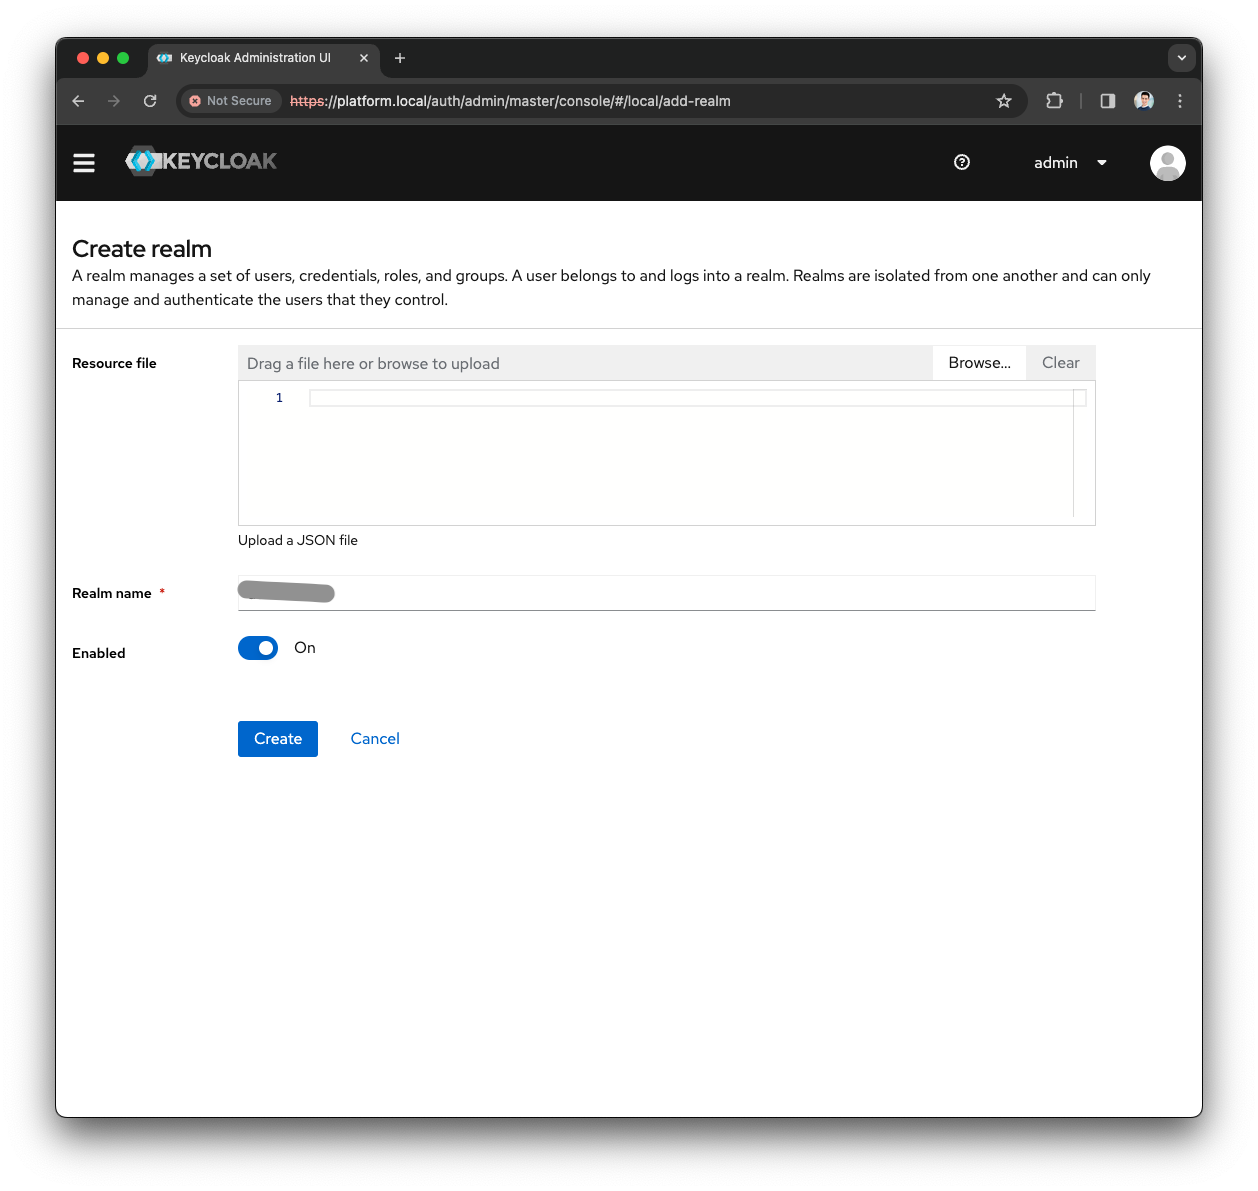
-
Open the Menu and press the
Clientsmenu -
Press the
Create Clientbutton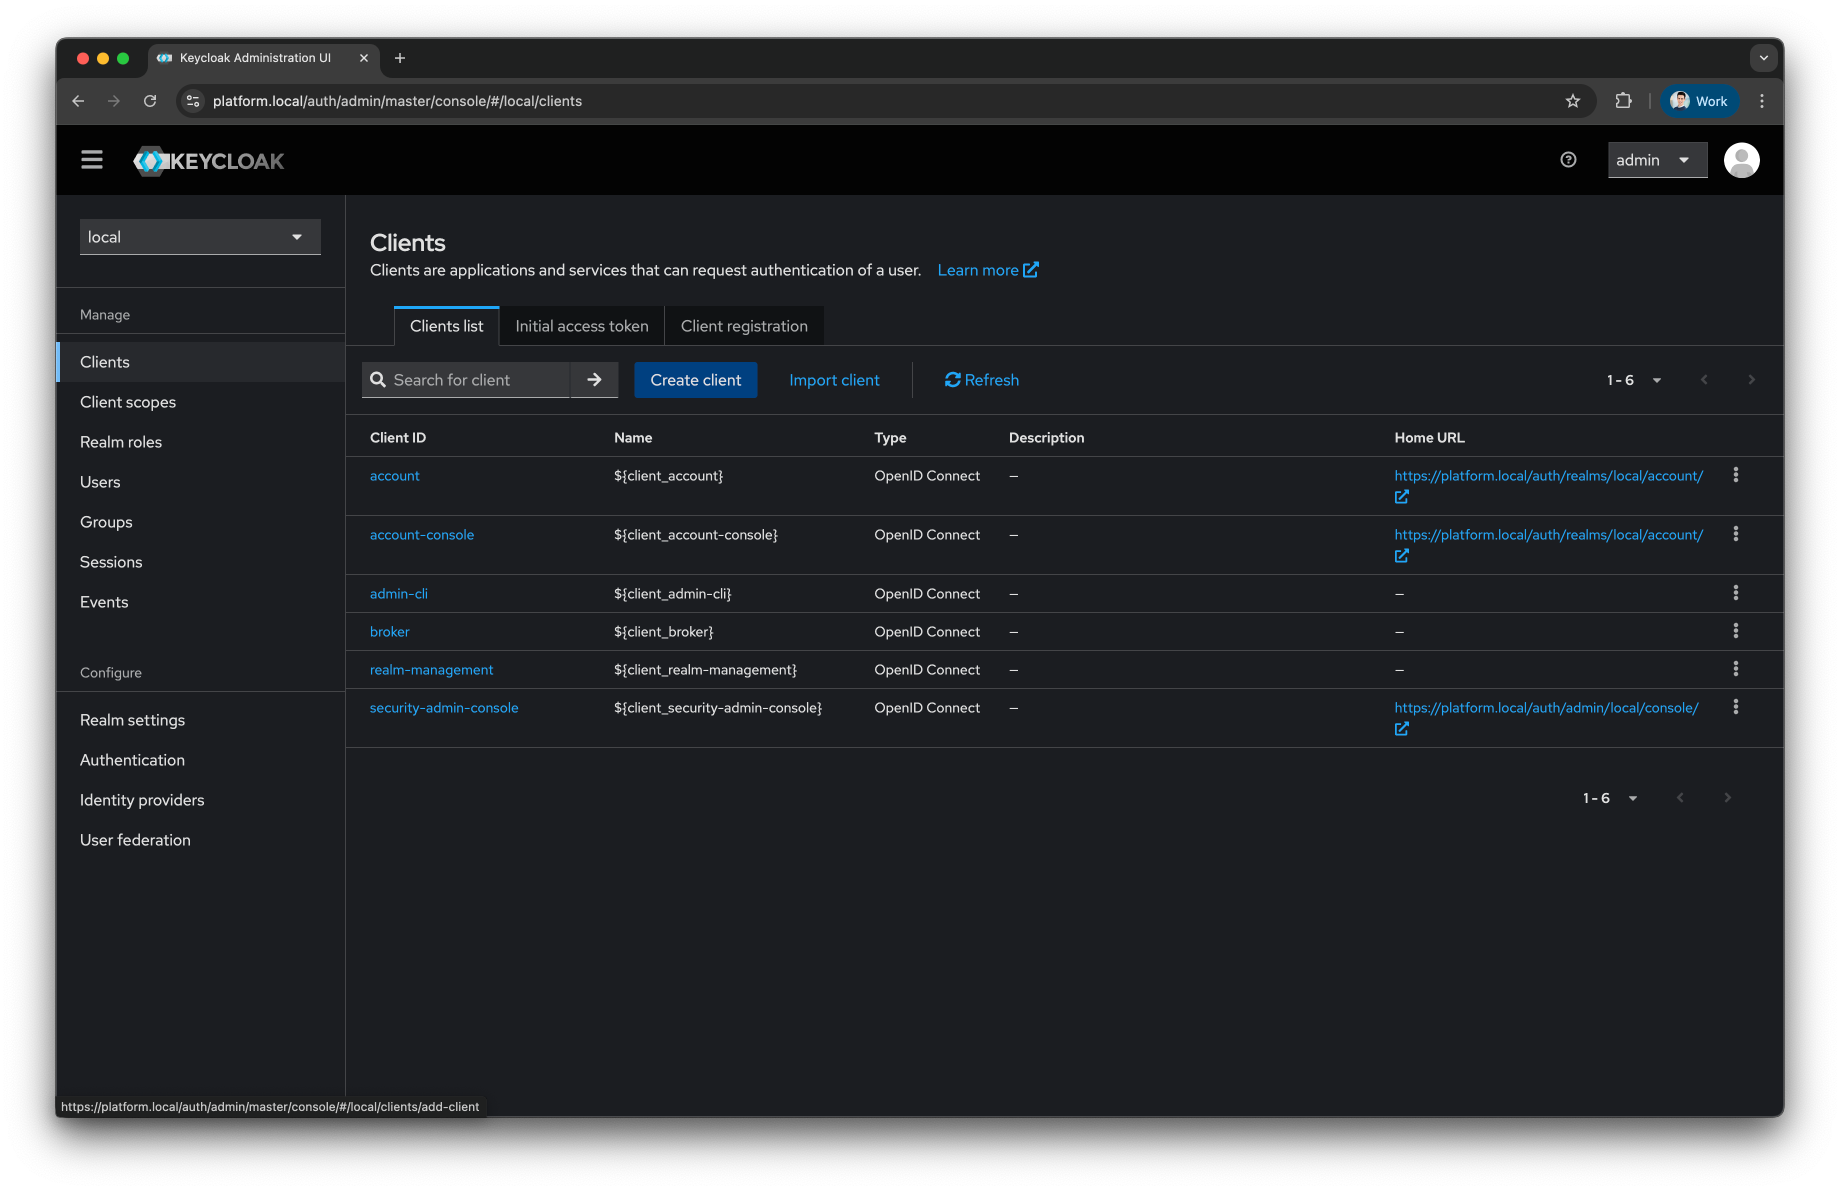
-
Provide the following
General Configuration-
Select OpenID Connect as
Client Type -
Fill the
Client IDasself-service -
Fill the
Nameas Self Service Client -
Provide a meaningful
Descriptionas Client used by the Self-Service to authenticate users
-
-
Press the
Nextbutton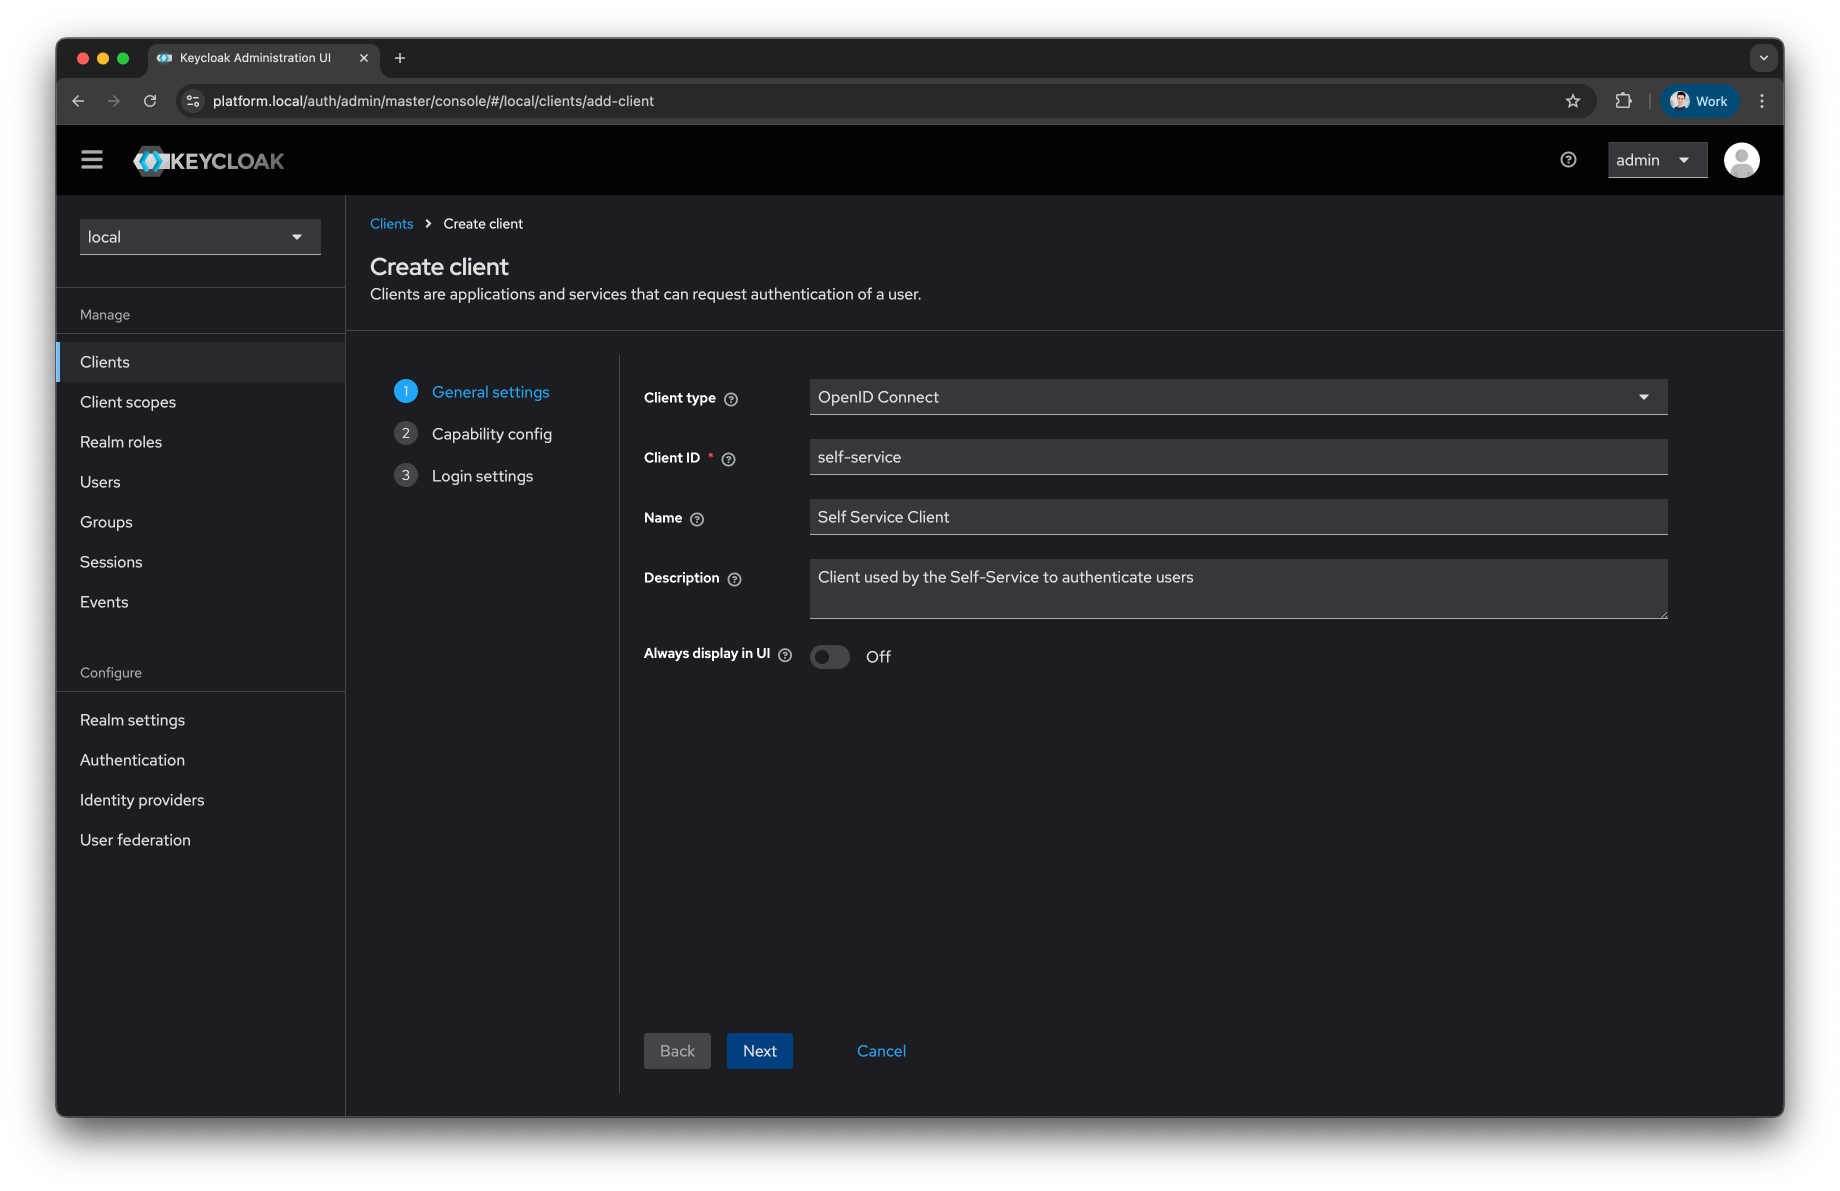
-
Keep the
Capability configas default and press theNextbutton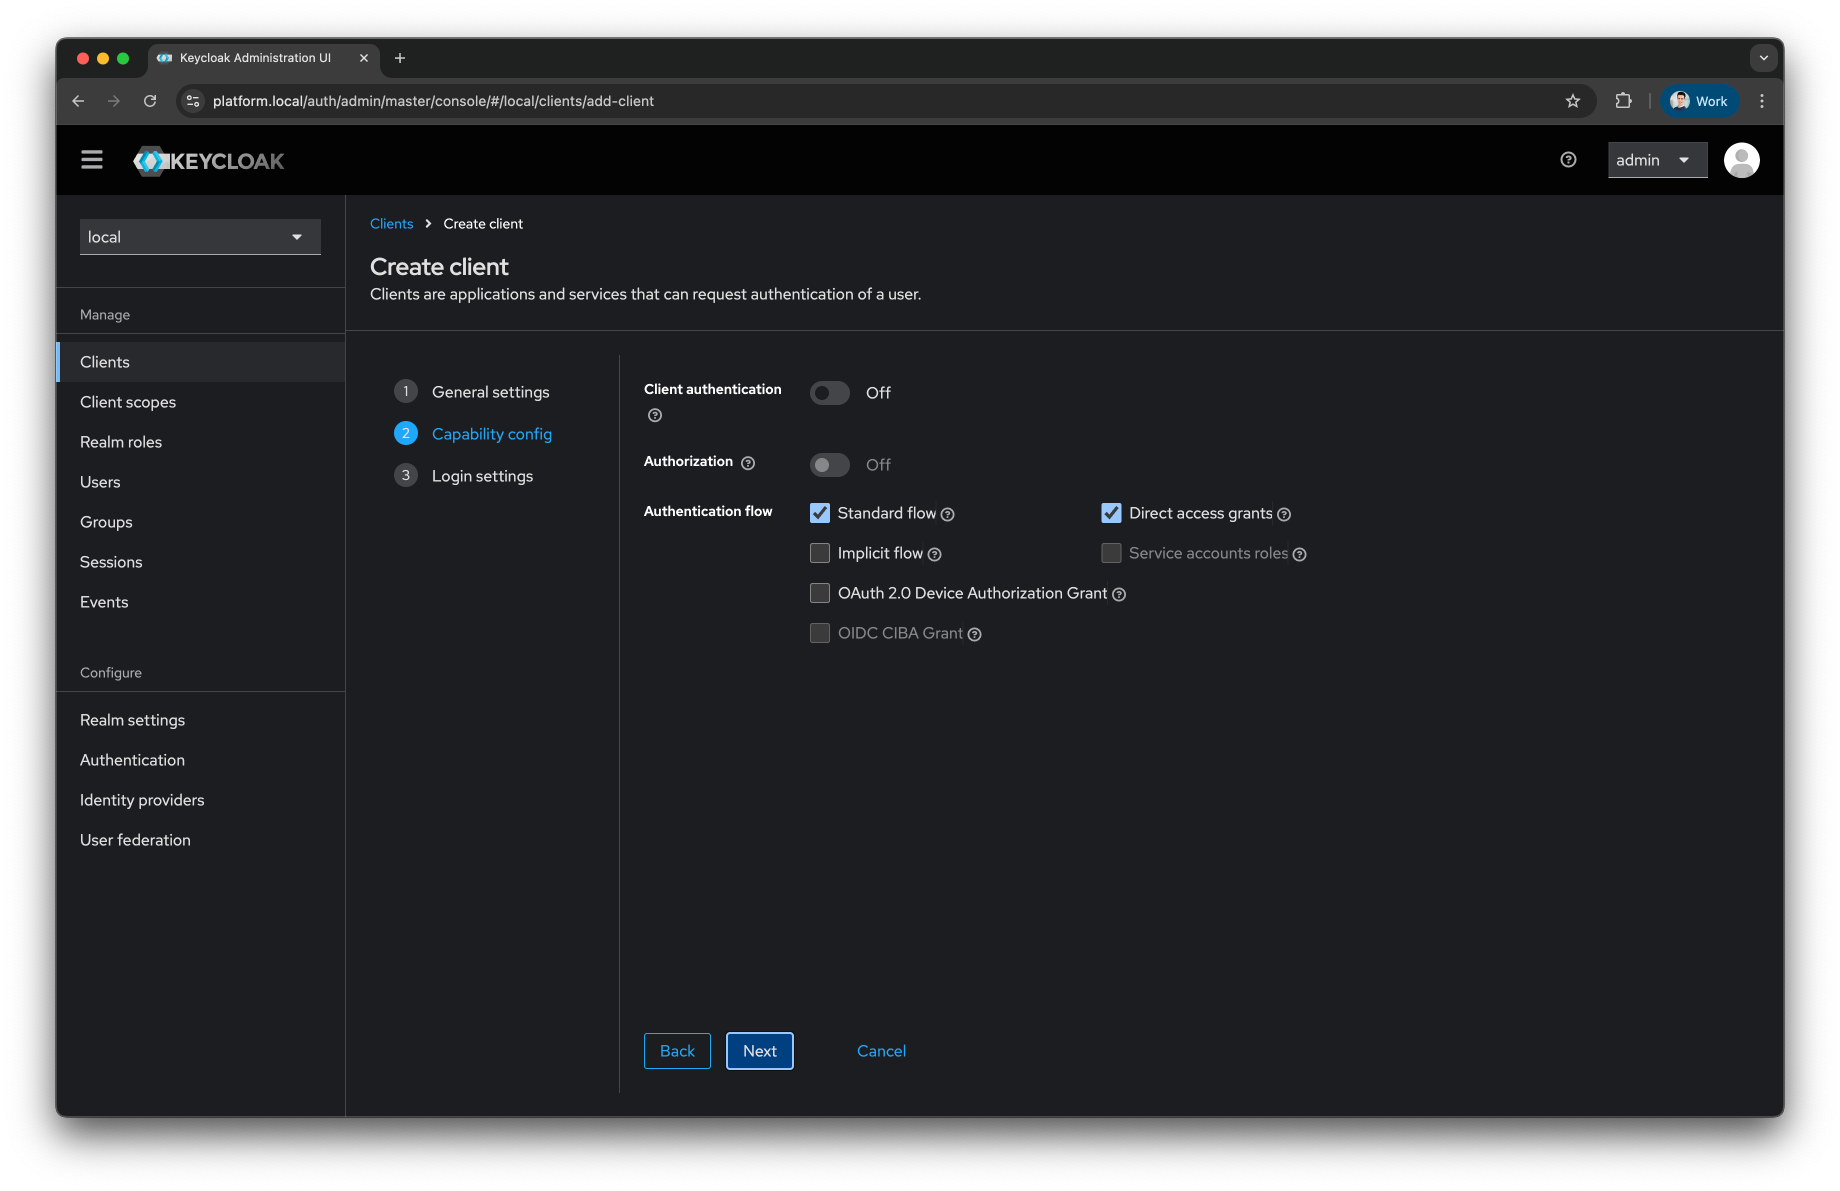
-
In the
Login Settingsprovide the following values-
As
Root URLuse the hostname of your installation, for example https://platform.<domain>/ -
Leave
Home URLempty -
For the
Valid redirect URIs,Valid post logout redirect URIs, andWeb Originsuse the wildcard*The wildcard accepts any redirect target and any browser origin. An attacker who can craft a login link can then have Keycloak send the authorisation code somewhere you do not control. Use the wildcard while you install, then replace all three with the exact Self-Service URLs before the realm serves real users.
-
-
Press the
Savebutton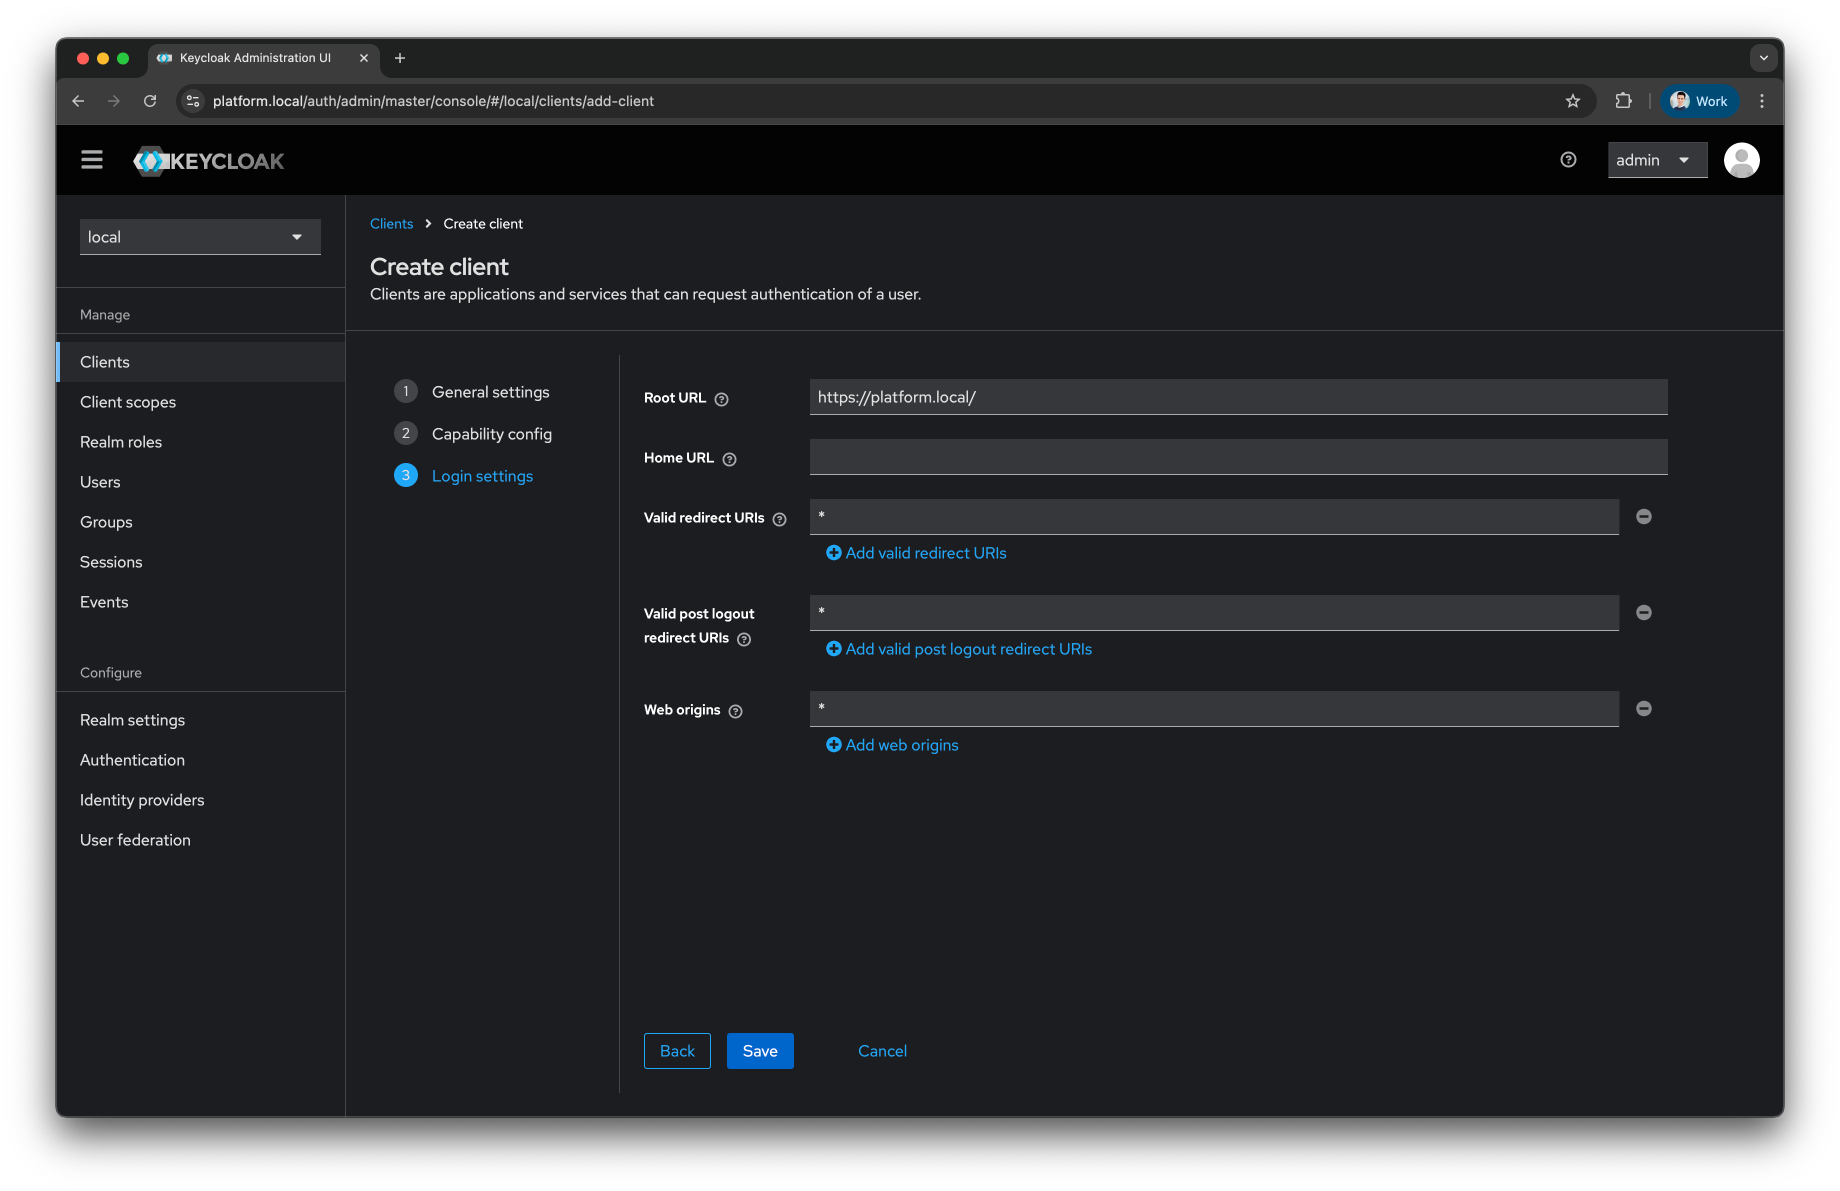
-
Open the Menu and press the
Identity providersmenu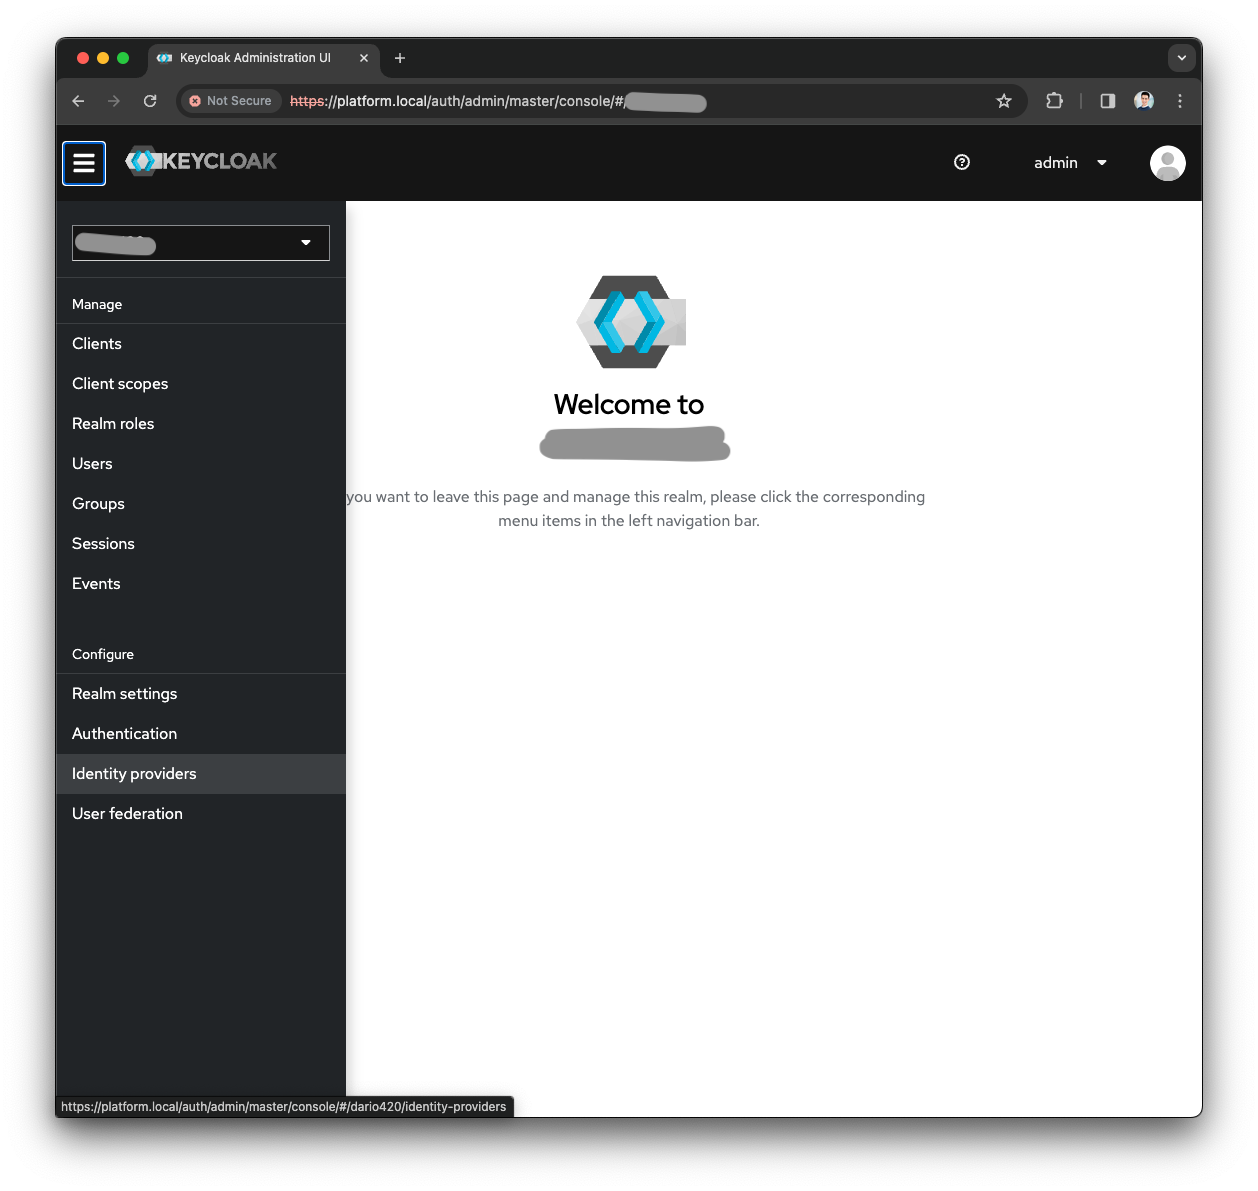
-
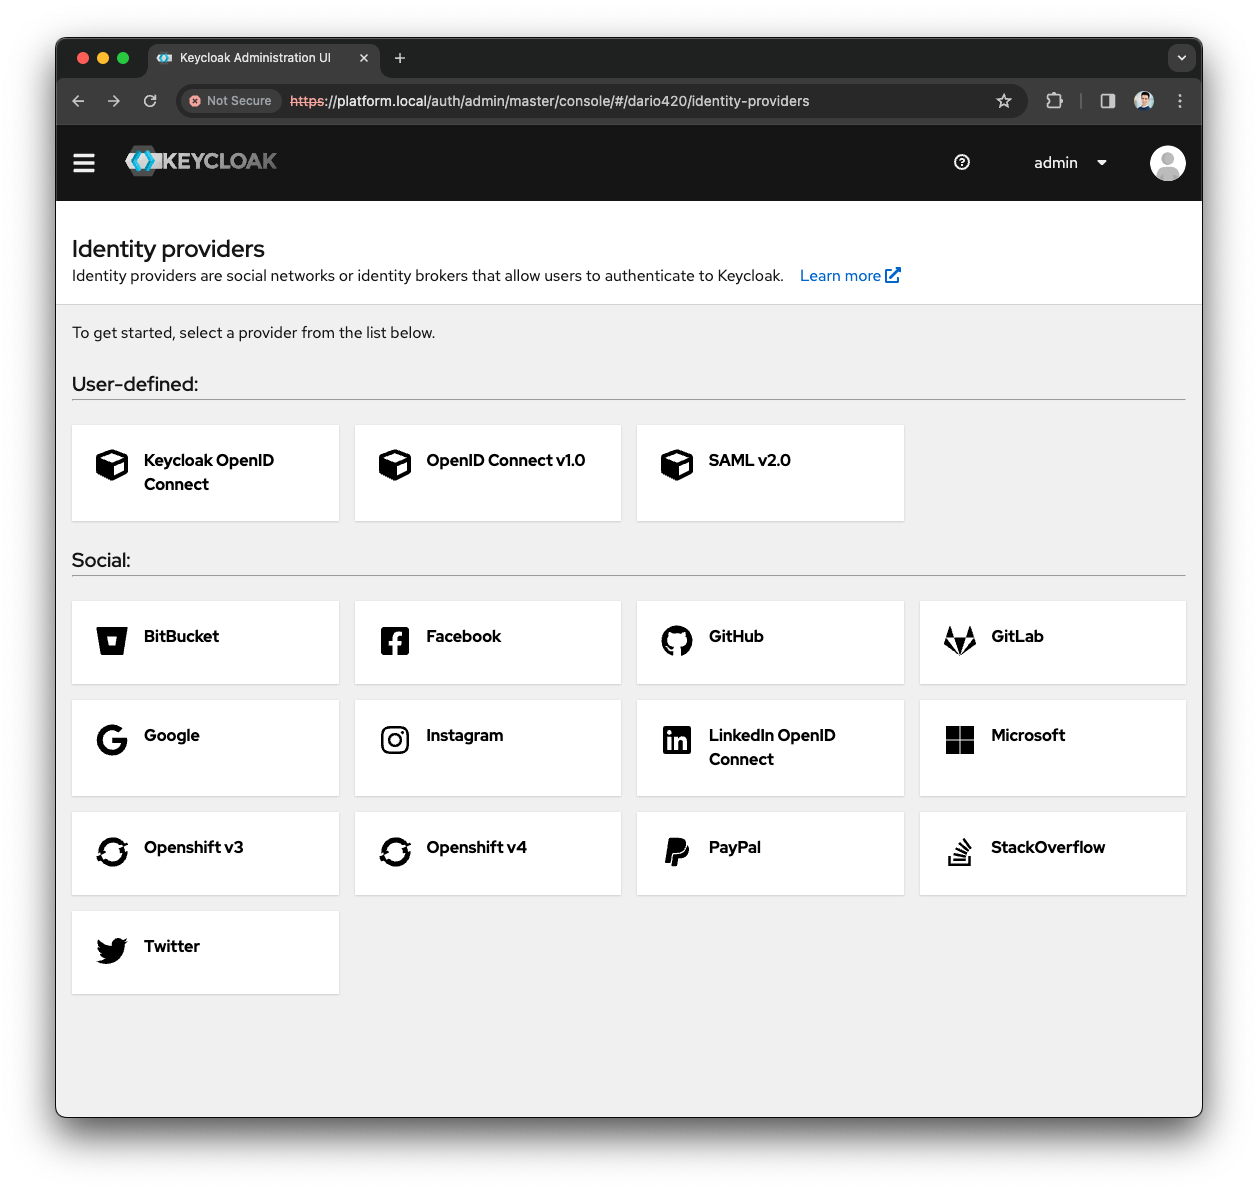
Configure the identity provider for the system your organisation uses, such as Azure AD, Google authentication, or Lightweight Directory Access Protocol (LDAP)
-
Once the identity provider is configured, press the
Savebutton
|
The Self-Service URL to access the SSO Realm login screen is
In this example, where
|
Self-Service resolves a user’s IAM group membership from a groups claim on the Keycloak token, which this realm does not carry until the identity provider’s own group claim is mapped through. IAM Group Configuration covers those two mappers.
Verify the SSO realm
Check that the realm hands users to your identity provider instead of asking them for a Keycloak password.
-
Open
<self-service.host>/login/<tenant-short-name>in a browser. For the example above that is<self-service.host>/login/test123.Expected result: the login screen offers the identity provider you configured. A Keycloak page reporting an unknown realm means the realm name and the
tenant-short-namediffer. -
Sign in as a user who exists in that identity provider.
Expected result: the identity provider takes the credentials and returns the browser to Self-Service, signed in. Landing back on the login screen means the identity provider rejected the redirect URI the client sent, which is set in the client’s
Login Settings.