How to Set Up Vault for Governance
This guide shows you how to initialise and unseal HashiCorp Vault, enable the AppRole auth method and the key-value secrets engine, create the policy and AppRole that Platform Manager authenticates with, and put the resulting credentials into the governance values.
Type |
How-to guide |
Goal |
Give Platform Manager a Vault AppRole it can use to read and write governance secrets. |
Audience |
Platform Operator with a Vault root token, or shell access to the Vault pod. |
When to use |
Use this guide once per Vault, before installing the governance layer. |
Platform Manager stores three kinds of secret in Vault: cluster details and superuser credentials, Simple Authentication and Security Layer (SASL) credentials, and connector credentials. It needs a write/read role to set them. Axual Connect and Kafka Connect need only a read role, which is a separate AppRole.
The steps below use the governance secret engine, which is required when running Platform Manager with the Streaming charts. Any other engine name works if you change it consistently.
Which Vault applies to which setup
Three setups use Vault, and they do not all use the same one. Reading the wrong guide produces credentials in the wrong Vault, which fails at runtime rather than at setup time.
- Governance Vault
-
The control-plane Vault, which Platform Manager reads and writes. This guide sets it up. One Vault can serve several tenant instances, and Vault Enterprise works as well.
- Connector Vault for Axual Connect
-
A
connectorsengine holding the certificates connectors use, read by the shared Axual Connect cluster. It can live in the same Vault as Governance. See How to Set Up Vault for Axual Connect. - Connector Vault for Kafka Connect
-
A data-plane Vault, deliberately separate from the control plane so that a network blocking data-plane-to-control-plane traffic does not break connector credentials. See How to Set Up the Connector Vault for Kafka Connect, and Understanding the two-Vault model for why they are separate.
Prerequisites
Confirm the following before you begin.
Access and permissions required
You need the following access and permissions:
-
Shell access to the Vault pod, or browser access to the Vault user interface.
-
The Vault root token, which the initialisation step produces when the Vault is new.
-
Permission to edit the governance values and apply them.
Tools and versions required
You need the following tools:
-
kubectl>= 1.28, with access to the namespace Vault runs in, for the terminal path. -
A password manager to hold the unseal keys, the root token, the Role ID and the Secret ID.
Resources that must exist before starting
The following must already exist:
-
A deployed HashiCorp Vault for the control plane. The Axual Governance chart deploys one as
platform-manager-vault; see Install Axual Governance. -
The namespace and pod name of that Vault, which the terminal commands below need.
-
The governance
values.yamlyou applied that chart with, which the last section edits.
Choose the setup path
The same setup appears twice below and both paths produce the same Vault, so follow one of them:
-
Terminal (faster): Run the whole setup as
kubectl execcommands against the Vault pod. Choose this path when you have shell access to the pod and want the setup in a single block. Start at Fast Vault setup via terminal. -
Vault user interface: Click through the same steps in the browser, with a screenshot for each. Choose this path when you reach Vault through a browser rather than a shell, or when you want to see what each step changes. Start at Initialise and unseal the HashiCorp Vault.
Both paths converge at Verify the AppRole.
Fast Vault setup via terminal
The commands below do the whole setup in one go with kubectl.
| Copy and store every command output. The unseal keys, the Role ID and the Secret ID are shown once and are needed later. |
# First create an alias to speed up interaction with the vault
alias v='kubectl --context <kube-context> -n <vault-namespace> exec --stdin=true <vault-pod-name> -- '

# The first time only, initialise the vault
# Use -key-shares=3 and -key-threshold=2 for production
v vault operator init -key-shares=1 -key-threshold=1
# Save the key(s) in password manager!

# Unseal vault (may require multiple keys)
v vault operator unseal <key>
v vault login <root-token>

# Set up vault for Self-Service
v vault secrets enable -path=governance kv-v2
v vault auth enable approle
echo 'path "governance/*" {capabilities = ["read","create","update","delete"]}' | v vault policy write platform-manager -
v vault write auth/approle/role/platform-manager token_policies="platform-manager"
v vault read auth/approle/role/platform-manager/role-id
v vault write -force auth/approle/role/platform-manager/secret-id
# Save Role ID and Secret ID in password manager!
Replace every <…> placeholder with your own value before running a command. <vault-pod-name> is the Vault pod of the governance release, for example axual-governance-platform-manager-vault-0.
|
An installation that includes Axual Connect needs a second engine and a second AppRole in the same Vault, which How to Set Up Vault for Axual Connect covers.
Then continue with Verify the AppRole.
Initialise and unseal the HashiCorp Vault
The first time you install HashiCorp Vault, initialise it to produce the unseal keys and the root token. Two figures decide how the keys work:
-
Key Shares: the number of issued keys that can unseal Vault (Local: 1, Prod: 3)
-
Key Threshold: the minimum number of keys needed to unseal Vault (Local: 1, Prod: 2)
For details, see the Vault documentation.
-
Access the Vault user interface
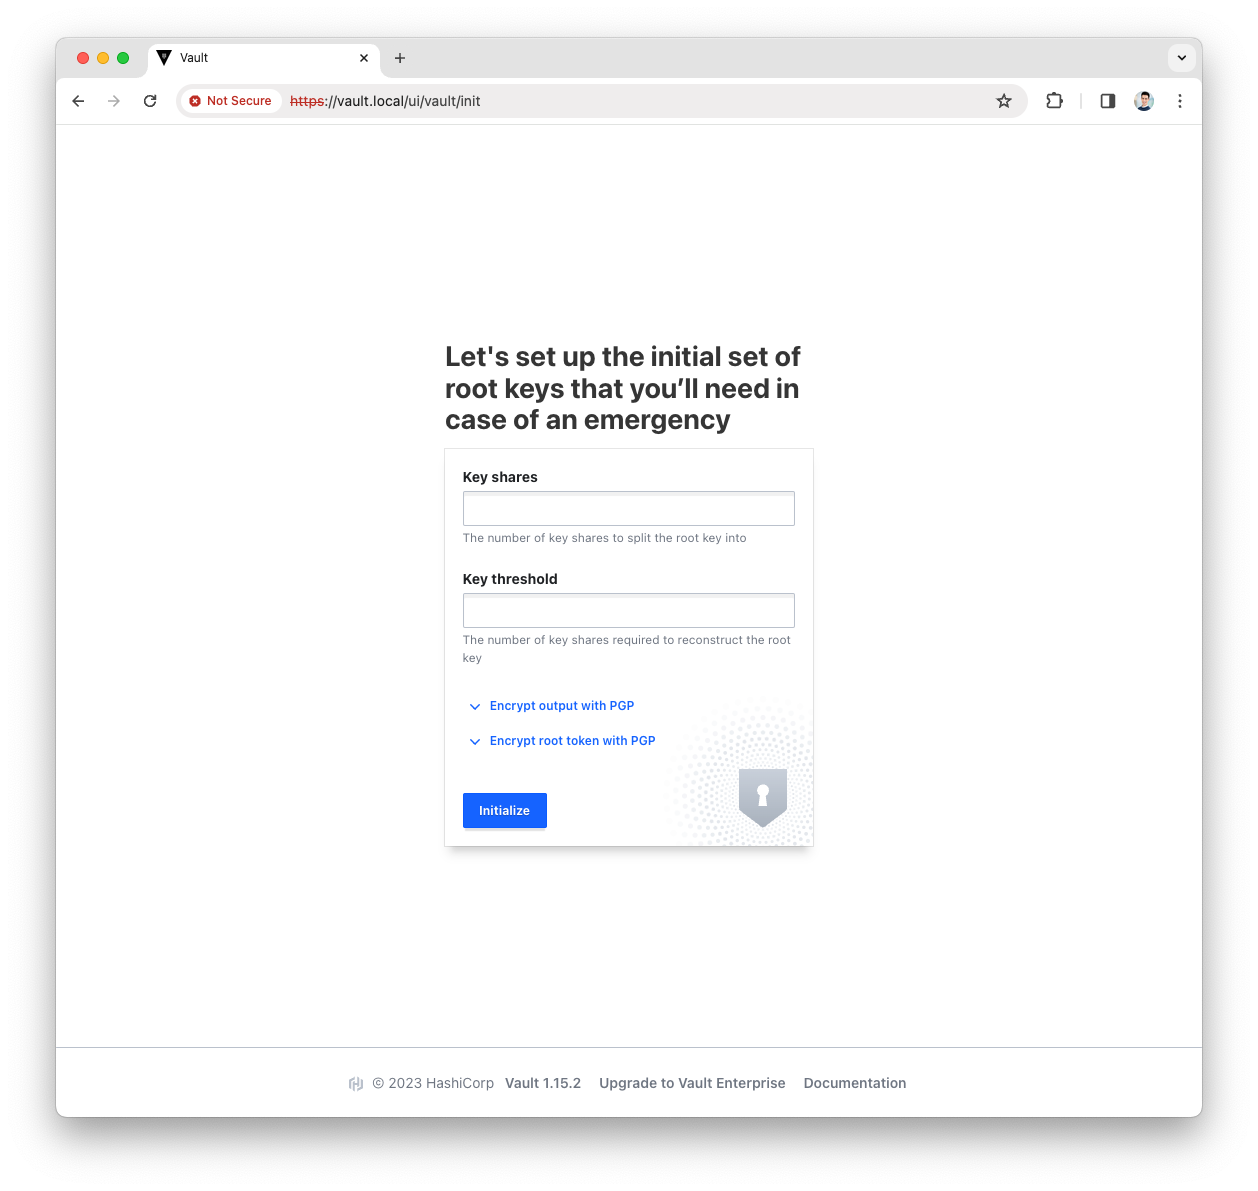
-
Provide the
key sharesand thekey thresholdand pressInitialisebuttonFor a production environment, use at least key_shares=3andkey_threshold=2.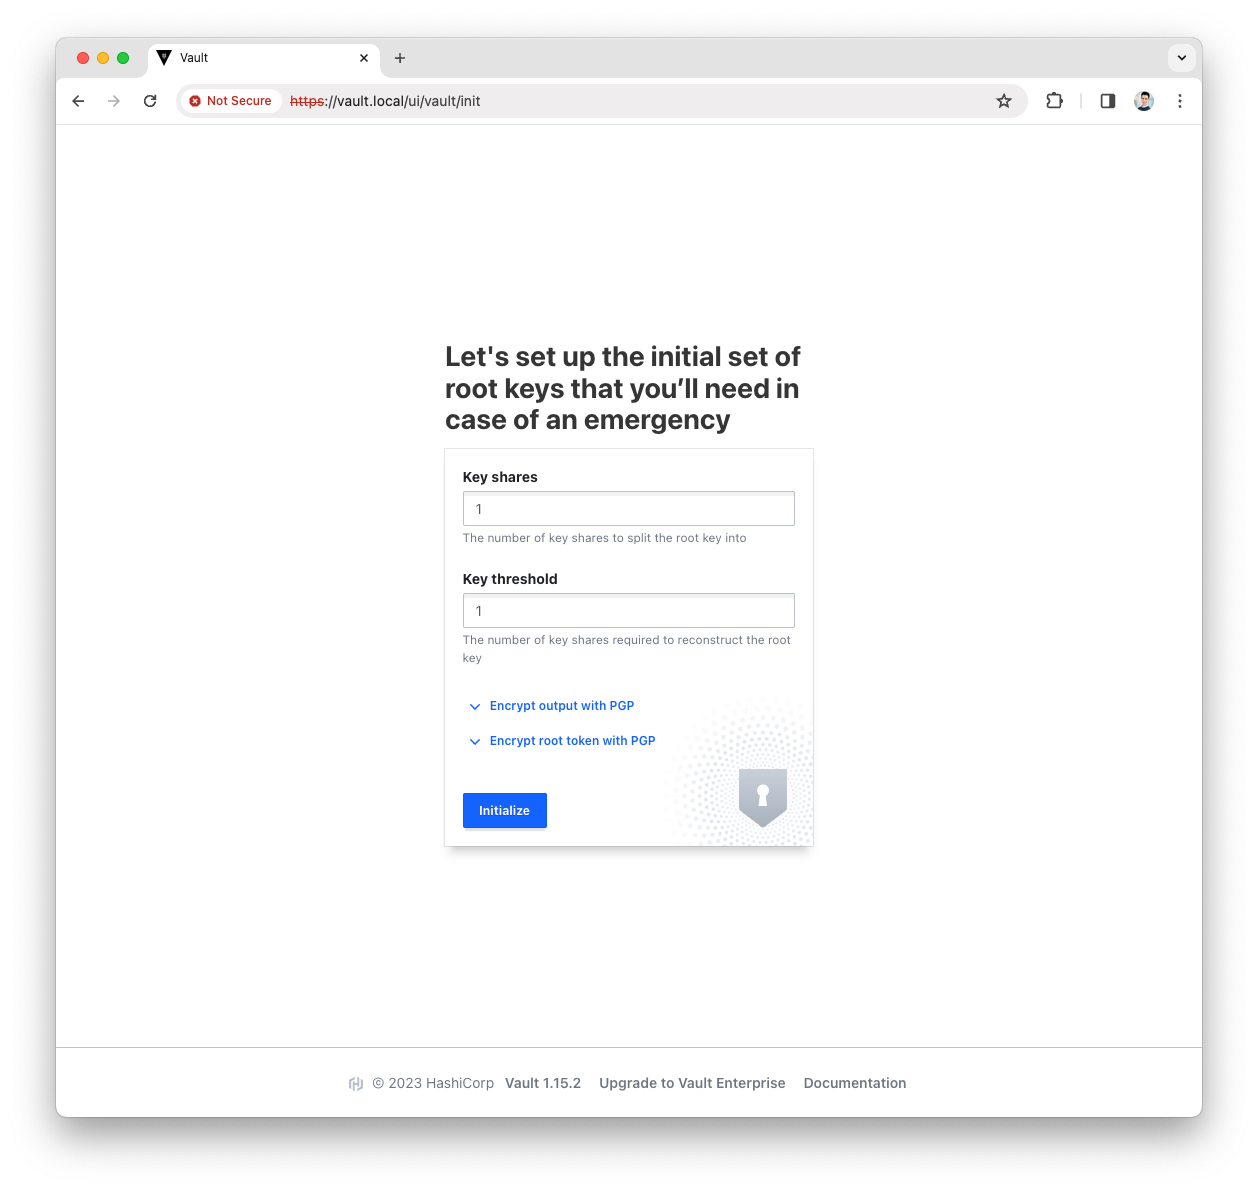
-
Download the generated keys
You need these keys to unseal Vault and to reach the Vault user interface. 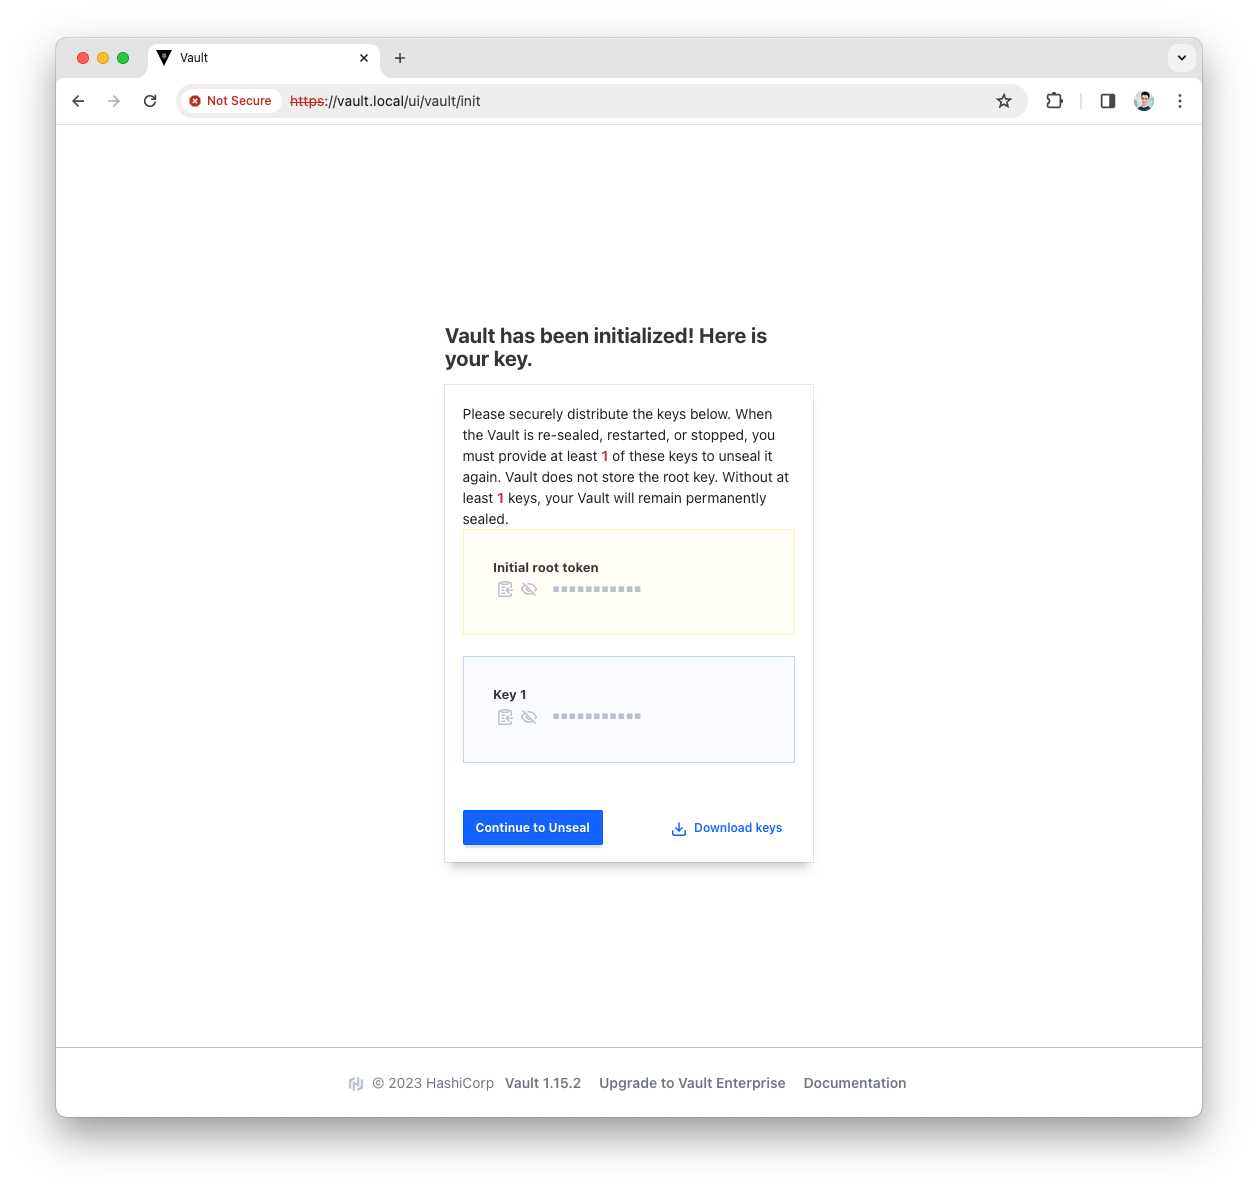
-
Press the
Continue to Unsealbutton -
Paste the Key(s) and press the
Unsealbutton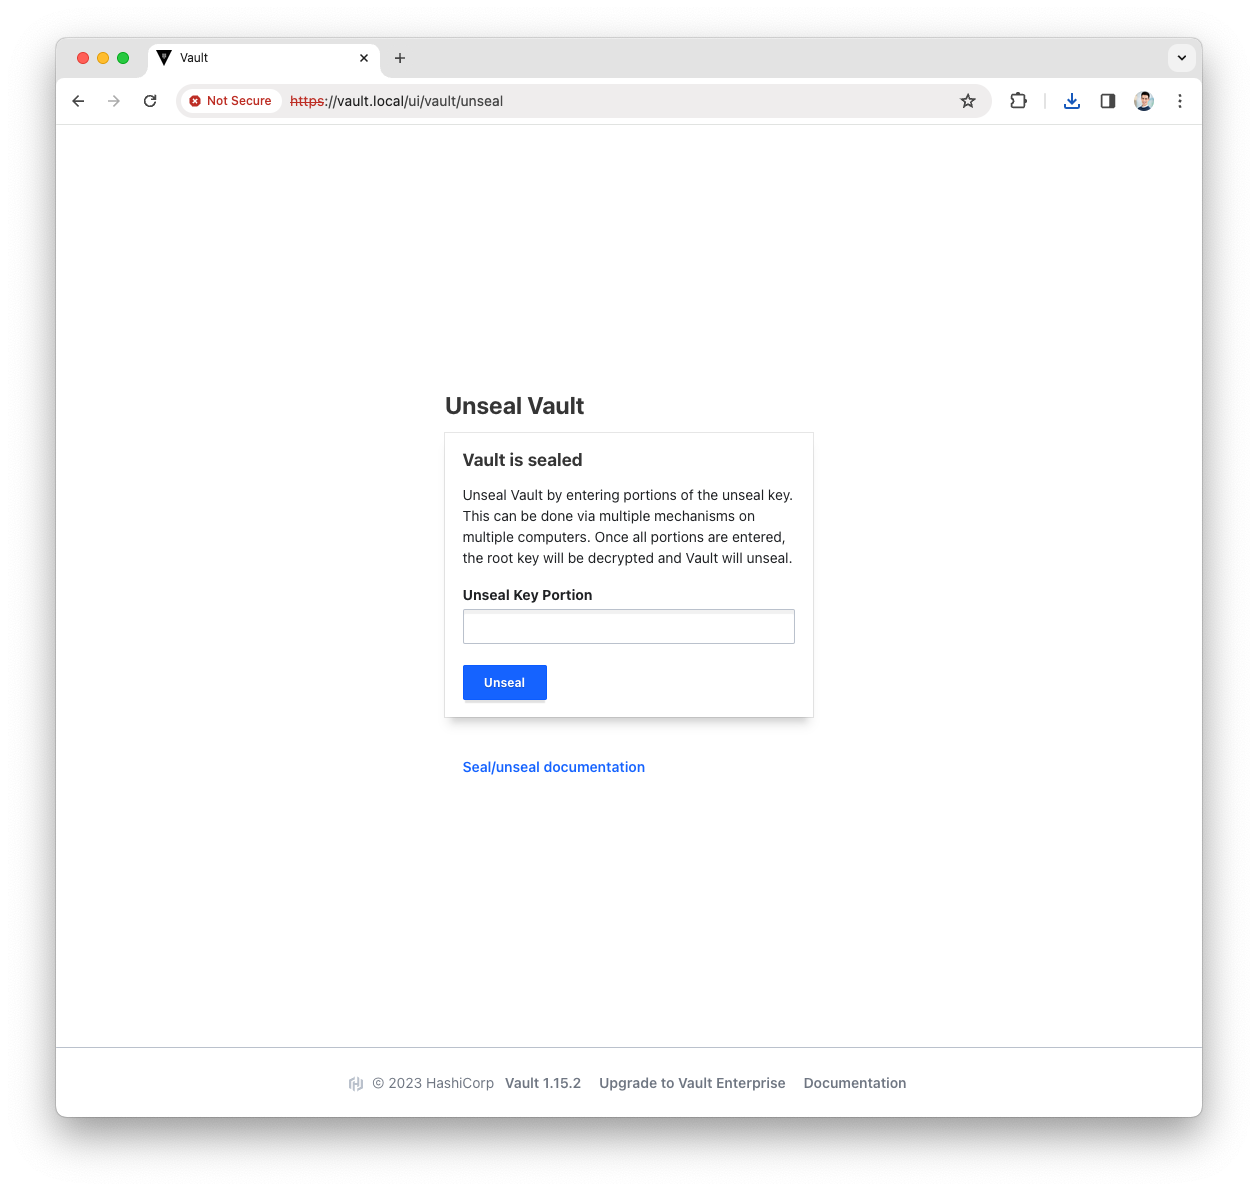
Depending on the
key sharesandkey thresholdyou chose, repeat the step above with a different key.For details, see the Vault documentation.
Enable the AppRole auth method
The AppRole auth method lets an application authenticate with roles defined in Vault.
For details, see the Vault documentation.
-
Log in to the Vault user interface with your
rootToken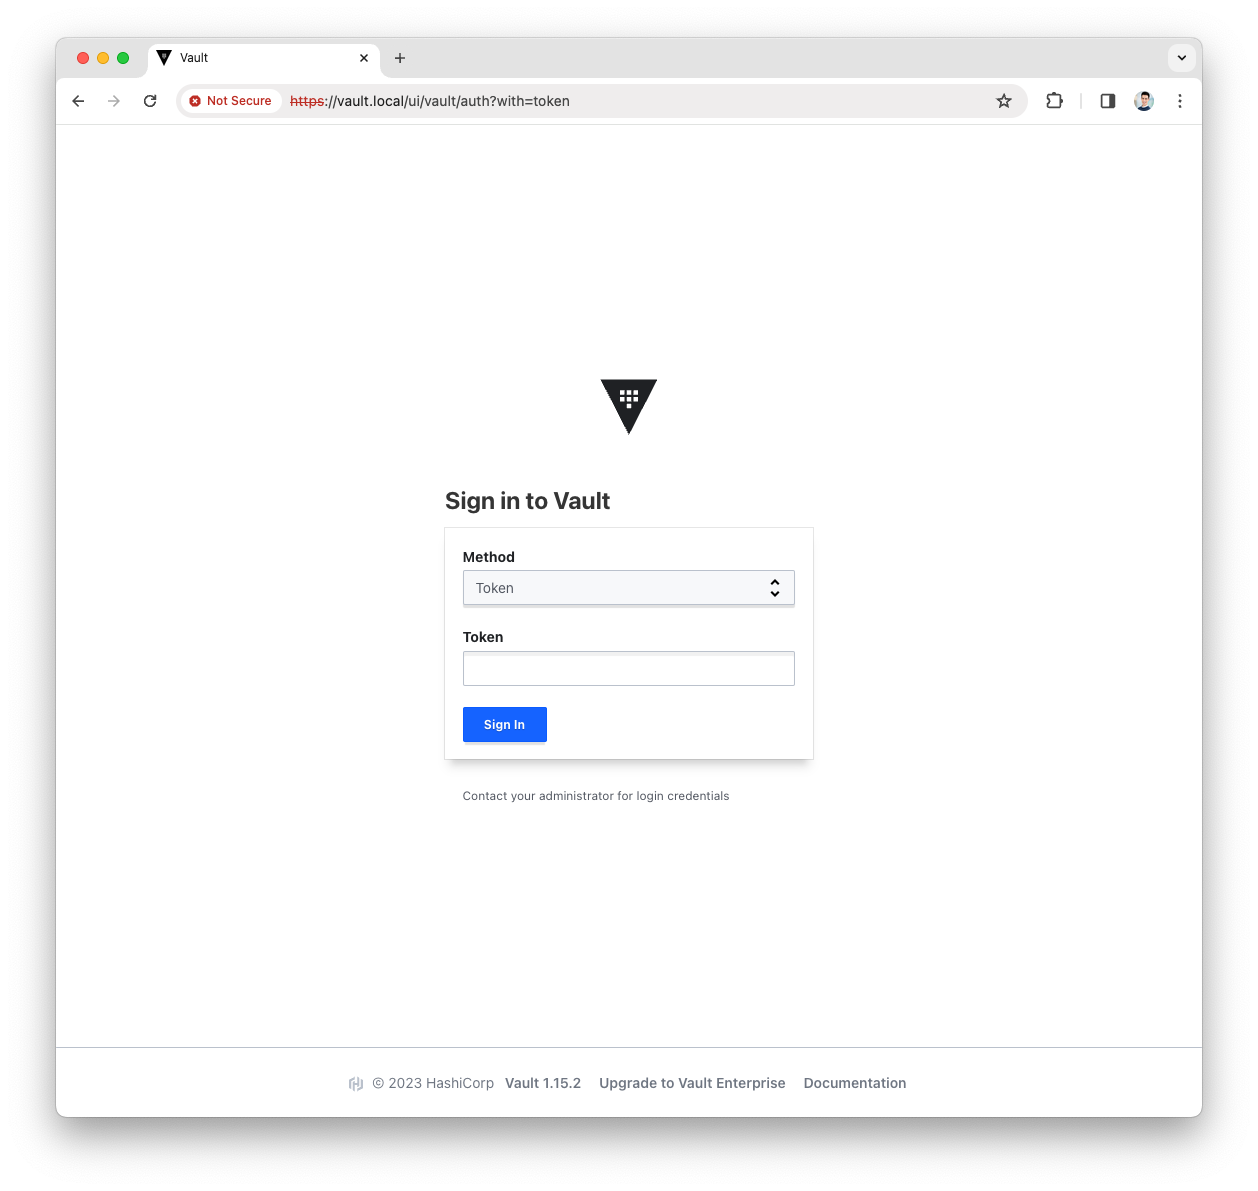
-
Open the
Accessmenu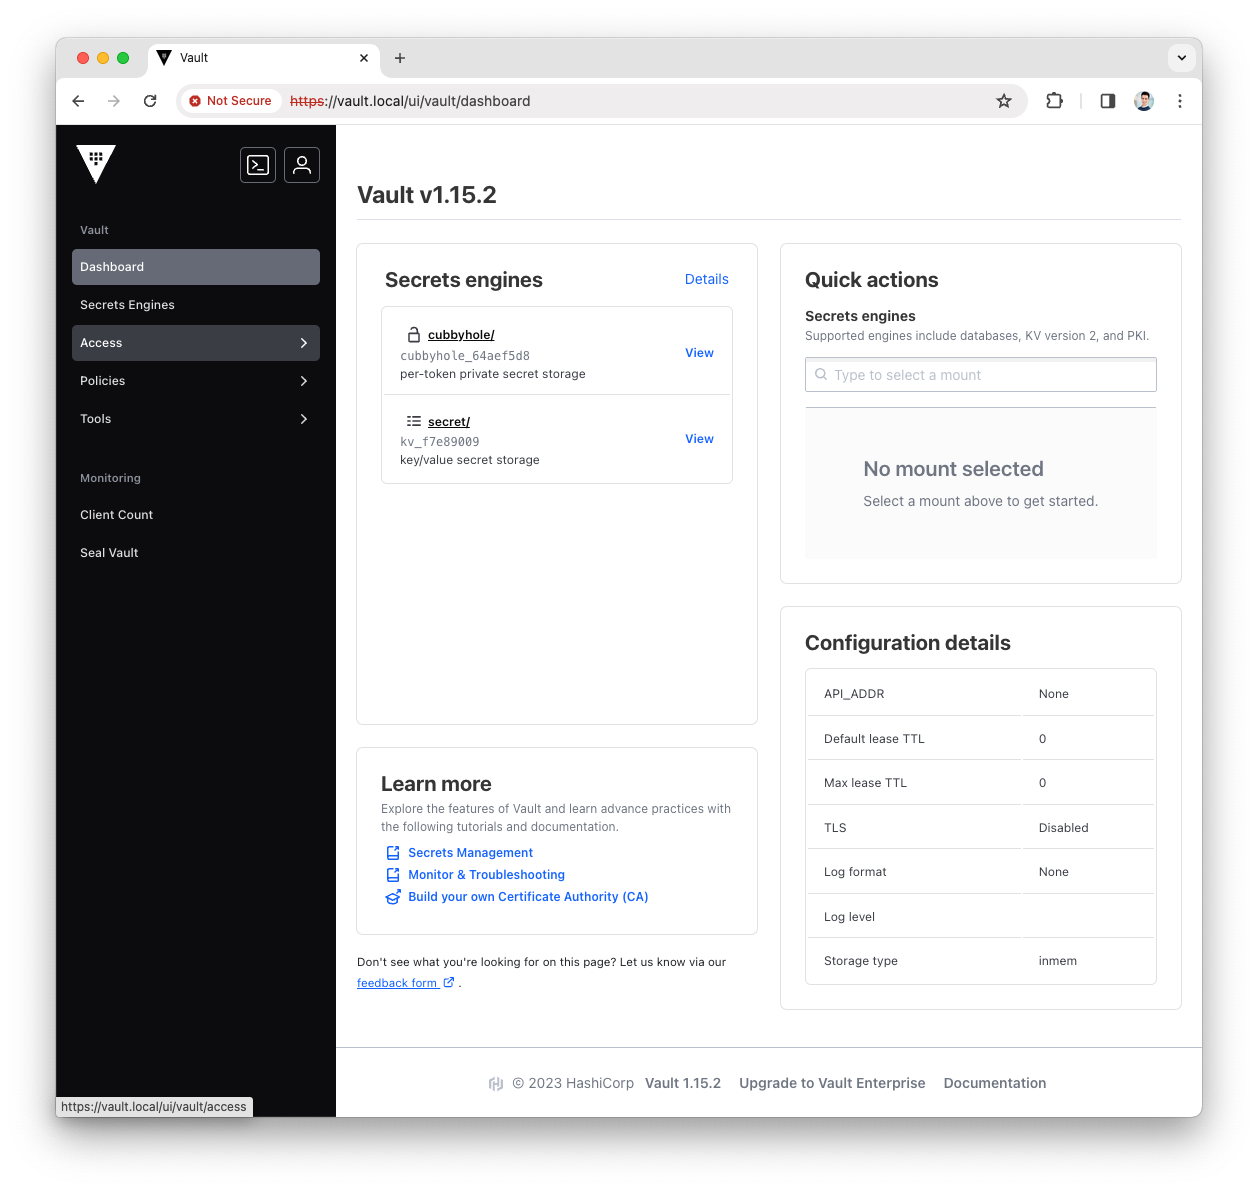
-
Press the
Enable auth methodbutton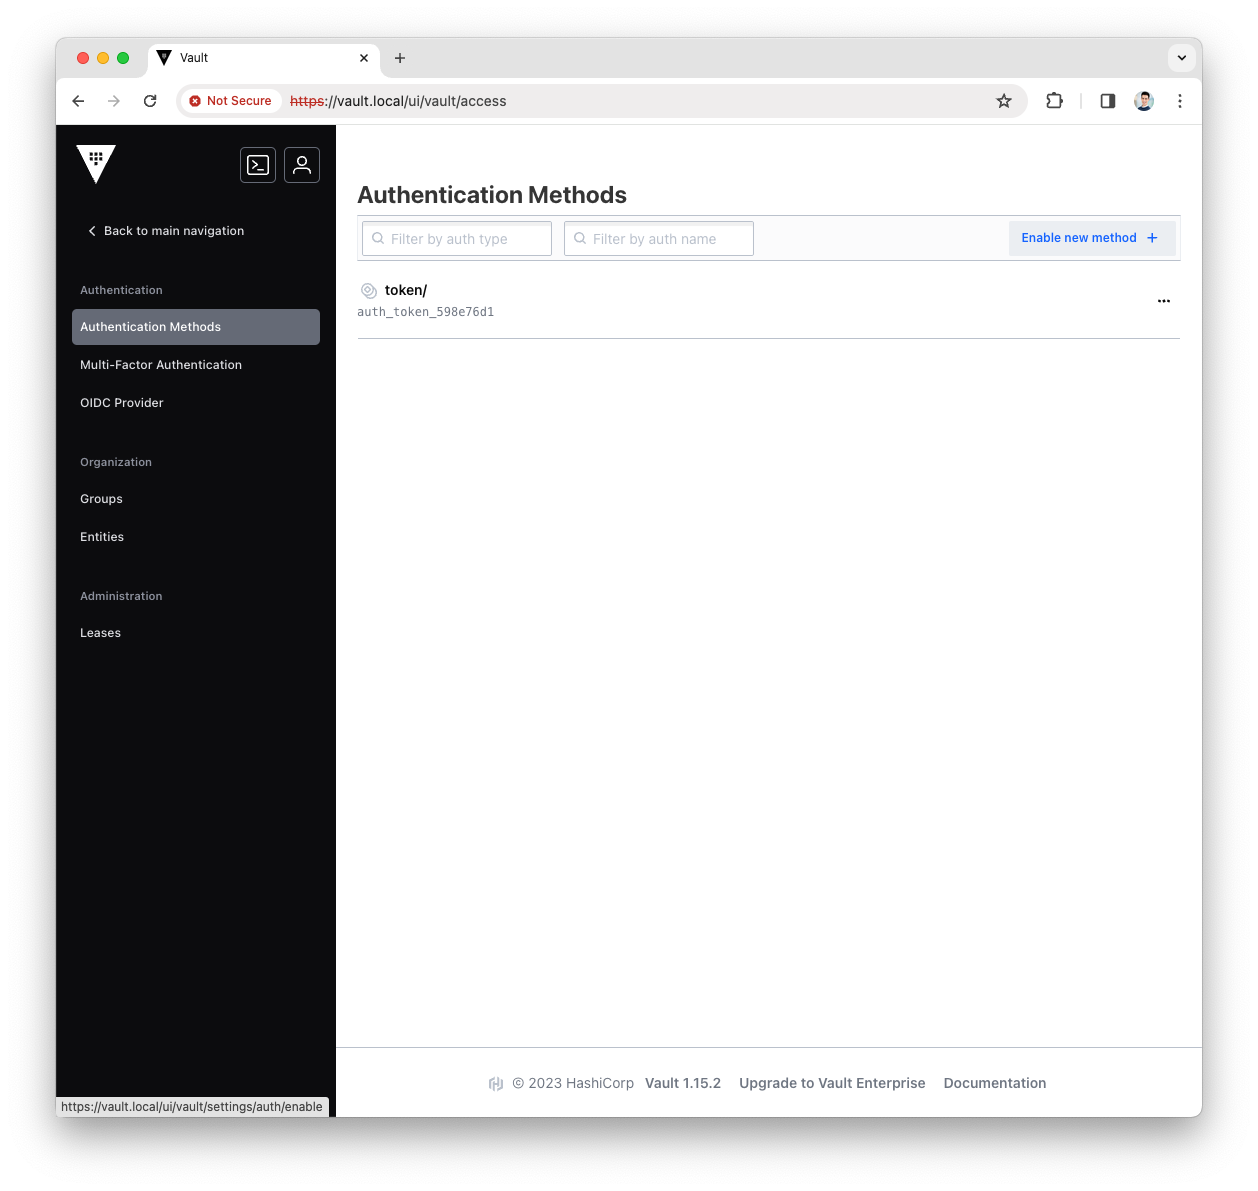
-
Select the
AppRoletype for the new Authentication Method and pressNext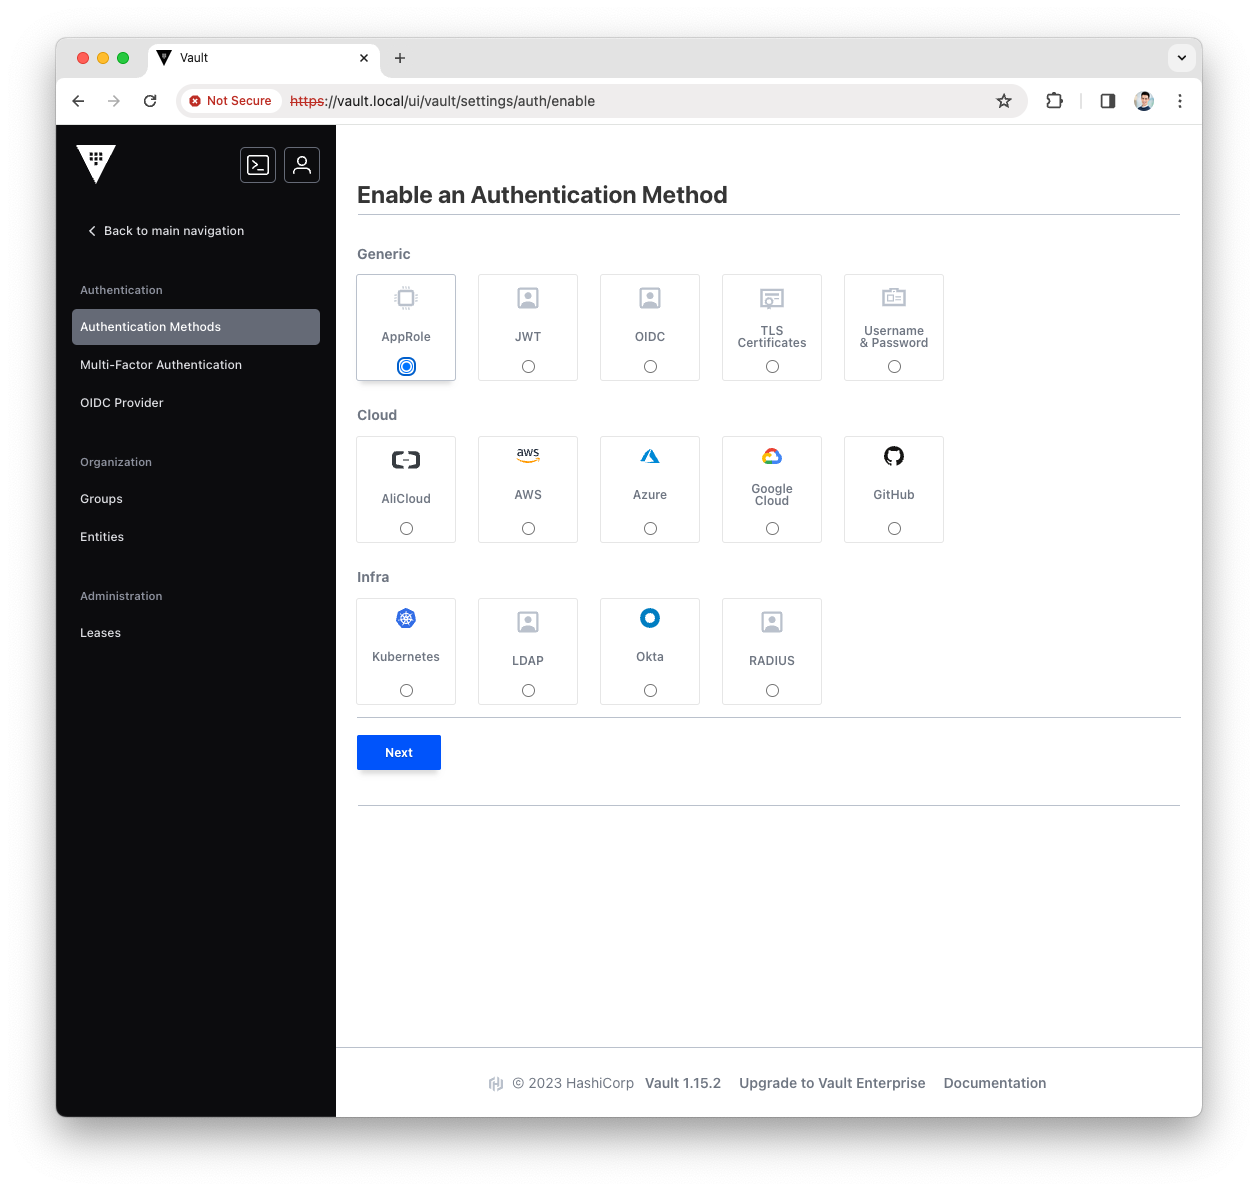
-
Fill the
Pathwith approle and press theEnable Methodbutton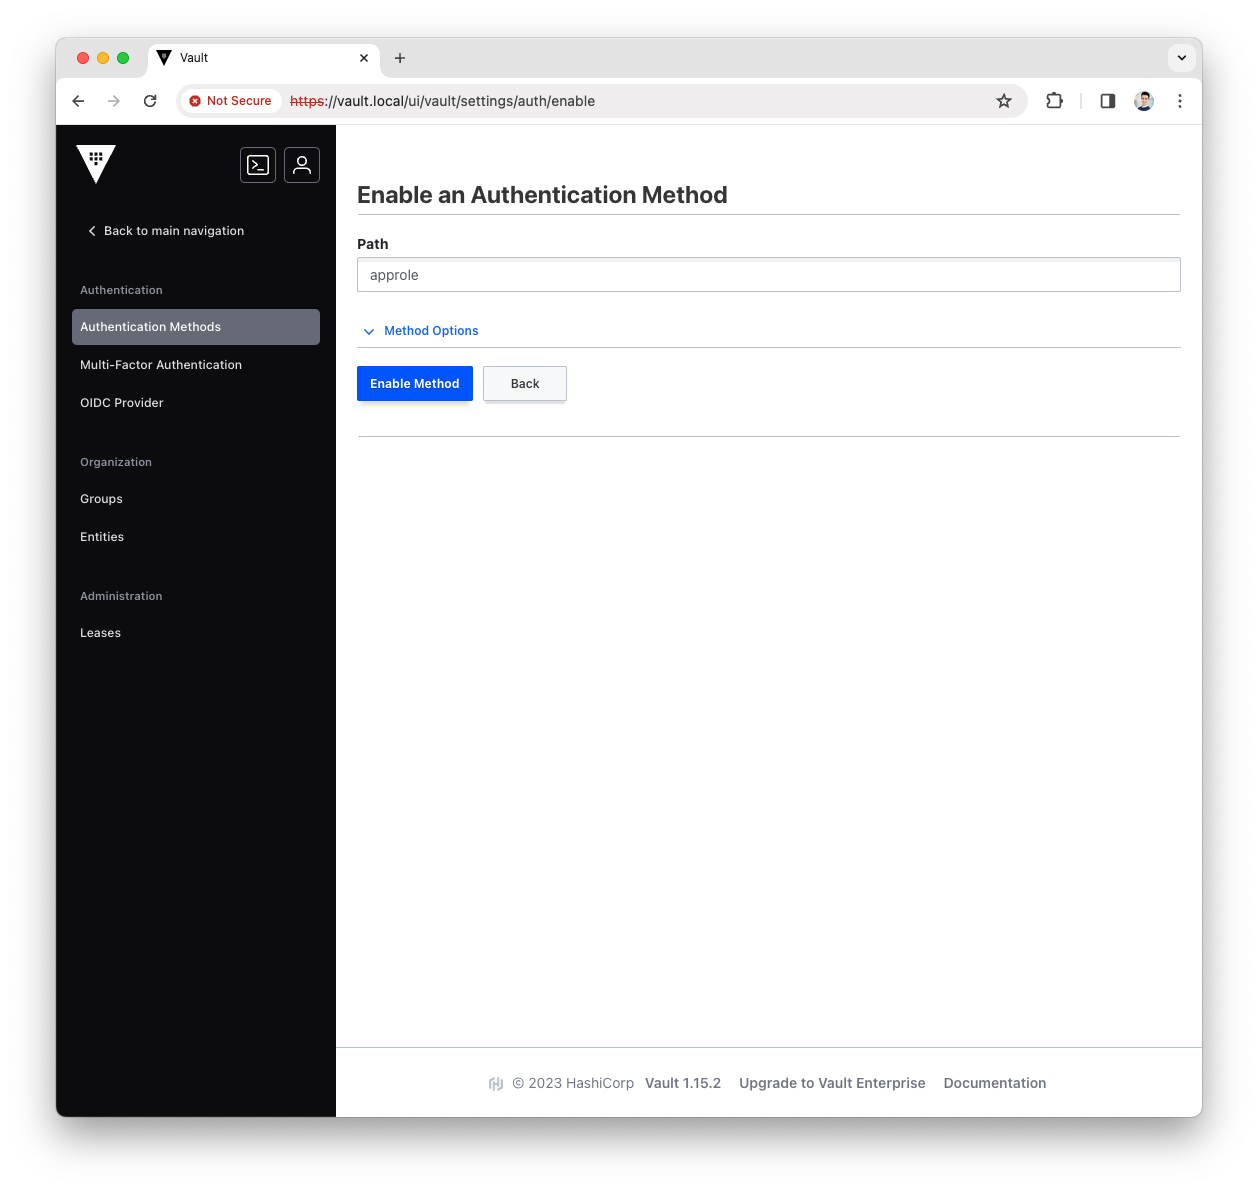
-
The AppRole authentication method is now enabled and ready for Platform Manager.
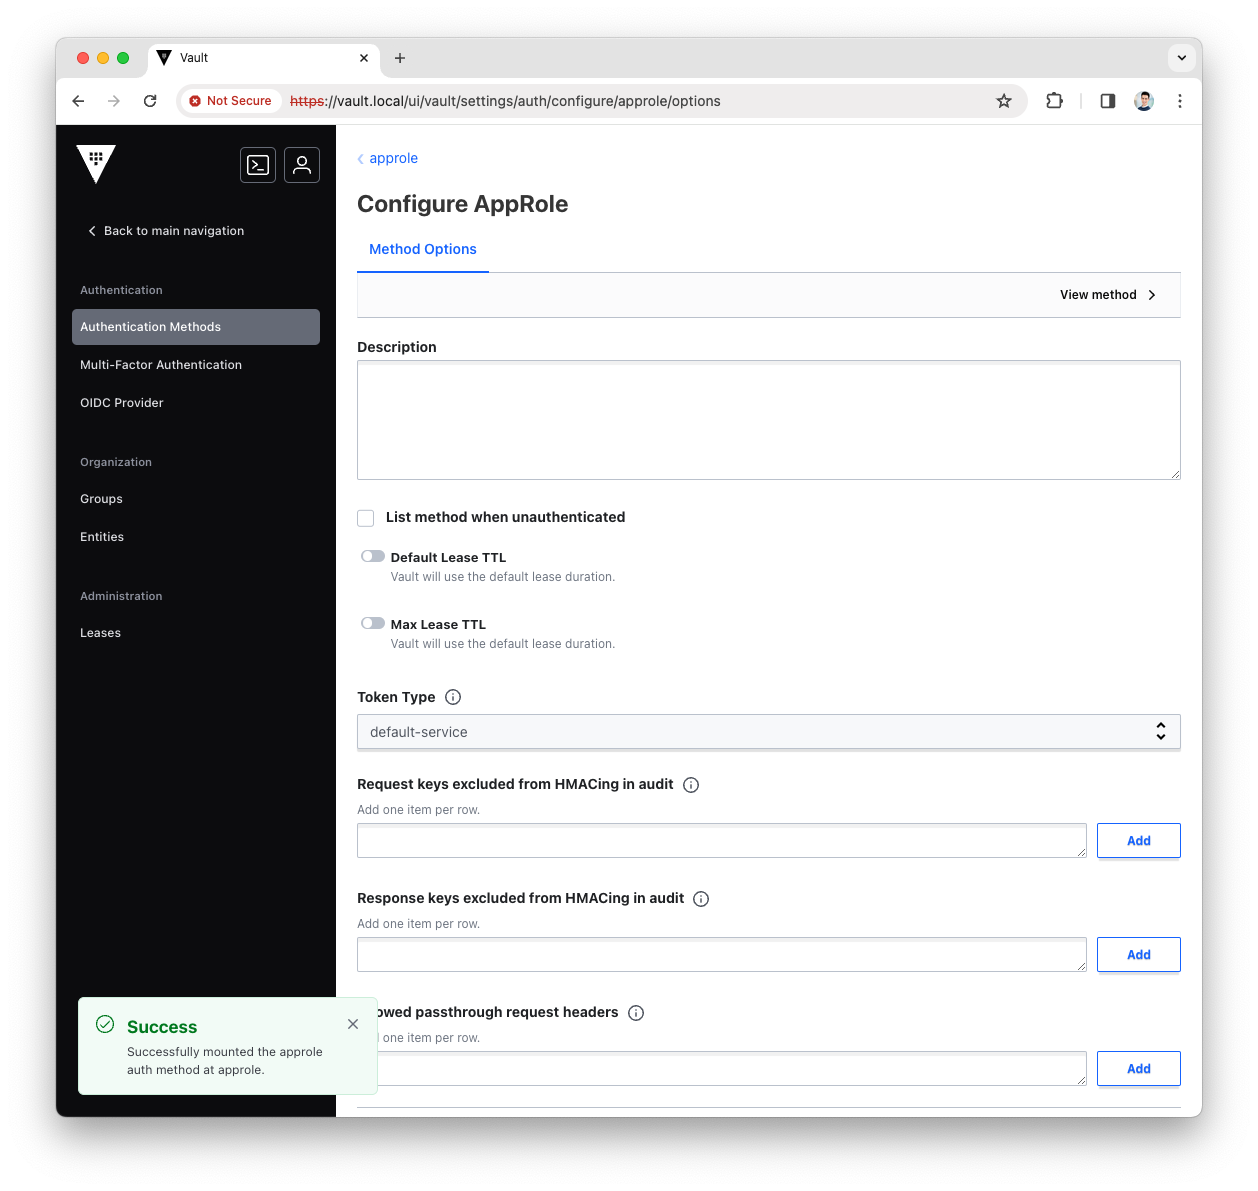
Create the KV secrets engine
The key-value (KV) secrets engine stores secrets in Vault storage as key and value pairs.
For details, see the Vault documentation.
-
Log in to the Vault user interface with the
rootToken
-
Open the
Secrets Enginesmenu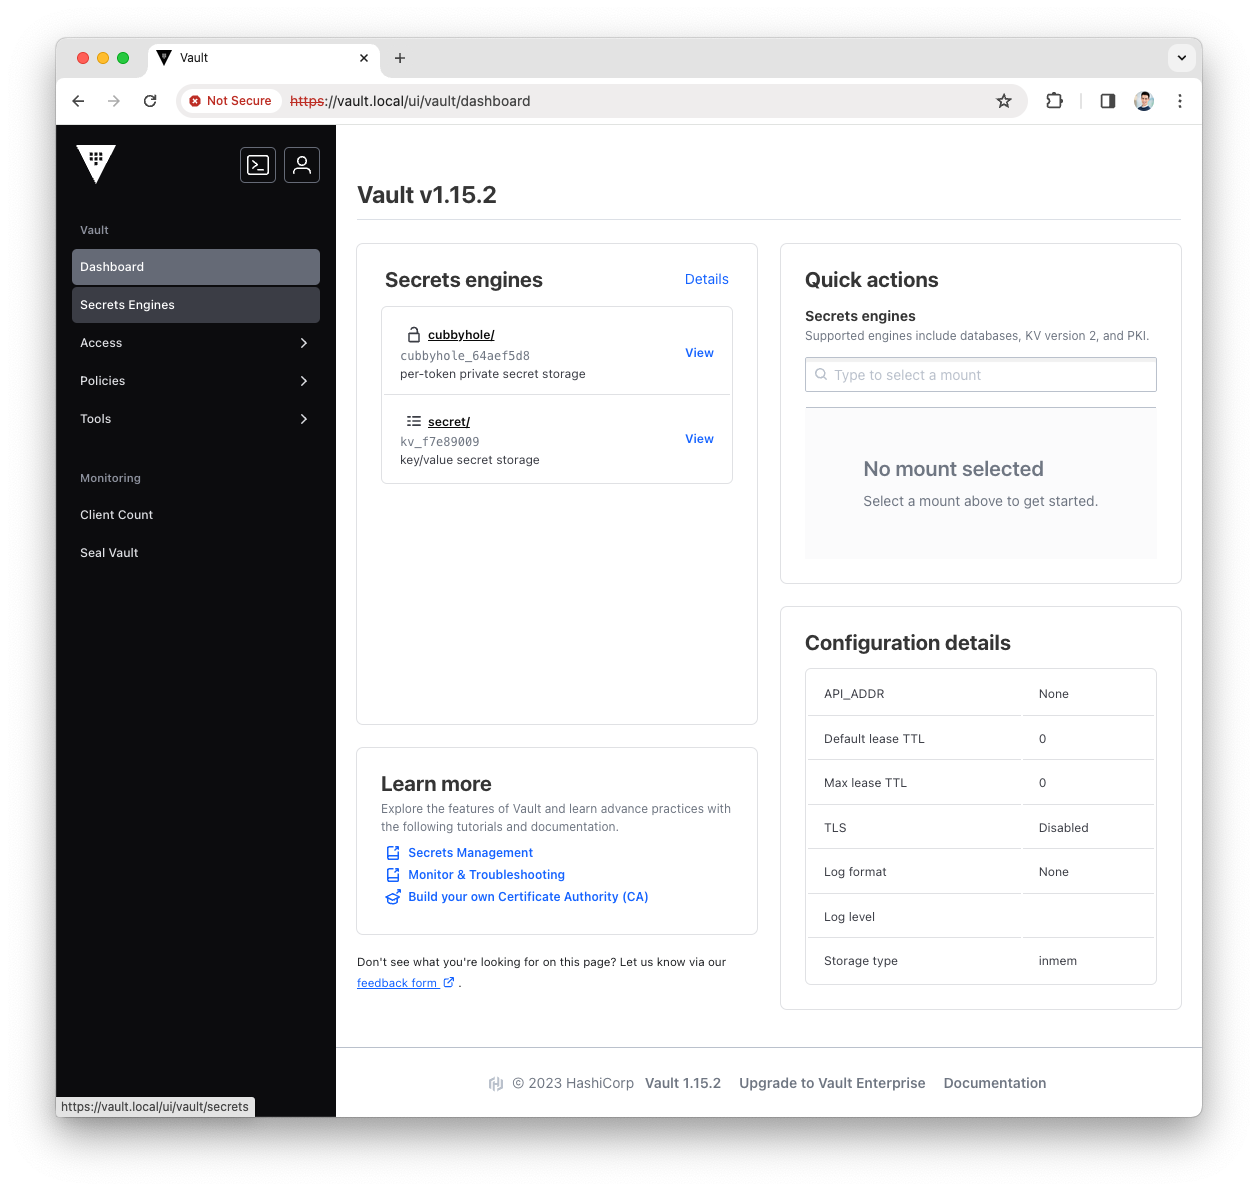
-
Press the
Enable new enginebutton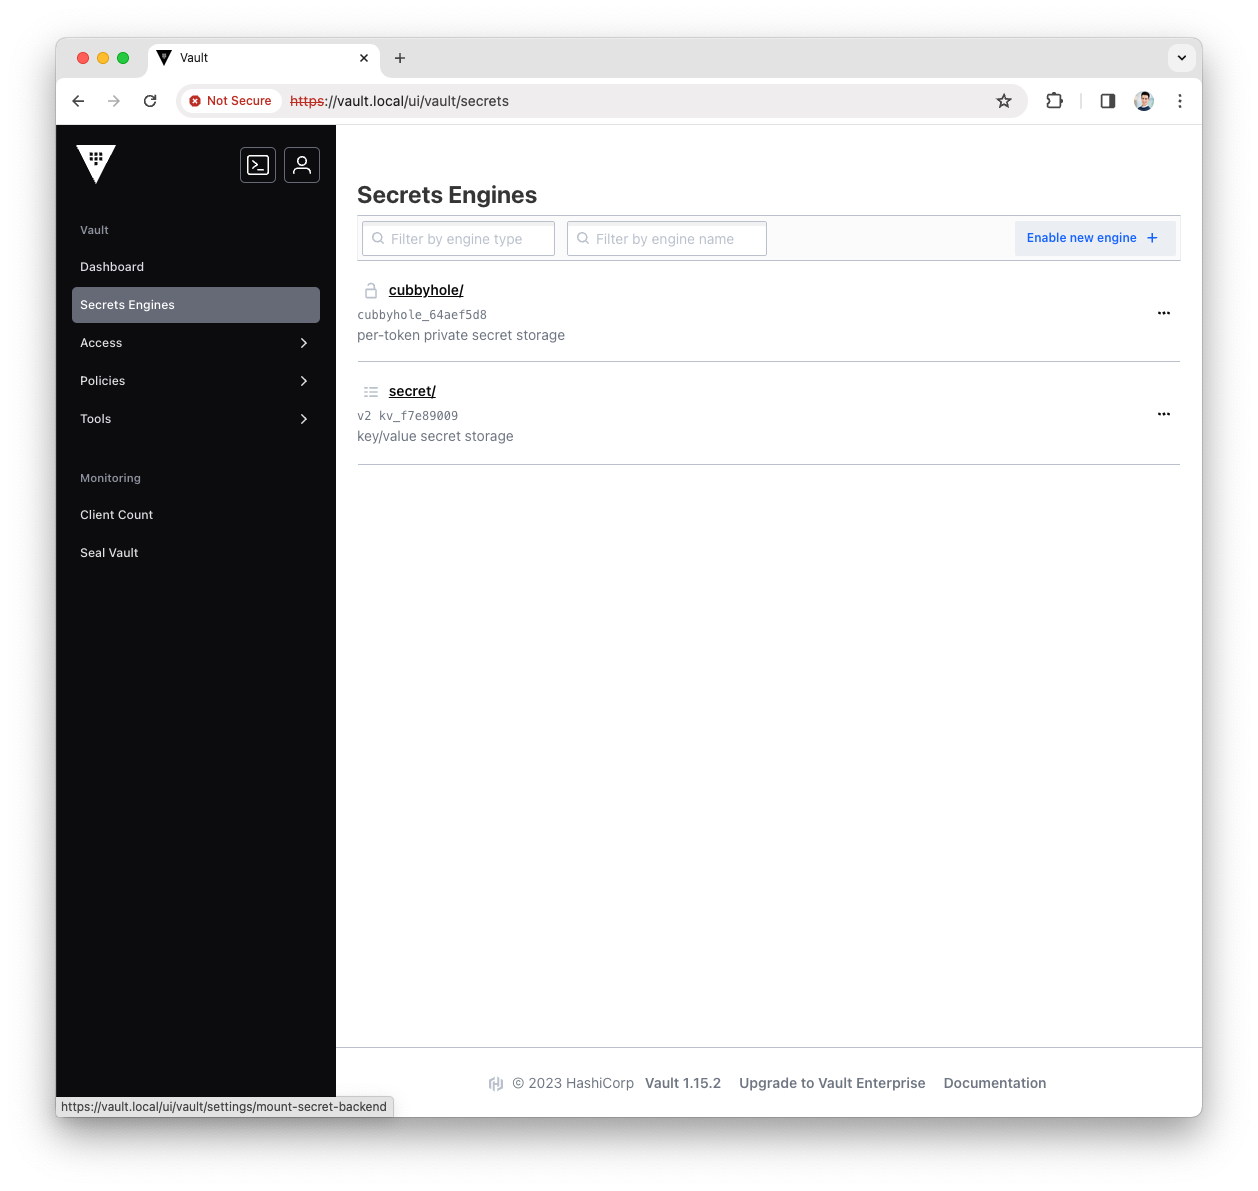
-
Select the
KVtype for the new engine and pressNext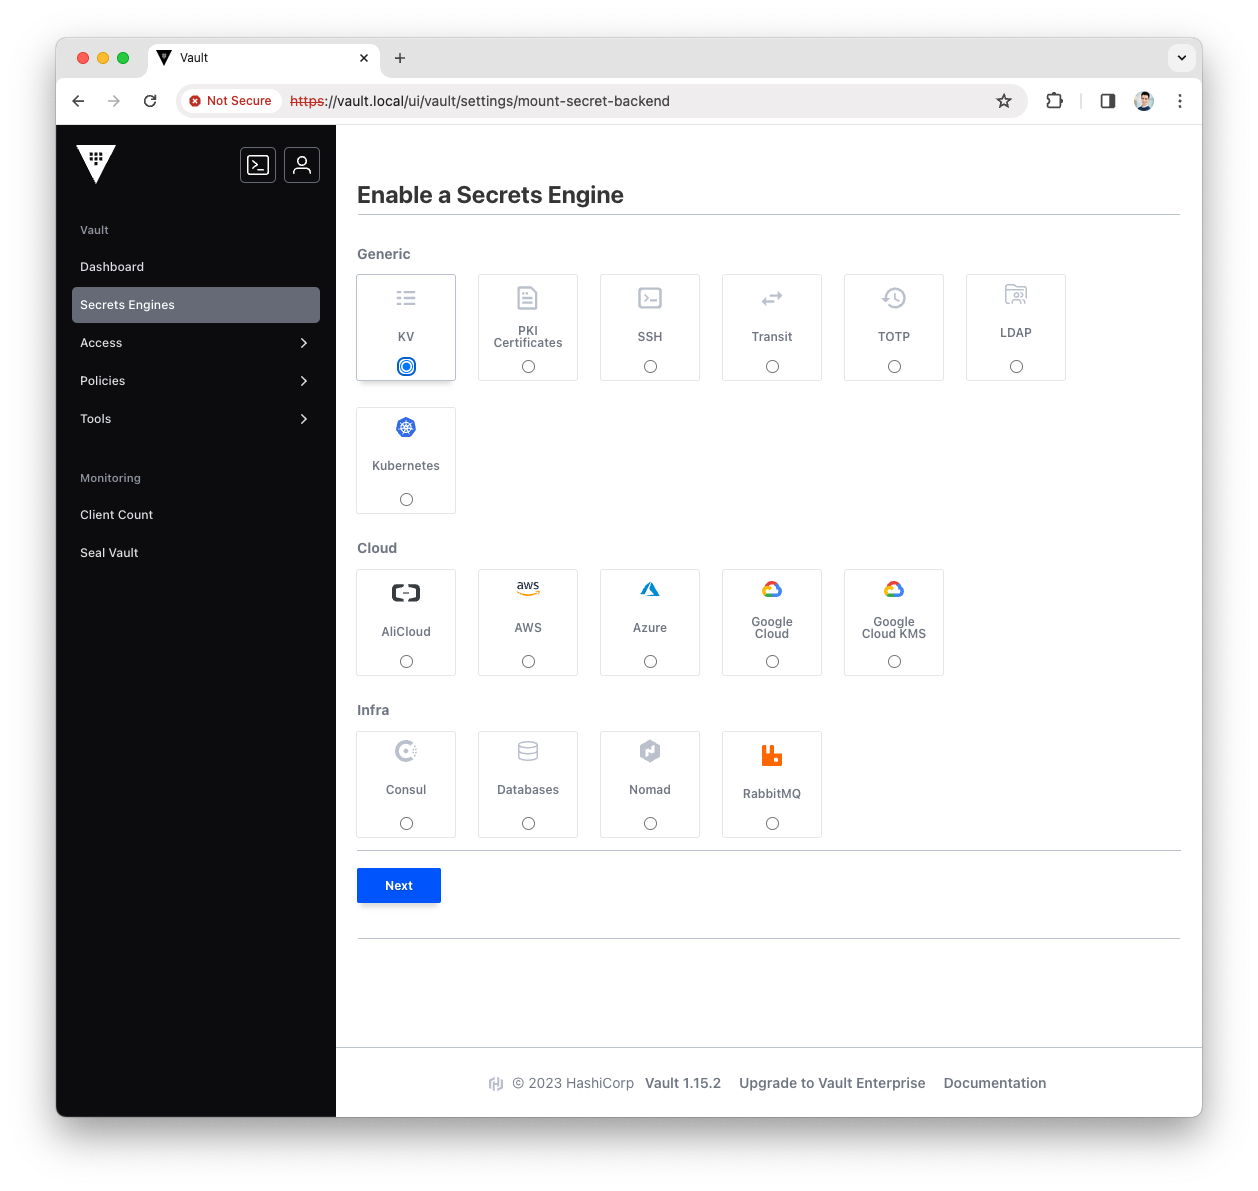
-
Fill the
Pathwith governance and pressEnable Engine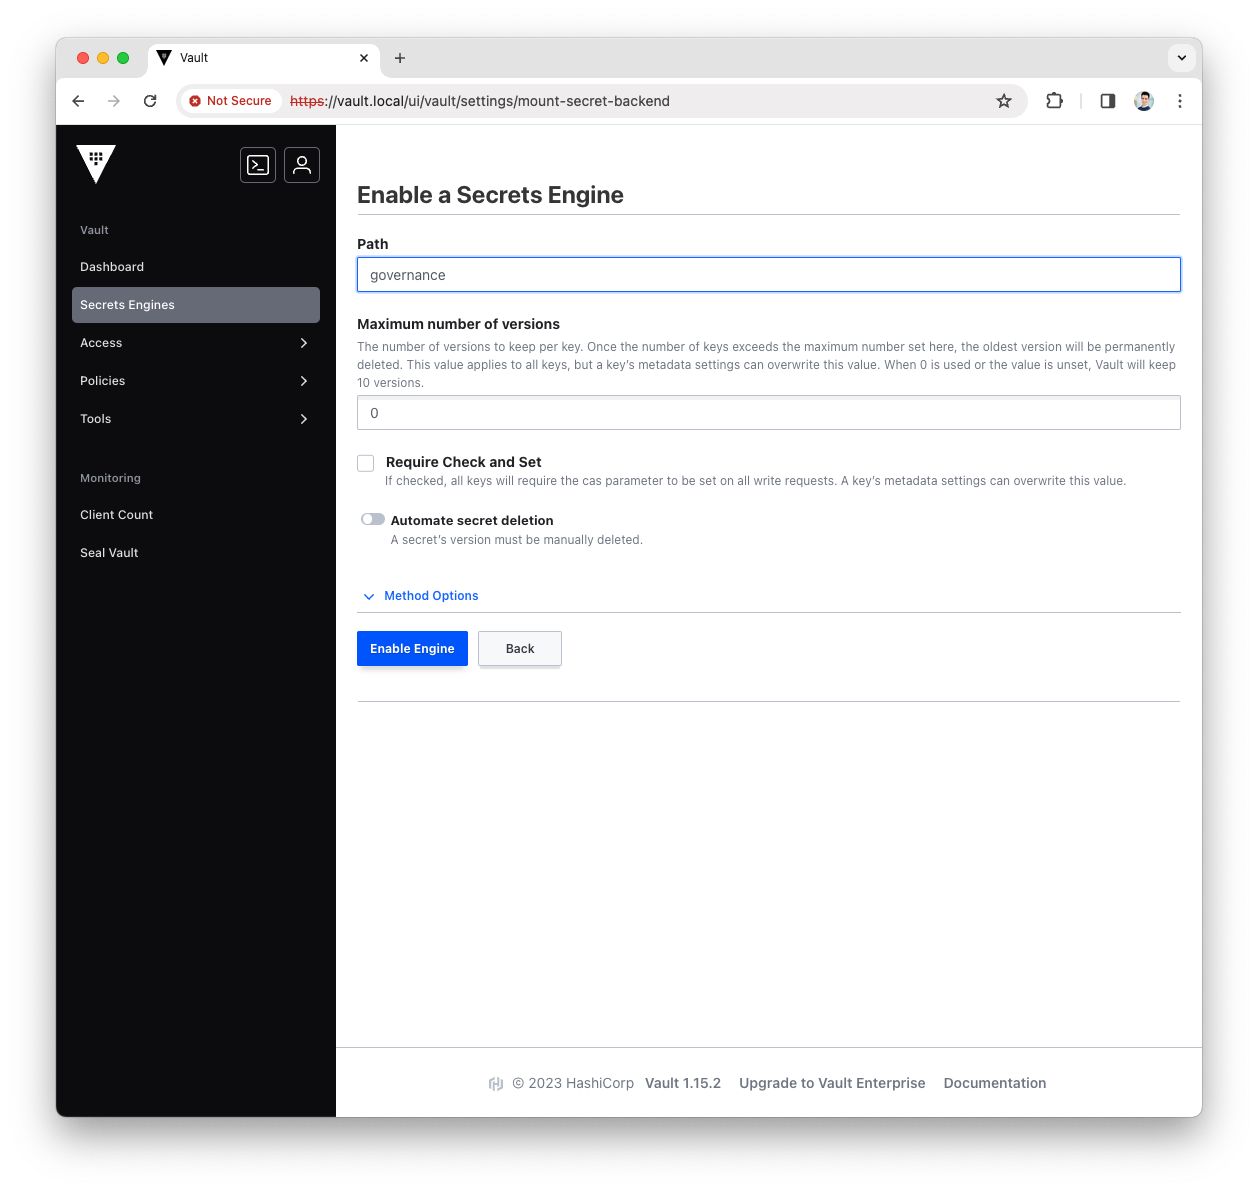
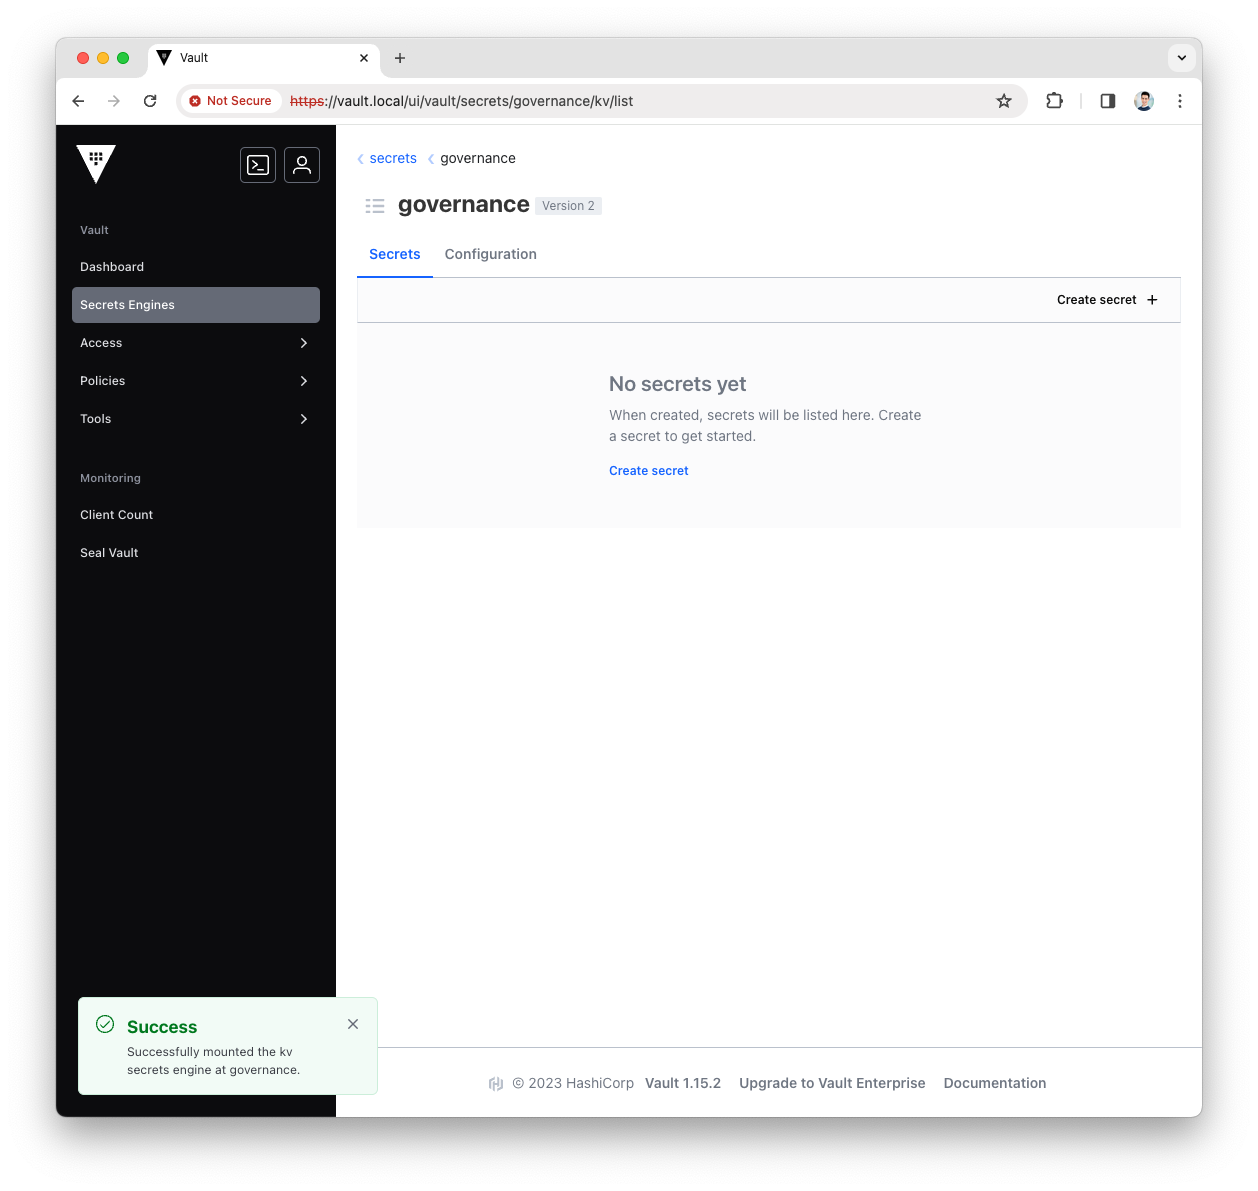
-
The governance KV secrets engine is now configured and ready for Platform Manager.
Create the Platform Manager policy
The policy grants access to a path, and the AppRole ties that policy to credentials Platform Manager can authenticate with. Both halves are needed, in that order.
Create the ACL Rule
An Access Control List (ACL) rule is a Vault policy that grants access to a path declaratively.
For details, see the Vault documentation.
-
Log in to the Vault user interface with the
rootToken
-
Open the
Policymenu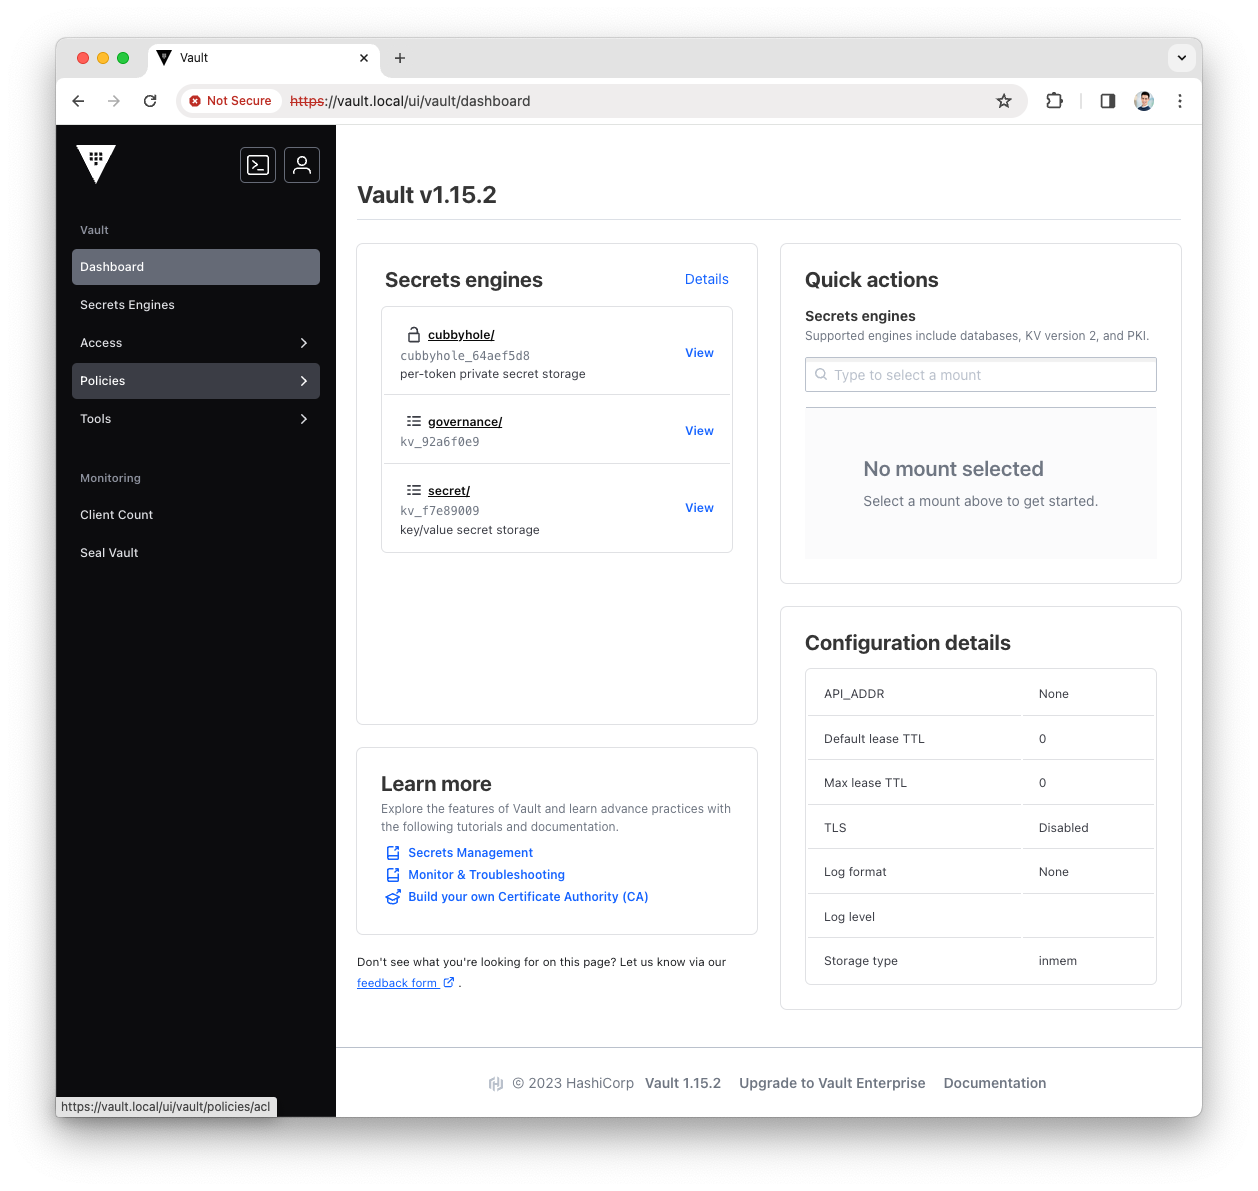
-
Press the
Create ACL policybutton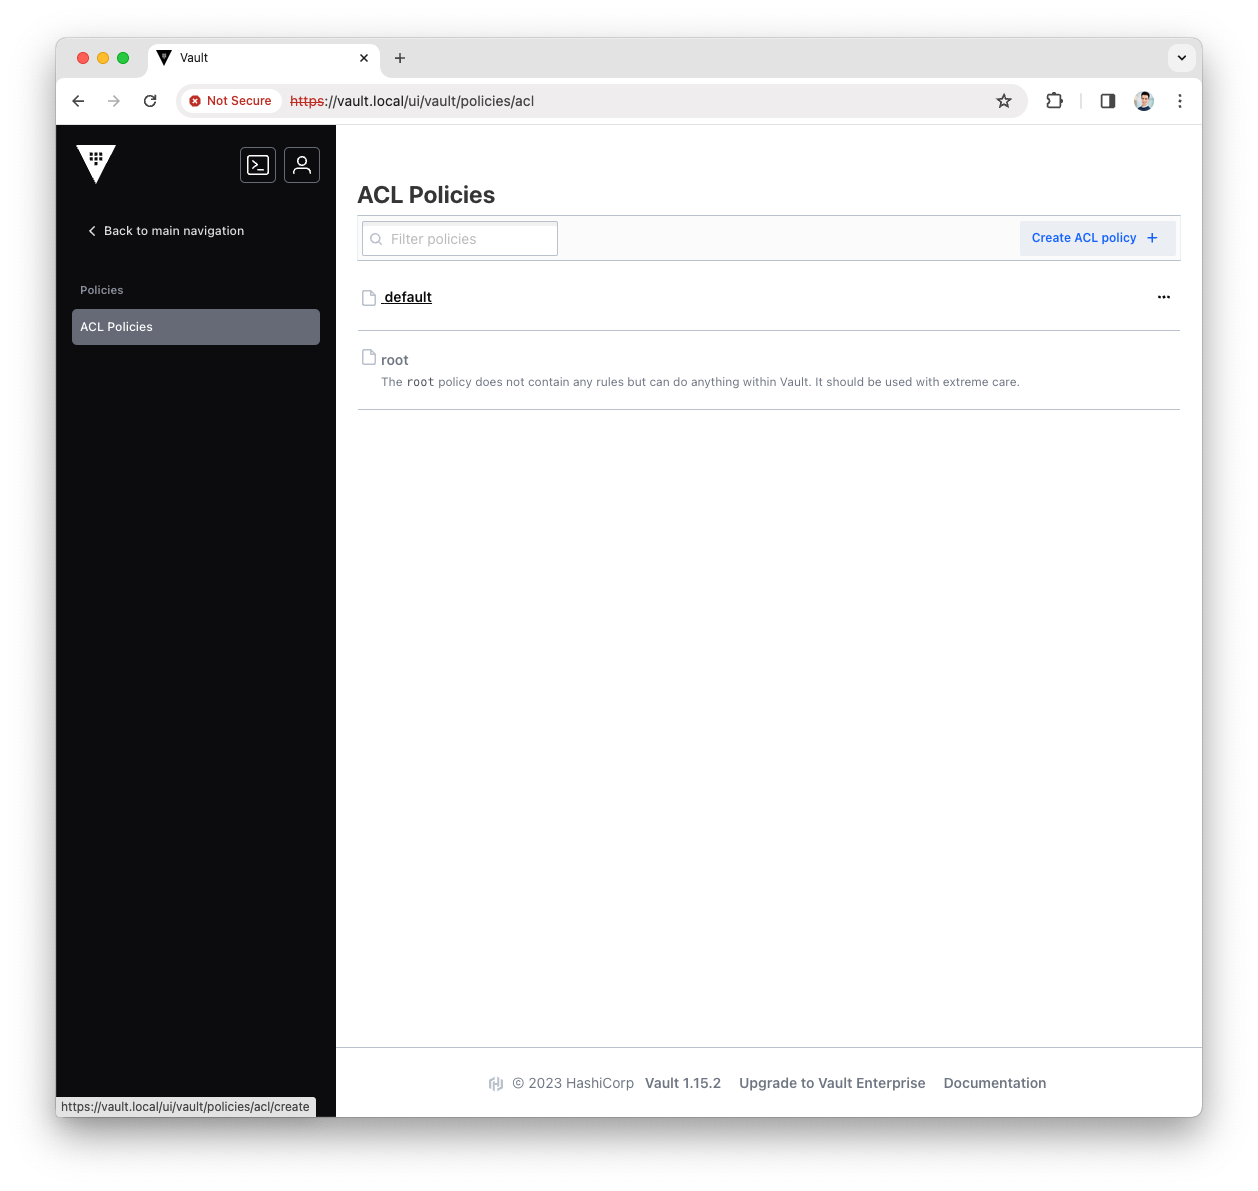
-
Fill the
Namewith platform-manager and copy the following content asPolicypath "governance/*" { capabilities = ["read","create","update","delete"] }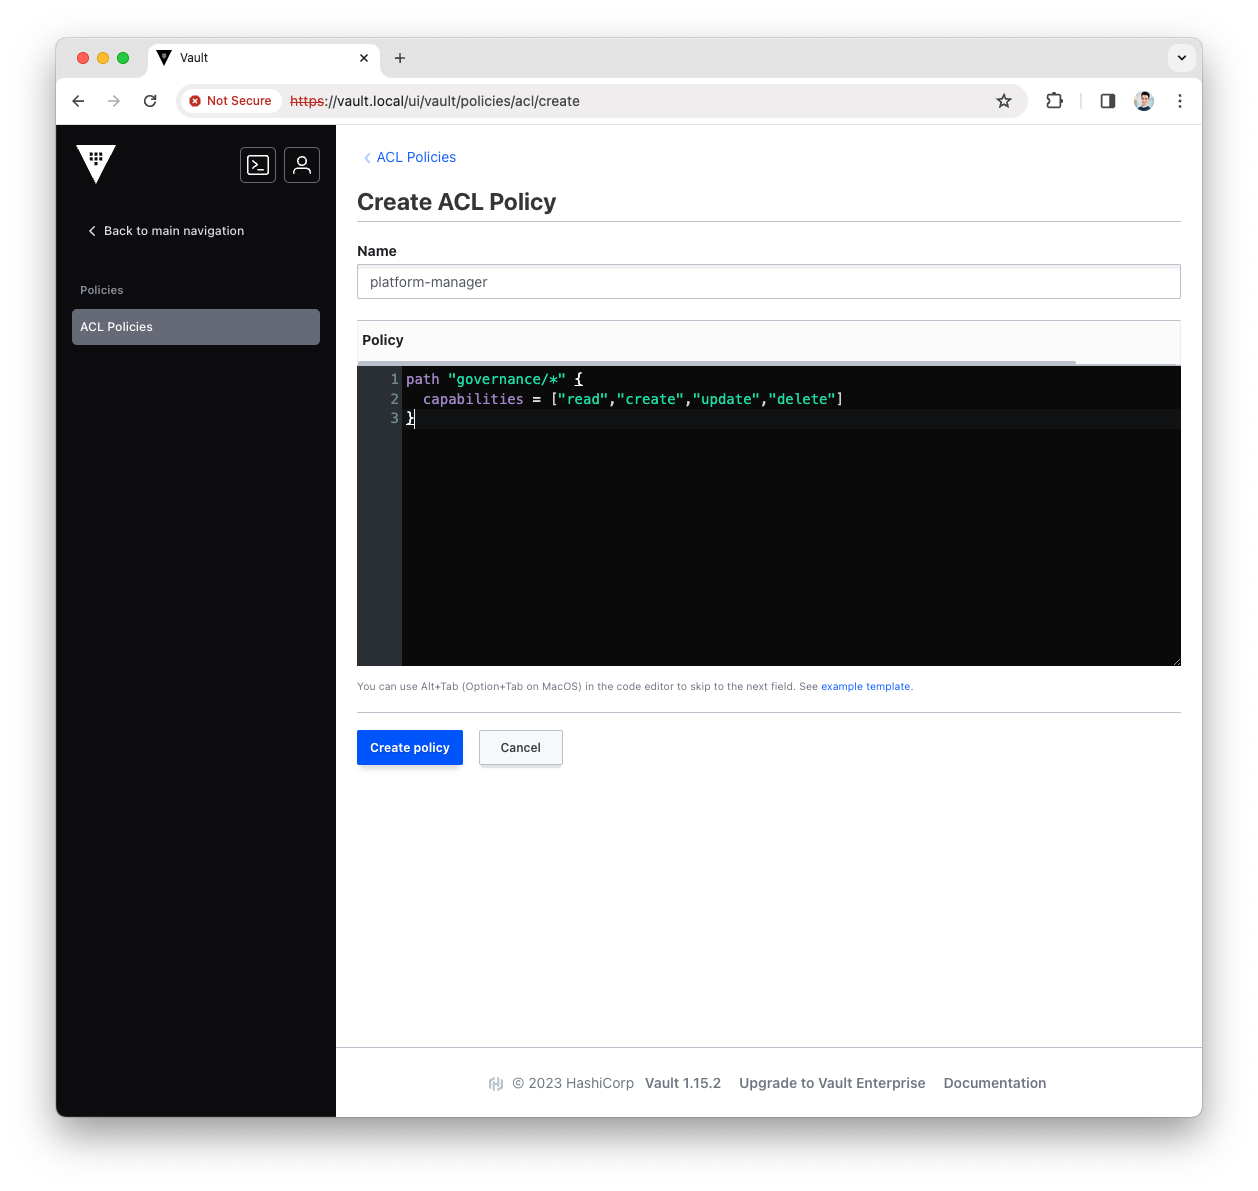
-
Press
Create Policy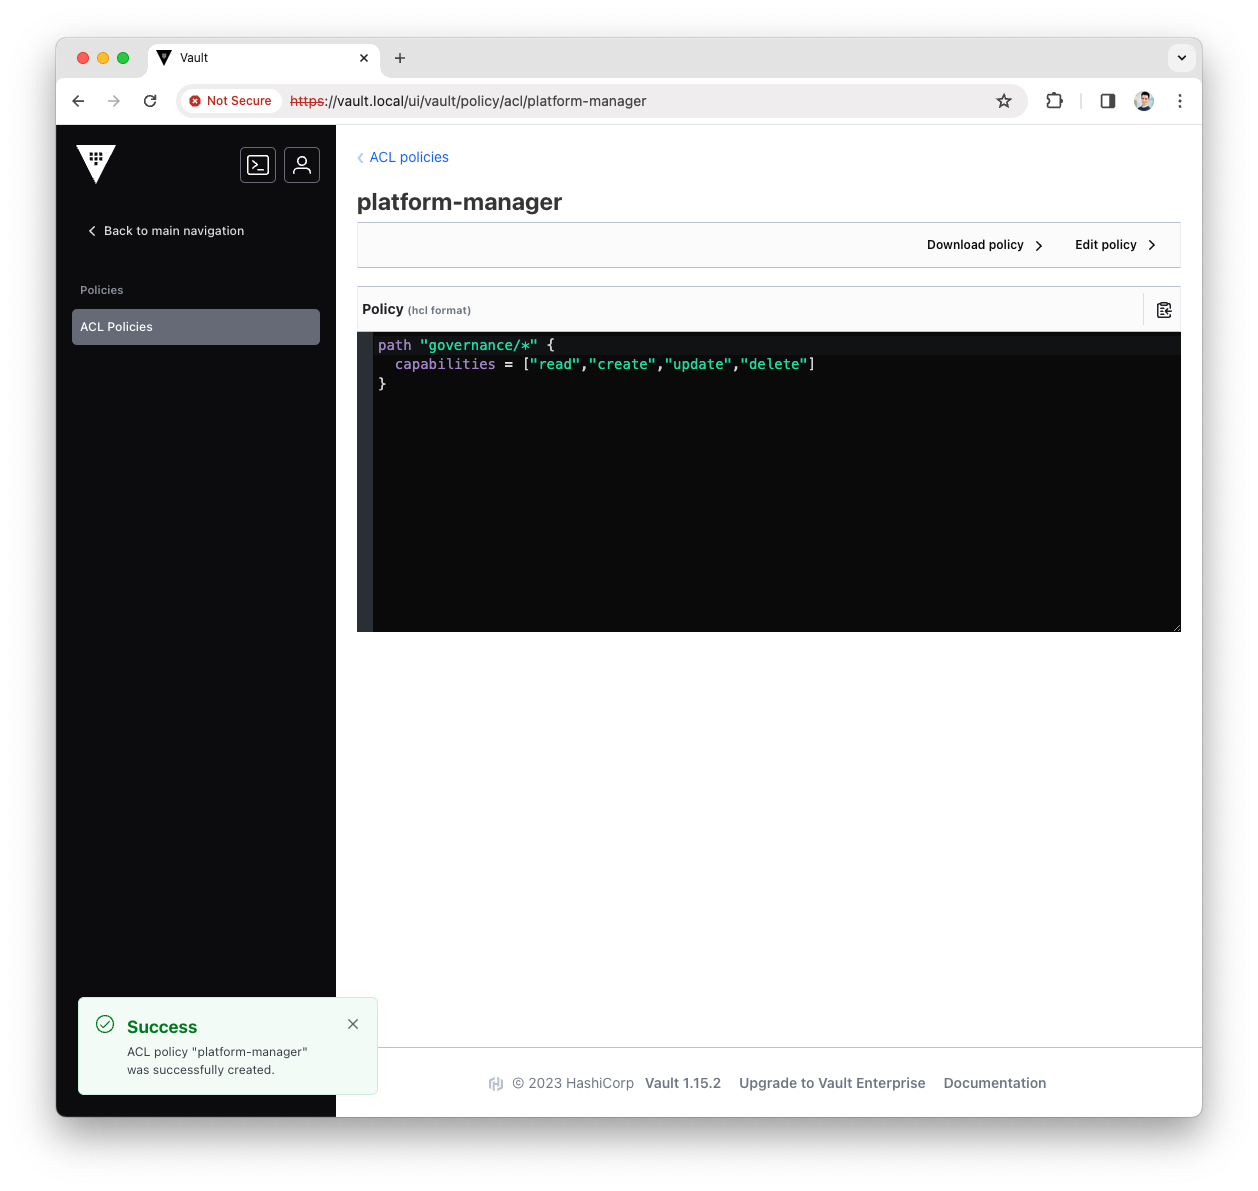
-
The Platform Manager policy now exists. The next section adds it to the Platform Manager AppRole.
Create RoleId and SecretId
The Role ID identifies the AppRole and the Secret ID is its password. Vault displays the Secret ID once, so store it before leaving the screen.
-
Log in to the Vault user interface with the
rootToken
-
Open the
terminalmenu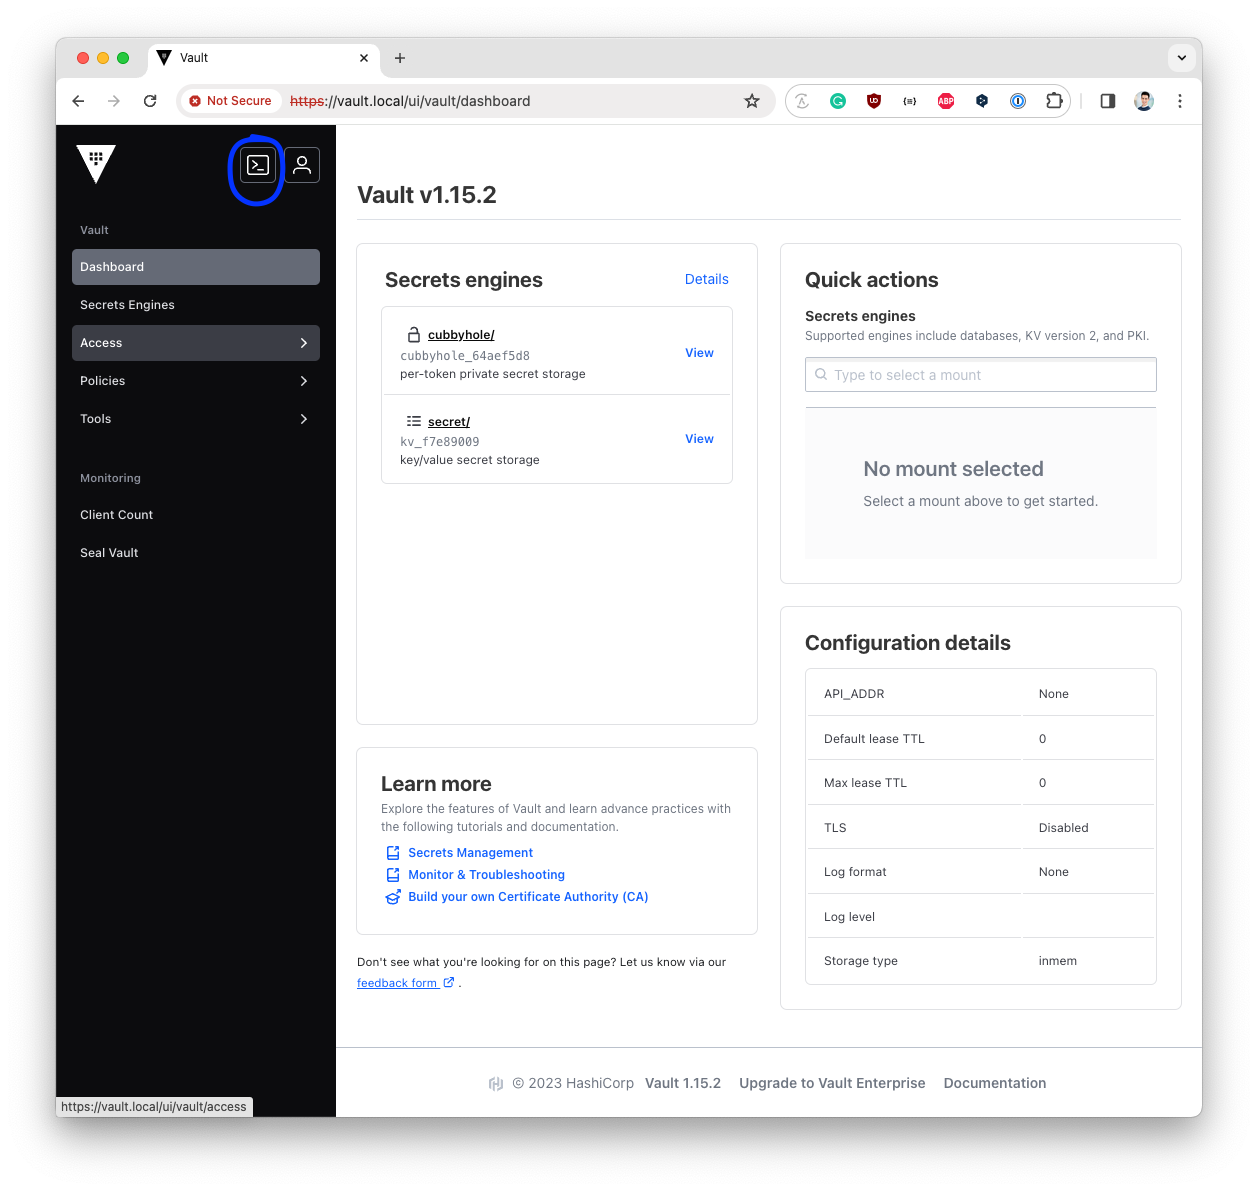
-
Add the Platform Manager policy to the
Platform Manager AppRolevault write auth/approle/role/platform-manager token_policies="platform-manager"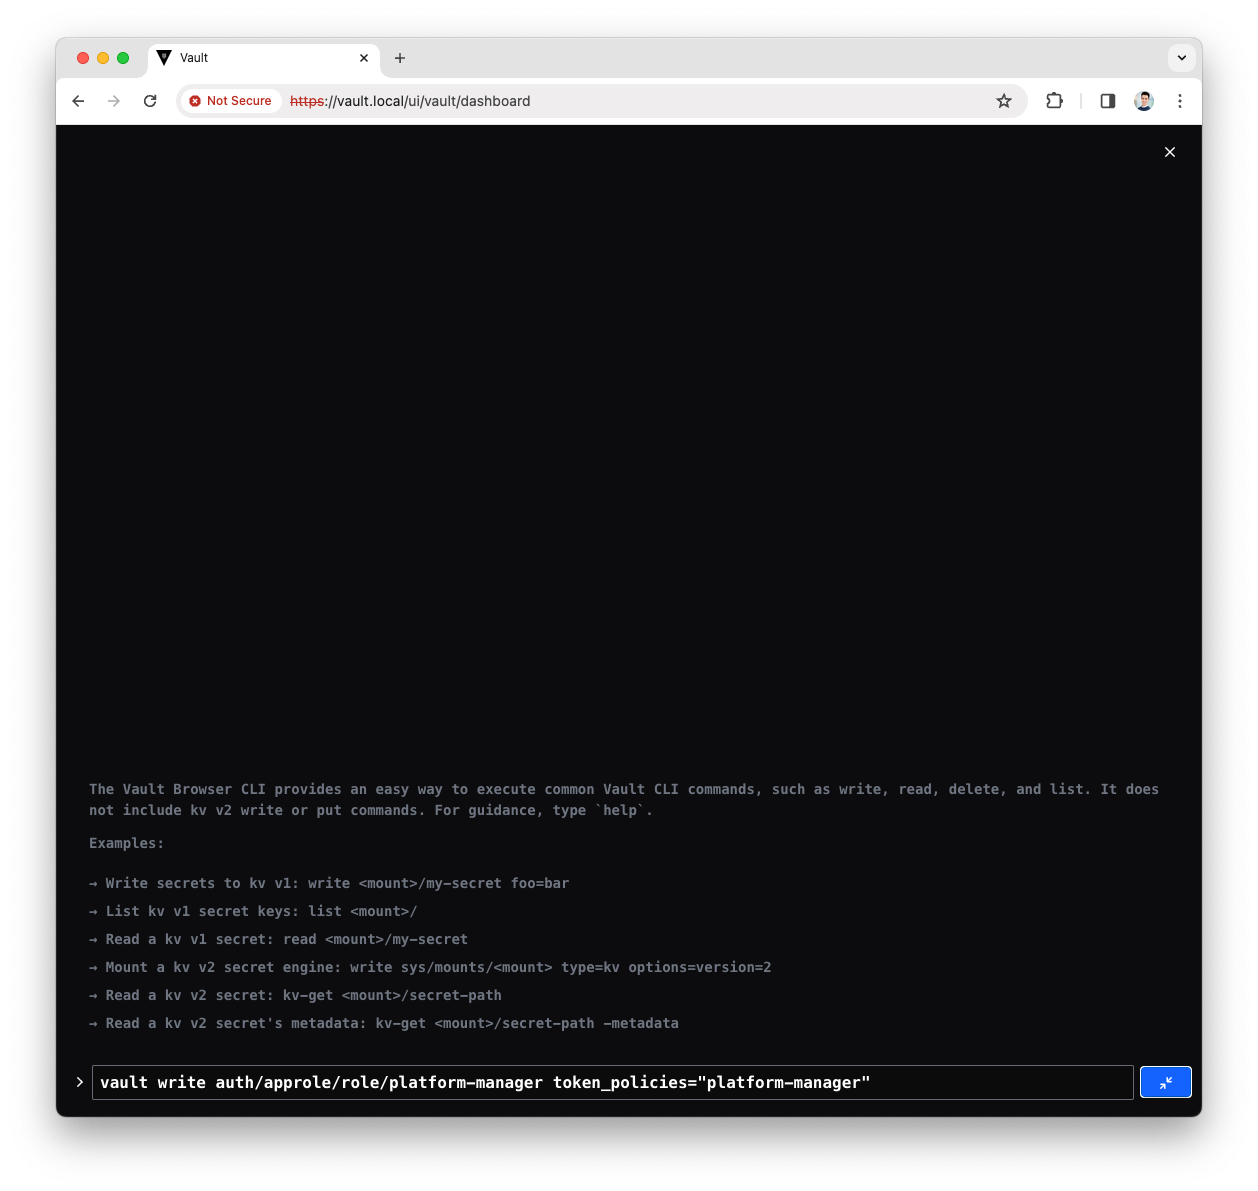
-
Read the Platform Manager policy
role_idvault read auth/approle/role/platform-manager/role-id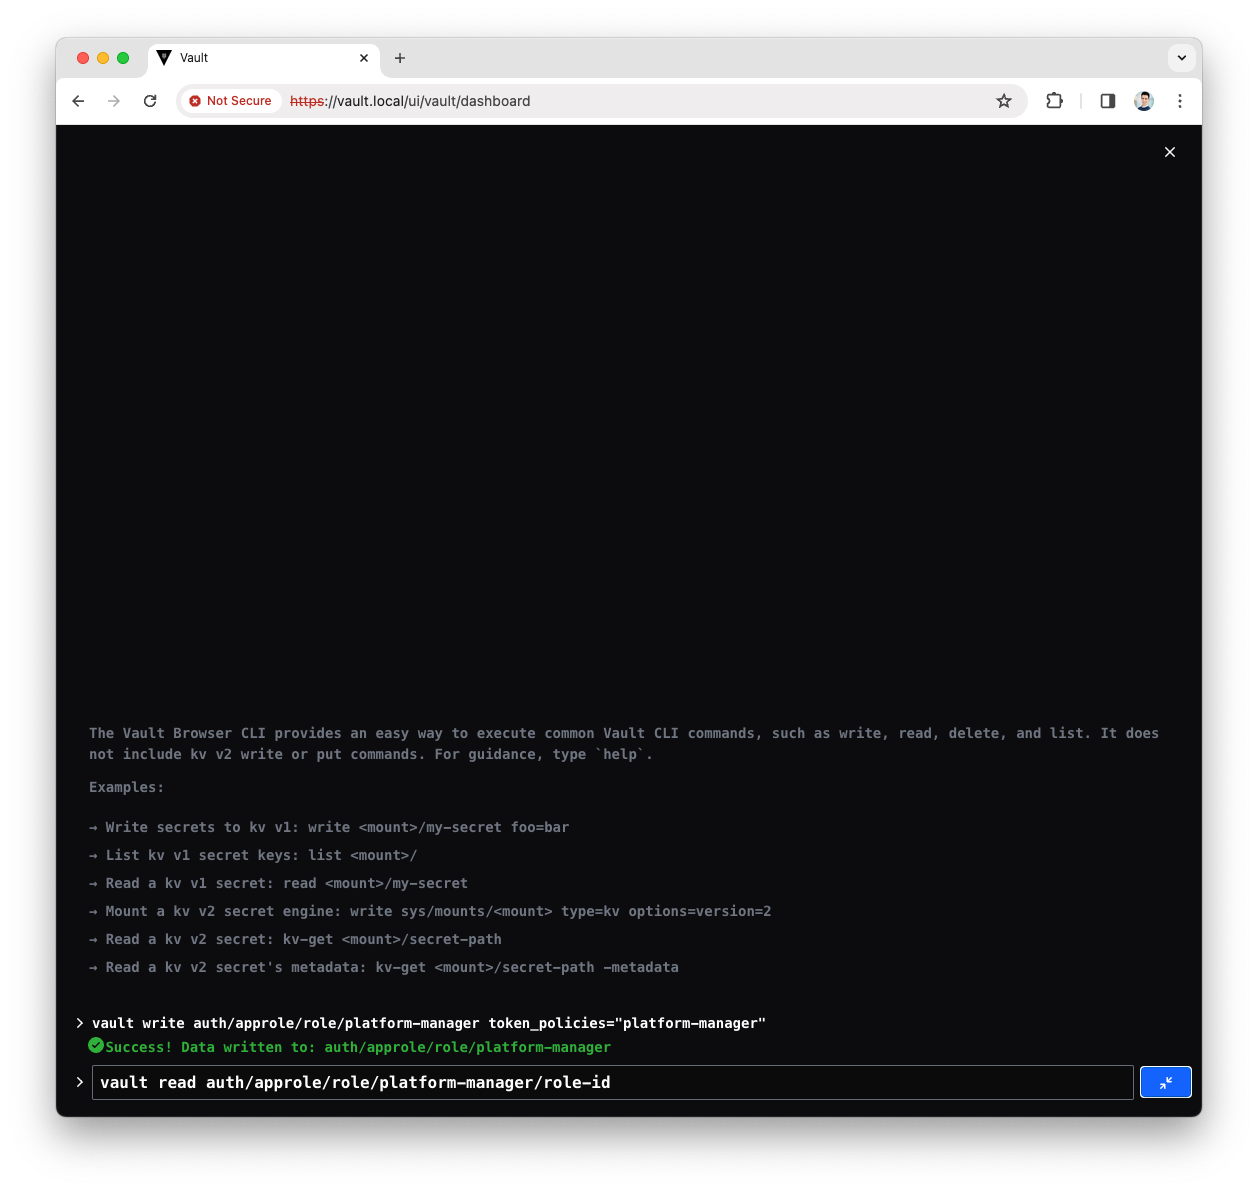
-
The response looks like this
Key     Value
role_id 0b7569bd-7d8b-c33c-f759-e15231b18542
Note the
role_id. Platform Manager needs it in its configuration. -
Read the Platform Manager policy
secret_idvault write -force auth/approle/role/platform-manager/secret-id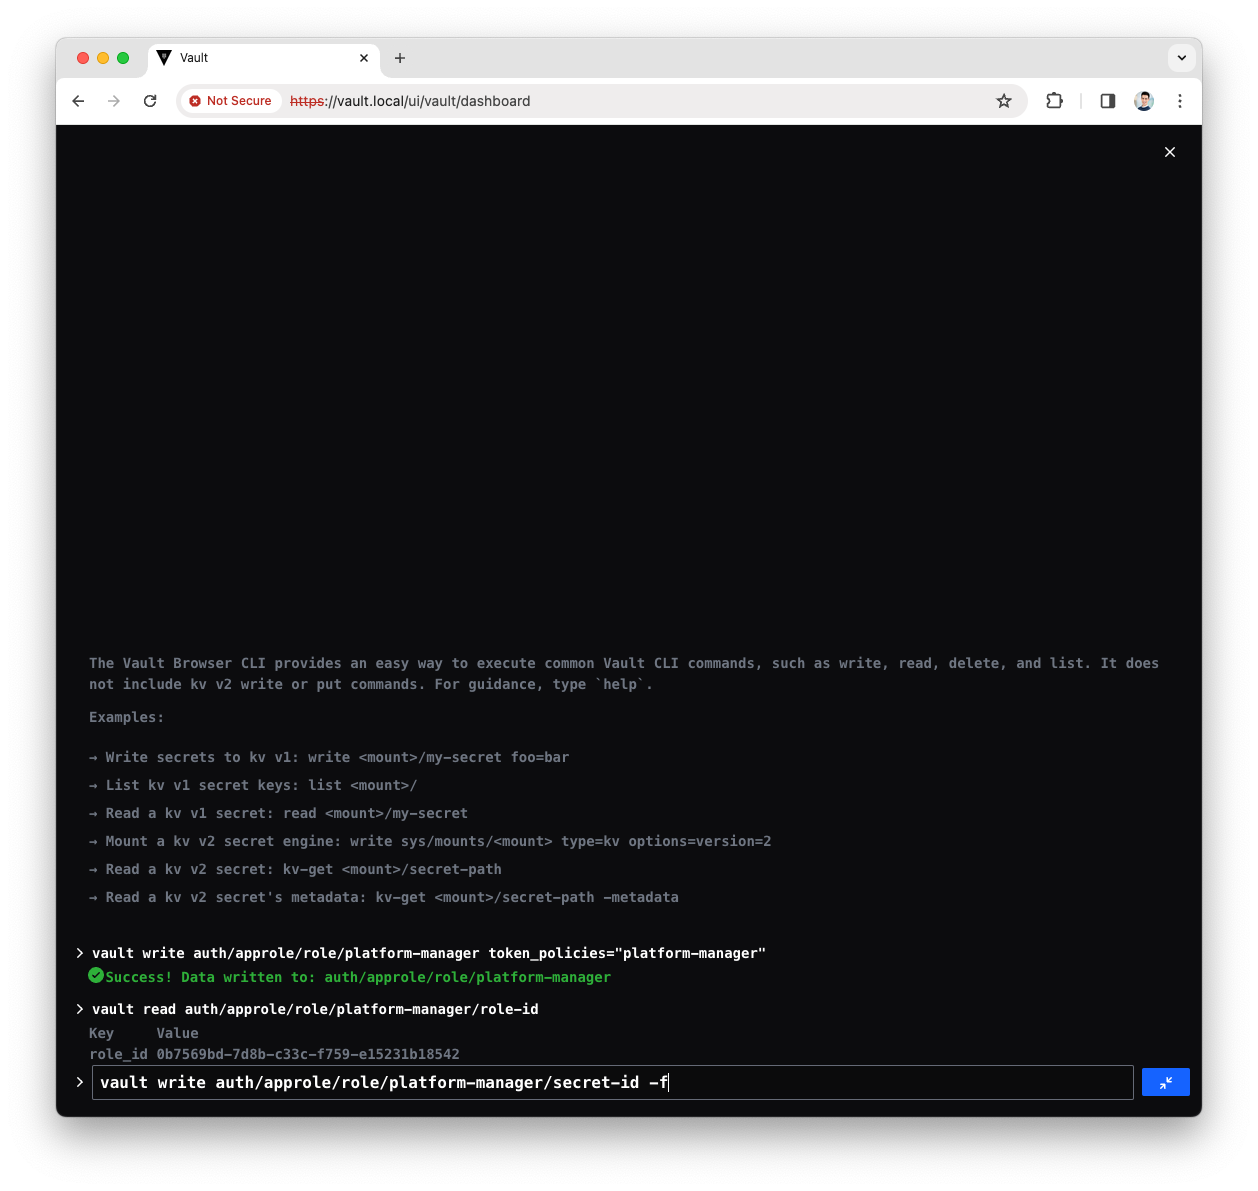
-
The response looks like this
Key                Value
secret_id          2387519d-5ac8-8af2-ad58-e89848fa3f05
secret_id_accessor a5740957-205d-7be4-23c7-e7bc57791631
secret_id_num_uses 0
secret_id_ttl      0
Note down the
secret_idand store it in a password manager. Vault does not display it again, and Platform Manager needs it in its configuration. -
Platform Manager can now reach the
governancepath.
Verify the AppRole
Whichever path you followed, confirm the AppRole exists and carries the policy before handing its credentials to Platform Manager. Run both commands from the Vault pod or the Vault user interface terminal:
vault read auth/approle/role/platform-manager/role-id
vault read -field=token_policies auth/approle/role/platform-manager
Expected output:
Key        Value
---        -----
role_id    <uuid>

[platform-manager]
A role_id field means the AppRole is registered, and platform-manager in the policy list means the policy is attached. An empty policy list means the AppRole was created without token_policies. Platform Manager then authenticates and is refused on every governance/ path, which surfaces as an authorisation failure at runtime rather than here.
Using the Role ID and Secret ID in configuration
Platform Manager reads the pair from the governance values. Edit the values.yaml file in your working directory and add the role_id and secret_id you stored earlier:
axual-governance:
  platform-manager:
    config:
      # Vault Configuration for Self-Service
      governance:
        vault:
          enabled: true
          uri: "http://axual-governance-platform-manager-vault:8200"
          roleId: <platform-manager role ID>
          secretId: <platform-manager secret ID>
          path: "governance"
          # namespace:
Write roleId and secretId in camelCase. With role-id and secret-id under governance.vault, Platform Manager fails to start with Could not resolve placeholder 'governance.vault.roleId'.
To keep both values out of the values file, store them in a Kubernetes Secret instead, as described in How to Store Component Credentials in a Kubernetes Secret.
Axual Connect authenticates with a second AppRole, and the values that point Platform Manager at the connectors engine belong with it. See How to Set Up Vault for Axual Connect.
For every Vault chart value, see HashiCorp Vault Chart Values Reference.