Hashicorp Vault setup
Overview
The Platform Manager will store the following in Vault:
-
Cluster details and superuser credentials
-
SASL credentials
-
Connector credentials
It works by providing Platform Manager a write/read role for it to set credentials. For Connect to obtain Connector credentials, it will get a read role.
It is possible to use a single or multiple Vault(s) for multiple tenant instances, the use of an Enterprise Vault is also possible.
These steps have been written with the governance secret engine as example,
this secret engine is required when using the Platform Manager with the Streaming charts, but
can be replaced with any other secret engine.
Basic steps
Basically, we need to execute the following steps:
-
Initialize Vault (Only the first time!)
-
Unseal Vault
-
Login using the root token
-
Enable the key-value secrets engine of Vault
-
Enable the approle auth mechanism
-
Create a policy that is meant to be used by the platform manager, on the path governance/*
-
Link an approle for platform manager to the policy created
-
Get the Role ID
-
Create a Secret ID
-
Add the Secret ID to a password manager
-
Use the Role ID and secret ID by adding these to
values.yamlor aSecretfollow these steps
Fast Vault setup via terminal
After this section all required steps to initialize Vault through the UI are described, but these steps can be accelerated using kubectl instead.
| Ensure the command outputs are be copied and stored, these will be necessary later. |
# First create an alias to speed up interaction with the vault
alias v='kubectl --context minikube -n local-axual exec --stdin=true axual-governance-platform-manager-vault-0 -- '

# The first time only, the vault needs to be initialized
# Use -key-shares=3 and -key-threshold=2 for production
v vault operator init -key-shares=1 -key-threshold=1
# Save the key(s) in password manager!

# Unseal vault (may require multiple keys)
v vault operator unseal <key>
v vault login hvs.VTmpsqRw3gSDkQrVvOWuwLAk

# Set up vault for Self Service
v vault secrets enable -path=governance kv-v2
v vault auth enable approle
echo 'path "governance/*" {capabilities = ["read","create","update","delete"]}' | v vault policy write platform-manager -
v vault write auth/approle/role/platform-manager token_policies="platform-manager"
v vault read auth/approle/role/platform-manager/role-id
v vault write -force auth/approle/role/platform-manager/secret-id
# Save Role ID and Secret ID in password manager!

# When enabling Axual Connect in the installation, also run the following:
v vault secrets enable -path=connectors kv-v2
echo 'path "governance/*" {capabilities = ["read","create","update","delete"]}\npath "connectors/*" {capabilities= ["read","create","update","delete"]}' | v vault policy write platform-manager -
# Replace lines below with data/<tenant>/<instance> or connect-<tenant>-<instance>
echo 'path "connectors/data/tenant/instance/*" {capabilities = ["read"]}' | v vault policy write connect-tenant-instance -
v vault write auth/approle/role/connect-tenant-instance token_policies="connect-tenant-instance"
v vault read auth/approle/role/connect-tenant-instance/role-id
v vault write -force auth/approle/role/connect-tenant-instance/secret-id
# Save Role ID and Secret ID in password manager!
Then, continue with using the role Id and secret Id in configuration.
Initialize and Unseal the HashiCorp Vault
The first time you install the HashiCorp Vault, it requires to be initialized to have unseal key(s) and a root token.
-
Key Shares: The number of issued keys which can unseal Vault (Local: 1 – Prod: 3)
-
Key Threshold: The minimum amount of keys required to unseal Vault (Local: 1 – Prod: 2)
More info can be found in the Vault official doc
-
Access the Vault UI

-
Provide the
key sharesand thekey thresholdand pressInitializebuttonFor a production environment we suggest at least key_shares=3andkey_threshold=2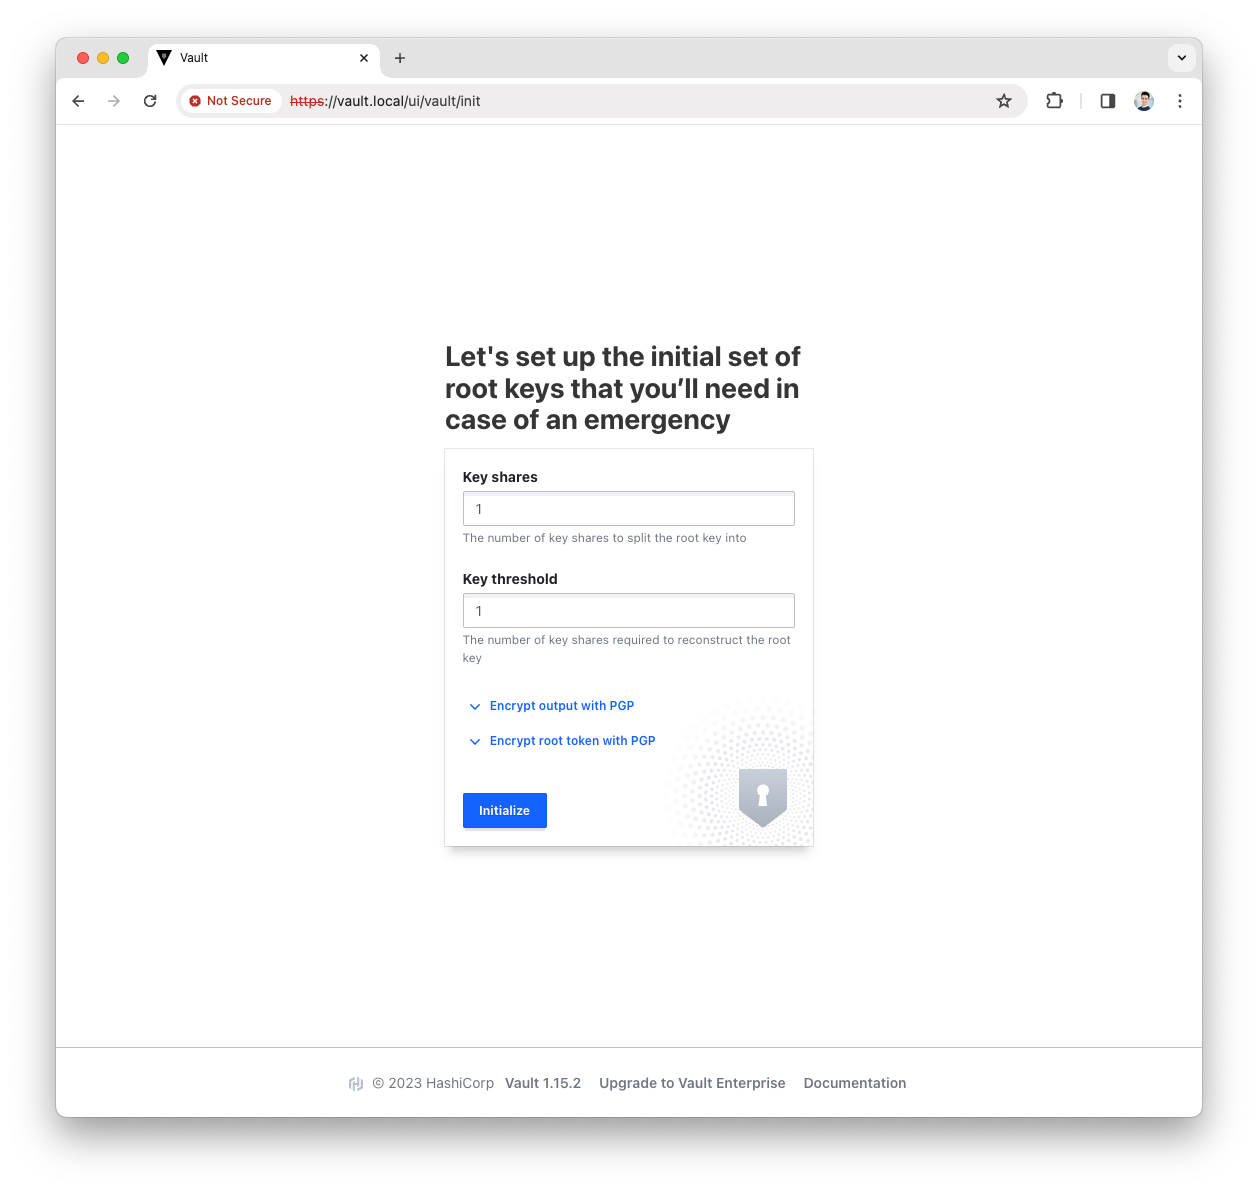
-
Download the generated keys
These will be used to unseal and access the Vault UI 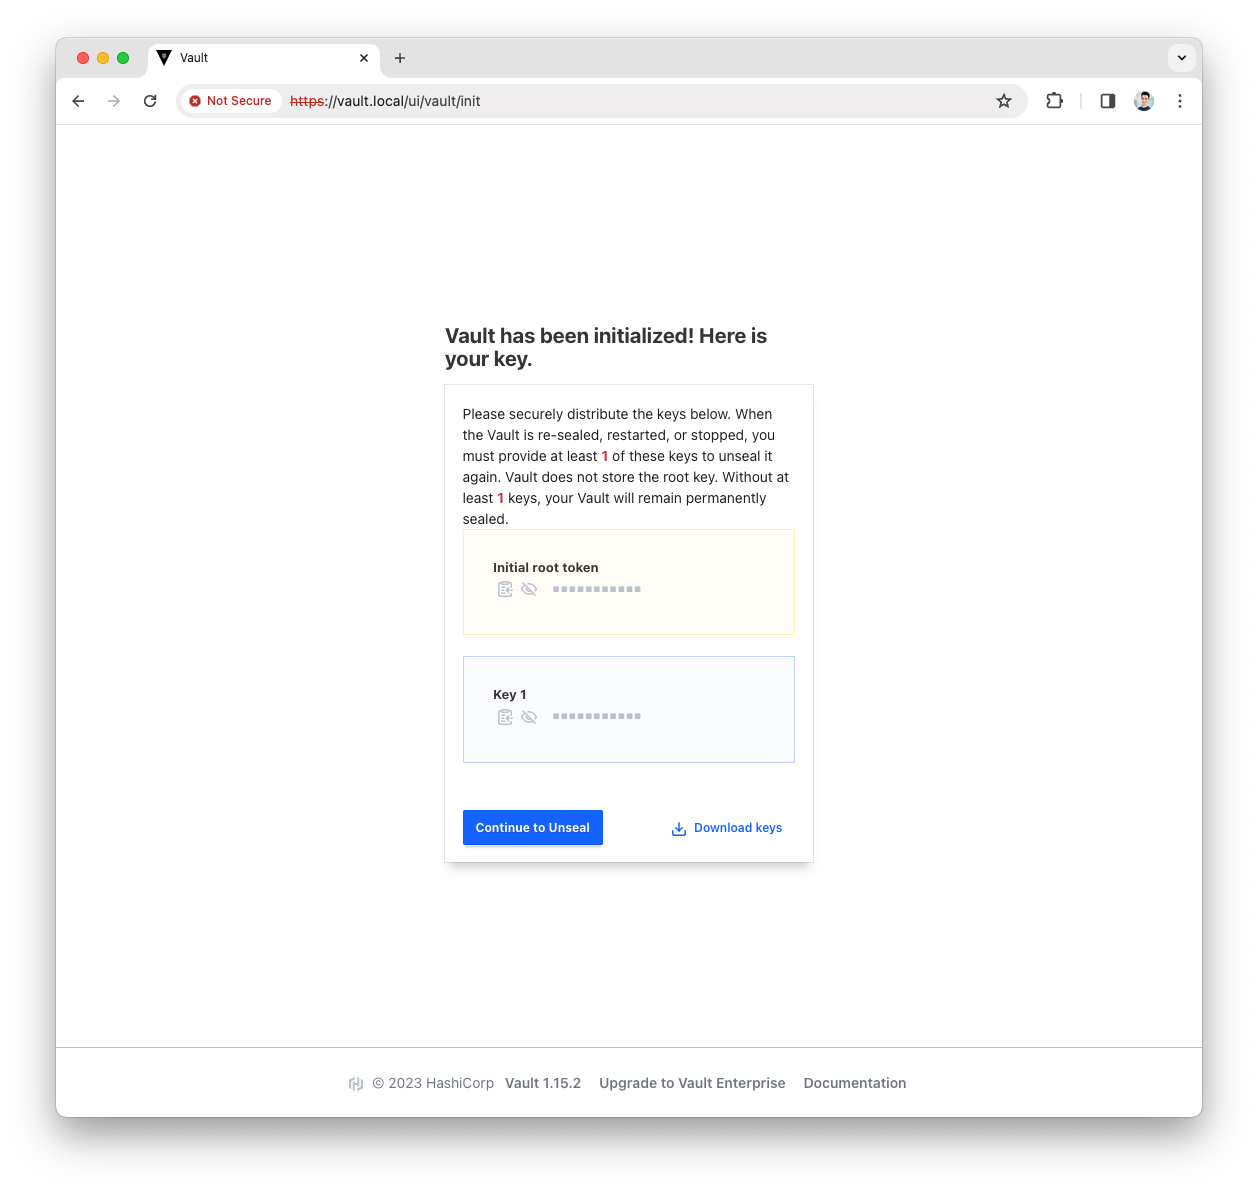
-
Press the
Continue to Unsealbutton -
Paste the Key(s) and press the
Unsealbutton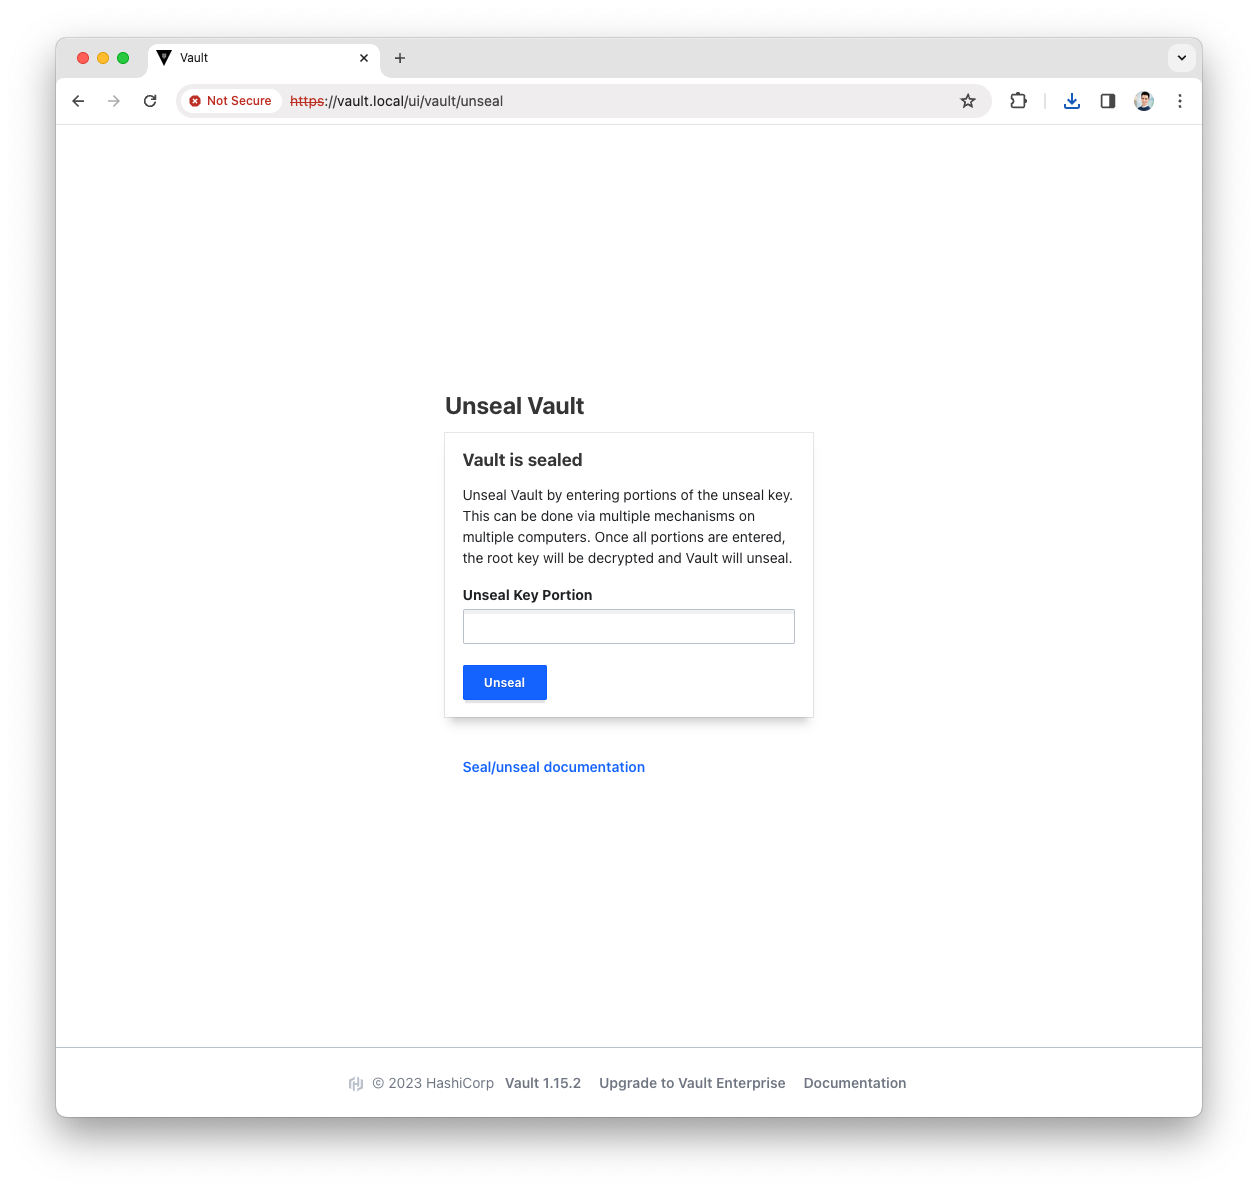
Based on the number of
key sharesandkey thresholdyou will have to repeat the above step with a different key.More info can be found in the Vault official doc
Enable the AppRole Auth Method
The AppRole auth method allows application to authenticate with Vault-defined roles.
More info can be found in the Vault official doc
-
Login into the Vault UI with your
rootToken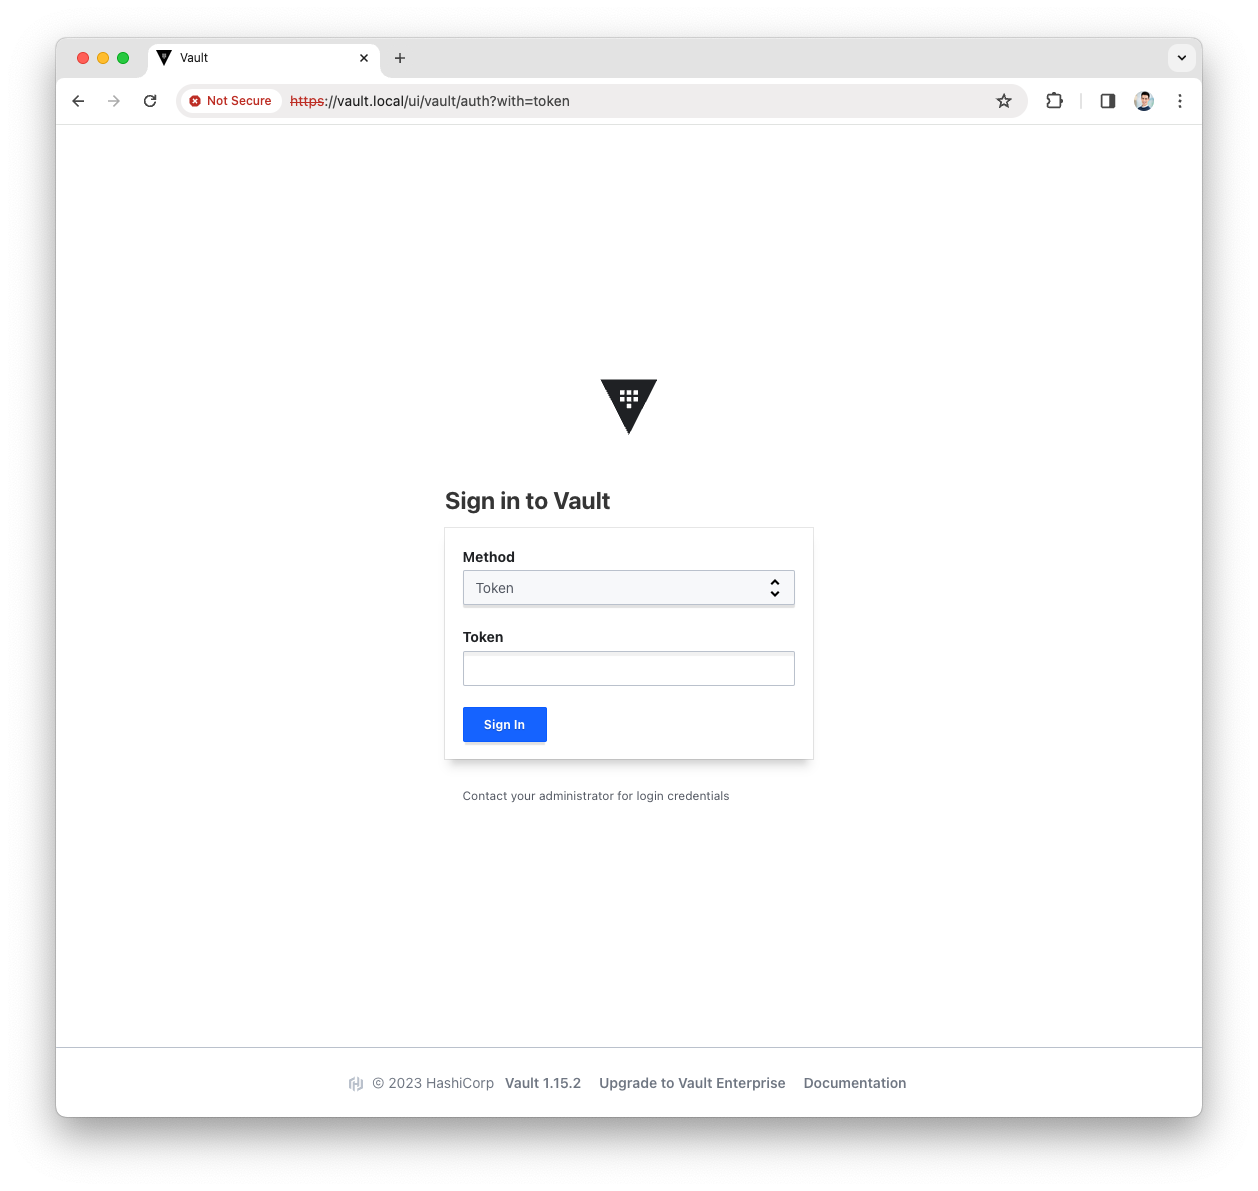
-
Open the
Accessmenu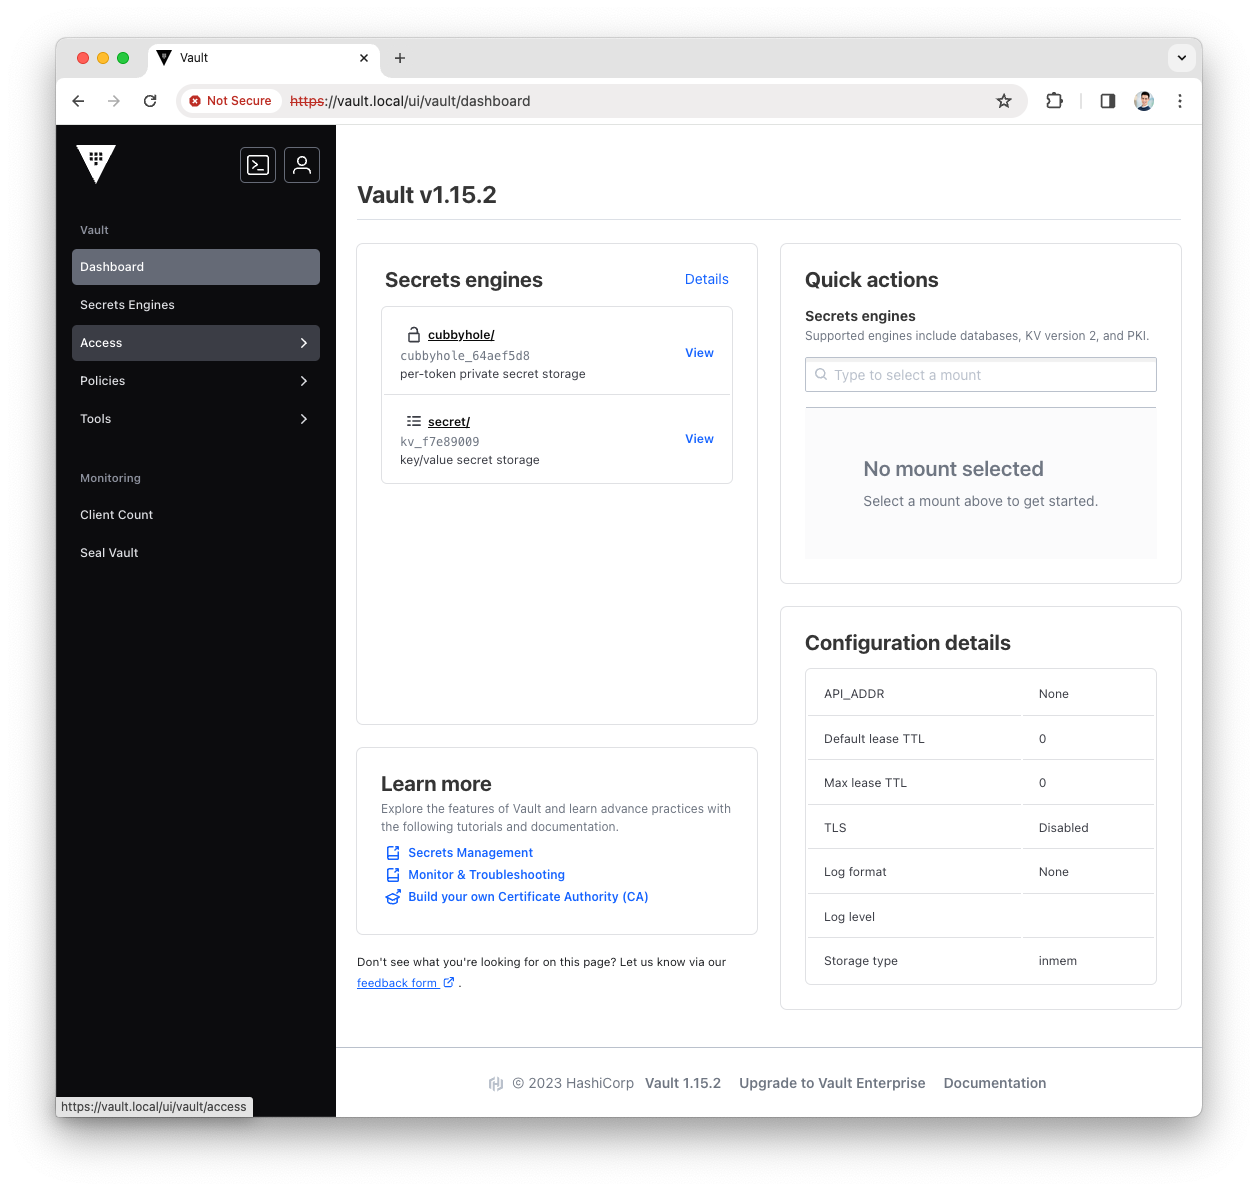
-
Press the
Enable auth methodbutton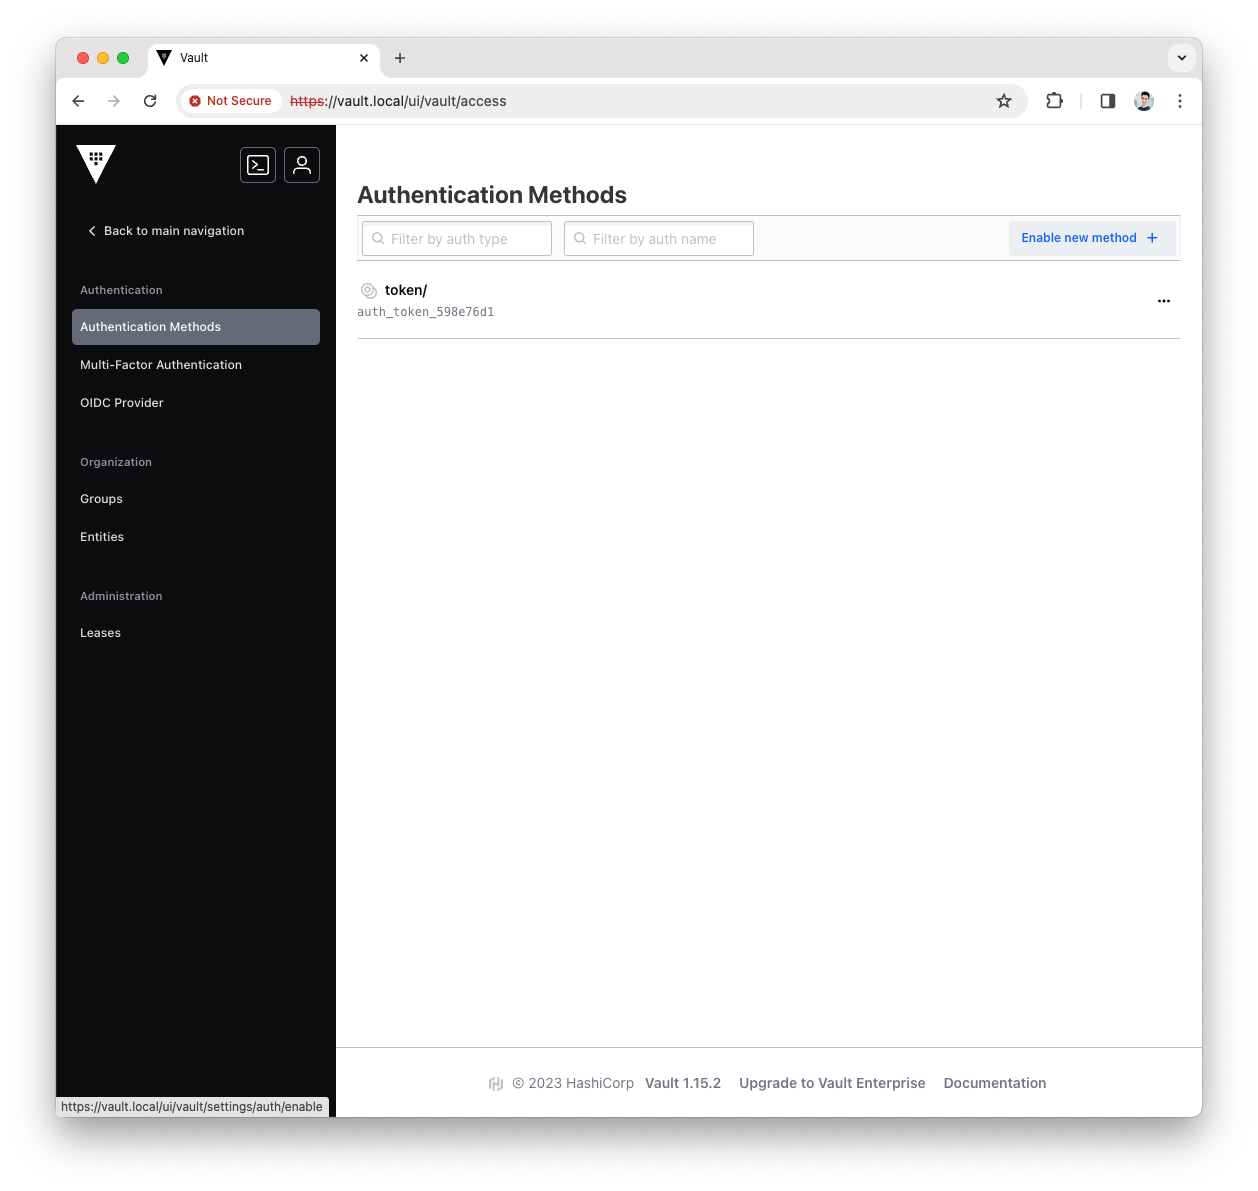
-
Select the
AppRoletype for the new Authentication Method and pressNext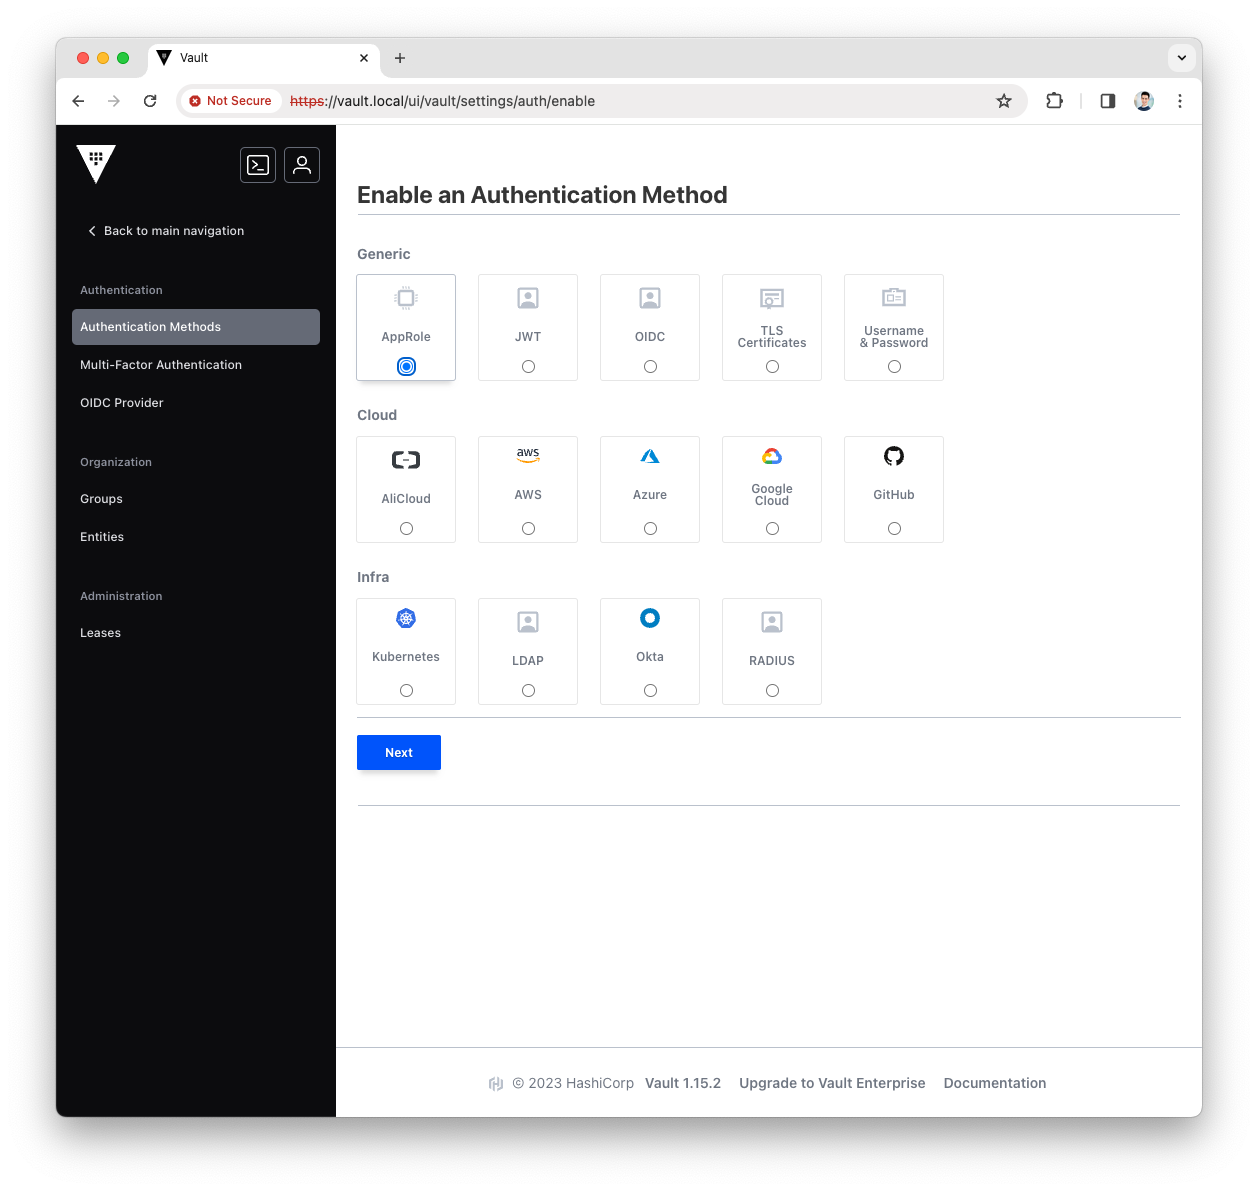
-
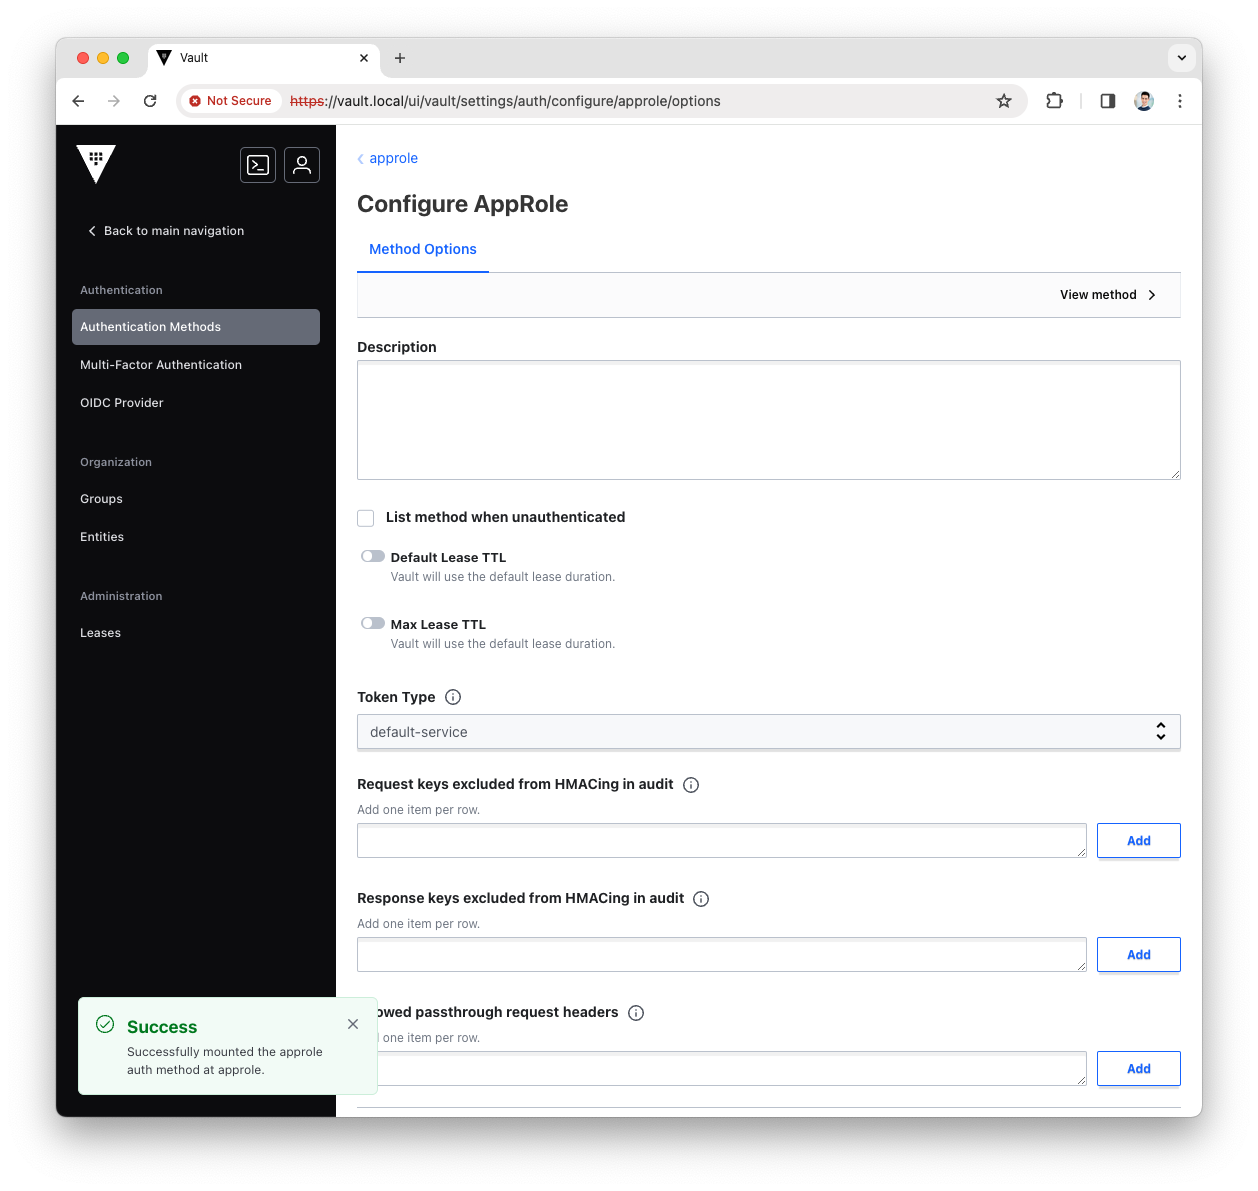
Fill the
Pathwith approle and press theEnable Methodbutton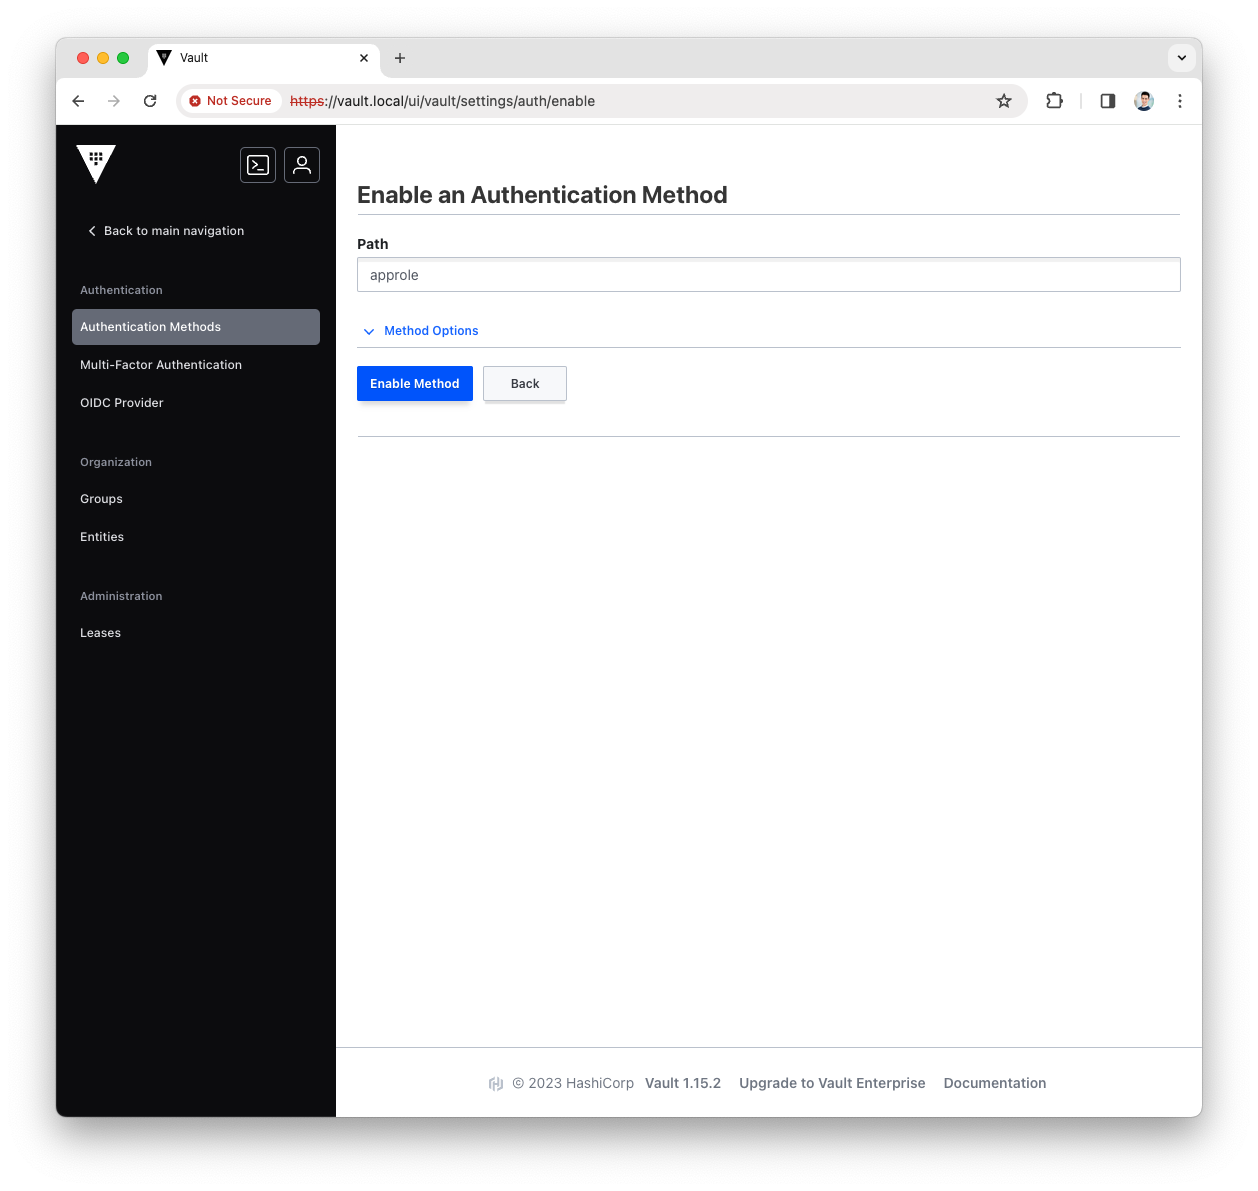
-
You have now enabled the AppRole authentication method, let’s use it with Platform Manager.
Create the KV Secrets Engine
The KV Secrets Engine is used to store secrets in Vault storage with Key:Value format.
More info can be found in the Vault official doc
-
Login into the Vault UI with the
rootToken
-
Open the
Secrets Enginesmenu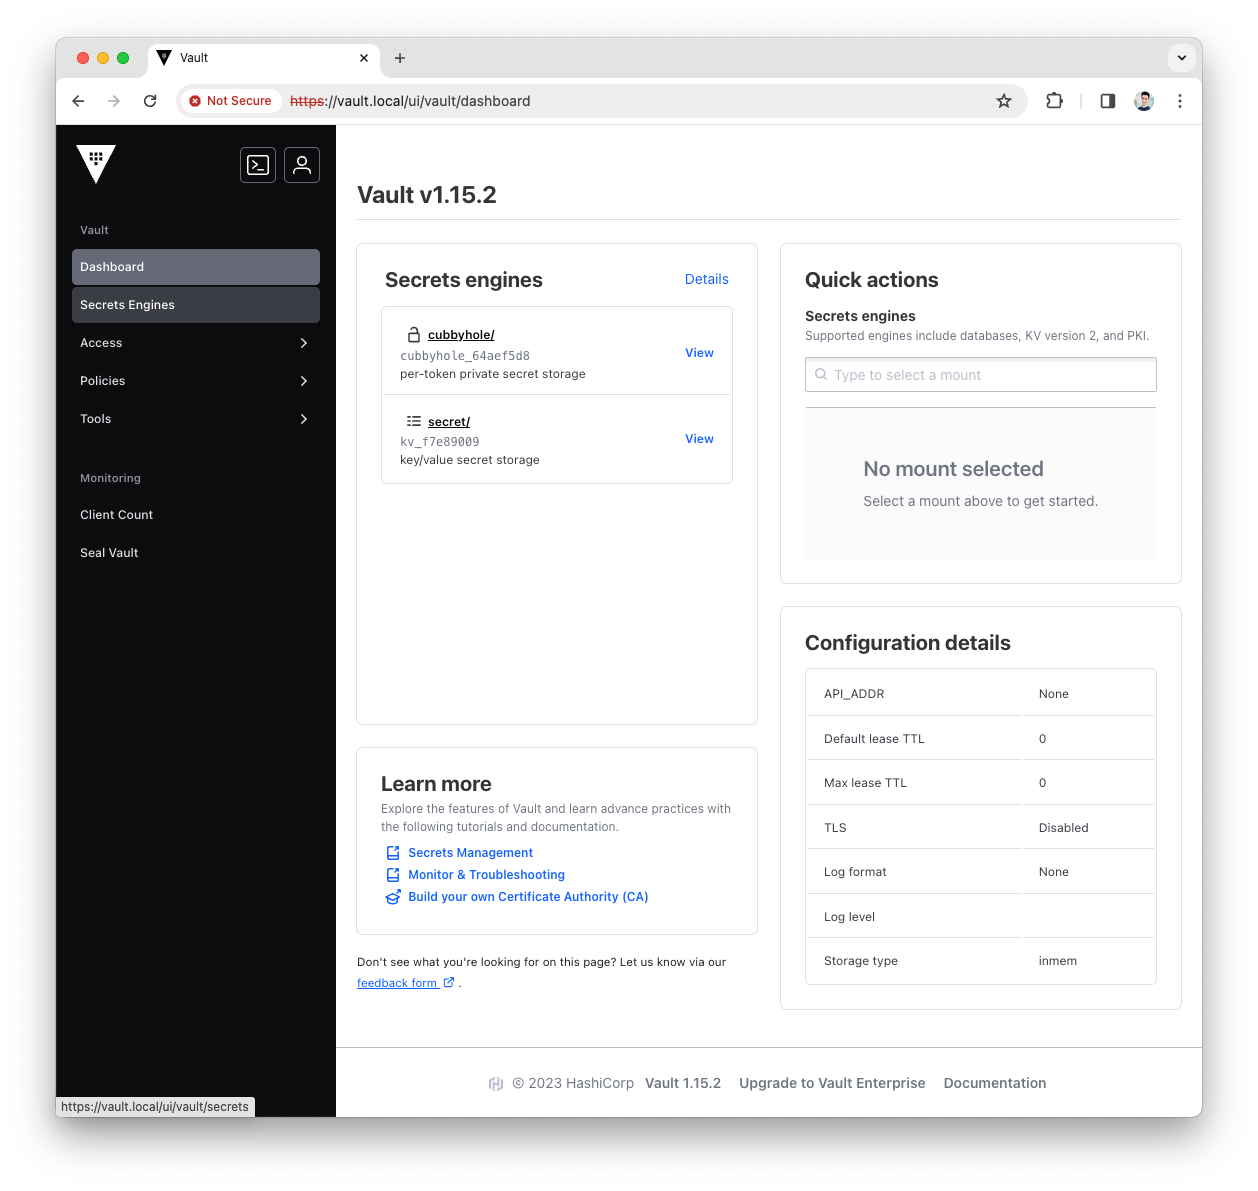
-
Press the
Enable new enginebutton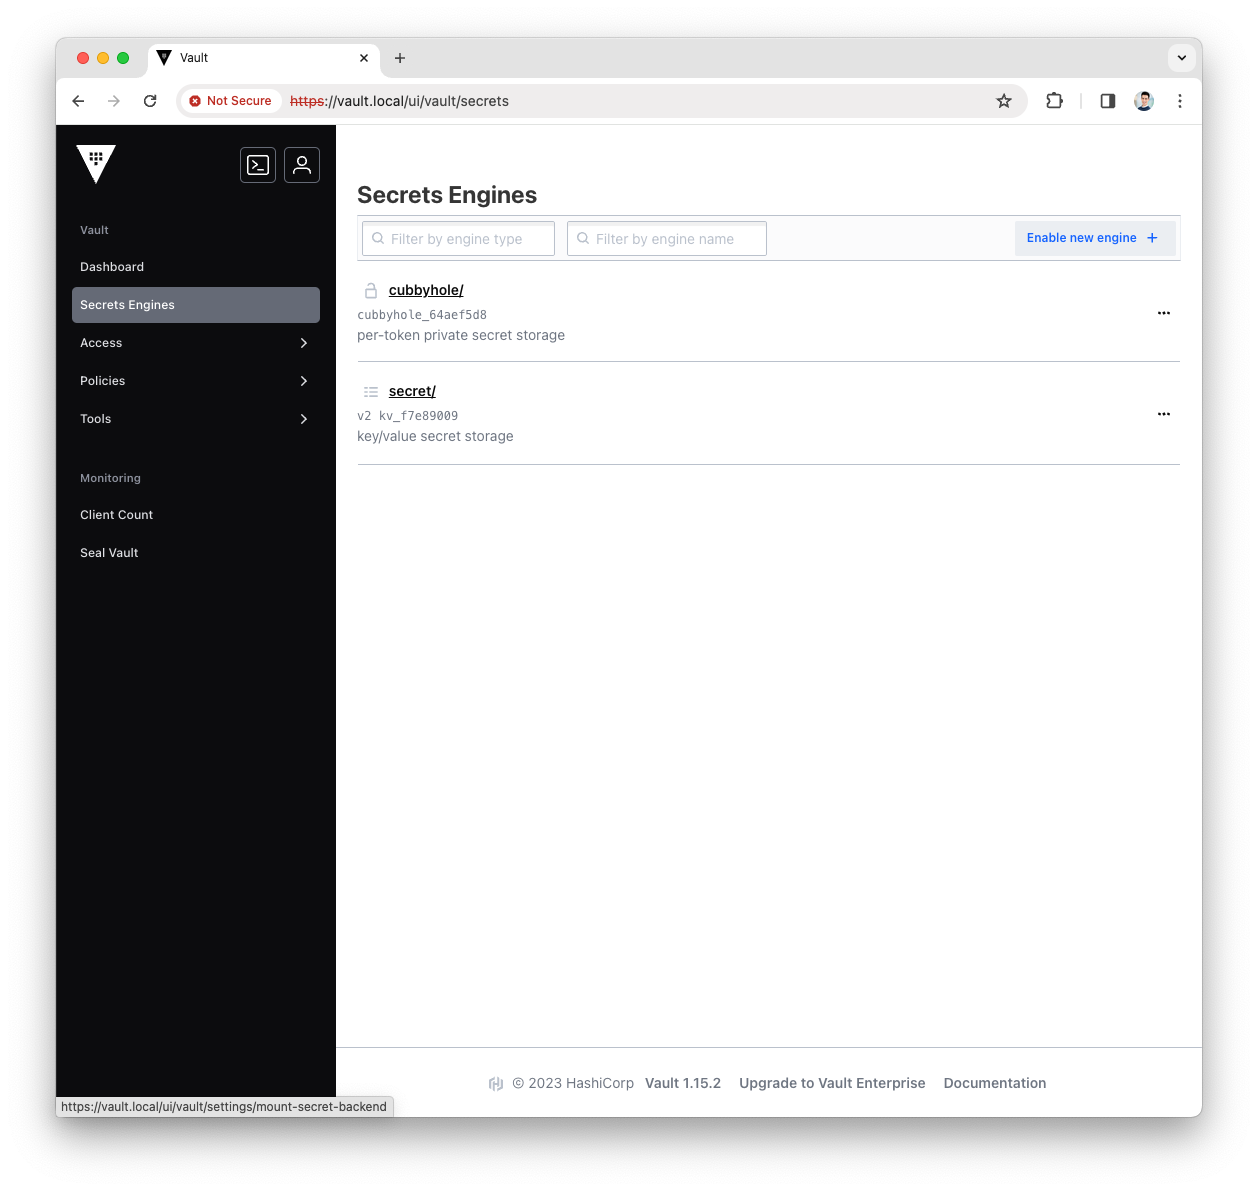
-
Select the
KVtype for the new engine and pressNext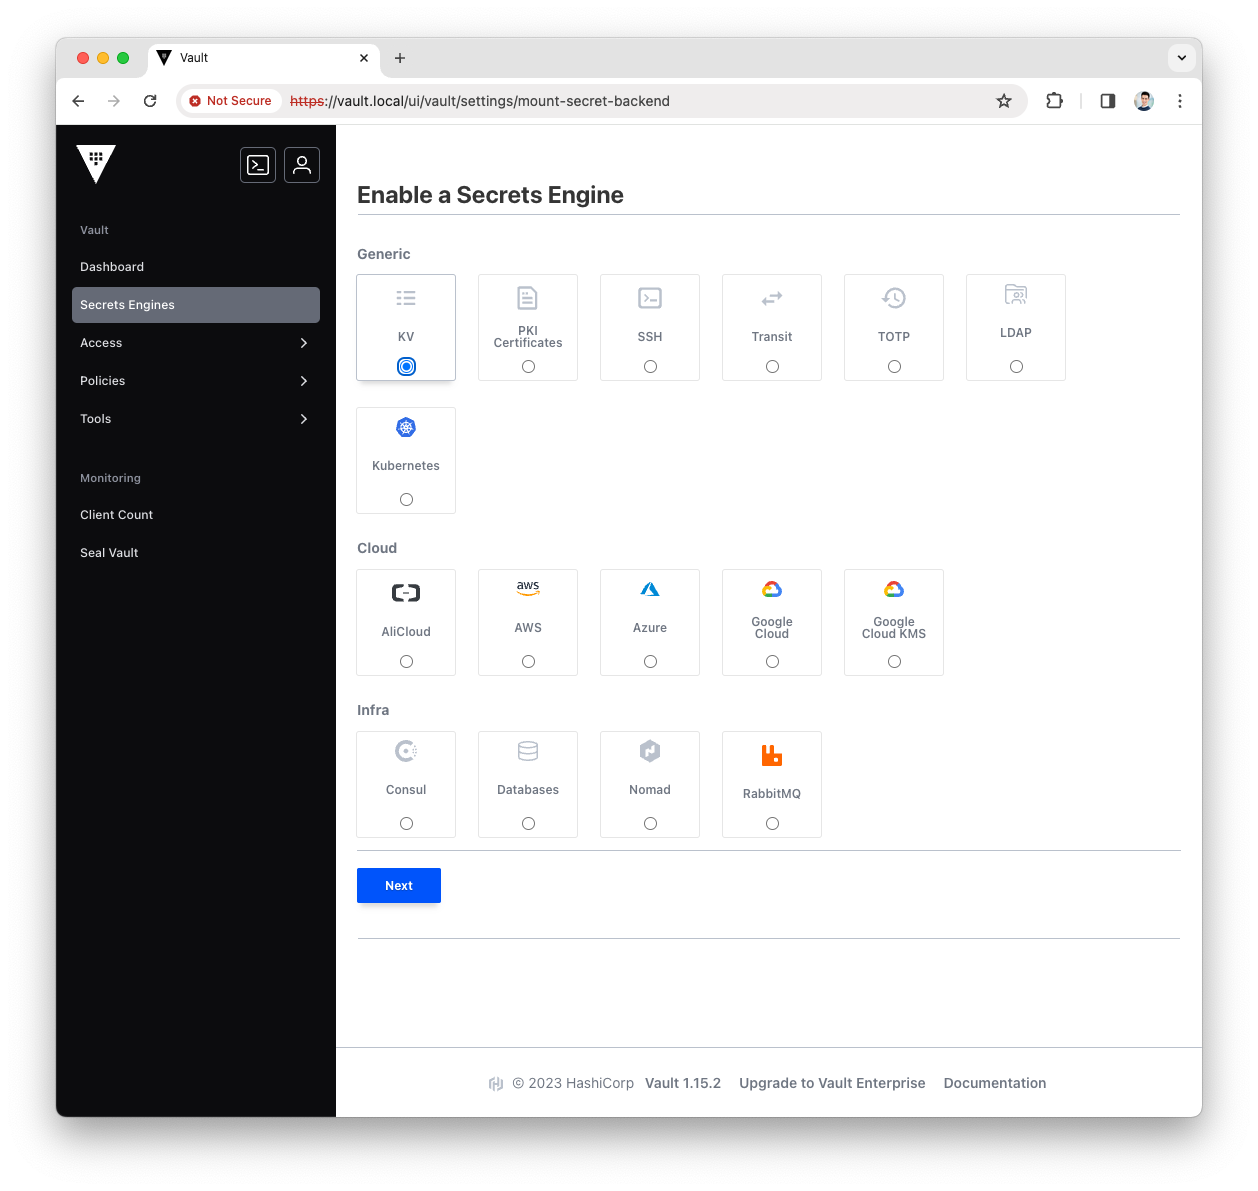
-
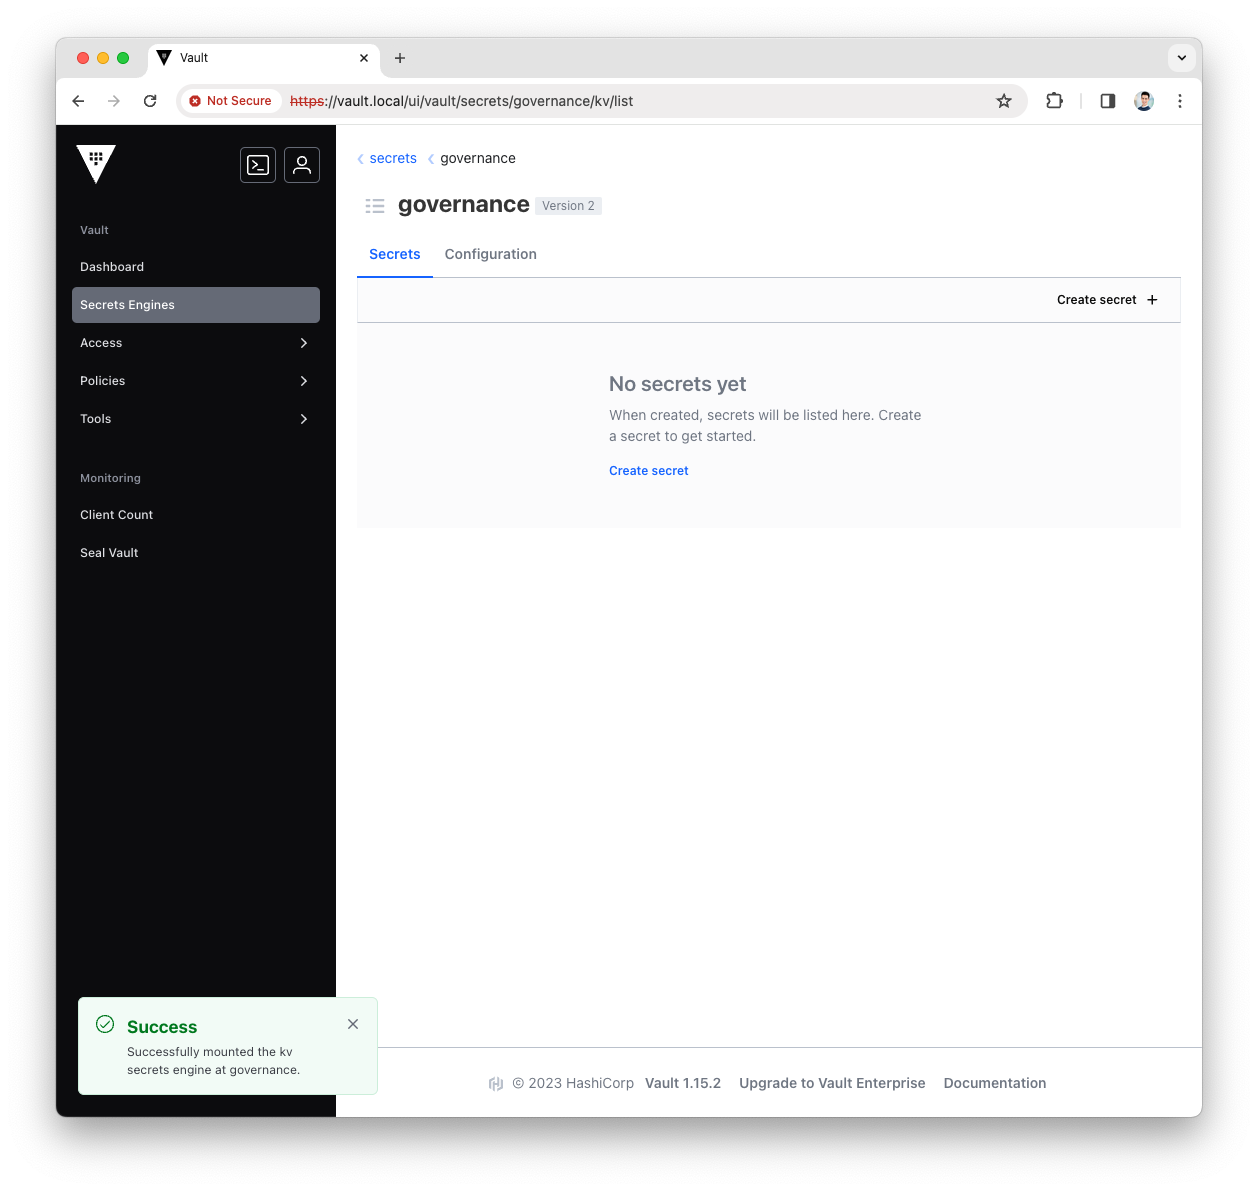
Fill the
Pathwith governance and pressEnable Engine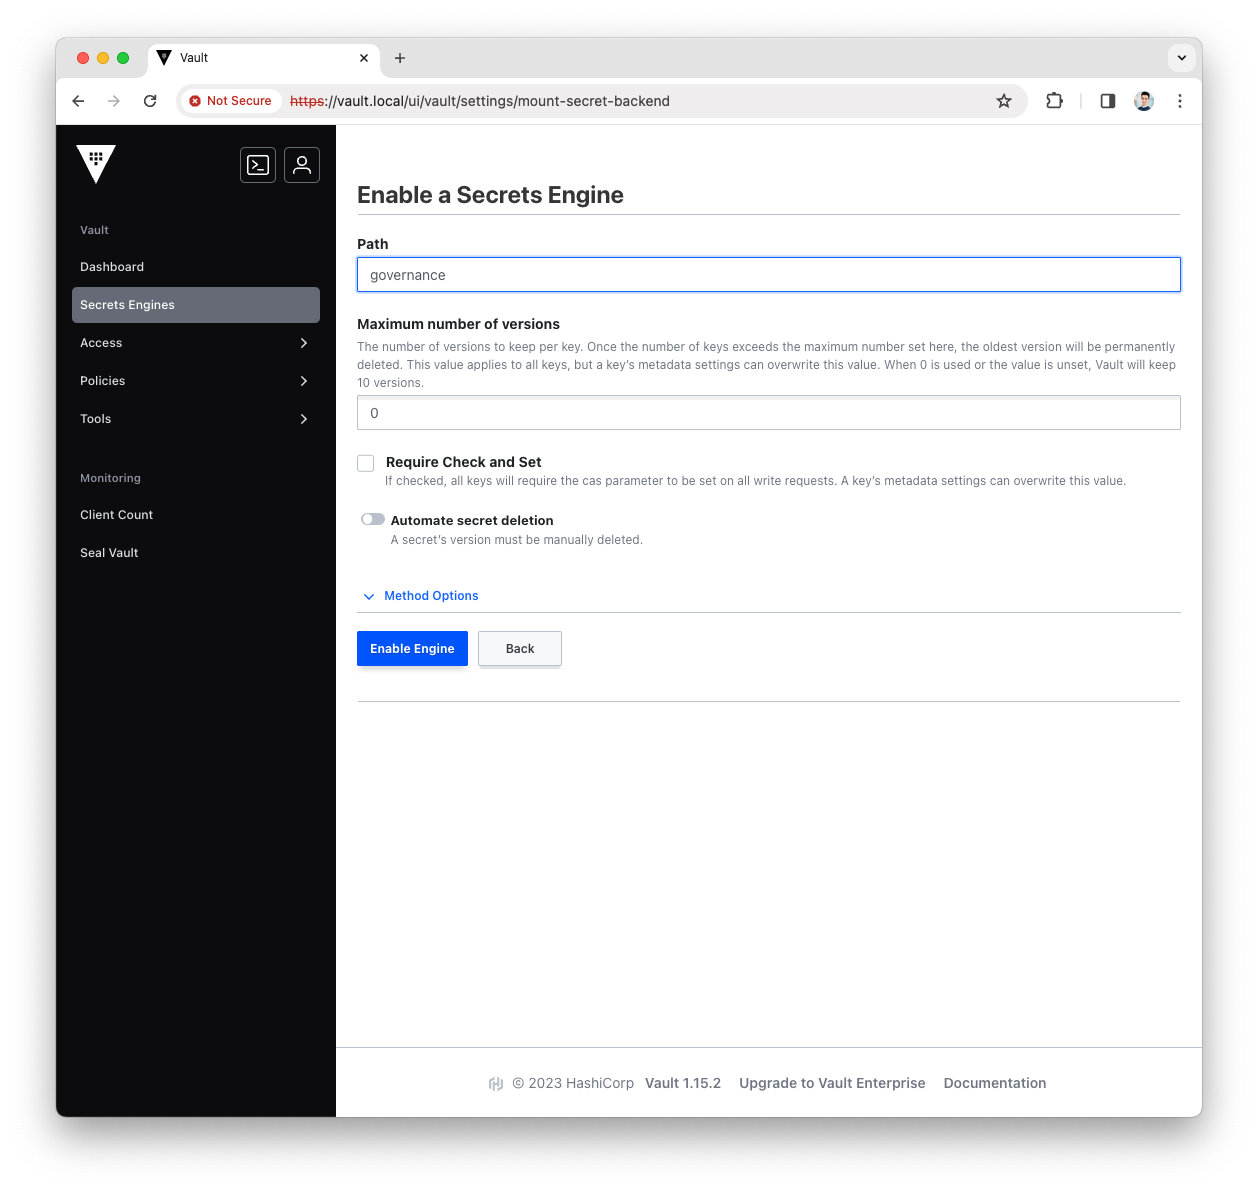
-
You have now configured the governance KV Secrets Engine, let’s use it with Platform Manager.
Create the Platform Manager Policy
Create the ACL Rule
The ACL Rule is a Vault Policy that provides a declarative way to grant access to a certain path.
More info can be found in the Vault official doc
-
Login into the Vault UI with the
rootToken
-
Open the
Policymenu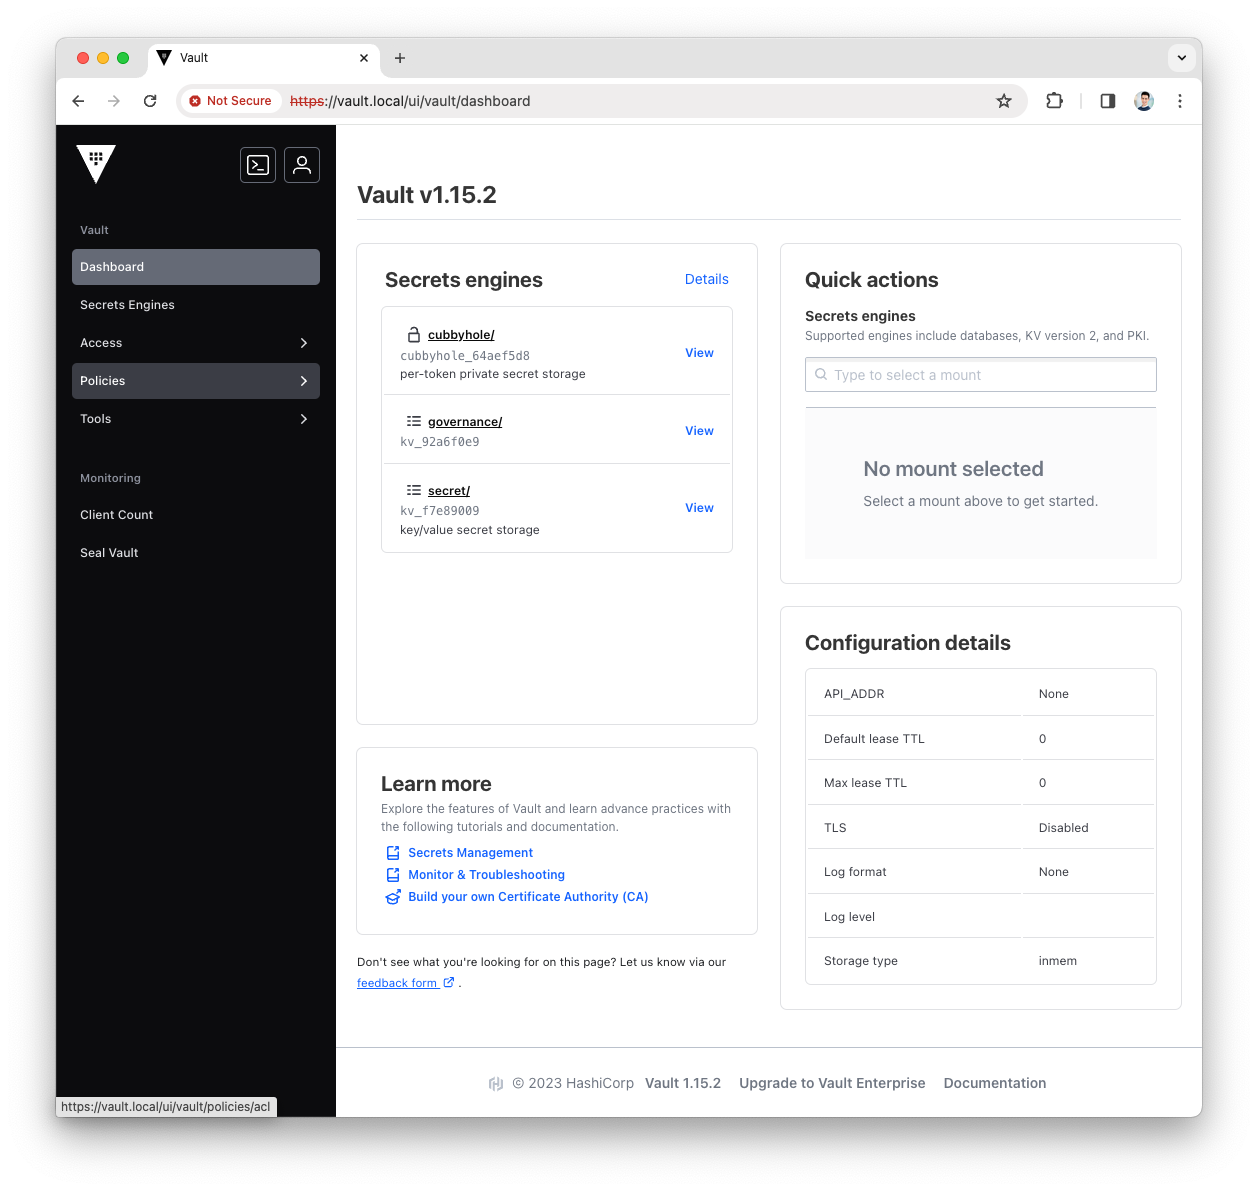
-
Press the
Create ACL policybutton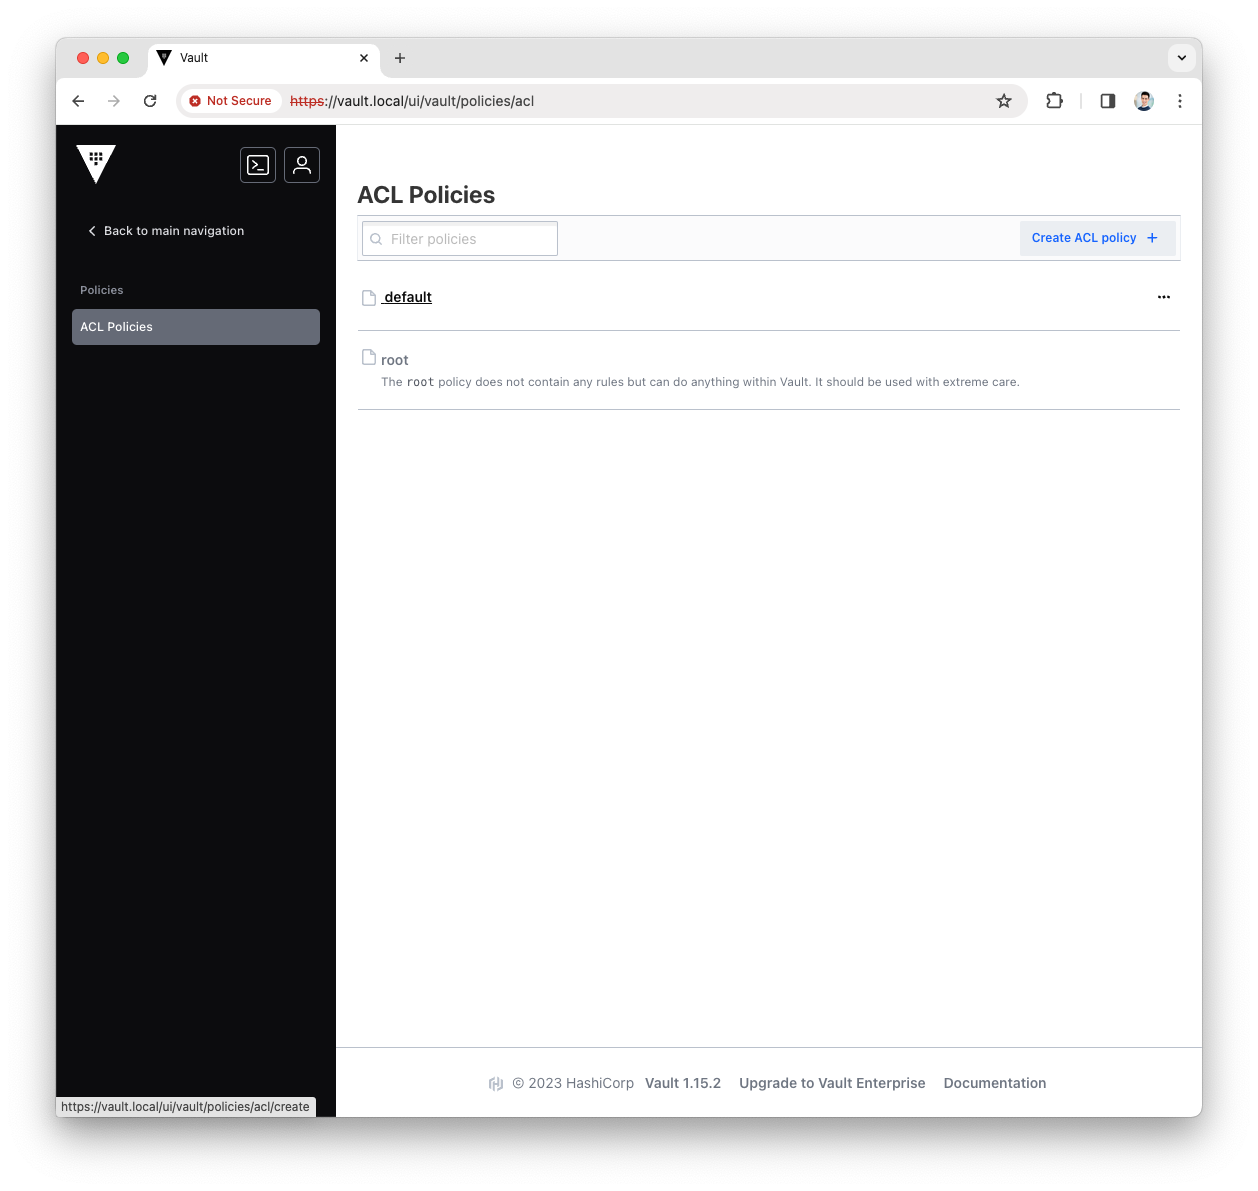
-
Fill the
Namewith platform-manager and copy the following content asPolicypath "governance/*" { capabilities = ["read","create","update","delete"] }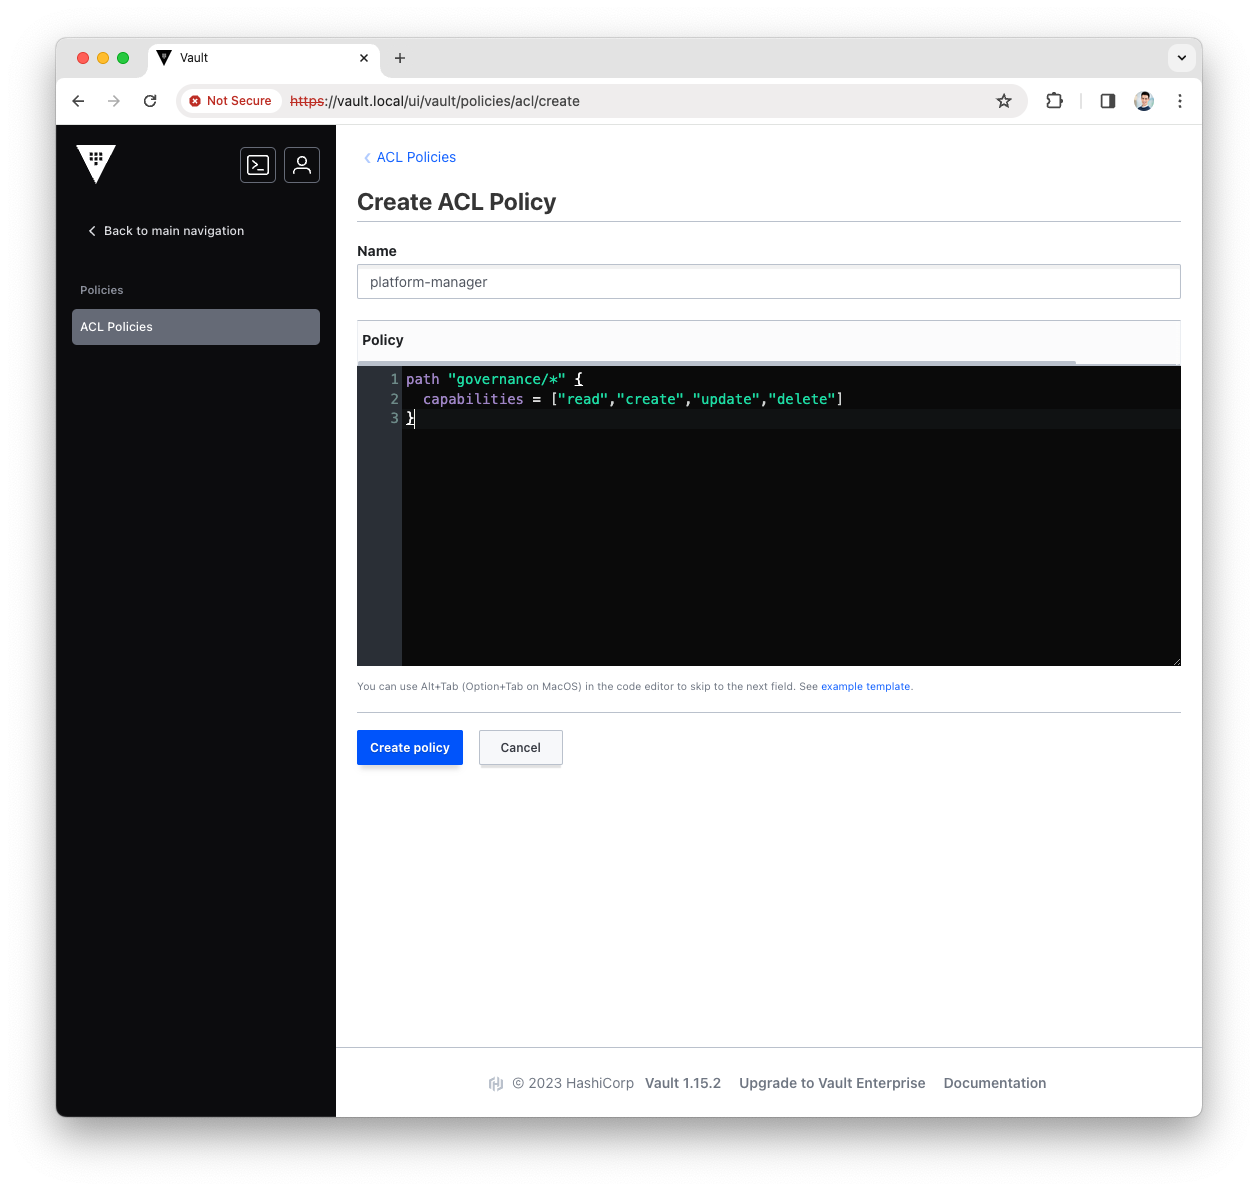
-
Press
Create Policy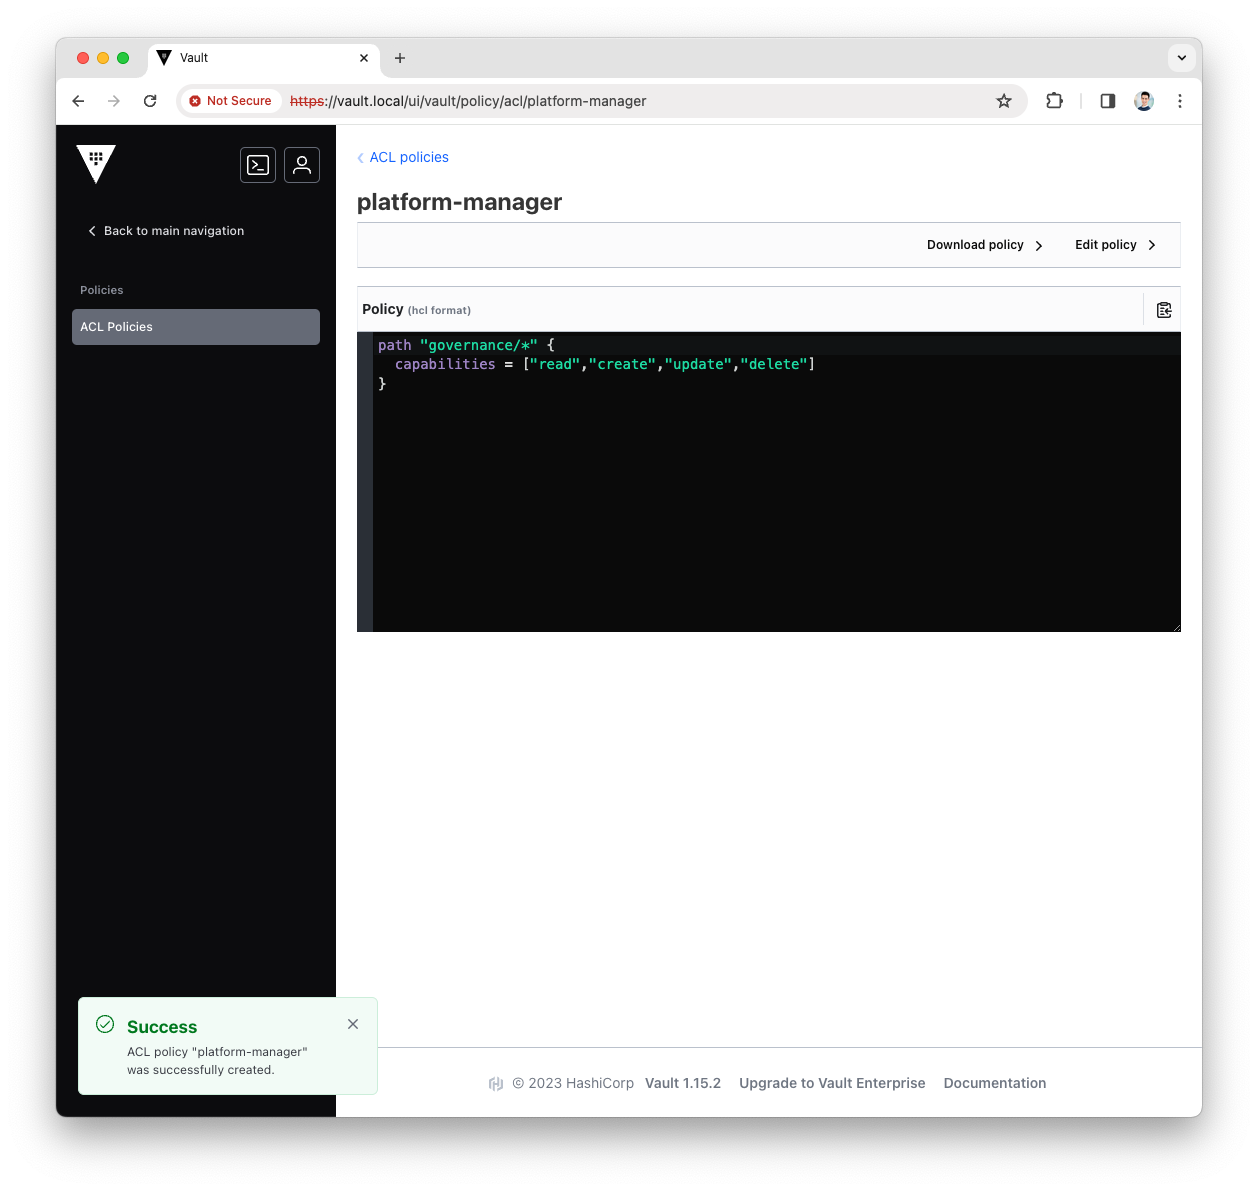
-
You have now created the Platform Manager policy, let’s add it to the Platform Manager AppRole.
Create RoleId and SecretId
-
Login into the Vault UI with the
rootToken
-
Open the
terminalmenu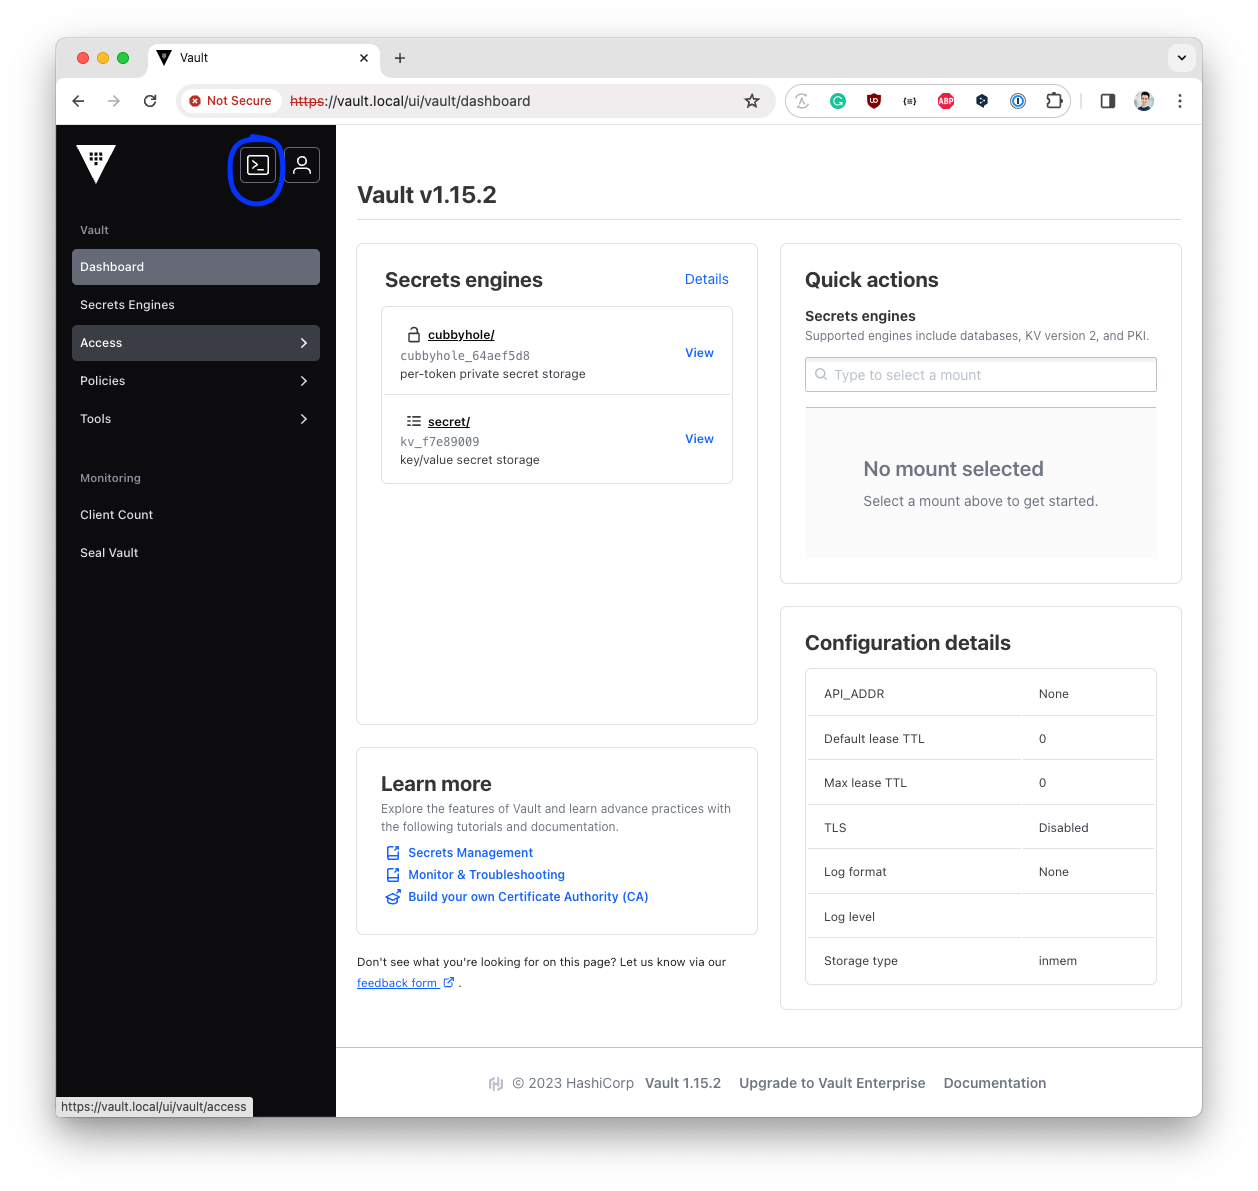
-
Add the Platform Manager policy to the
Platform Manager AppRolevault write auth/approle/role/platform-manager token_policies="platform-manager"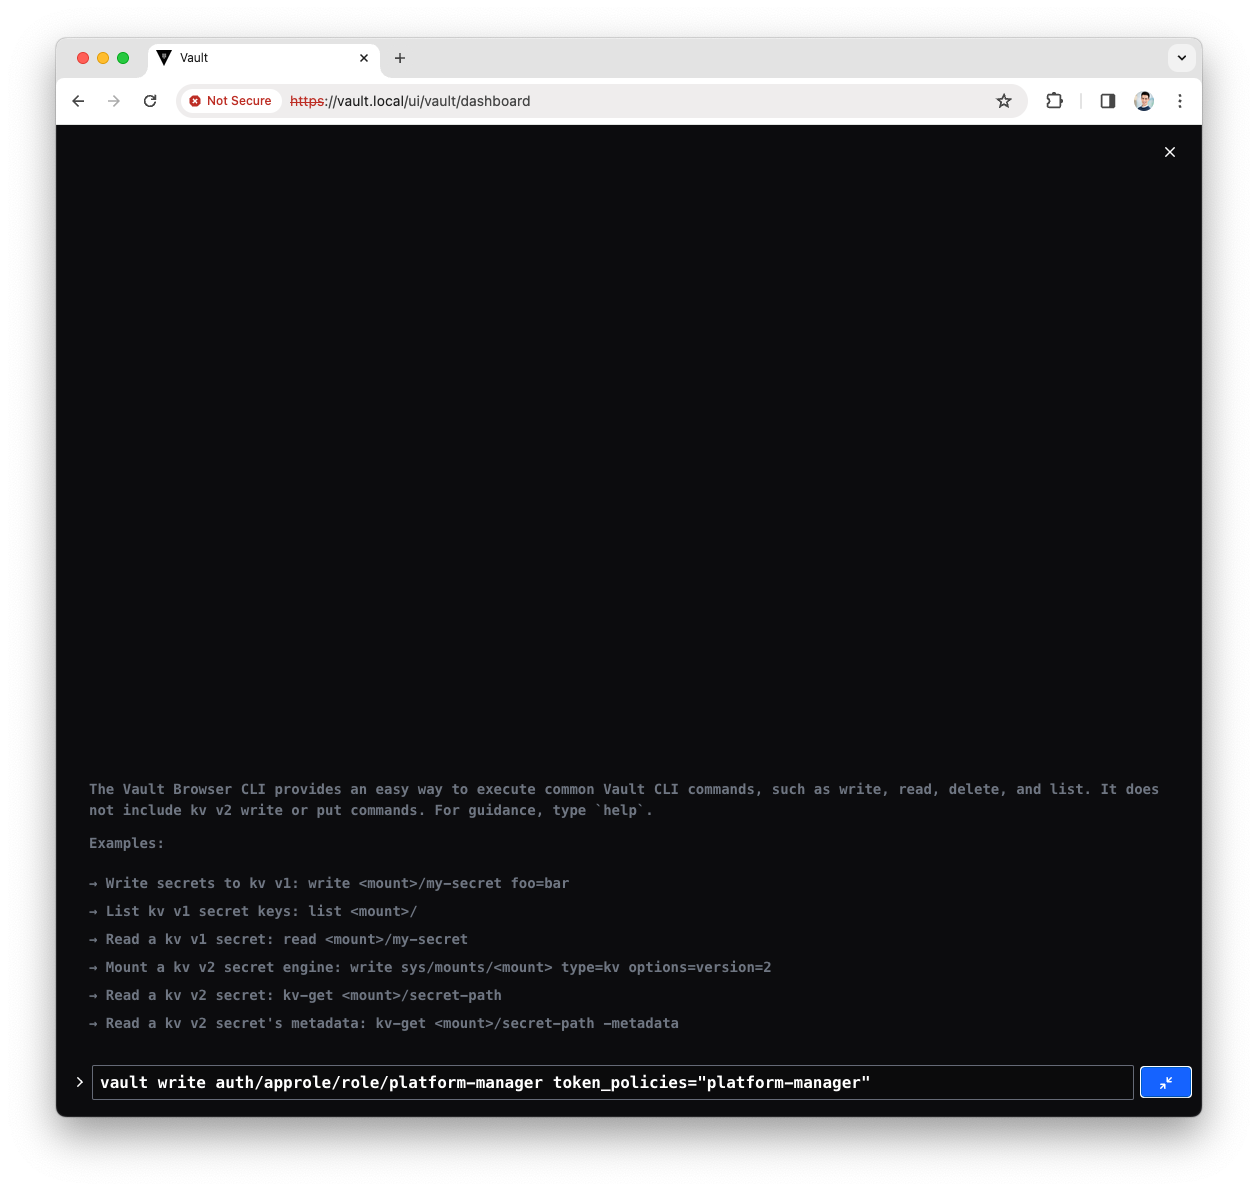
-
Read the Platform Manager policy
role_idvault read auth/approle/role/platform-manager/role-id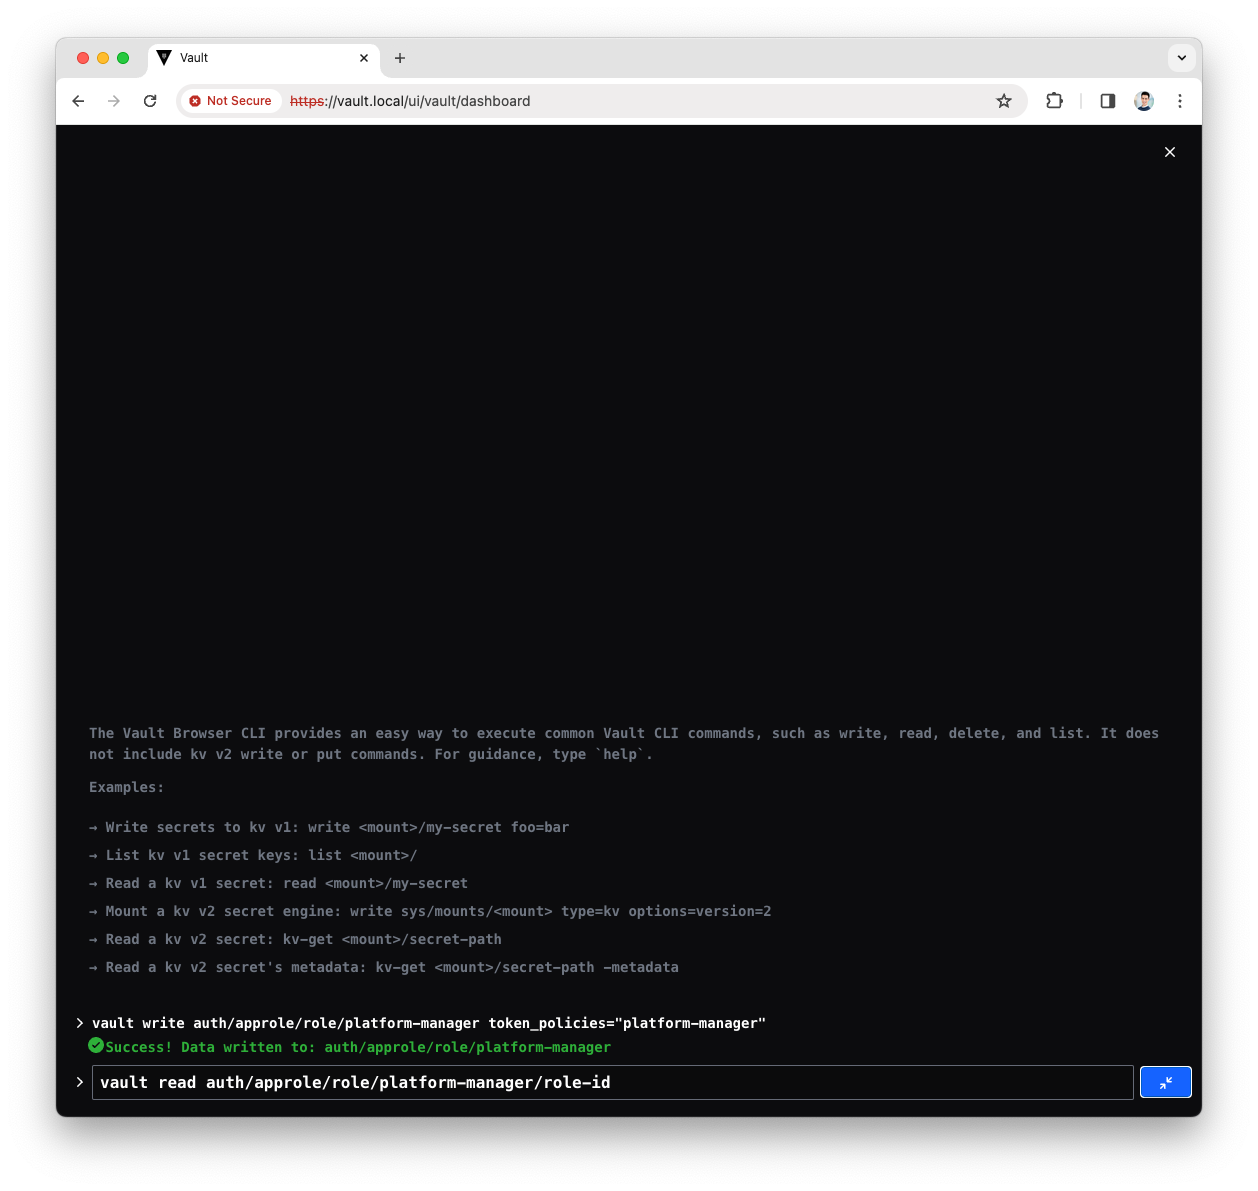
-
You will see a response like the following
Key     Value
role_id 0b7569bd-7d8b-c33c-f759-e15231b18542
Note down the
role_id, will be used in the Platform Manager configuration -
Read the Platform Manager policy
secret_idvault write -f auth/approle/role/platform-manager/secret-id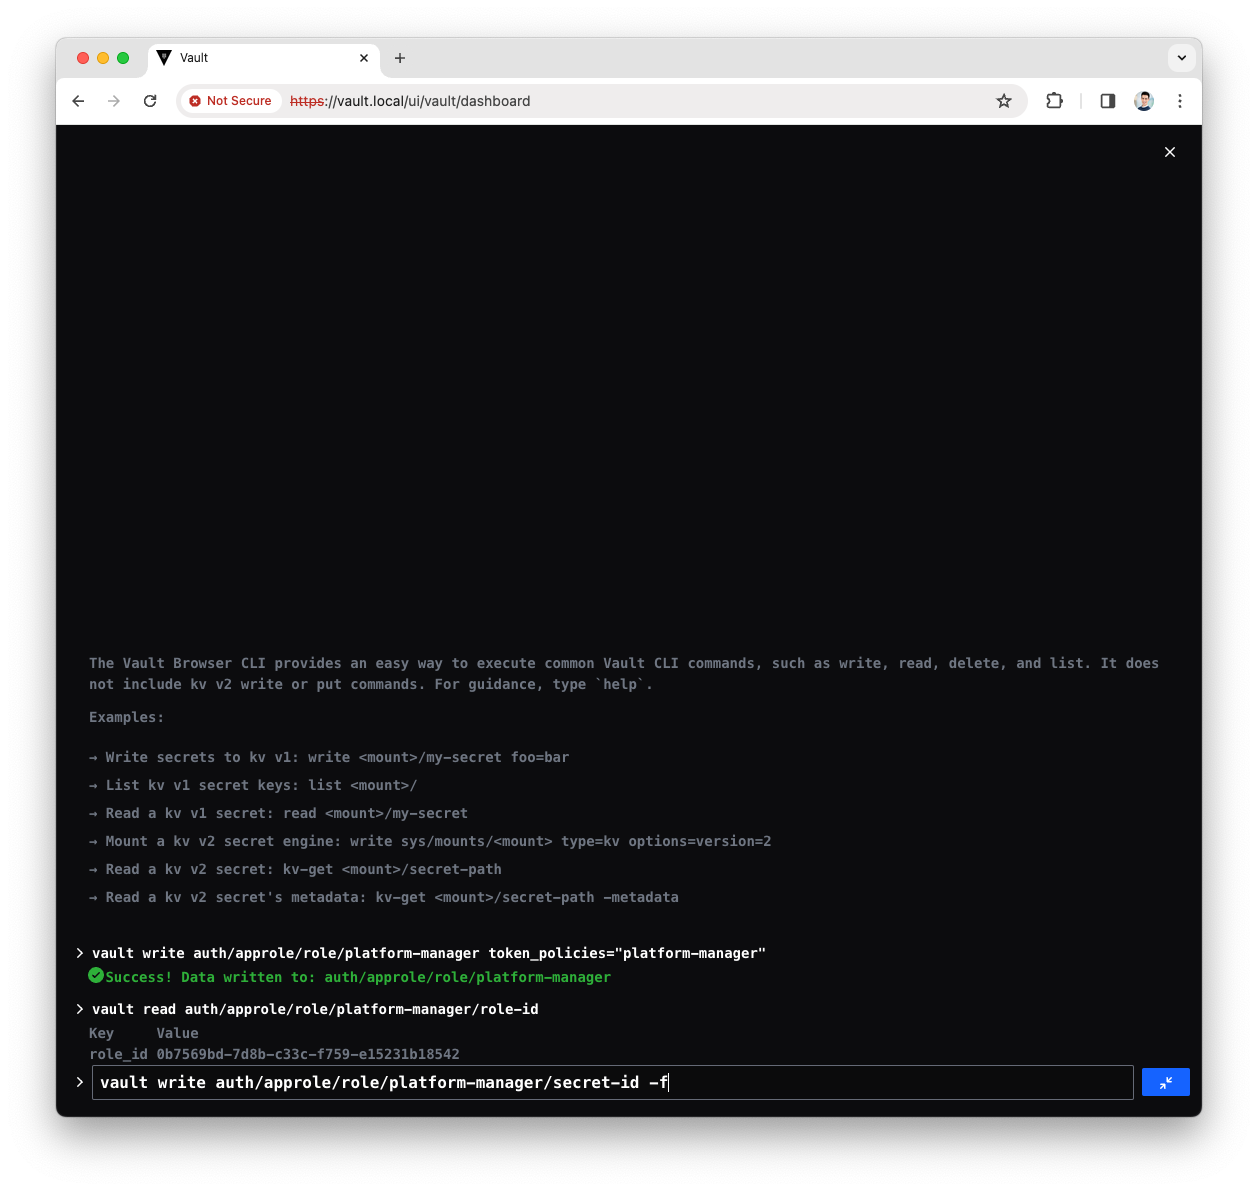
-
You will see a response like the following
Key                Value
secret_id          2387519d-5ac8-8af2-ad58-e89848fa3f05
secret_id_accessor a5740957-205d-7be4-23c7-e7bc57791631
secret_id_num_uses 0
secret_id_ttl      0
Note down the
secret_id, will be used in the Platform Manager configuration -
Now you have done all steps to allow Platform Manager accessing the
governancepath.
Using the Role ID and Secret ID in configuration
Platform Manager
Edit the values.yaml file in your working directory.
Include the newly obtained role_id and secret_id, if adding Connect, ensure you use two distinct roles.
axual-governance:
  platform-manager:
    config:
      # Vault Configuration for Self Service
      governance:
        vault:
          enabled: true
          uri: "http://axual-governance-platform-manager-vault:8200"
          role-id: <platform-manager role ID>
          secret-id: <platform-manager secret ID>
          path: "governance"
          # namespace:


      # Vault Configuration for Connectors
      # Use this for a single Vault for multiple tenant instances
      vault:
        enabled: true
        role-id: <connect-<tenant>-<instance> role ID>
        secret-id: <connect-<tenant>-<instance> secret ID>
        connectors-path: "connectors"
        cert-chain-key-name: "certificate.chain"
        private-key-name: "private.key"


      # Use this for a multiple Vaults for multiple tenant instances
      connector-vault:
        enabled: false
        instances:
          <tenant>-<instance>:
            uri: "http://axual-governance-platform-manager-vault:8200"
            role-id: <connect-<tenant>-<instance> role ID>
            secret-id: <connect-<tenant>-<instance> secret ID>
            connectors-path: connectors
            cert-chain-key-name: "certificate.chain"
            private-key-name: "private.key"
Axual Connect
If you already have a connect-values.yaml file which you used to deploy the axual-stable/axual-connect helm-chart, then we’ll update it.
Otherwise, create a new file called connect-values.yaml in your working directory with the following contents.
Replace the role and secret IDs with the connect IDs you created earlier.
# The roleId and secretId are used for authentication against Vault,
# authorizing Axual-Connect to retrieve secrets from within it.
  axual-connect:
    vault:
      approleRoleId: <connect-<tenant>-<instance> role ID>
      approleSecretId: <connect-<tenant>-<instance> secret ID>