Enable KSML Support for an Instance
-
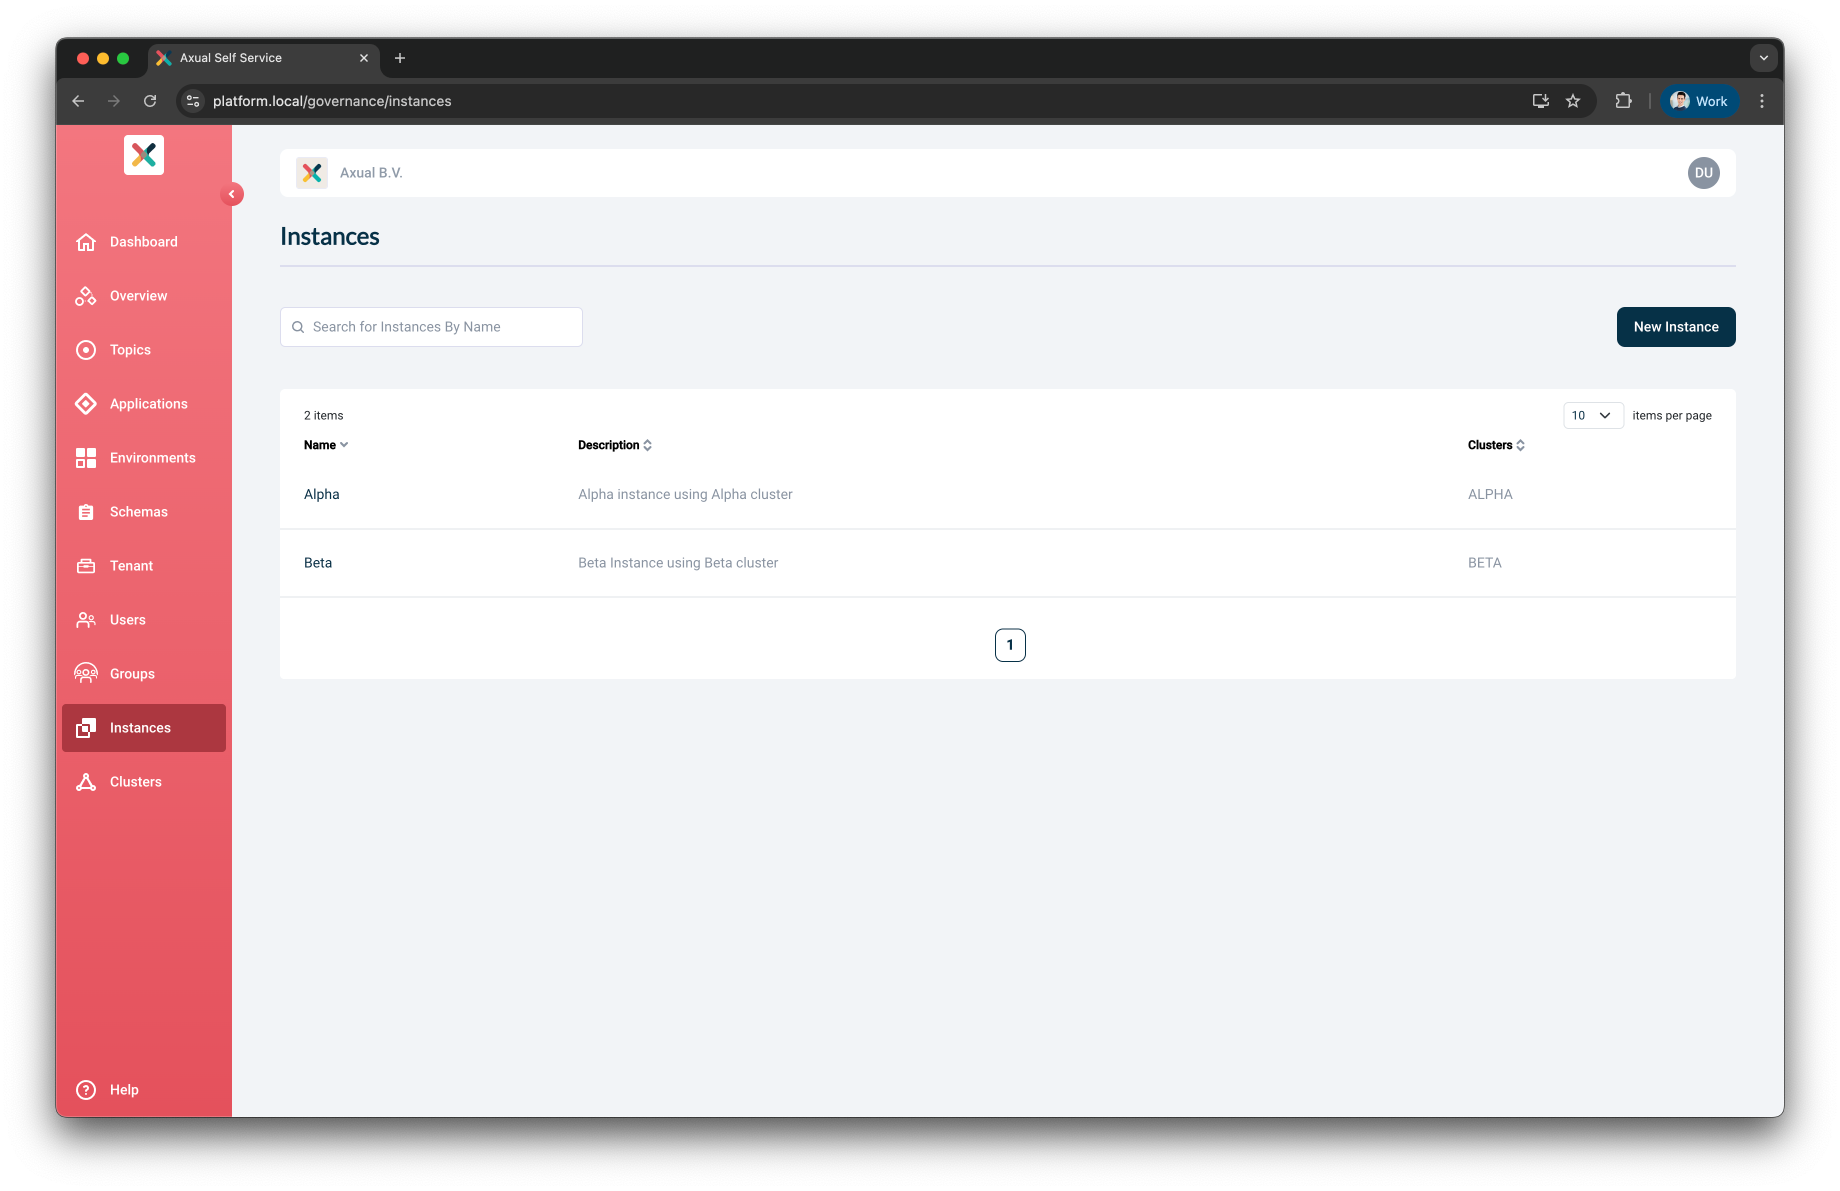
Login to your Tenant in the Self Service
-
Go to the Instances page
-
Select the Instance for which you are enabling the KSML Support and open the edit form
-
Under
KSML Support, click on theConfigure KSML Provisionerlink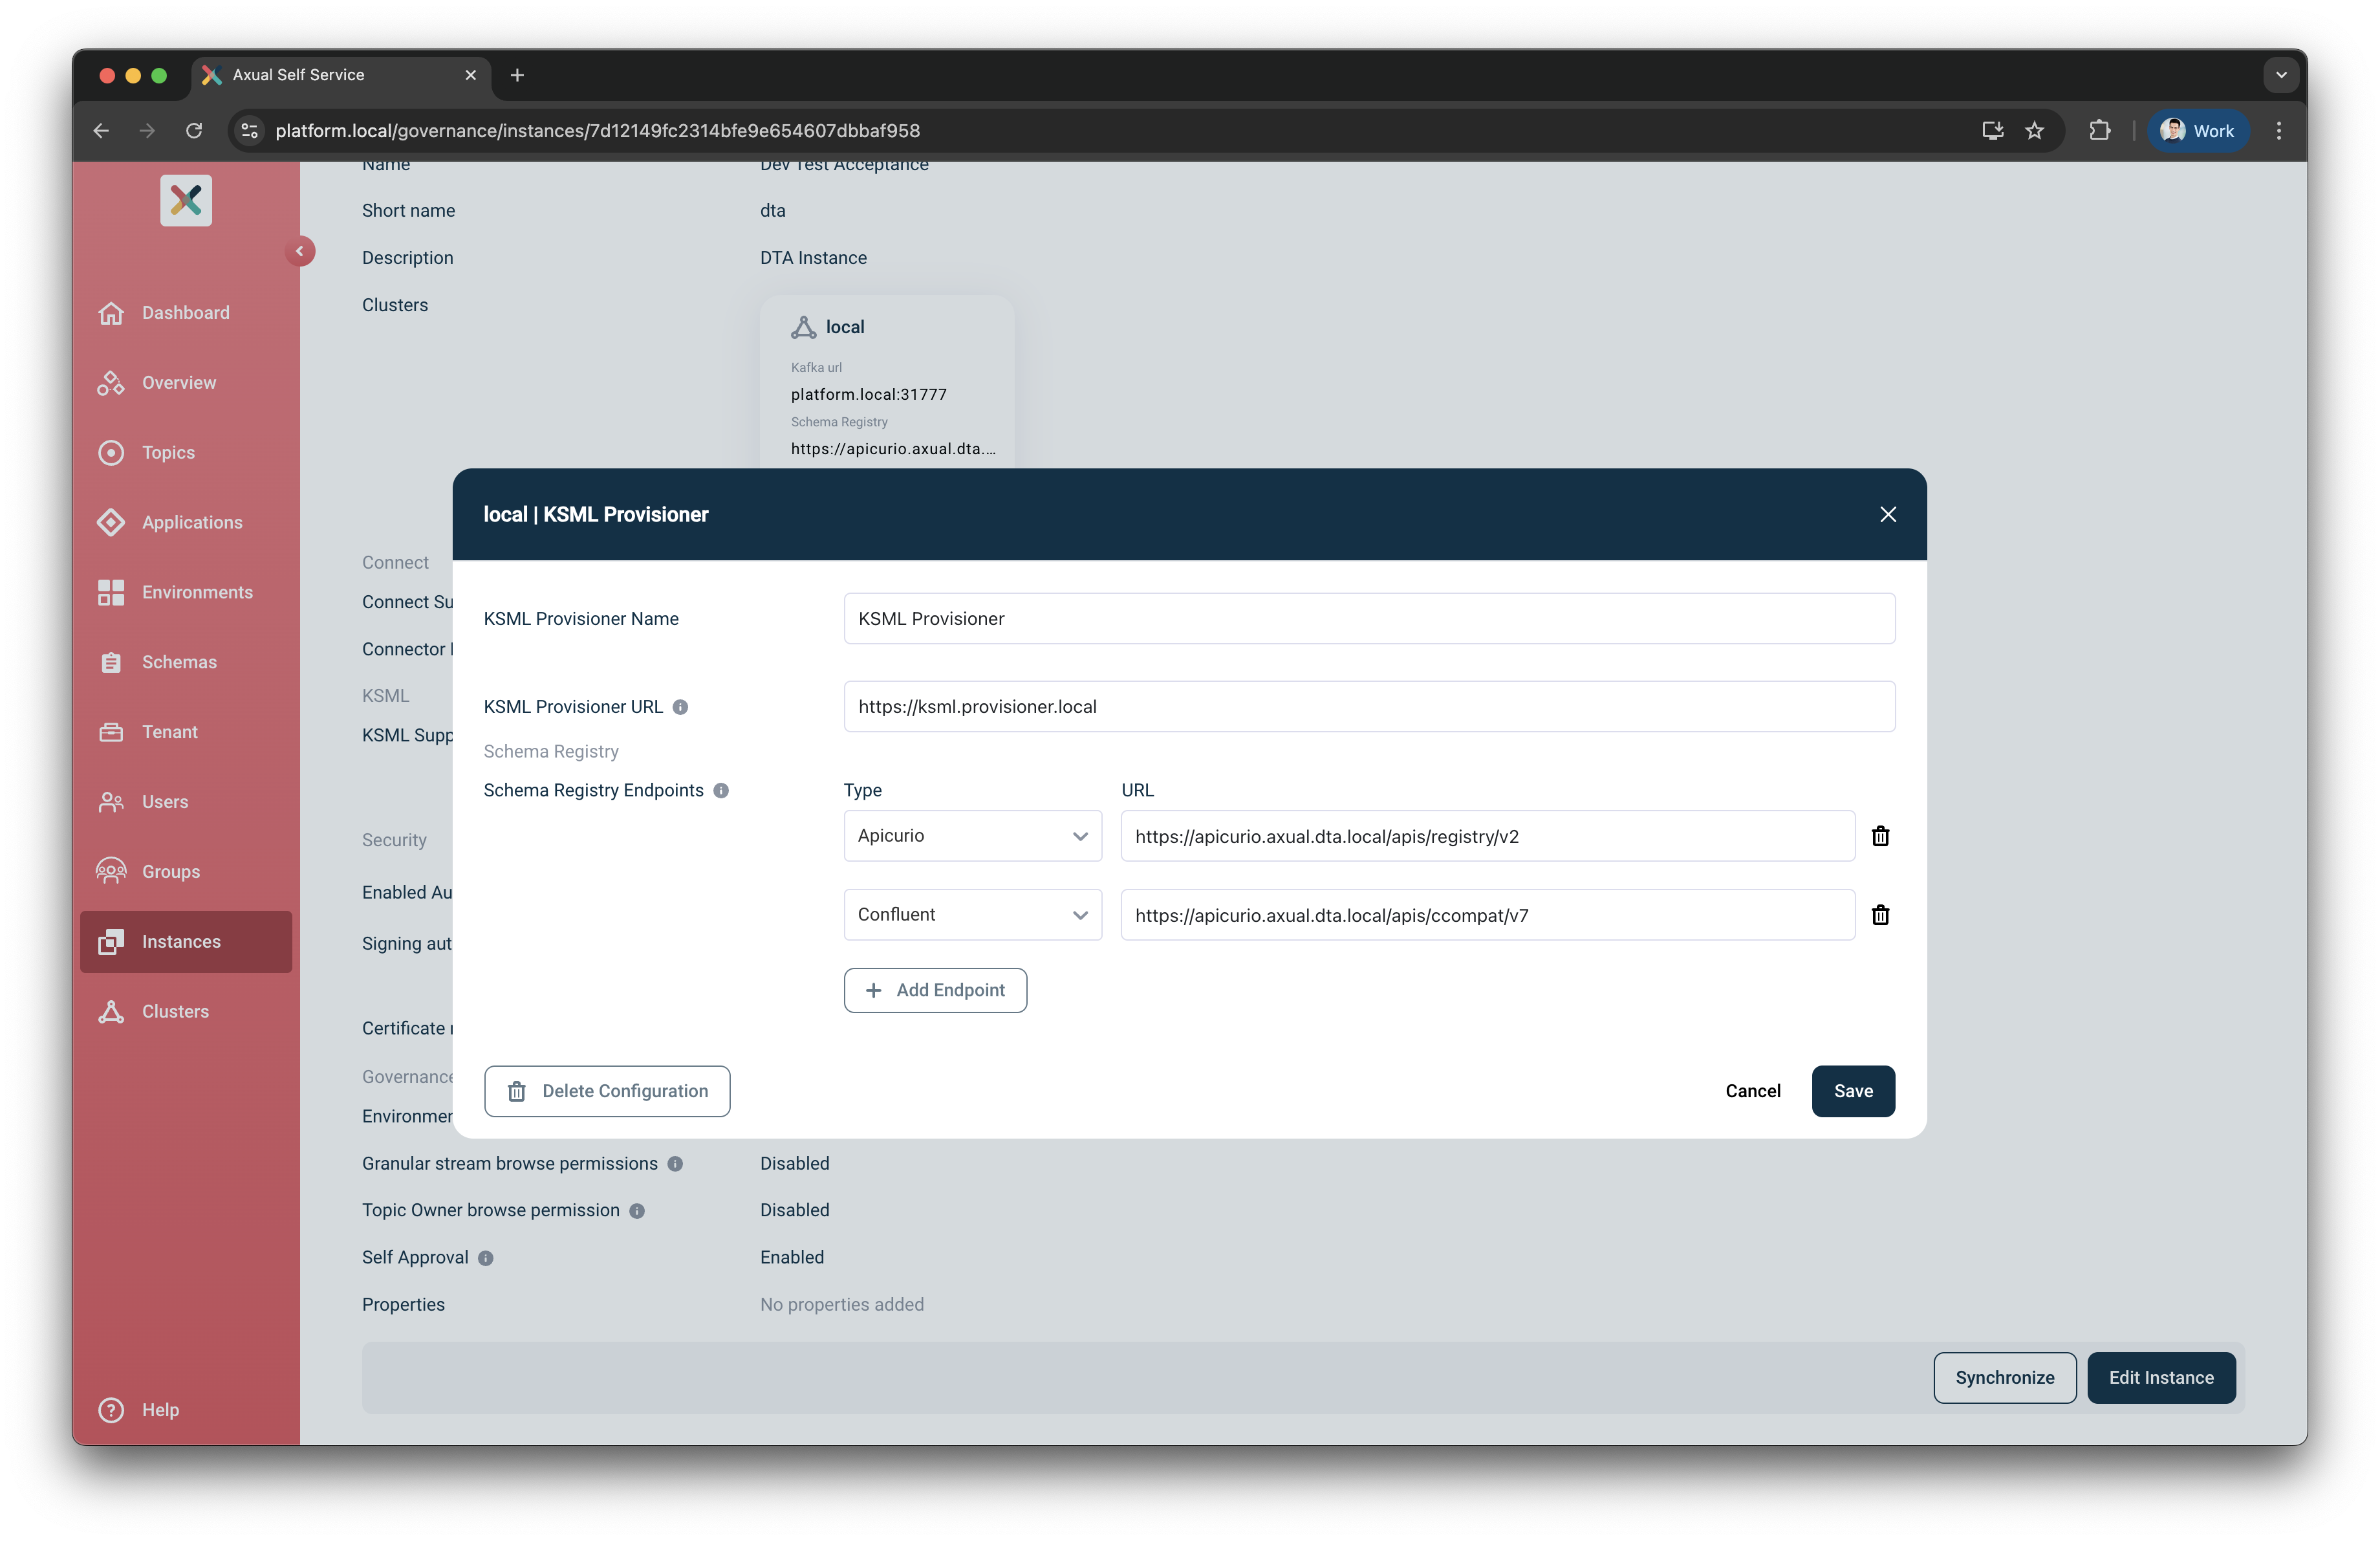
-
Fill in the following fields:
-
KSML Provisioner Name – This is the display name that will appear when configuring the KSML application.
-
KSML Provisioner URL – Provide the Kubernetes service name of your KSML Provisioner (e.g., https://[service-name]-ksml-provisioner:8000/).
-
Schema Registry Endpoints – (Optional) You may provide up to two Schema Registry types and their corresponding URLs. Those guarantee that the correct configuration is forwarded to the KSML Provisioner when working with schema-based serializers/deserializers.
-
-
Click Save button
Congratulations! KSML support is now available! You can now start developing KSML applications.