Installing Axual-Connect
Prerequisites
Axual Connect needs a functioning Axual Platform installation,
deployed with helm charts. For more information on deployment of the
platform refer to the docs
Install Axual Connect component
To install Axual-Connect component the following steps should be applied:
-
Vault should be configured properly to support Axual-Connect. Before proceeding to the next steps, have a look here
-
Perform the following changes in governance values:
platform-manager:
   config:
      axual:
         # Connect Configuration
         connect:
         available: true
         instance-connect-credentials:
            # This should be the same with the basicAuth of axual-connect values
            <{tenant}-{instance}>:
               authorizer: "basic"
               username: "axual"
               password: "password!"
      connector-vault:
         enabled: true
         instances:
            <{tenant}-{instance}>:
               uri: "http://axual-governance-platform-manager-vault:8200"
               roleId: "<connect-role-id>"
               secretId: "<connect-secret-id>"
               certChainKeyname: "certificate.chain"
               privateKeyname: "private.key"
               connectorsPath: "connectors"
platform-ui: config: connectEnabled: true -
Prepare the values for axual-connect deployment
Click to open axual-connect-values.yaml
axual: tenant: &tenant "<tenant-short-name>" instance: &instance "<instance-short-name>" environment: "<environment-short-name>" applicationId: "_<application-short-name>" applicationVersion: "1.0.0" # Do not use Discovery API, but static configs staticConfig: tenant: *tenant instance: *instance cluster: "<cluster-name>" # If connect is running in the same Kubernetes cluster we can just use the internal service url as well. bootstrapServers: "bootstrap-kafka.<domain>:443" schema.registry.url: "https://apicurio.<domain>" enable.value.headers: "false" group.id.resolver: "io.axual.common.resolver.GroupPatternResolver" group.id.pattern: "{tenant}-{instance}-{environment}-{group}" topic.resolver: "io.axual.common.resolver.TopicPatternResolver" topic.pattern: "{tenant}-{instance}-{environment}-{topic}" transactional.id.resolver: "io.axual.common.resolver.TransactionalIdPatternResolver" transactional.id.pattern: "{tenant}-{instance}-{environment}-{transactional.id}" tls: clientEnabled: true serverEnabled: false automatedKeystores: true createClientKeypairSecret: false clientKeypairSecretName: "axual-connect-cert-secret" clientKeypairSecretCertName: "tls.crt" clientKeypairSecretKeyName: "tls.key" createTruststoreCaSecret: false truststoreCaSecretName: "my-external-ca" basicAuth: enabled: true username: "axual" password: "password!" persistPlugins: enabled: false createPersistentVolume: false downloadPlugins: enabled: true artificateBaseUrl: "https://stpaxualconnect.blob.core.windows.net" connectPluginsFile: "dizzl-0eafdac8/dizzl-axual-connect-plugins-2.0.0.tgz" commonResourcesFile: "dizzl-0eafdac8/dizzl-axual-connect-common-2.0.0.tgz" resourcePath: "/usr/share" resources: requests: cpu: 100m memory: 128Mi limits: memory: 2Gi configurationOverrides: "plugin.path": "/usr/share/plugins" "plugin.discovery": "SERVICE_LOAD" # Vault Configuration vault: address: "http://axual-governance-platform-manager-vault.axual.svc.cluster.local:8200" authMethod: APPROLE approleRoleId: "987d4b9f-a0b7-ac36-afab-6ab1f597e149" approleSecretId: "20b5bfaa-7d97-a0c2-fcfb-6f8f43718533" ssl: verify: true secretProvider: enabled: true class: io.axual.utilities.config.providers.VaultConfigProvider keystoreProvider: enabled: true class: io.axual.utilities.config.providers.VaultKeyStoreProvider truststorePassword: notsecret certificateChainKeyname: certificate.chain privateKeyKeyname: private.key # Init Resouce Configuration keystoreProvider: resources: requests: cpu: 100m memory: 128Mi limits: memory: 256Mi kafkaInitContainer: # -- Enable topic and ACL creation enabled: true # If connect is running in the same Kubernetes cluster we can just use the internal service url as well. bootstrapServers: "SSL://bootstrap-kafka.<domain>:443" # -- min.isr of topics used to store connect state/offset/config minIsr: "1" # -- Replication factor of topics used to store connect state/offset/config replicationFactor: "1" # -- Principal common name used to produce and consume from connect state/offset/config topics (should match the one on axual.tls.clientKeystore) principal: "User:CN=Connect client" tls: # -- Existing Keypair secret name keypairSecretName: "server-cert-secret" # -- Existing Keypair key name keypairSecretKeyName: "tls.key" # -- Existing Keypair certificate name keypairSecretCertName: "tls.crt" # -- Existing Truststore secret name truststoreCaSecretName: "my-external-ca" # -- Existing Truststore certificate name truststoreCaSecretCertName: "ca.crt" # -- The [resource requirements](https://kubernetes.io/docs/concepts/configuration/manage-resources-containers/) for this container. resources: requests: cpu: 100m memory: 128Mi limits: memory: 256Mi # configuration values for RoutingKafkaAppender routedLogging: # indicates if we add the routing Kafka appender to the Logback config enabled: false # indicates if we take Axual environment in consideration when routing connector logging suppressEnvironment: false pattern: '%d{yyyy-MM-dd HH:mm:ss.SSS} [%thread] %-5level %logger{36} %msg' enableHostnameVerification: true debugMode: false securityContext: { } additionalWorkerConfig: { } podLabels: {} connect-vault: enabled: true ui: enabled: true serviceType: "LoadBalancer" externalPort: 8200 server: dataStorage: storageClass: "hostpath" injector: enabled: false -
From the project root directory execute:
helm dependency update
helm install axual-connect oci://registry.axual.io/axual-charts/axual-connect -f axual-connect-values.yaml -n kafka
Connectors maintenance on a local Docker-Desktop environment
Currently, Axual Connect download connector plugins JARs are hosted on the AxualCloud.
In case we want to change the available connector plugins JARs for an Axual Connect installation we would need to run a local FileServer that will serve a set of JARs.
-
Gather the connector plugins JARs you want to include as part of your Axual Connect
# download a large connector collection wget -P "${DOWNLOAD_LOCATION}" "https://stpaxualconnect.blob.core.windows.net/default/axual-connect-plugins-2.0.0.tgz" # download additional connect plugins # extract all connect plugins from their archives, leaving only directories and JARs -
Bundle all connector plugins JARs into a single Tarball Archive
-
Move to the location where all plugins are in JAR format
-
   tar --disable-copyfile \
   -czf "${FILESERVER_ROOT}/my-axual-connect-plugins.tgz" \
    *
-
-
Download the connector common resources as Tarball Archive
wget -O "${FILESERVER_ROOT}/my-axual-connect-commons.tgz" \ "https://stpaxualconnect.blob.core.windows.net/default/axual-connect-common-2.0.0.tgz" -
Start a local FileServer serving the connector plugins and connector common resources
docker run -it --rm --name mylocalfileserver \ -p 8000:8000 \ -v "${FILESERVER_ROOT}:/public-files" \ 'python:3.9.13-slim' \ sh -c 'cd /public-files; python -m http.server 8000' -
Change the
downloadPluginsconfiguration to load plugins and common resources from the local FileServerhelm upgrade --install -n kafka axual-connect \ --set downloadPlugins.artifactsBaseUrl='http://platform.<domain>:8000' \ --set downloadPlugins.connectPluginsFile='my-axual-connect-plugins.tgz' \ --set downloadPlugins.commonResourcesFile='my-axual-connect-commons.tgz' \ -f ./values.docker-desktop.yaml \ .
This will upgrade Axual Connect with the Plugins JARs you have bundled
in the my-axual-connect-plugins.tgz
Installed Components
You can use helm status <release name> -n <namespace> to view the
status.
For example:
$ helm status axual-connect -n kafka

NAME: axual-connect
LAST DEPLOYED: Fri Nov 20 16:36:51 2020
NAMESPACE: kafka
STATUS: deployed
REVISION: 5
TEST SUITE: None
NOTES:
This chart installs Axual Connect
This will install following components:
-
Deployment
<tenant>-<instance>-axual-connectwhich contains Axual Connect Pods. -
Service
axual-connectfor clients to connect to Axual Connect REST endpoint. -
Persistent Volume persists connect plugins & common-resources.
-
Persistent Volume Claim volume mount inside Pods to persist and use connect plugins & common-resources.
Self Service UI: Enable Axual-Connect
-
Login to Self Service UI using the following URL: https://platform.<domain>/login/{tenant-shortname}
-
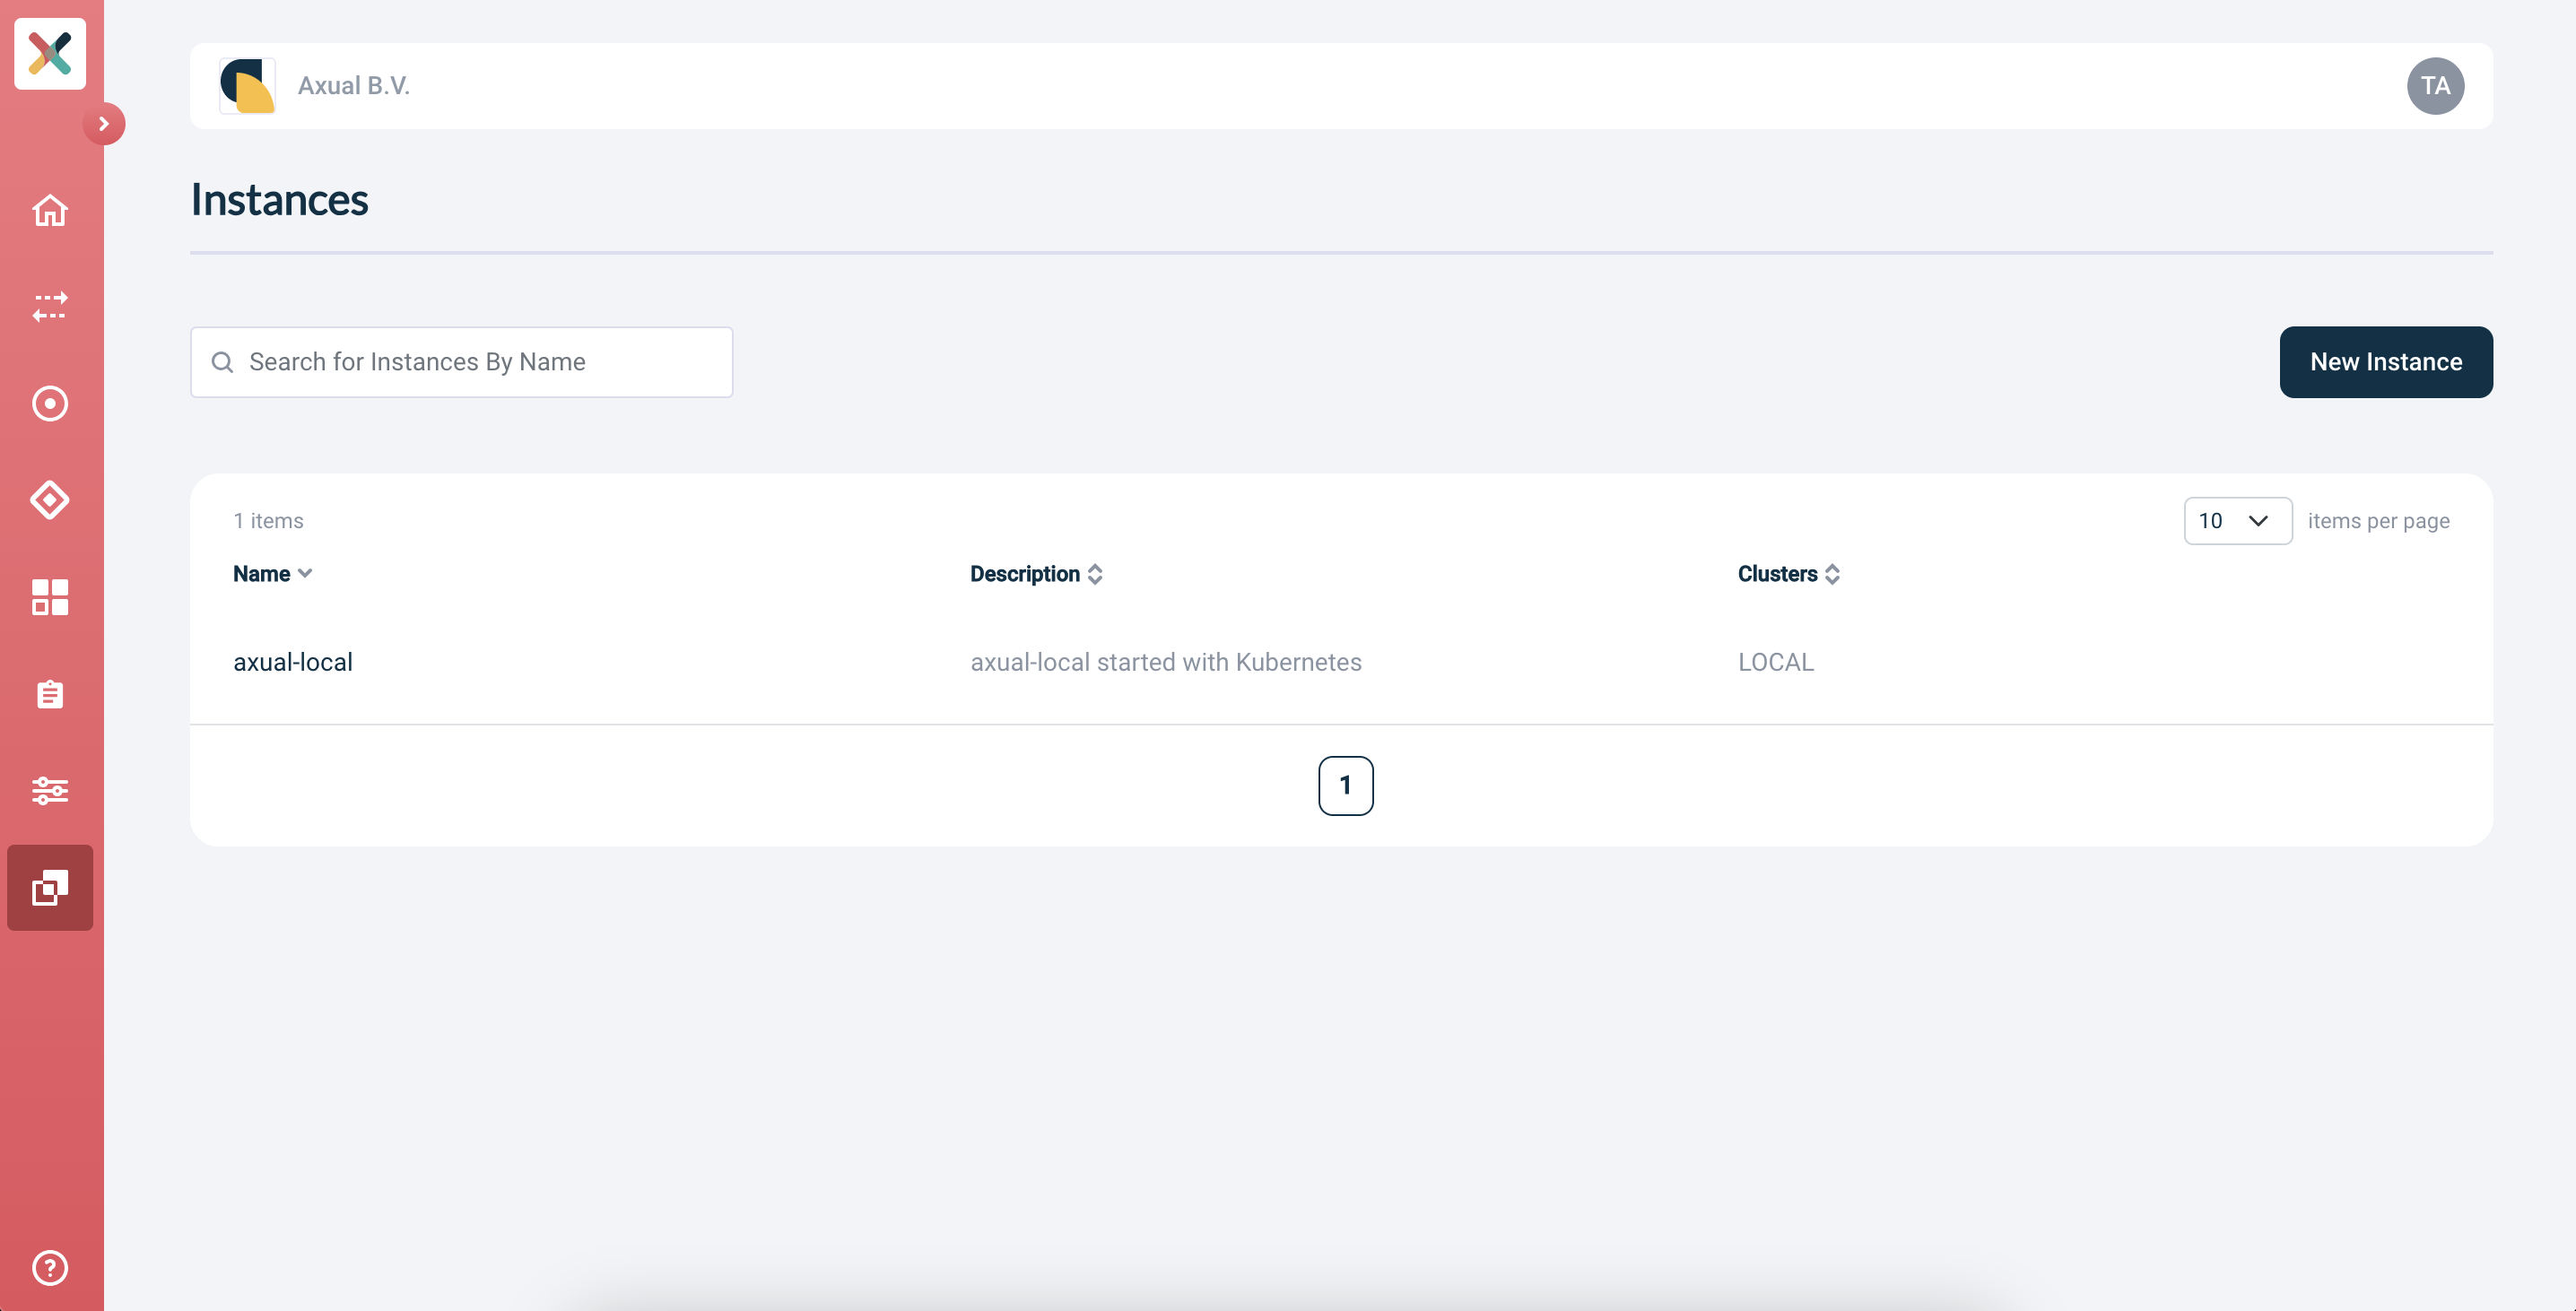
Go to the Instances page
-
Select
{tenant-shortname}-{instance-shortname}and open the edit form -
Enable Axual Connect:
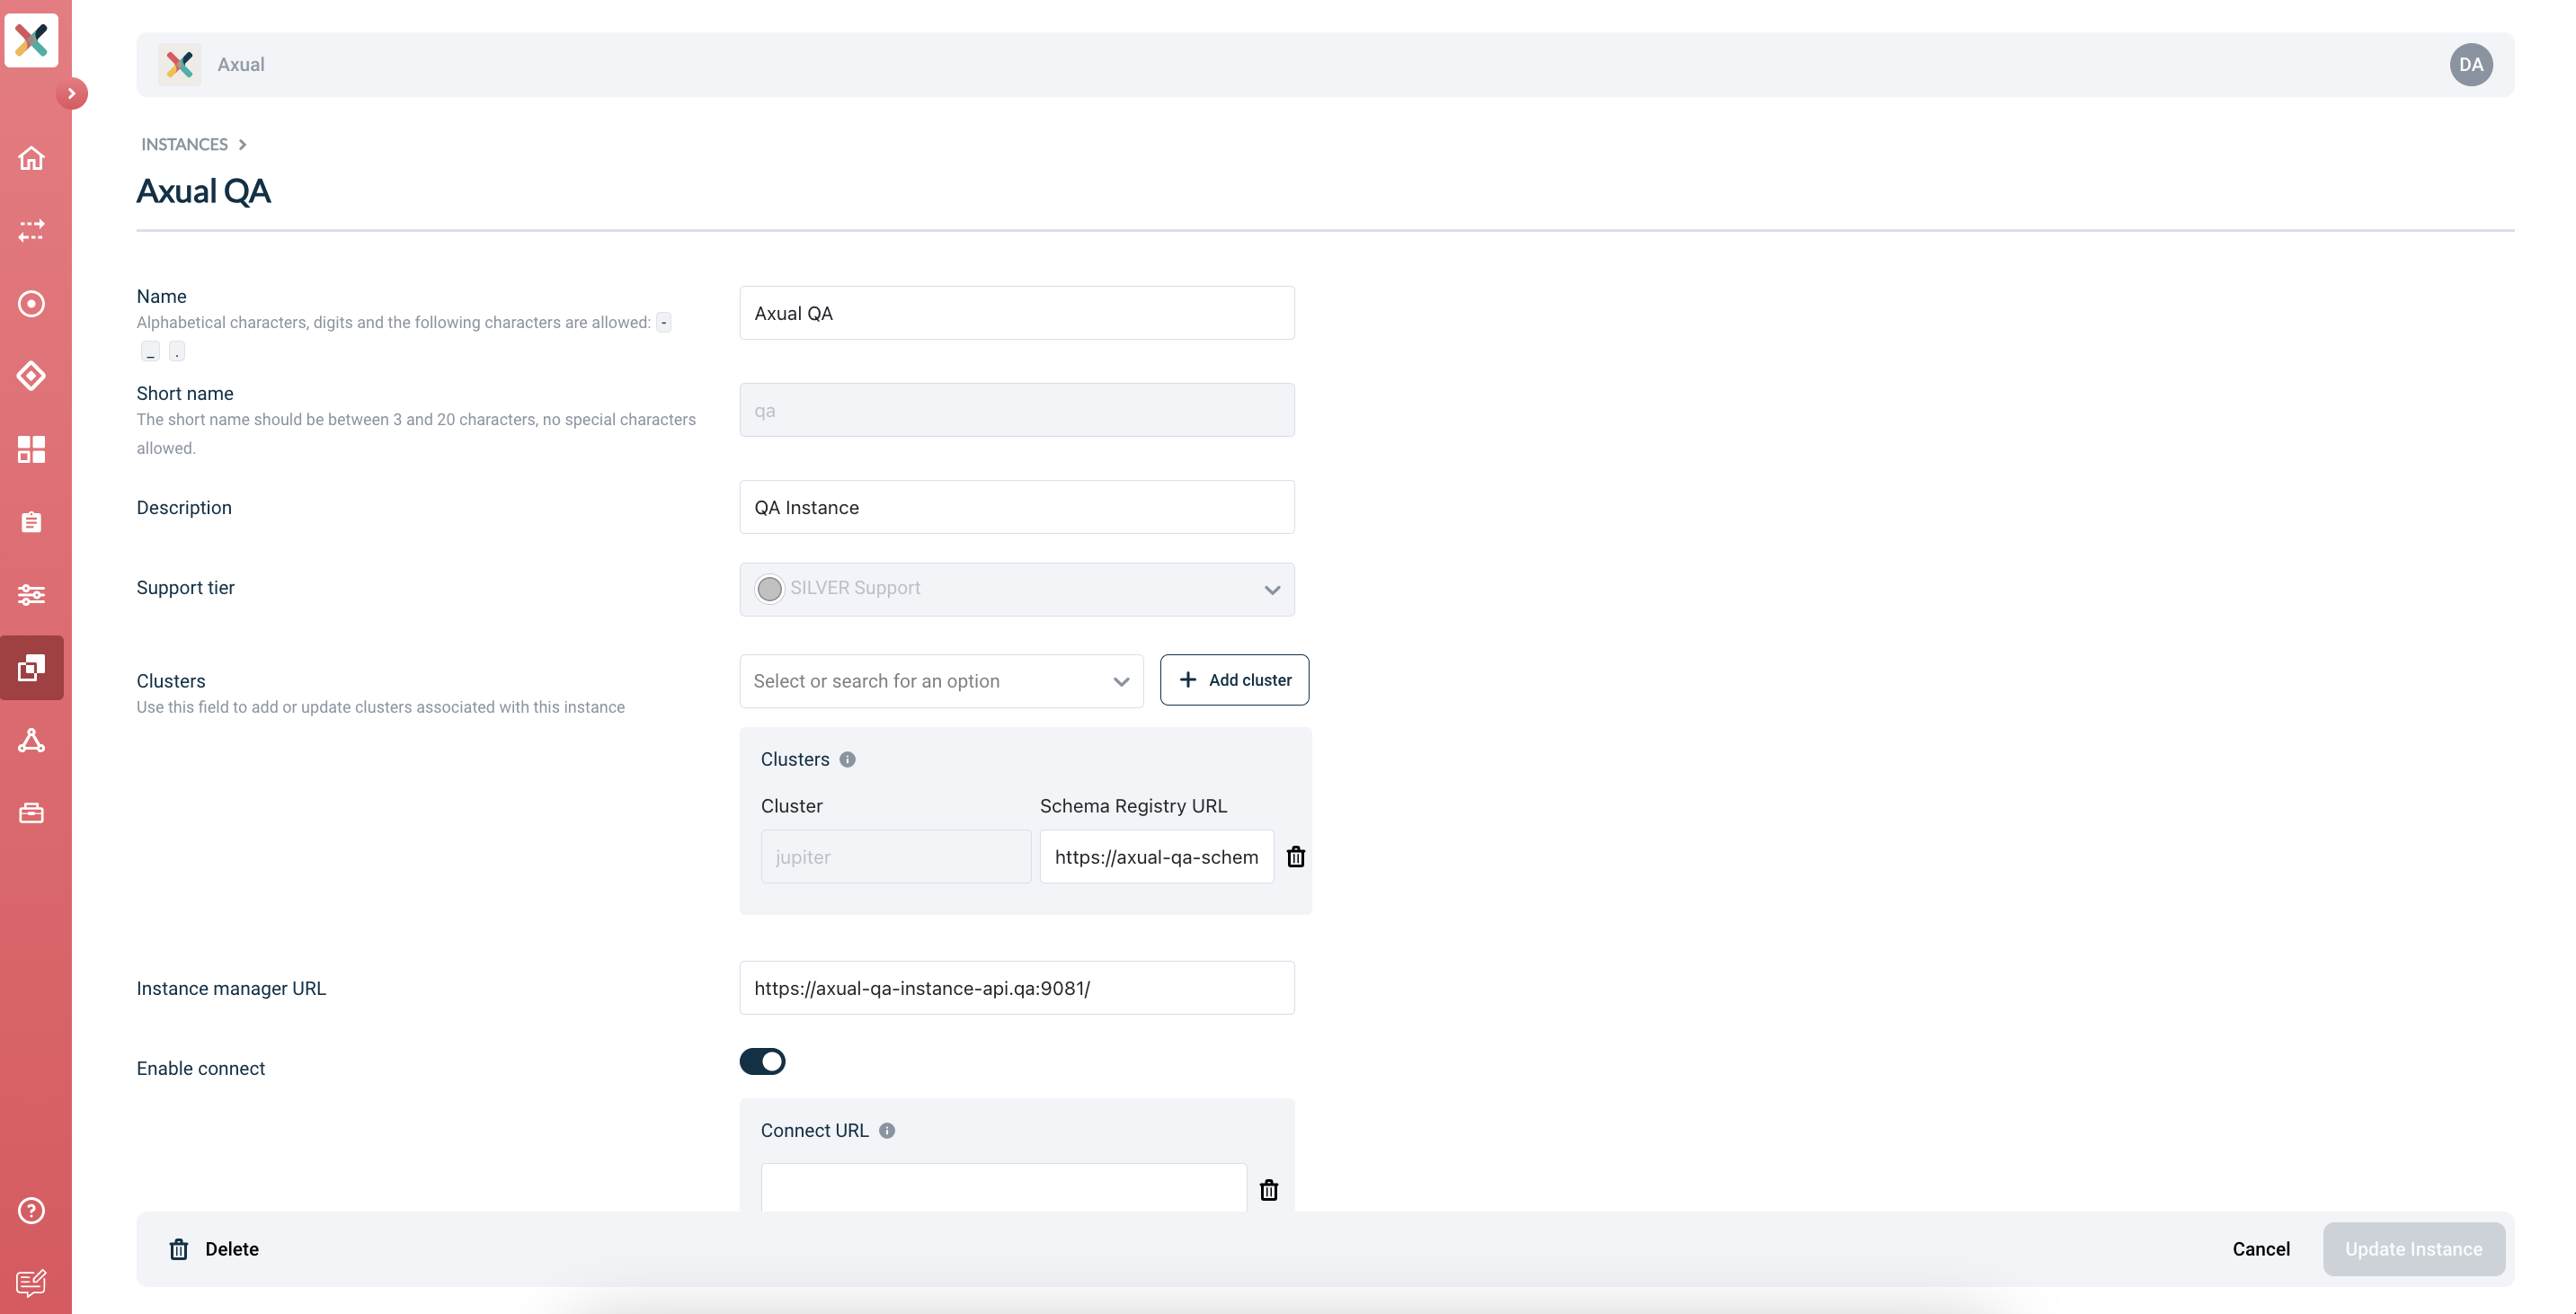
-
Provide the following value for Connect URL:
https://platform.<domain>:11000/ -
Click Update Instance in the bottom-right of the screen.
Congratulations! Axual-Connect is now available! You can now create a Connect application in Selfservice.