Settings
Editing A Tenant Profile
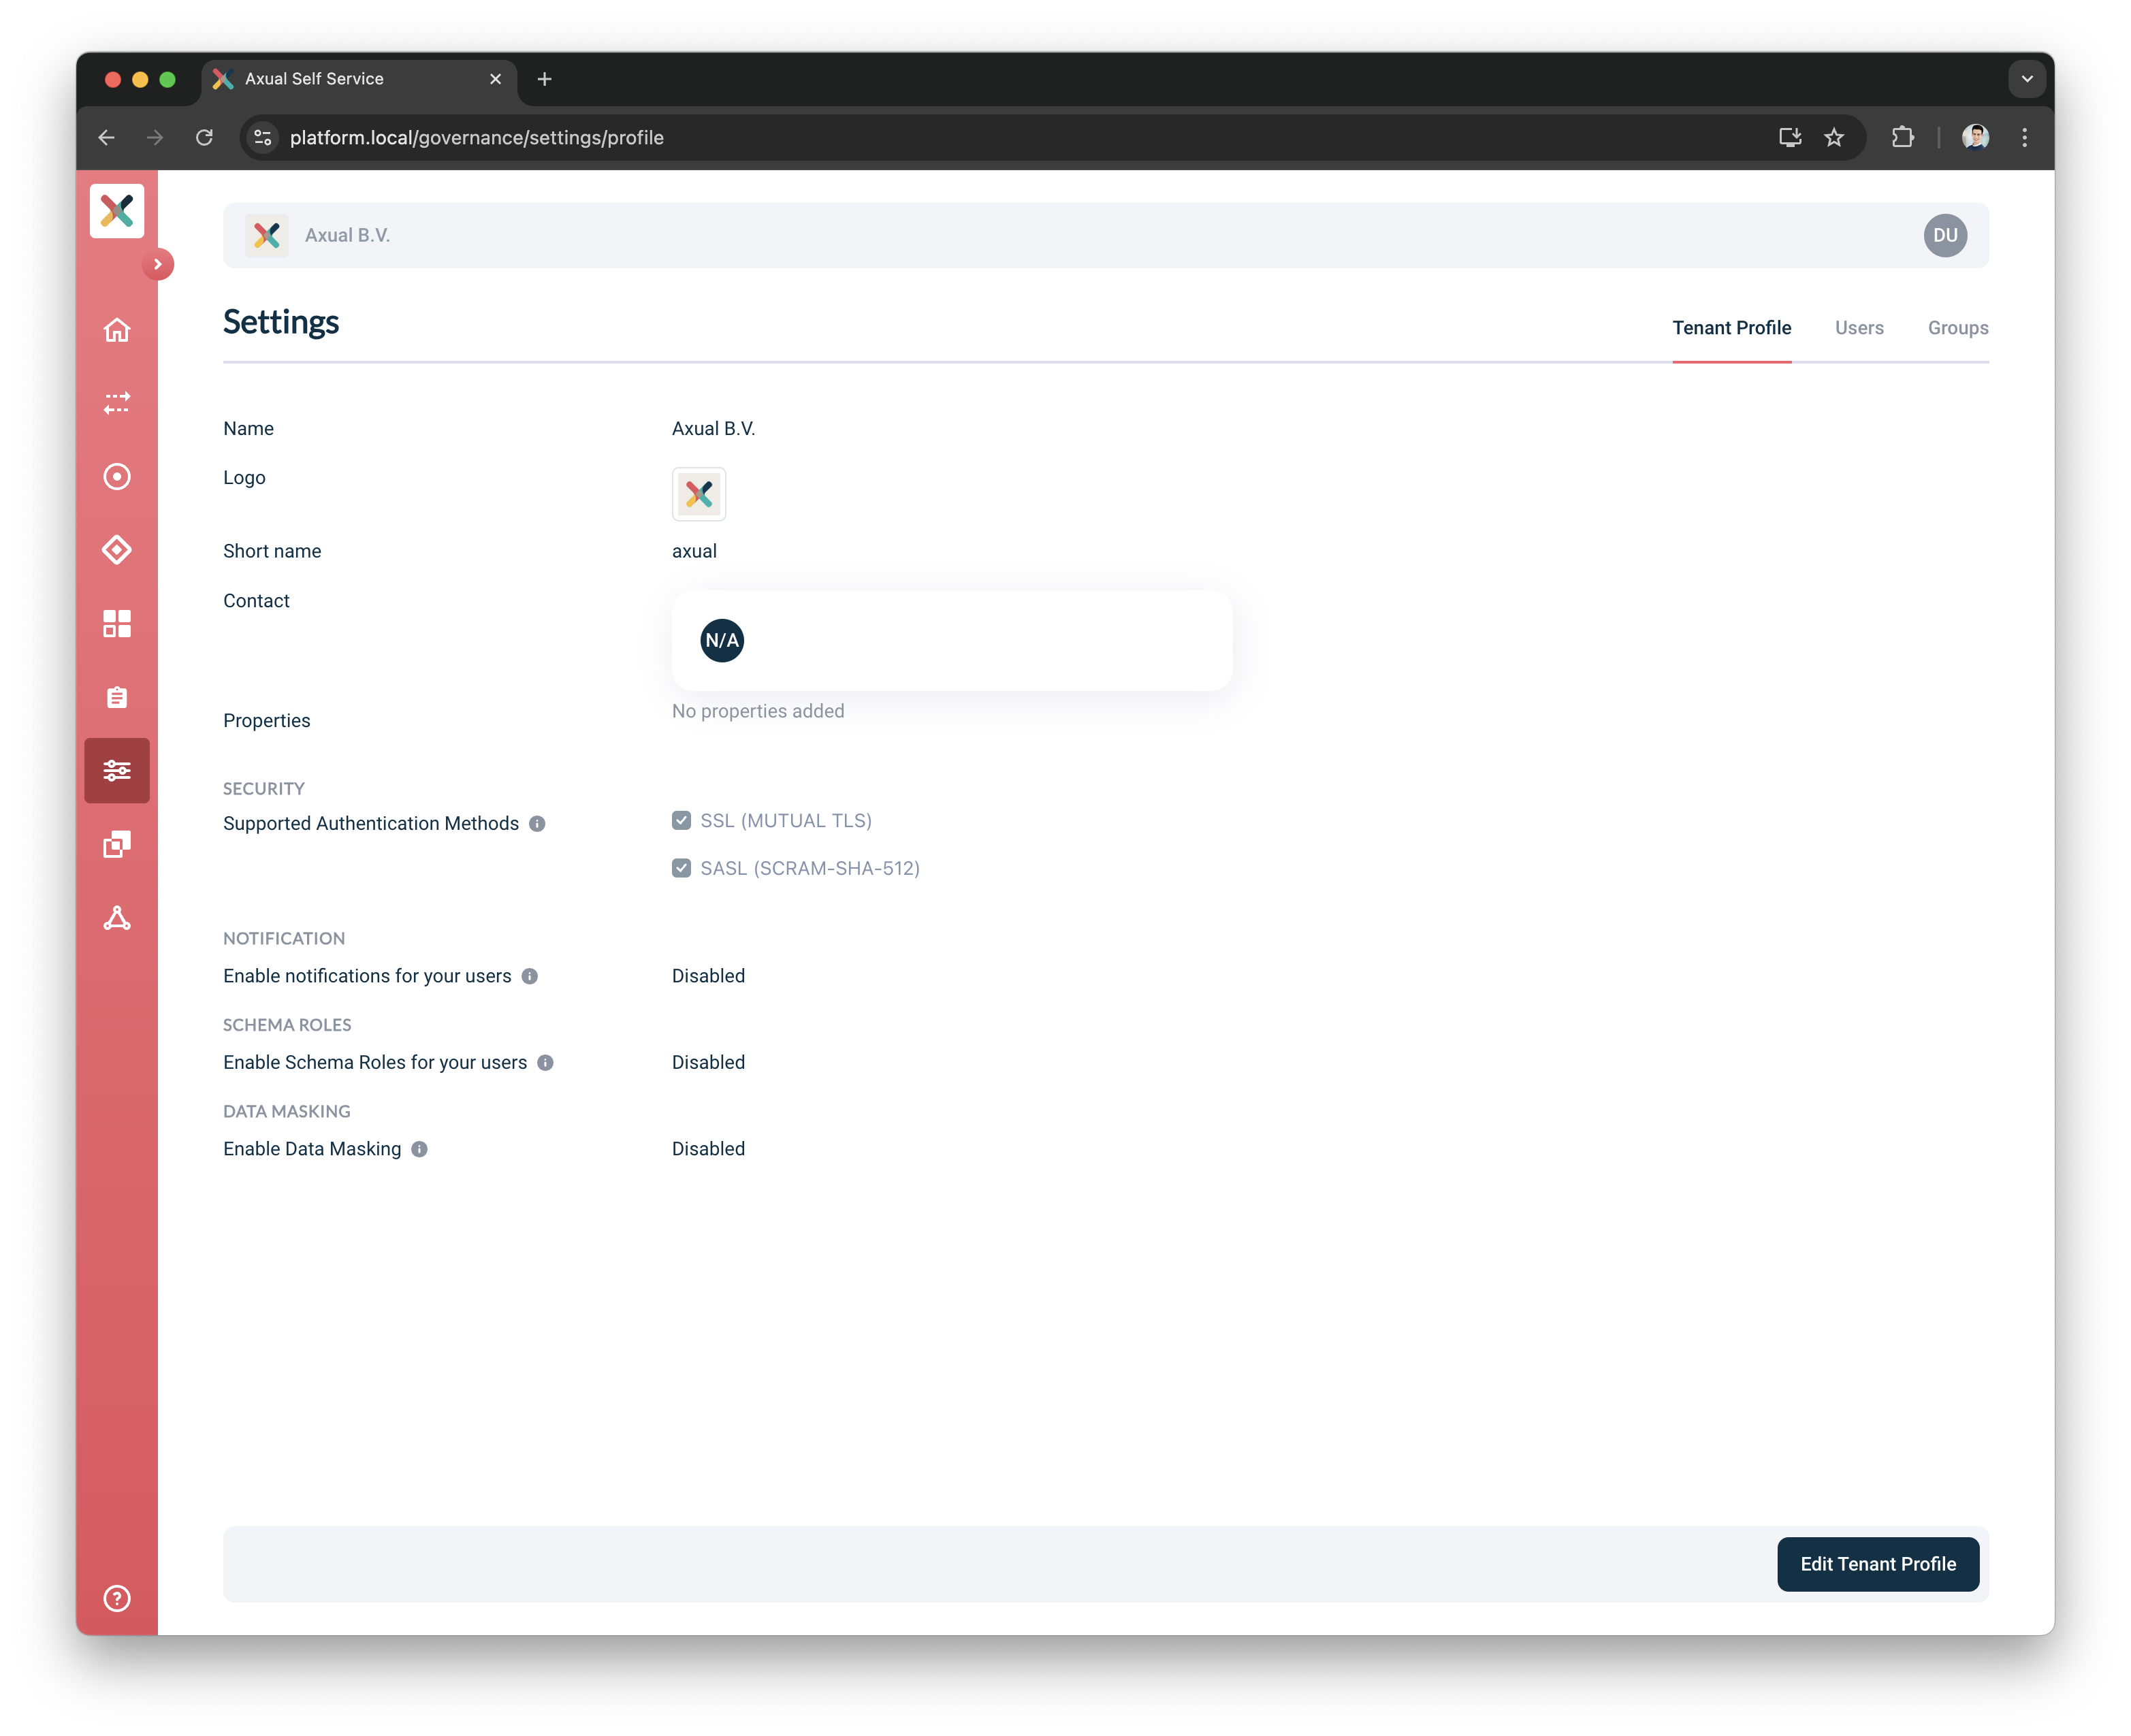
In the "Settings" page, the tenant profile can be added and User and Group management can be done.
The following Tenant settings can be modified:
-
Name: this name will be shown in the Self Service UI on top
-
Logo: fully qualified URL to a company logo, which will be displayed in the Self Service UI on top. If no URL is specified, a default icon will show.
-
Properties: a collection of key/value combinations, tenant-specific settings.
-
Security: Authentication Methods supported for the tenant.
-
Notification: By default, notifications are disabled. If enabled, users will receive emails about various events related to their applications and topics.
| Tenant Shortname cannot be modified/updated after tenant creation |
Enable Tenant Notifications
| This setting is only available when the Operator has enabled notifications. |
-
Go to the Tenant’s detail page
-
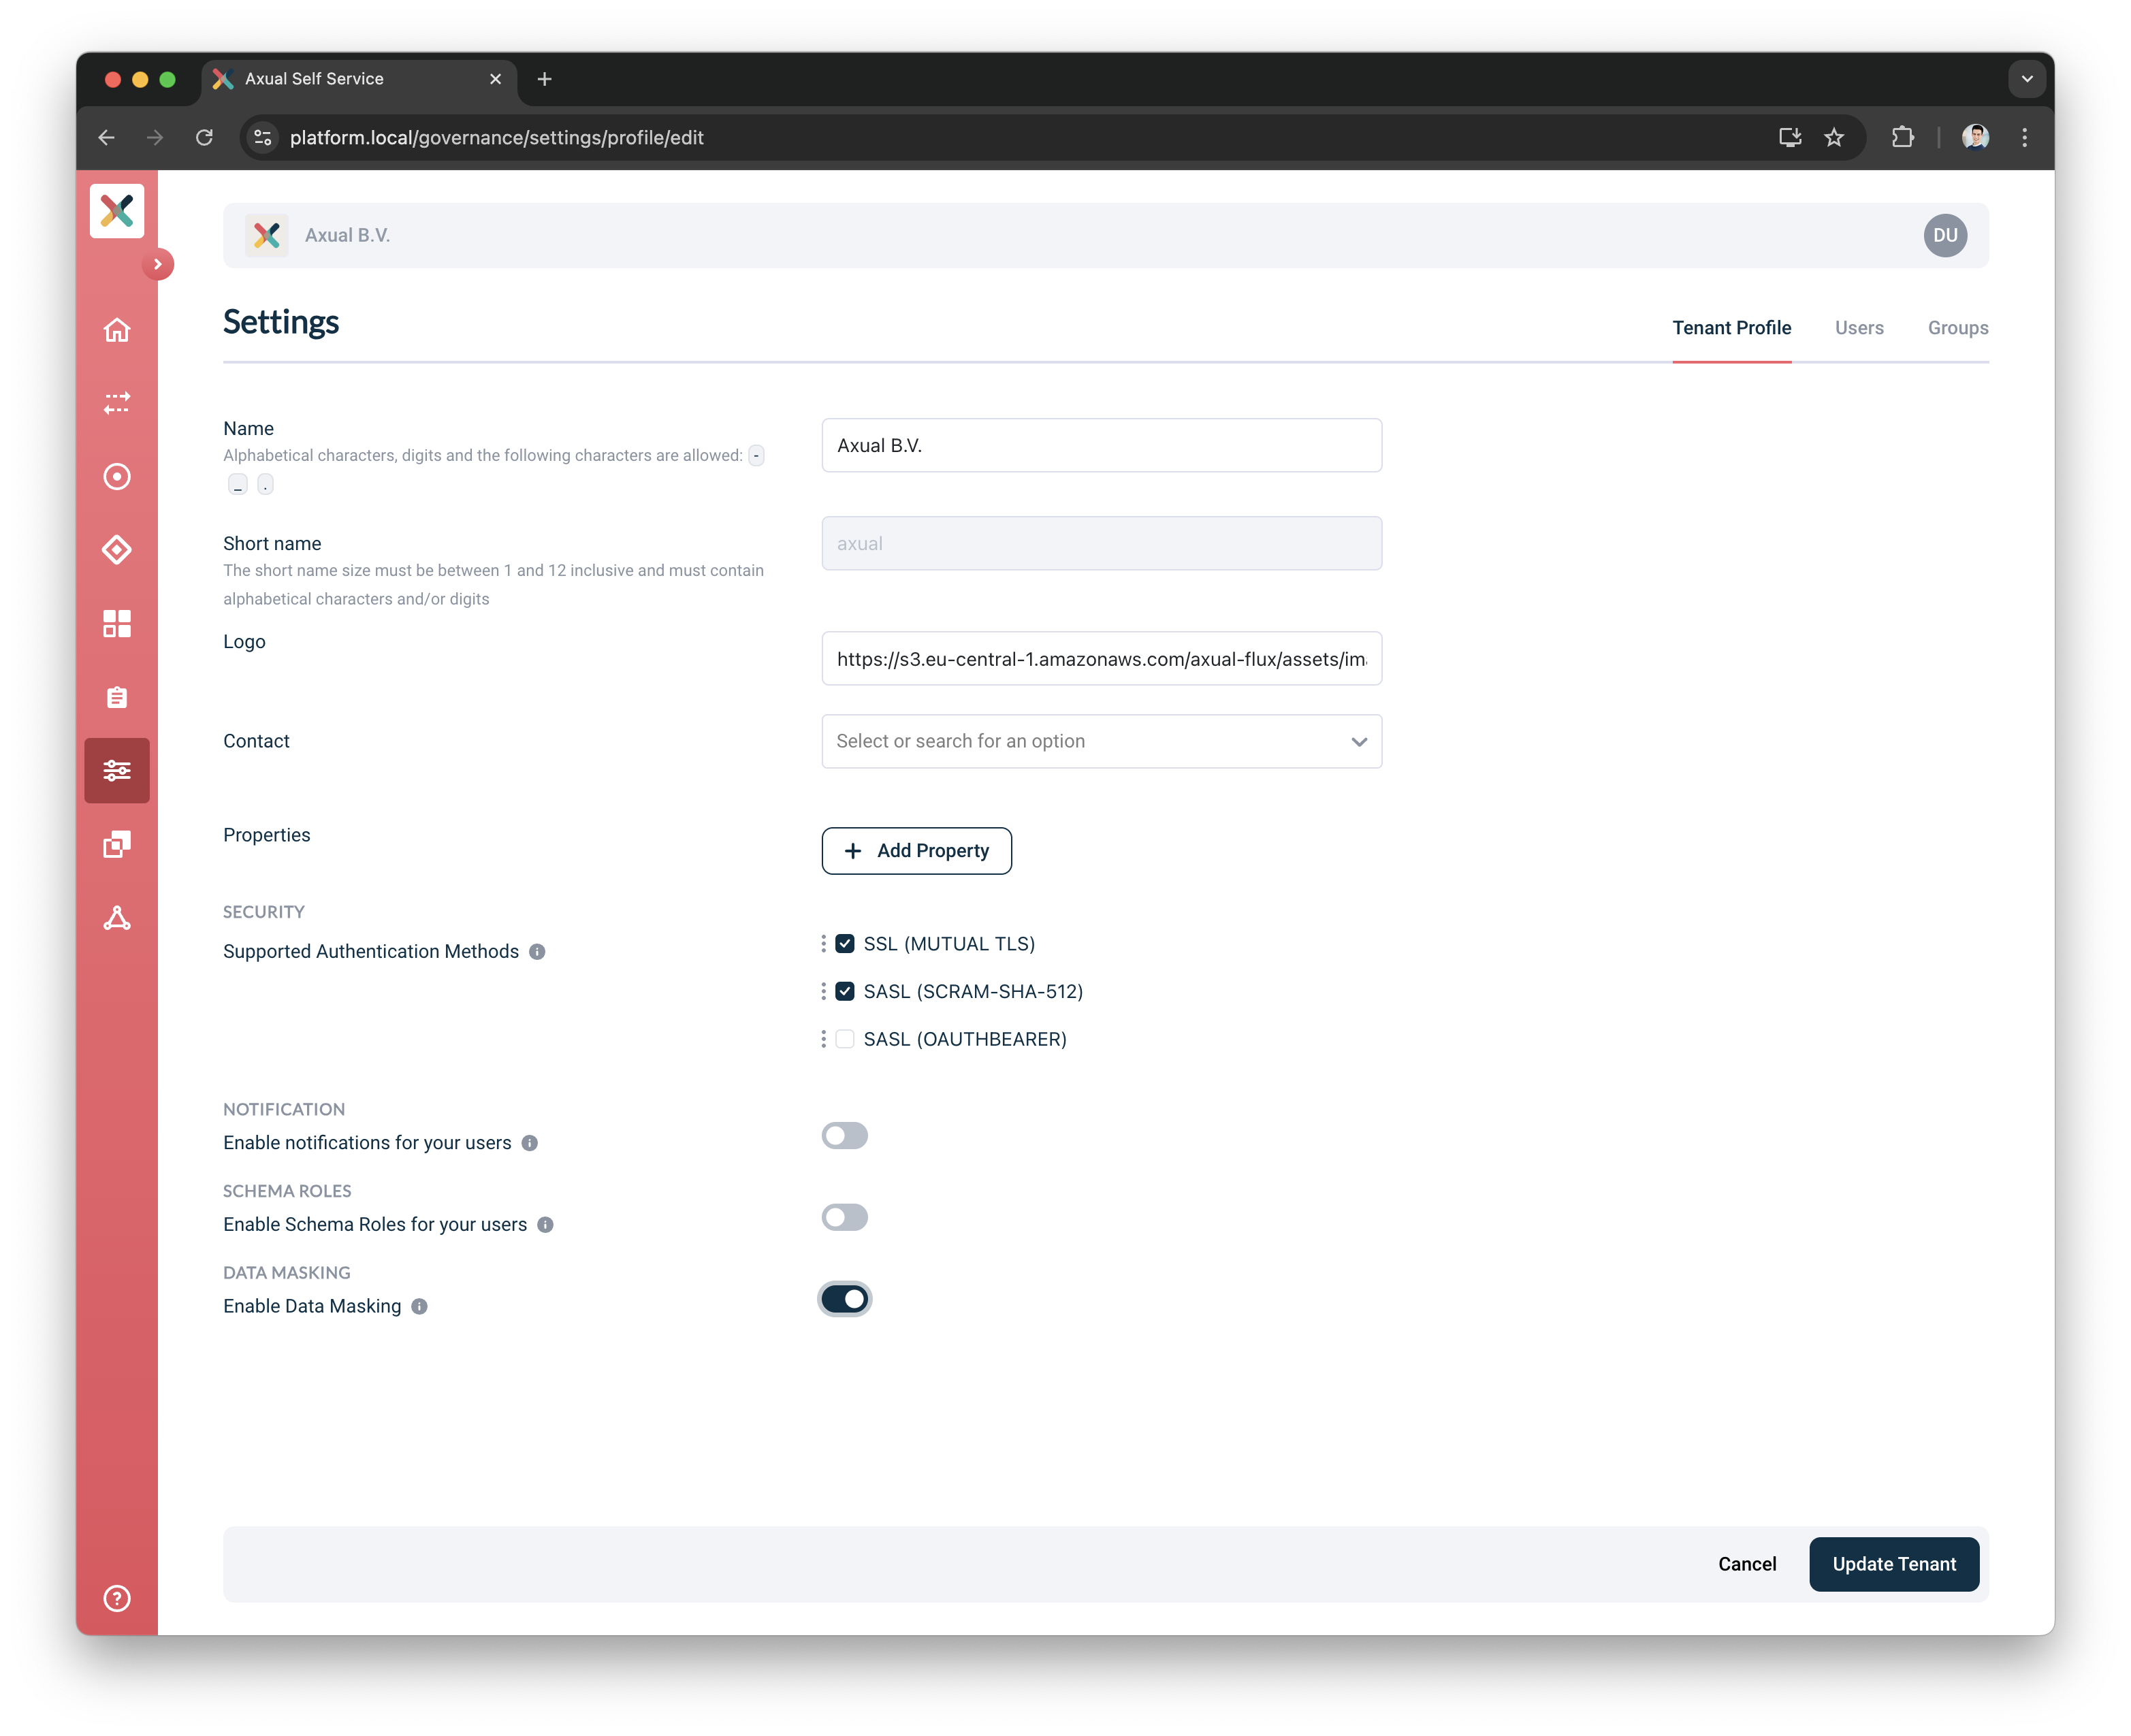
Click the Edit Tenant Profile button and you see the page below:
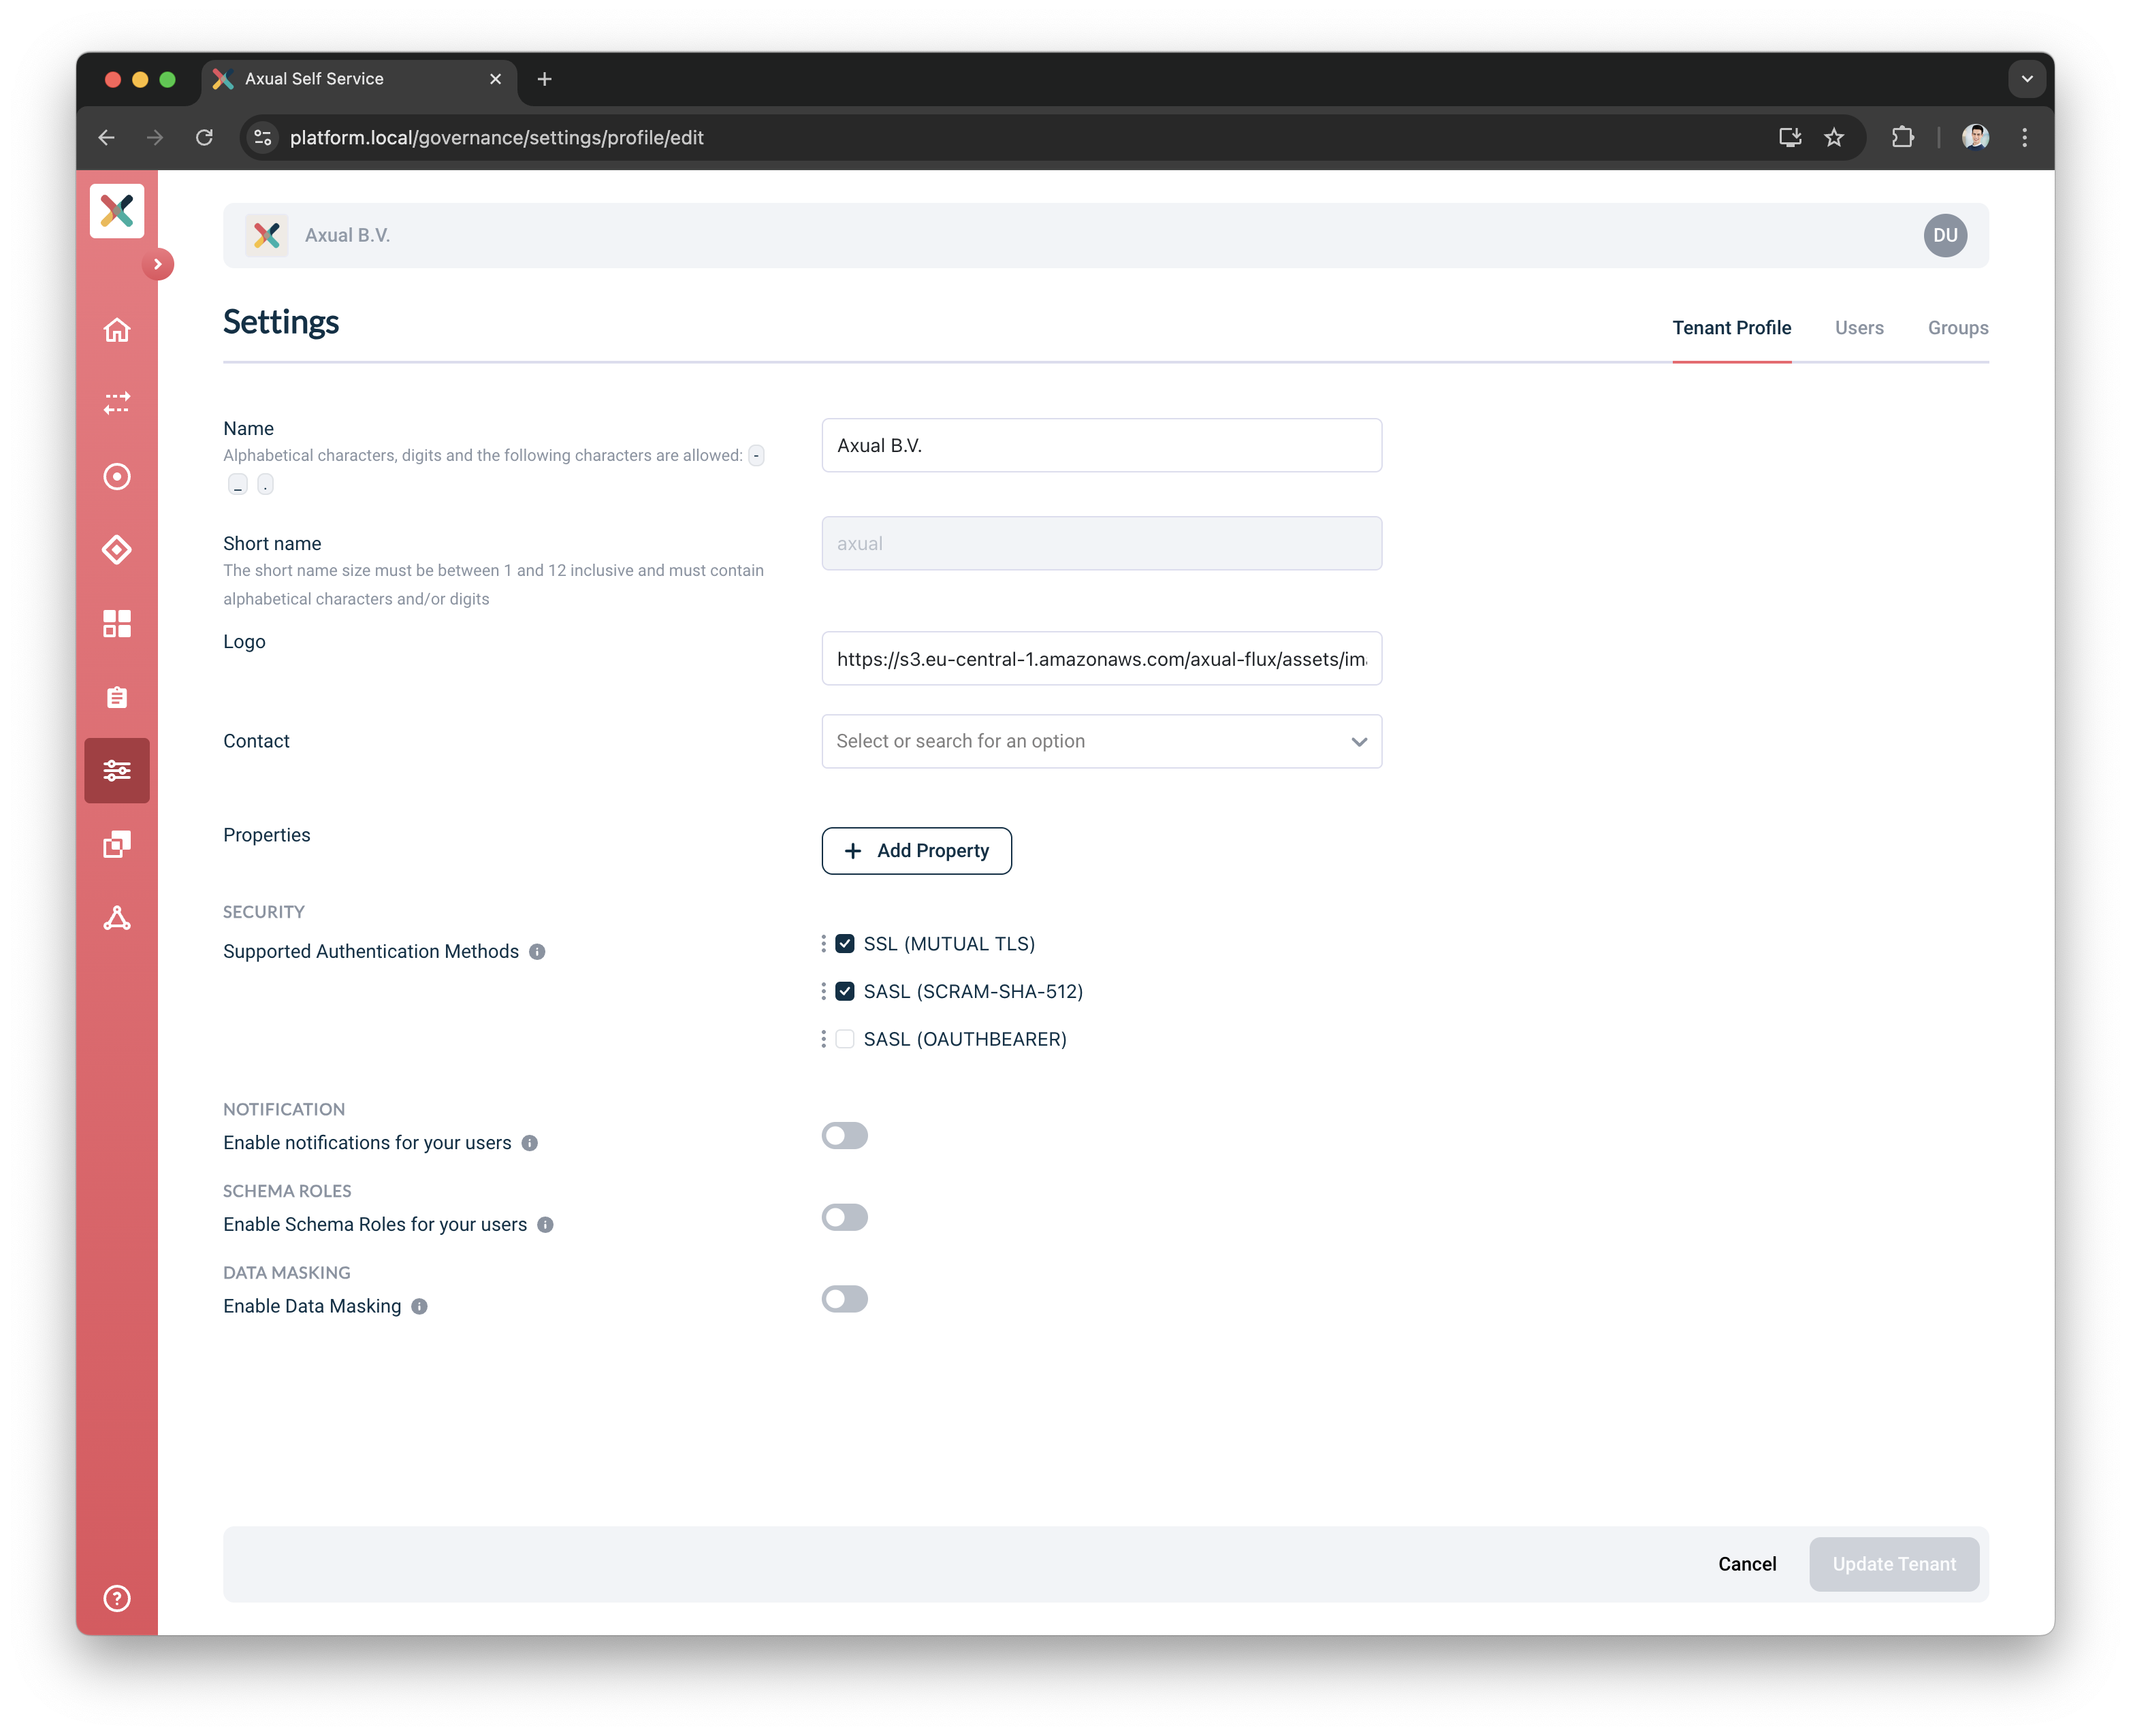
-
Toggle Enable notifications for your users to enable it
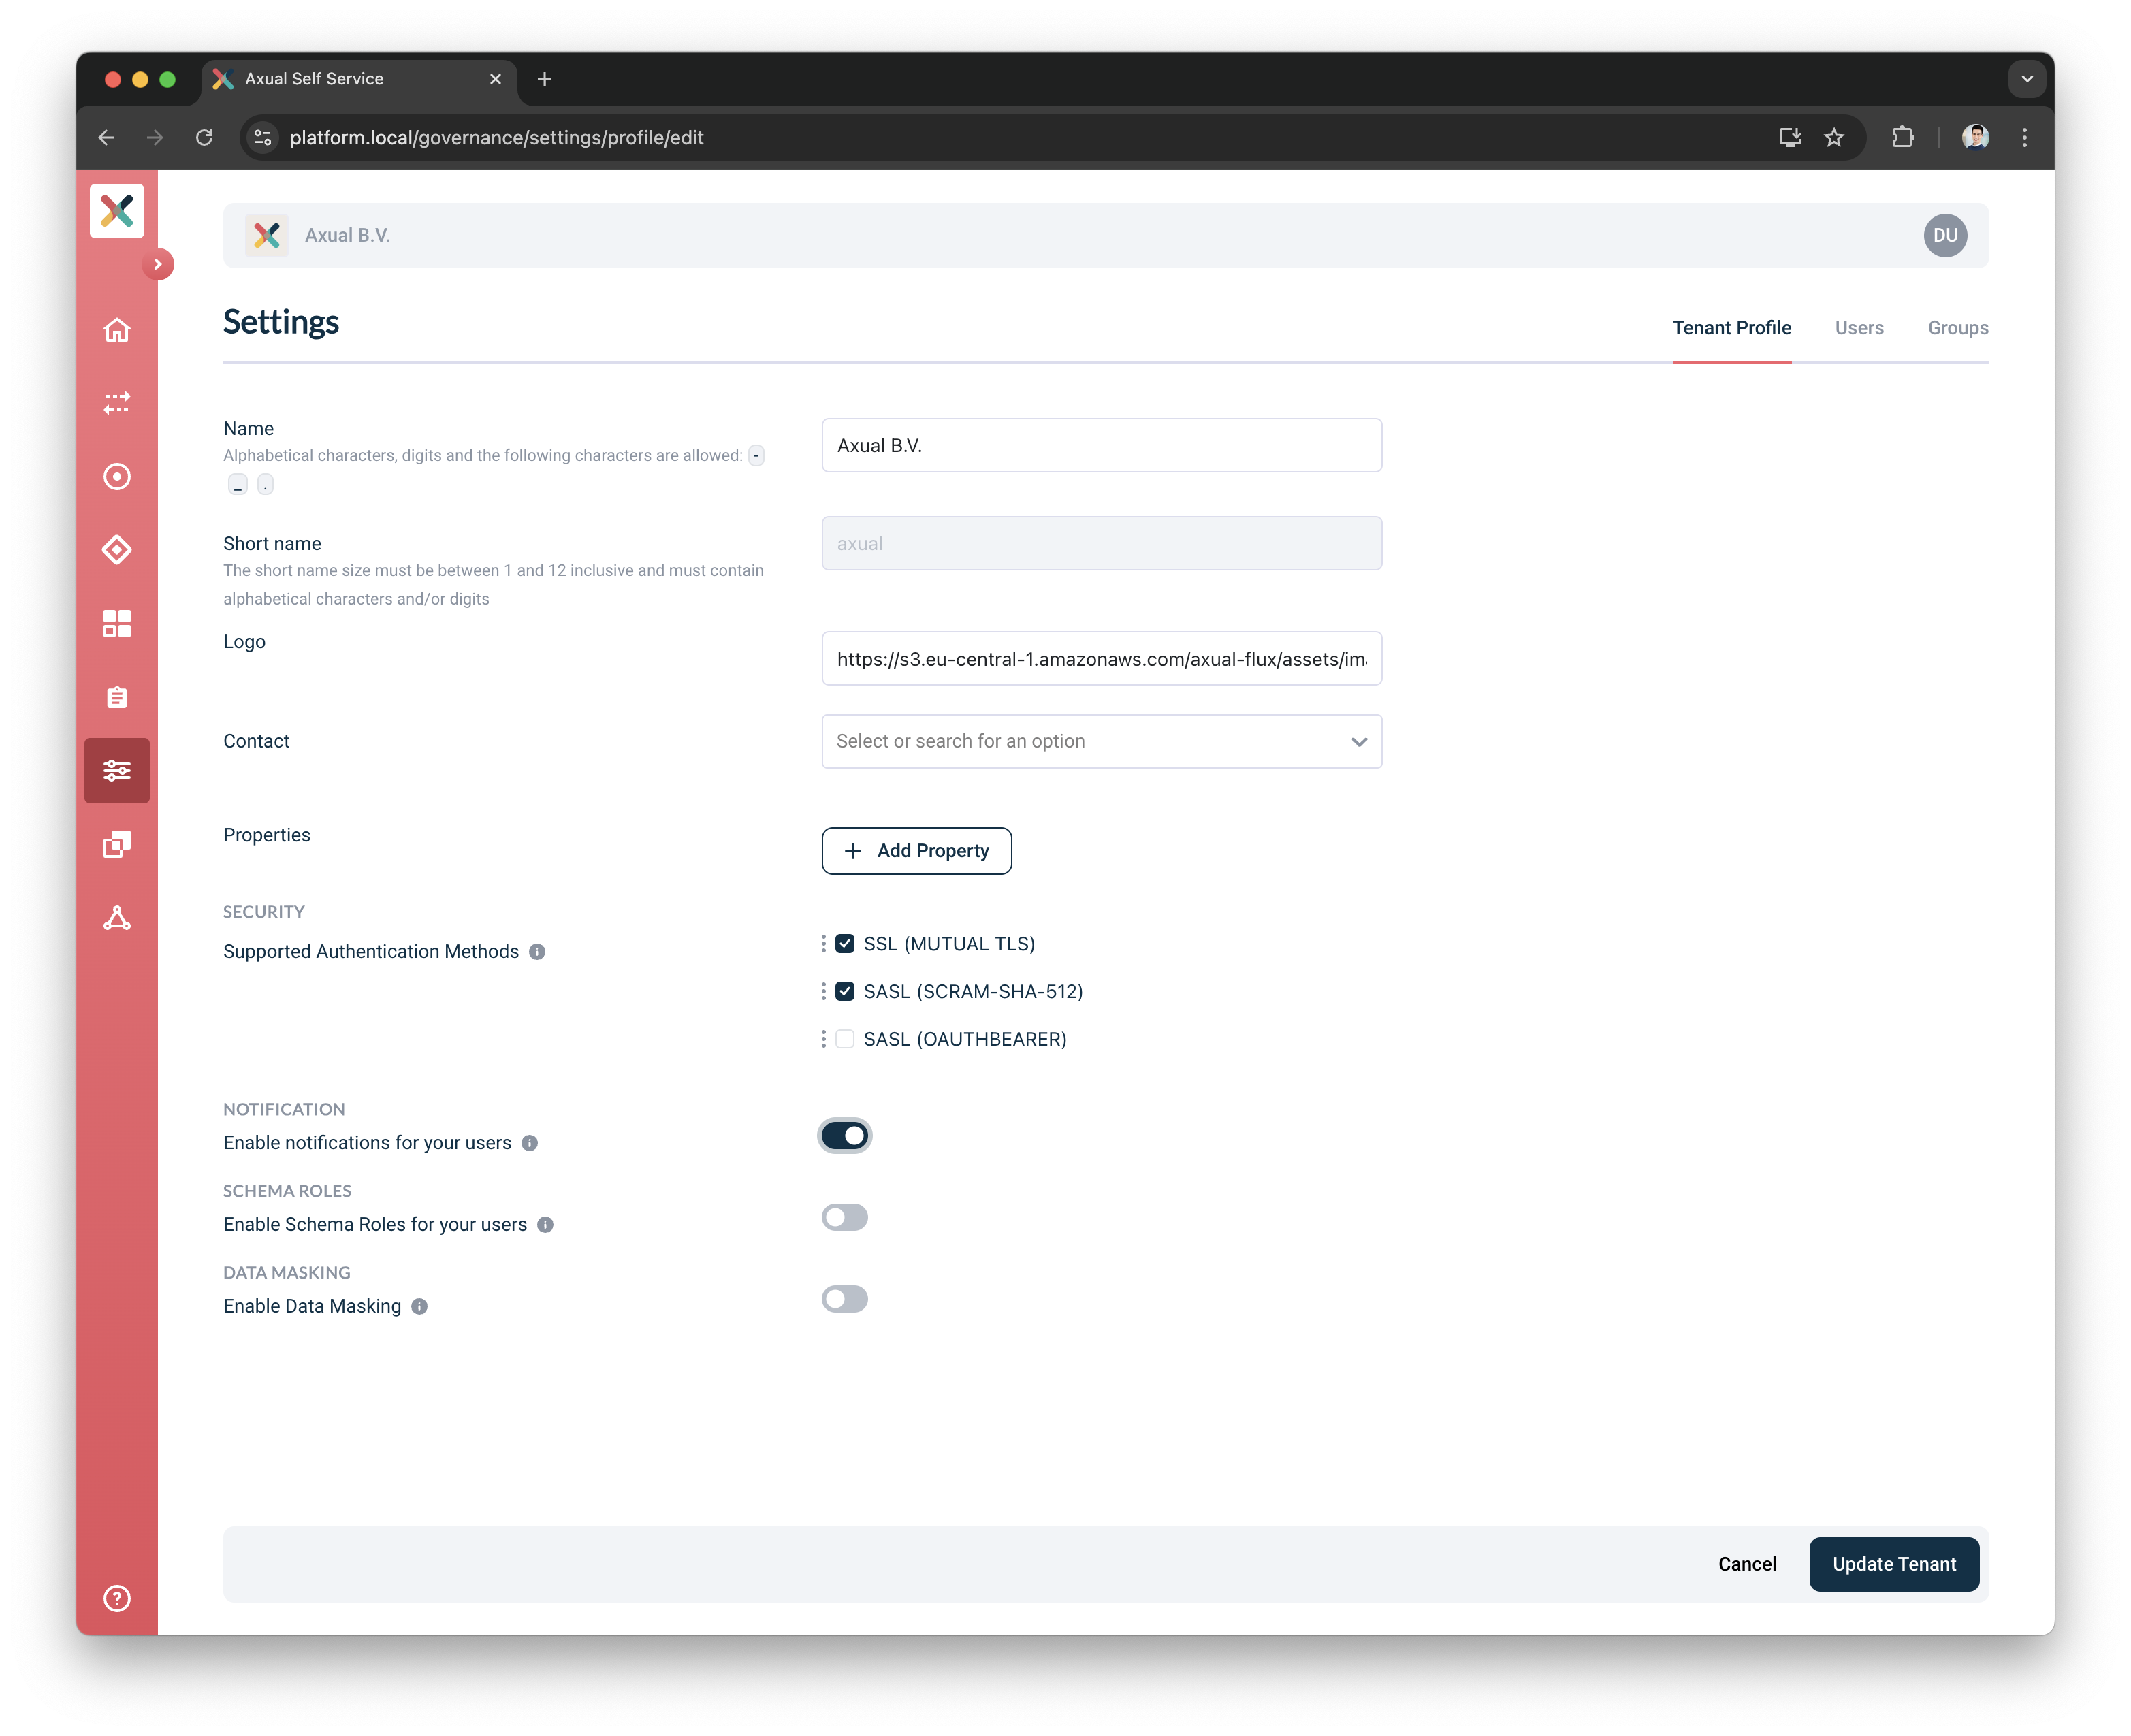
-
Click on the Update Tenant button
| By default, the notifications feature is disabled. If enabled, users will receive emails about various events related to their applications and topics. |
Enable Schema Roles
-
Go to the Tenant’s detail page
-
Click the Edit Tenant Profile button and you see the below page:
-
Toggle Enable Schema Roles for your users to enable it
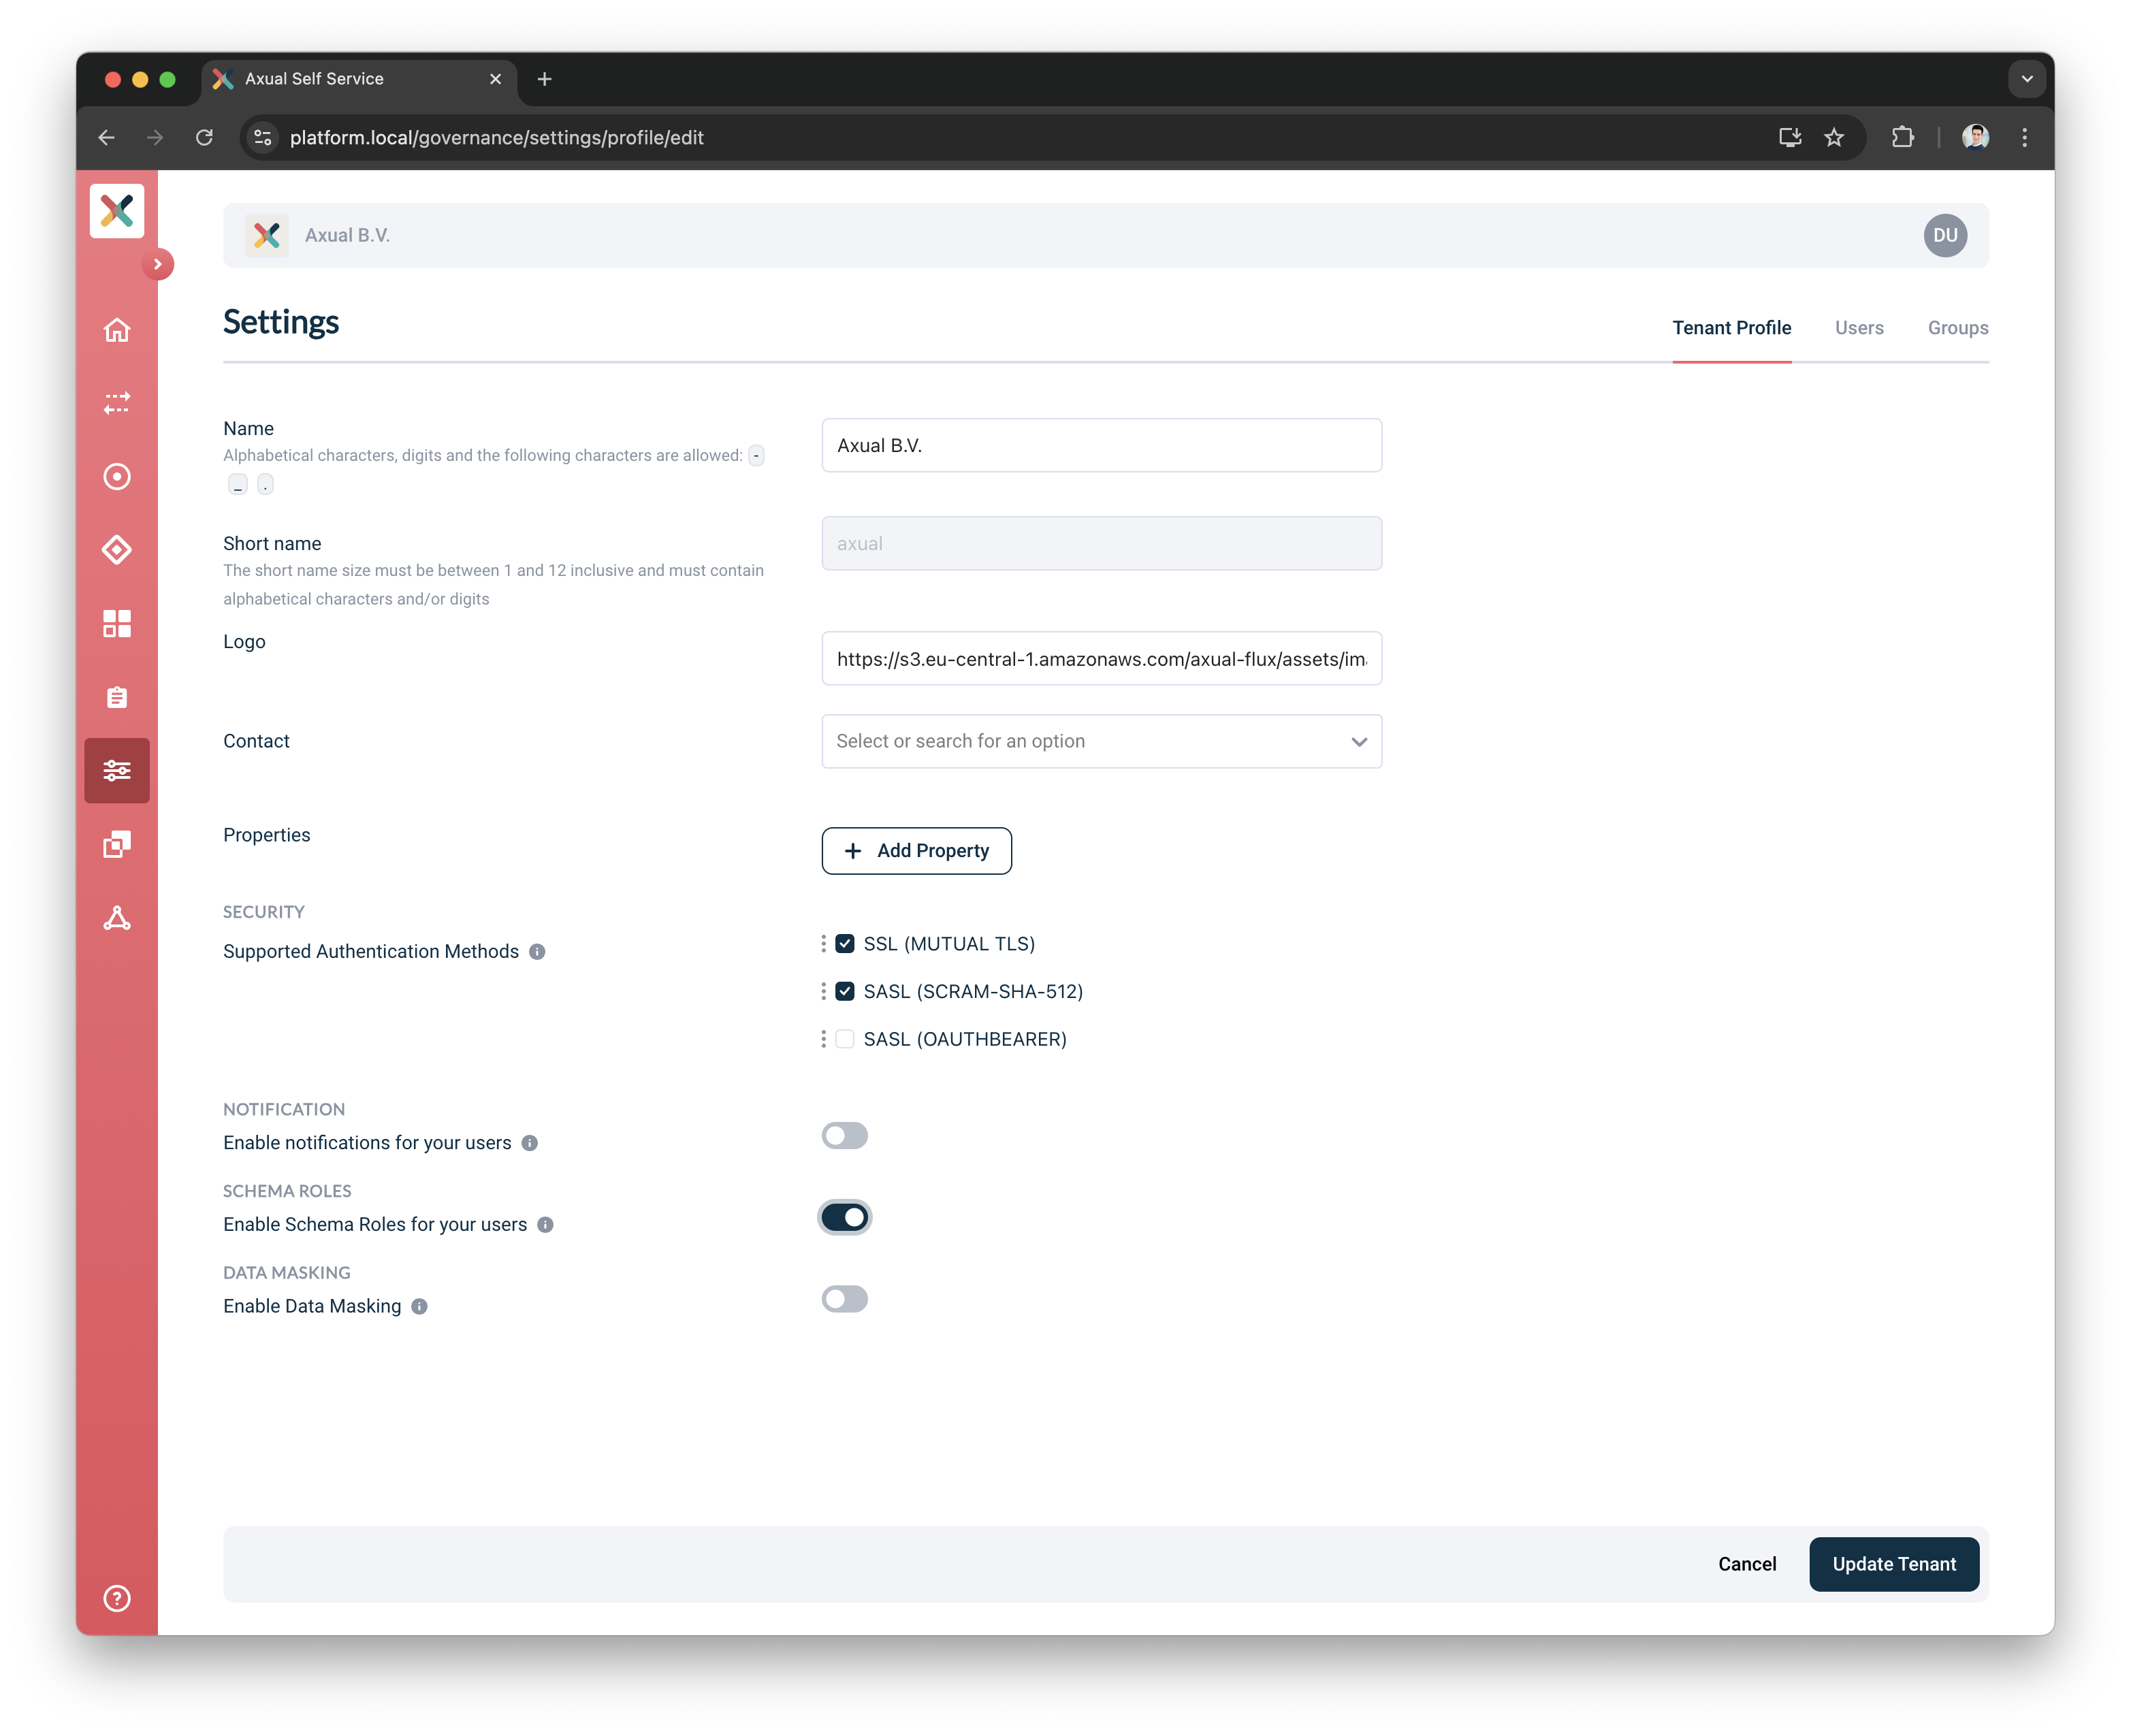
-
Click on the Update Tenant button
| By default, enforcing schema roles is disabled. If enabled, only users with the SCHEMA_ADMIN or SCHEMA_AUTHOR role can create or delete any schema or schema version. |
Enable Data Masking
| This setting is only available when the Operator has enabled data masking. |
-
Go to the Tenant’s detail page
-
Click the Edit Tenant Profile button and you see the page below:
-
Toggle Enable data masking to enable it
-
Click on the Update Tenant button
| By default, the data masking feature is disabled. If enabled, it allows users to manage masking fields. |