Environments
Managing environments
Environments are used typically to support the application lifecycle, as it is moving from Development to Production. In Self Service, they also allow you to test a feature in isolation, by making the environment Private.
Creating An Environment
-
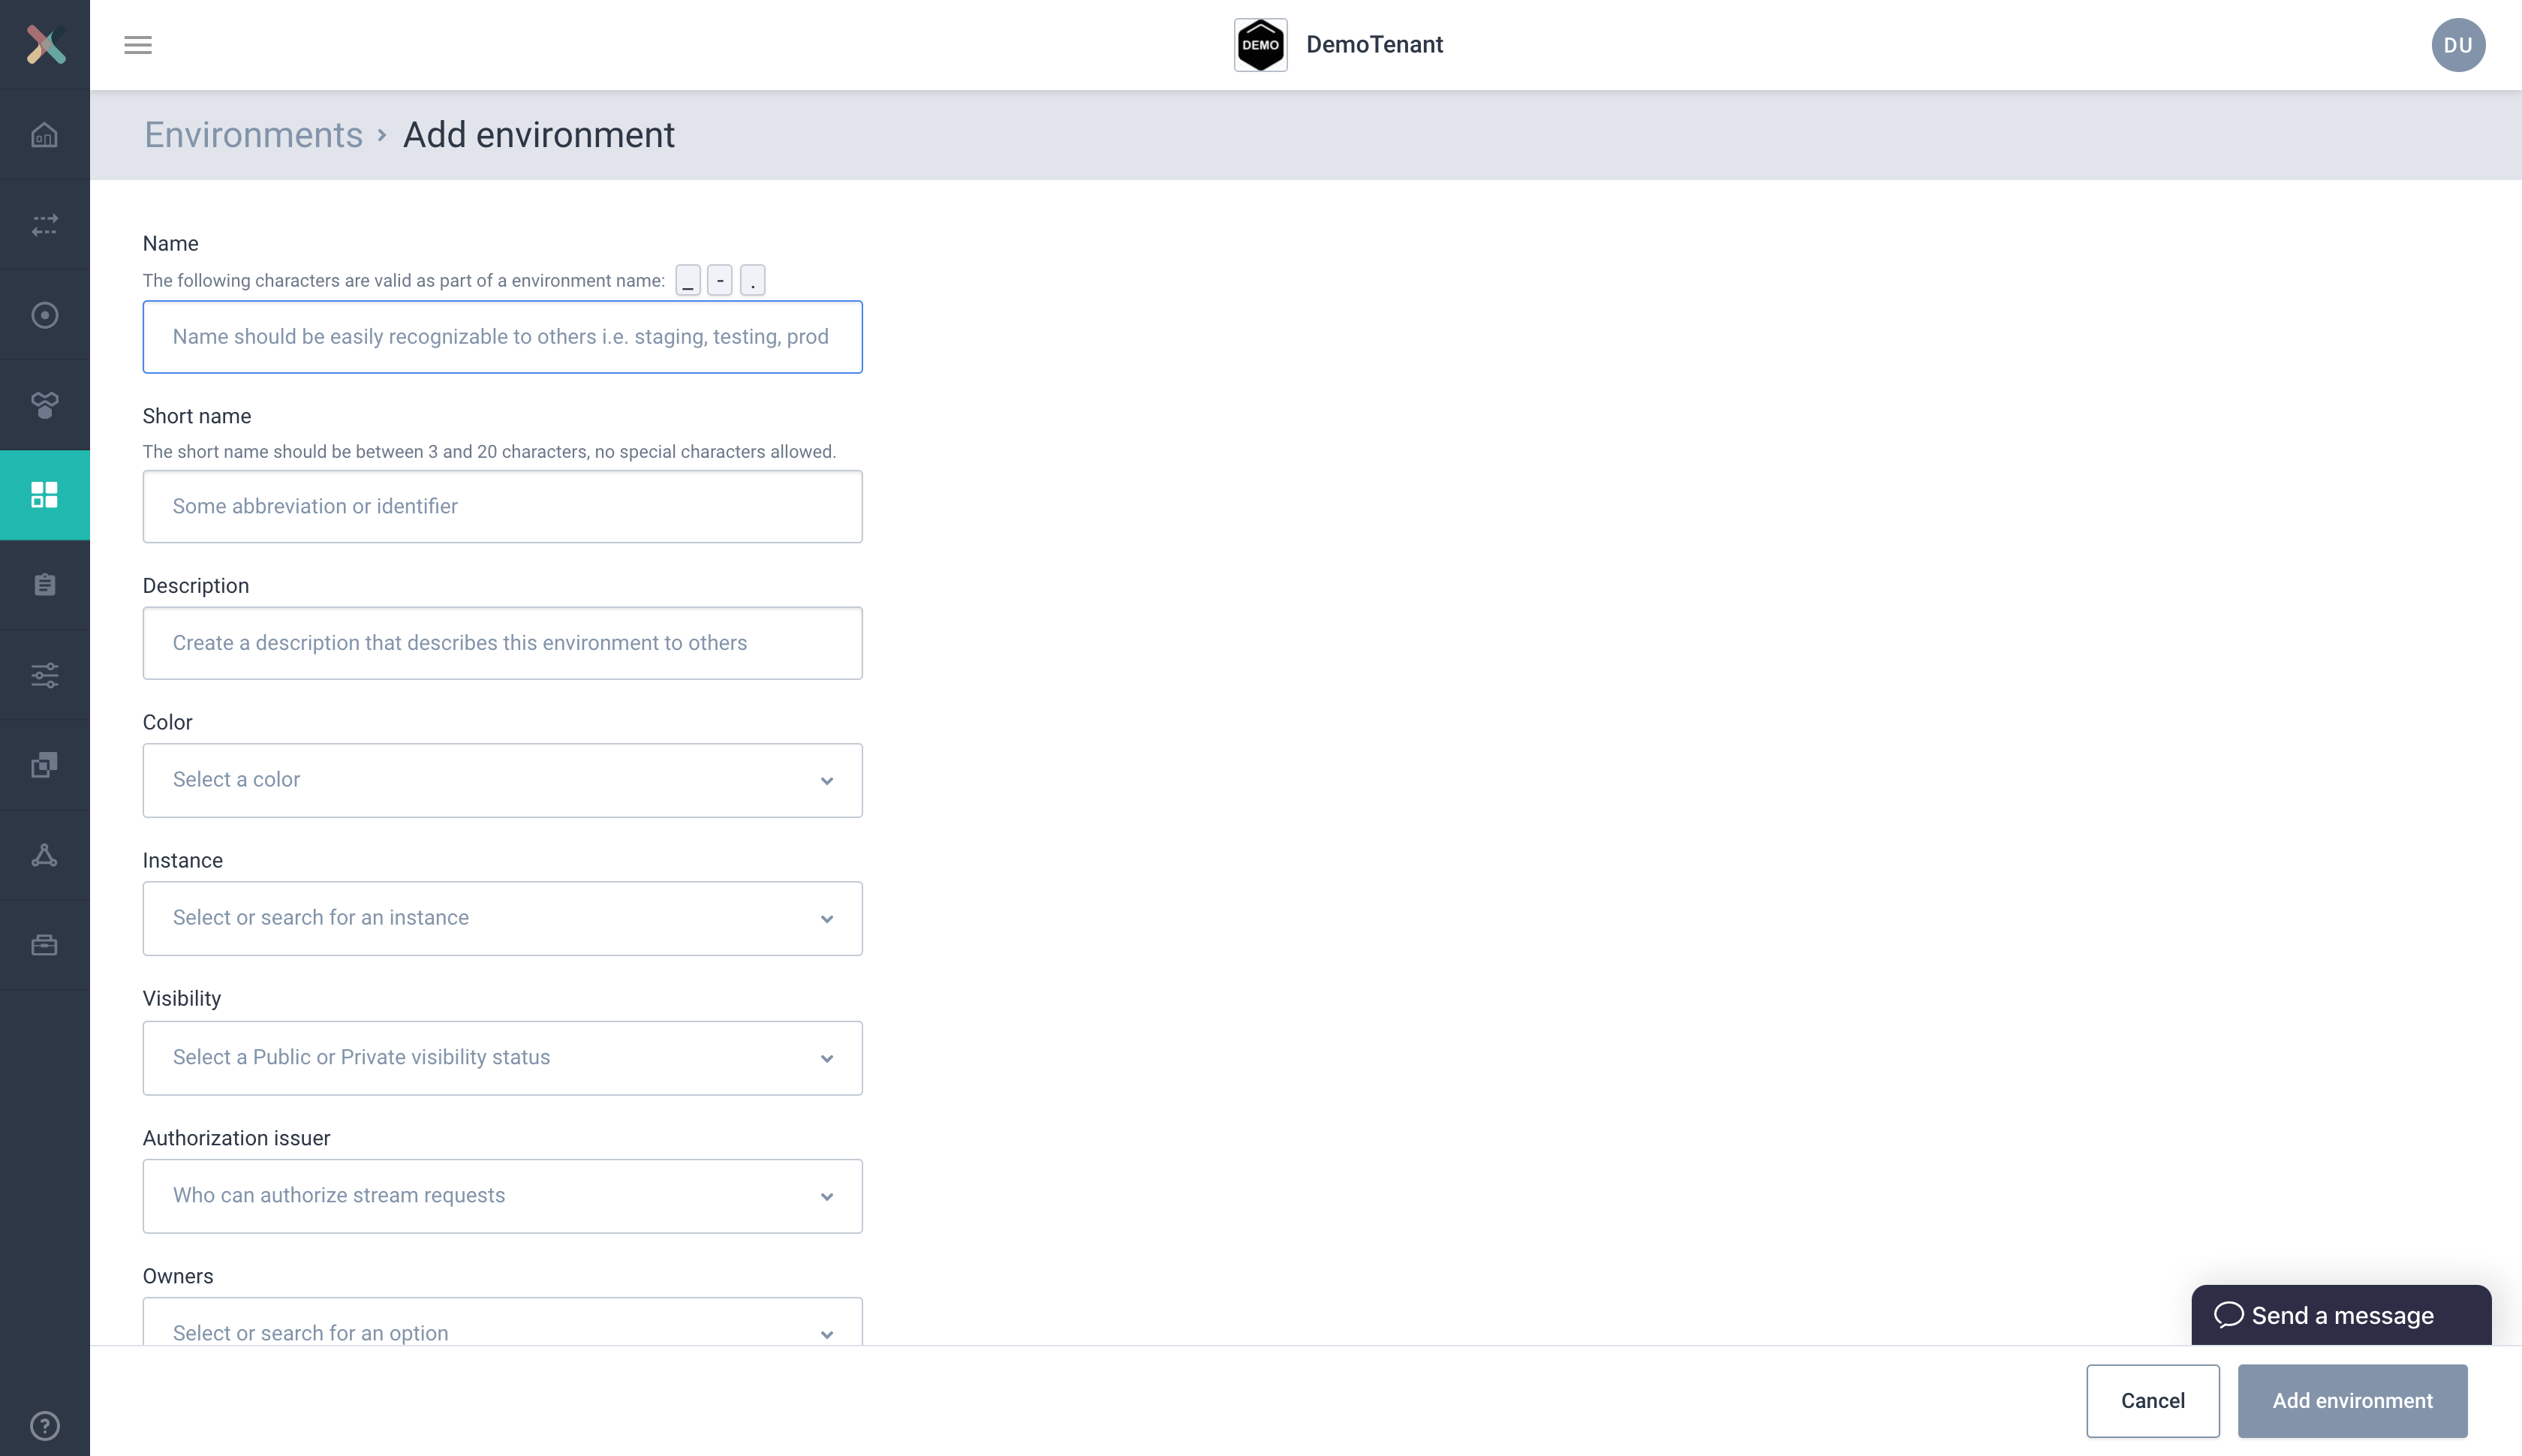
To create a private environment, visit the Environments page and click on New environment button. You will see a form as below:
-
Start filling the form with required in formation:
-
Name: A suitable name identifying this environment.
-
Short name: A short name that will uniquely identify this environment.
-
Description: A short text describing the purpose of the environment.
-
Color: Choose a color as you like.
-
Instance: Choose the instance in which this environment should be created.
-
Visibility: Choose PRIVATE. Private environments are only visible to the owning group (your team). They are not included in dashboard visualisations.
-
Authorization Issuer: This option indicates if any deployments on this environment should be AUTO approved or requires approval from Topic Owner. For private environments, only AUTO can be selected.
-
Owners: Choose your DevOps team here. If not found, refer to the section Creating a group
-
Properties: Define environment specific properties here. Can be left empty.
-
-
Click on Add Environment to create the environment. It will now be shown in the Environments page
Updating An Environment
-
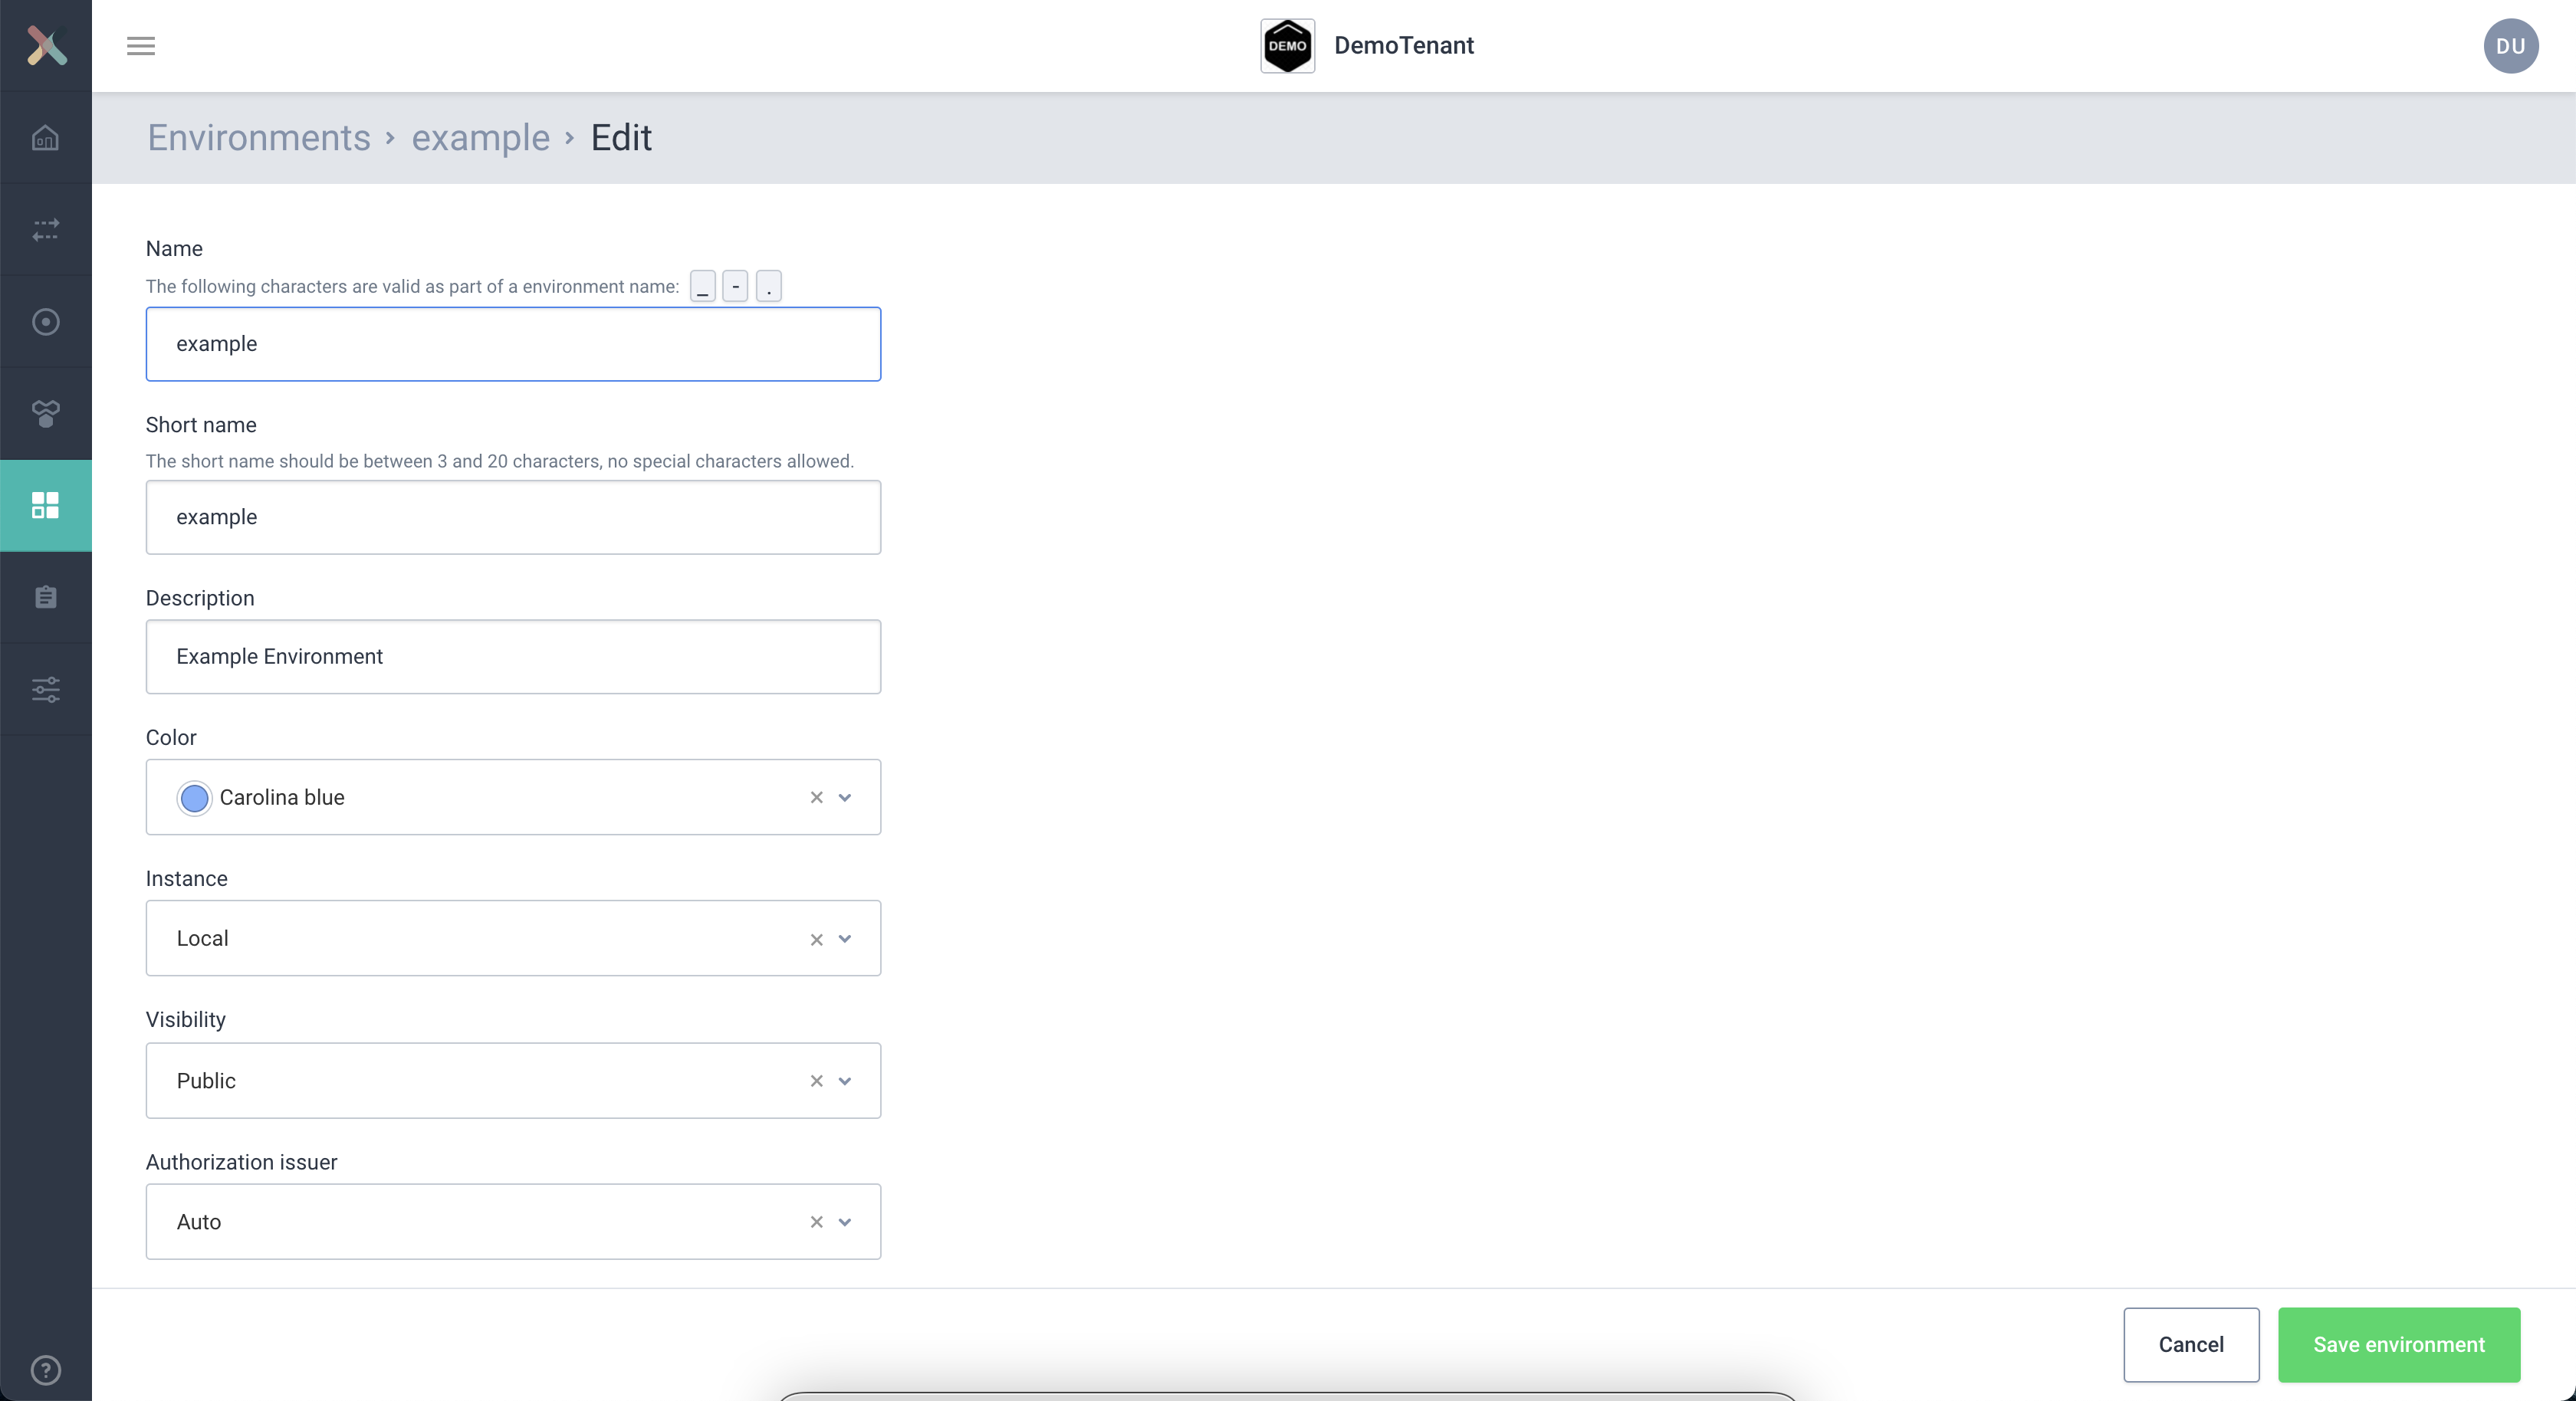
To update an environment you own, visit the Environments page and click on the environment you want to edit.
-
Click on the Edit environment button. On the bottom right, you see the below page:
-
Fill in or change any information you need and click the Save environment button to update the environment’s information.
| Changing the Environment Short name or Instance is only allowed when there are no stream configurations defined in that environment. |