Axual MCP Server - Deployment Guide
This guide will help you deploy Axual MCP server and configure it to connect to a specific tenant of Axual Governance.
Introduction
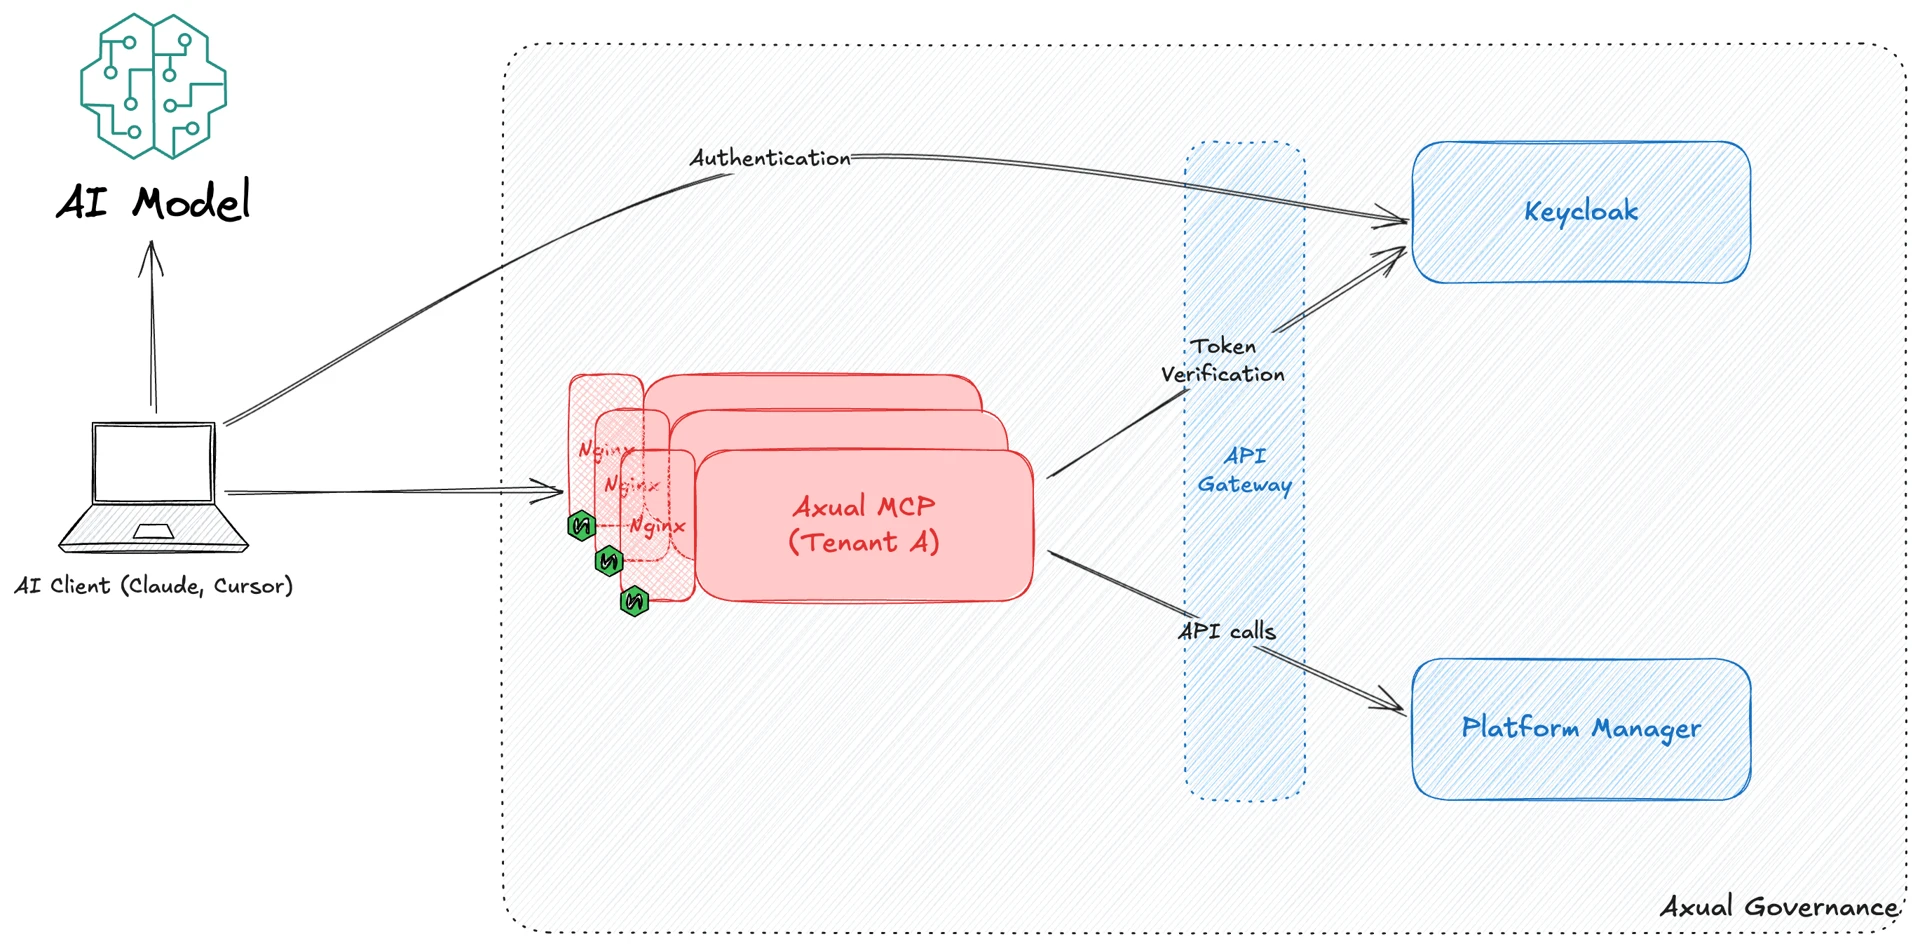
The Axual MCP Server provides an AI-powered interface to interact with your Axual Kafka platform. It talks to Axual API to perform actions initiated by an AI model via chat conversations. The Axual MCP is bound to a single tenant. So multiple MCP servers must be deployed for a single governance in a multi-tenant environment.
Deployment Instructions
Prerequisites
-
Decide on the tenant for which the MCP server needs to be deployed.
-
Decide on the URL where the MCP endpoint will be accessible. For example,
mcp-tenant1.example.org.
Keycloak Setup
In Keycloak, we need to create two clients which will be used by Axual MCP server to authenticate users with Keycloak and get a JWT access token.
-
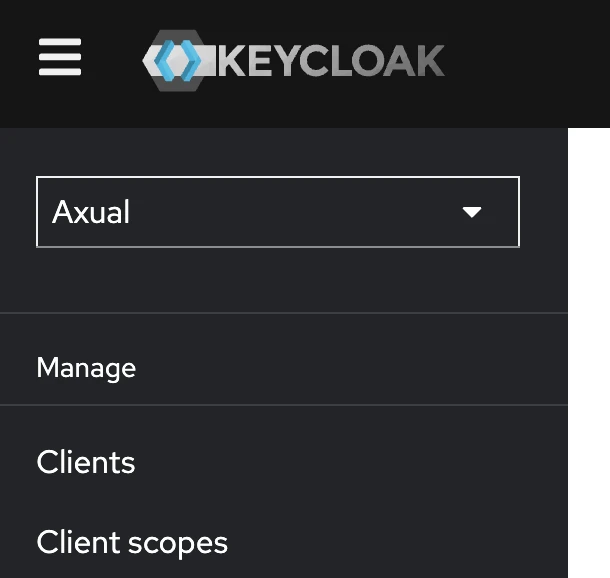
Login to Keycloak as administrator and switch to the tenant’s realm.
-
Click on Clients in the left-side menu.
-
Create a new client
mcp-axualas per the screenshot below. This will be a bearer-only client representing the MCP server. Access tokens issued for MCP server should have the audience claim (aud) set tomcp-axual.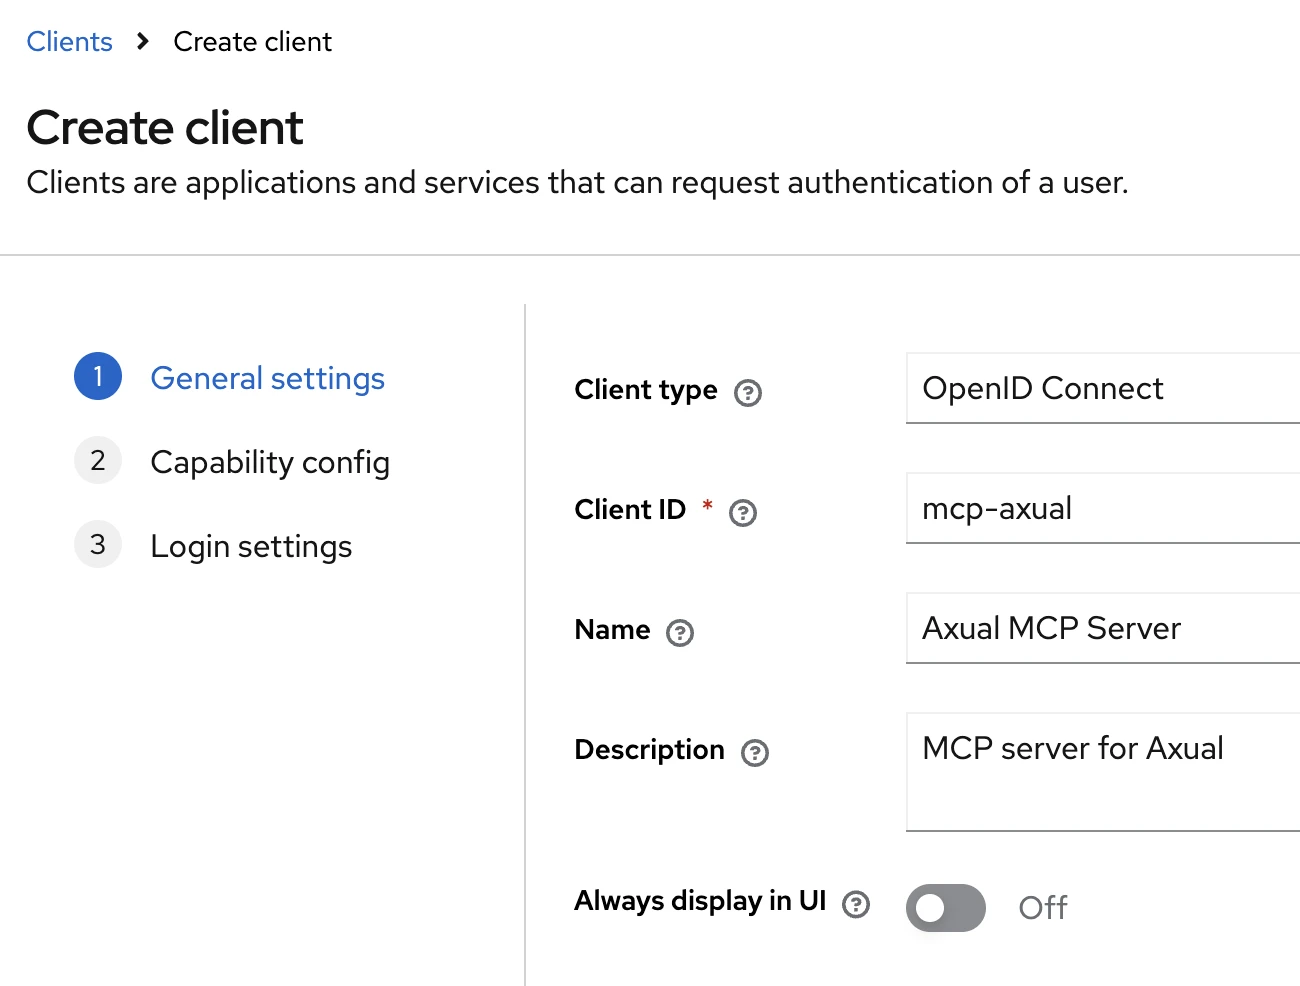
-
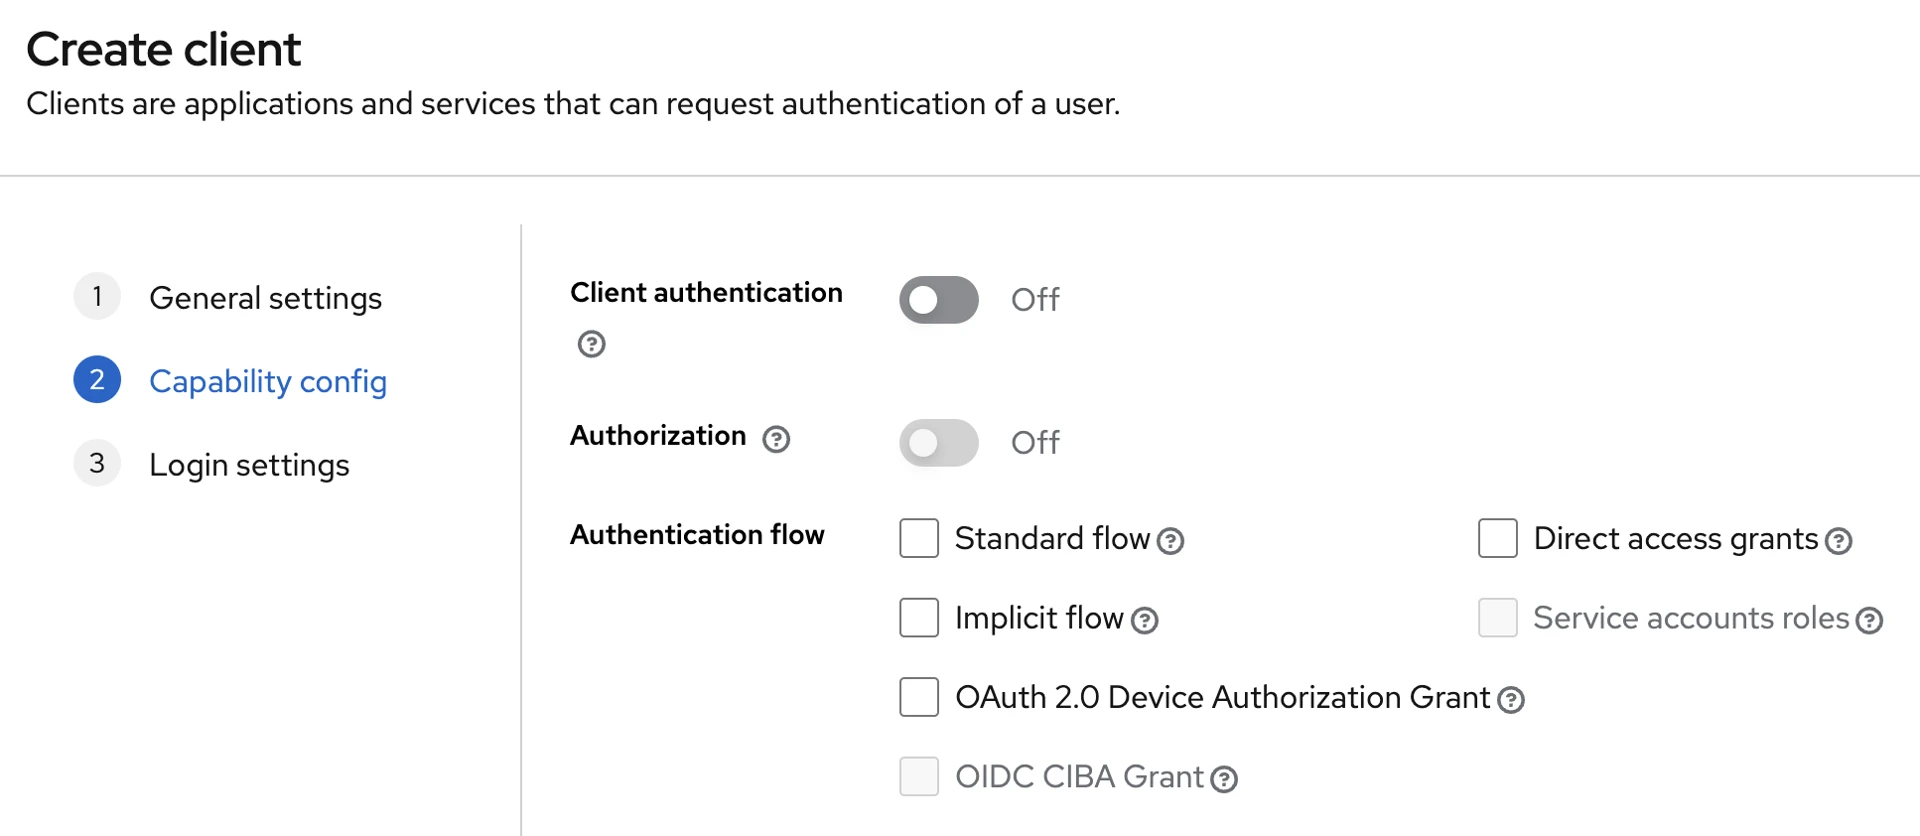
Ensure Client authentication is off and no Authentication flows are enabled. This makes the client "bearer-only" which means it cannot be used for obtaining access tokens. That will be done by another client which will be created in the next step.
-
Create a new client
mcp-oauth-proxy. This will be used by AI clients to obtain access tokens. In Valid redirect URIs, enter the value<dns>/auth/callback. If the MCP is available atmcp-tenant1.example.org, then the redirect URI should bemcp-tenant1.example.org/auth/callback.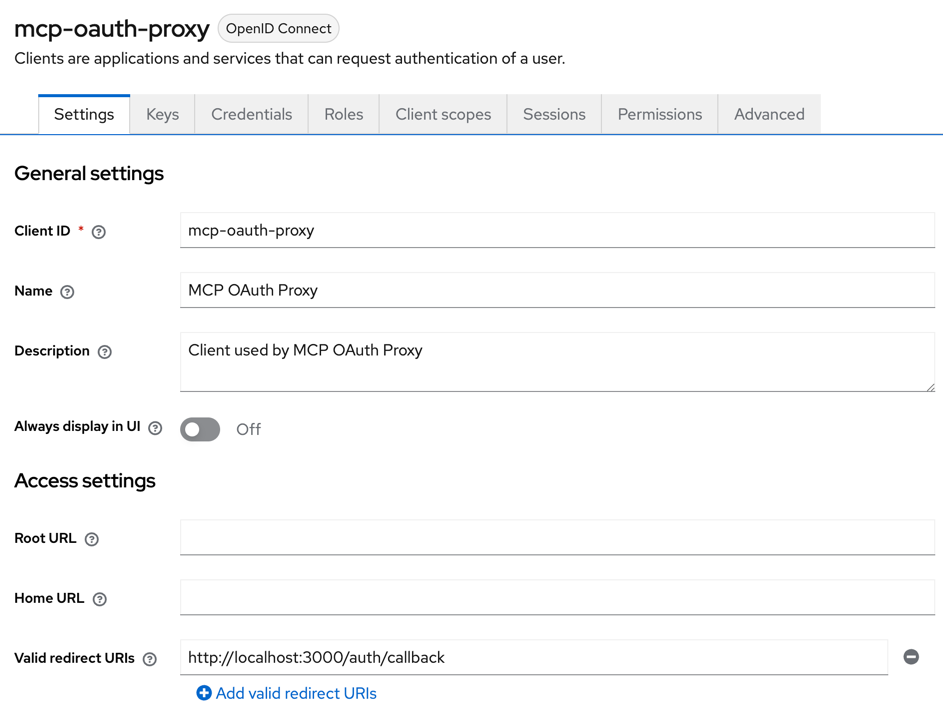
-
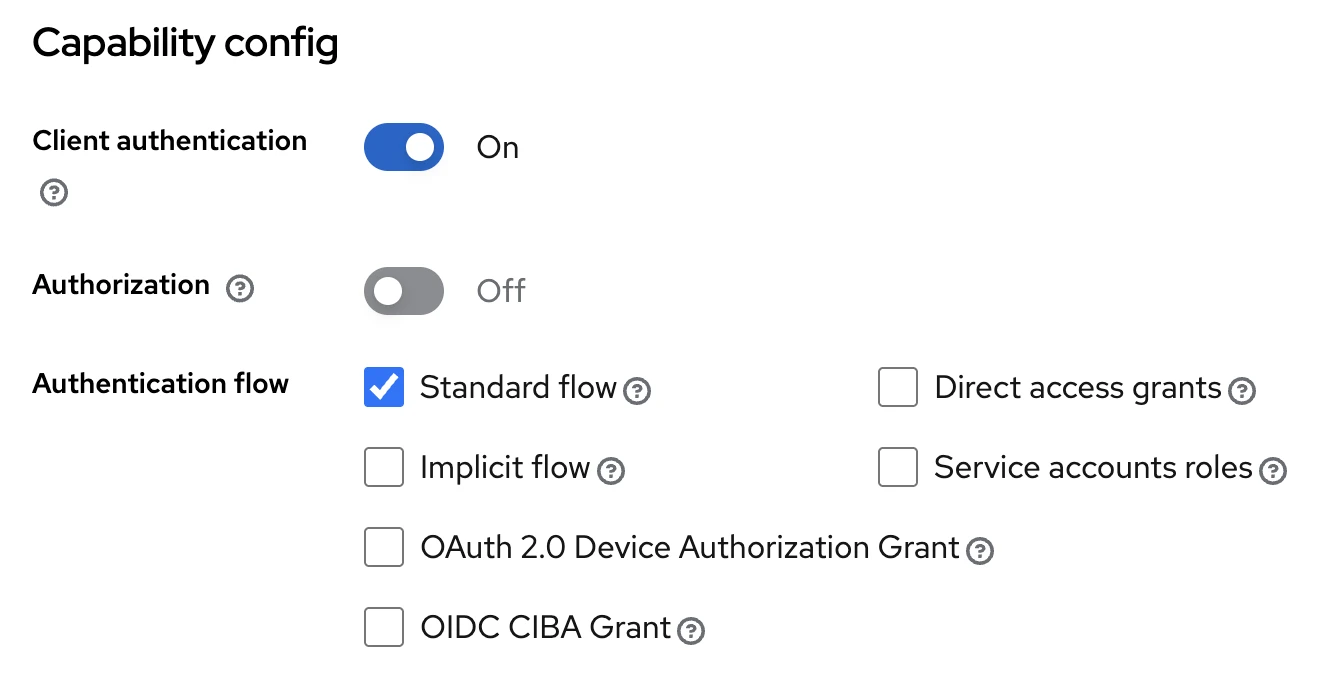
Under Capability Config, enable Client authentication and tick Standard flow under Authentication flow.
-
Switch to the Client scopes tab, then click on the
mcp-oauth-proxy-dedicatedlink.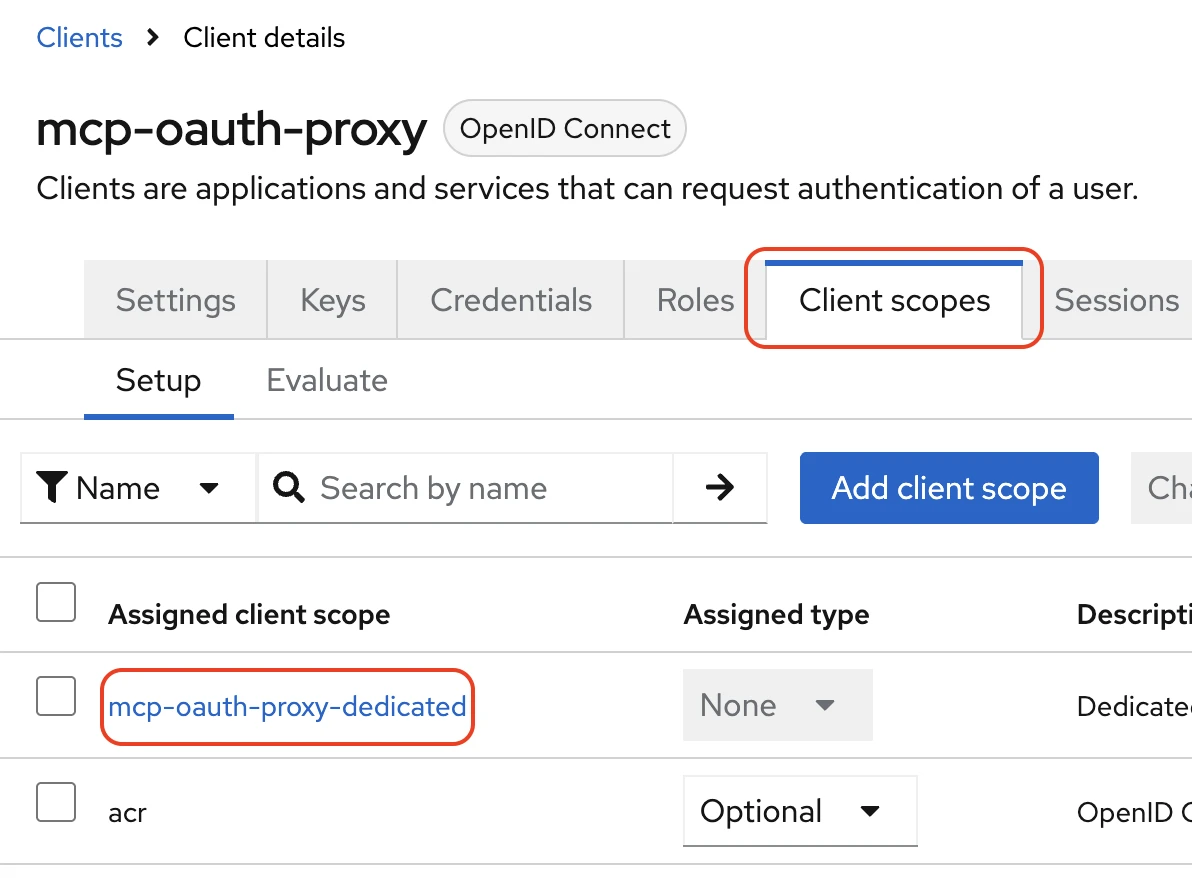
-
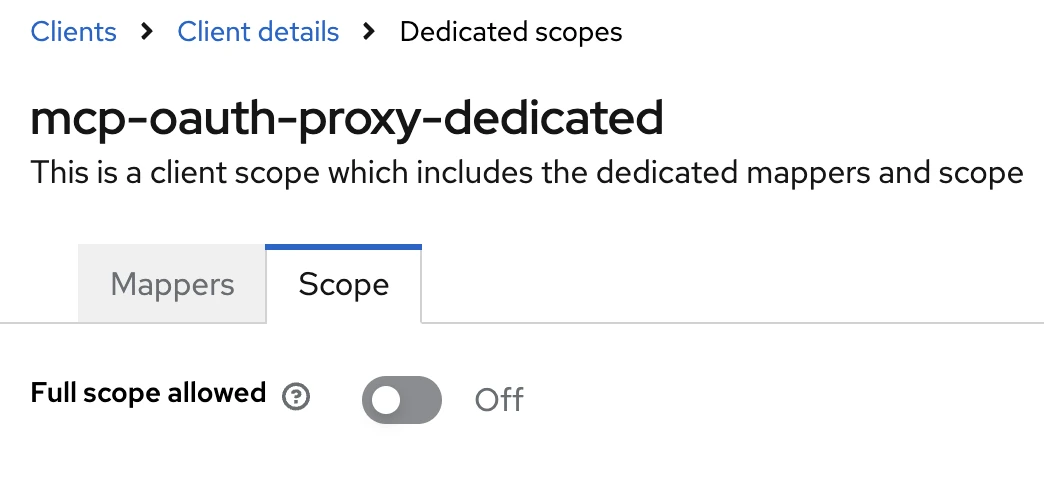
Switch to the Scope tab and turn off the Full scope allowed setting.
-
Switch to the Mappers tab. Click on the Configure a new mapper button.
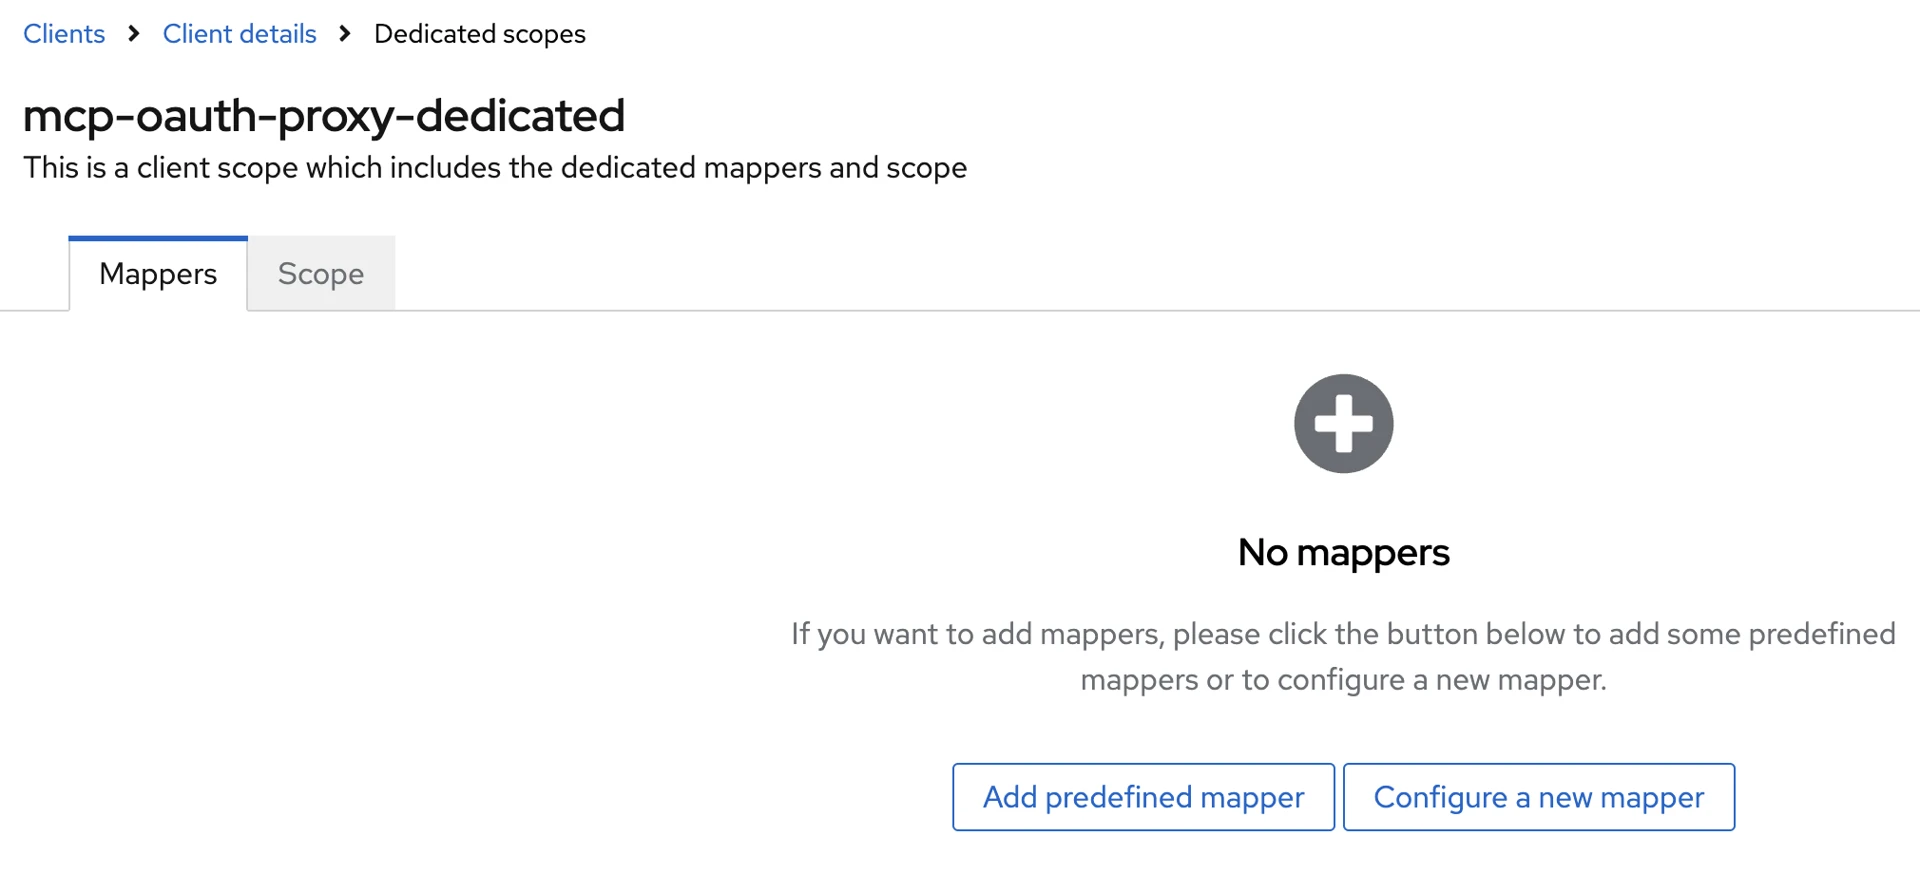
-
In the popup menu, select Audience.
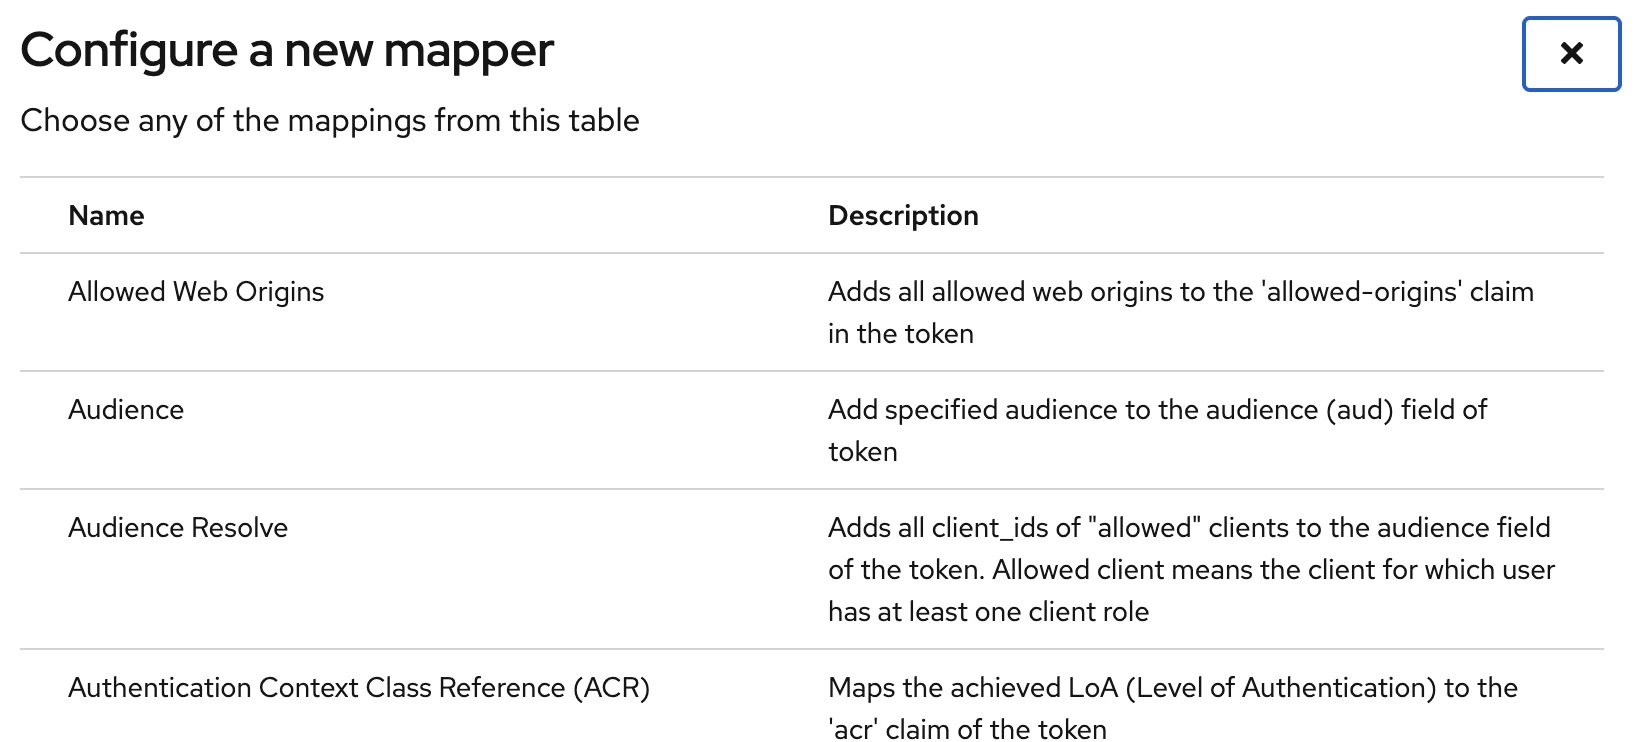
-
Fill the form as per the screenshot below. Click on Save.
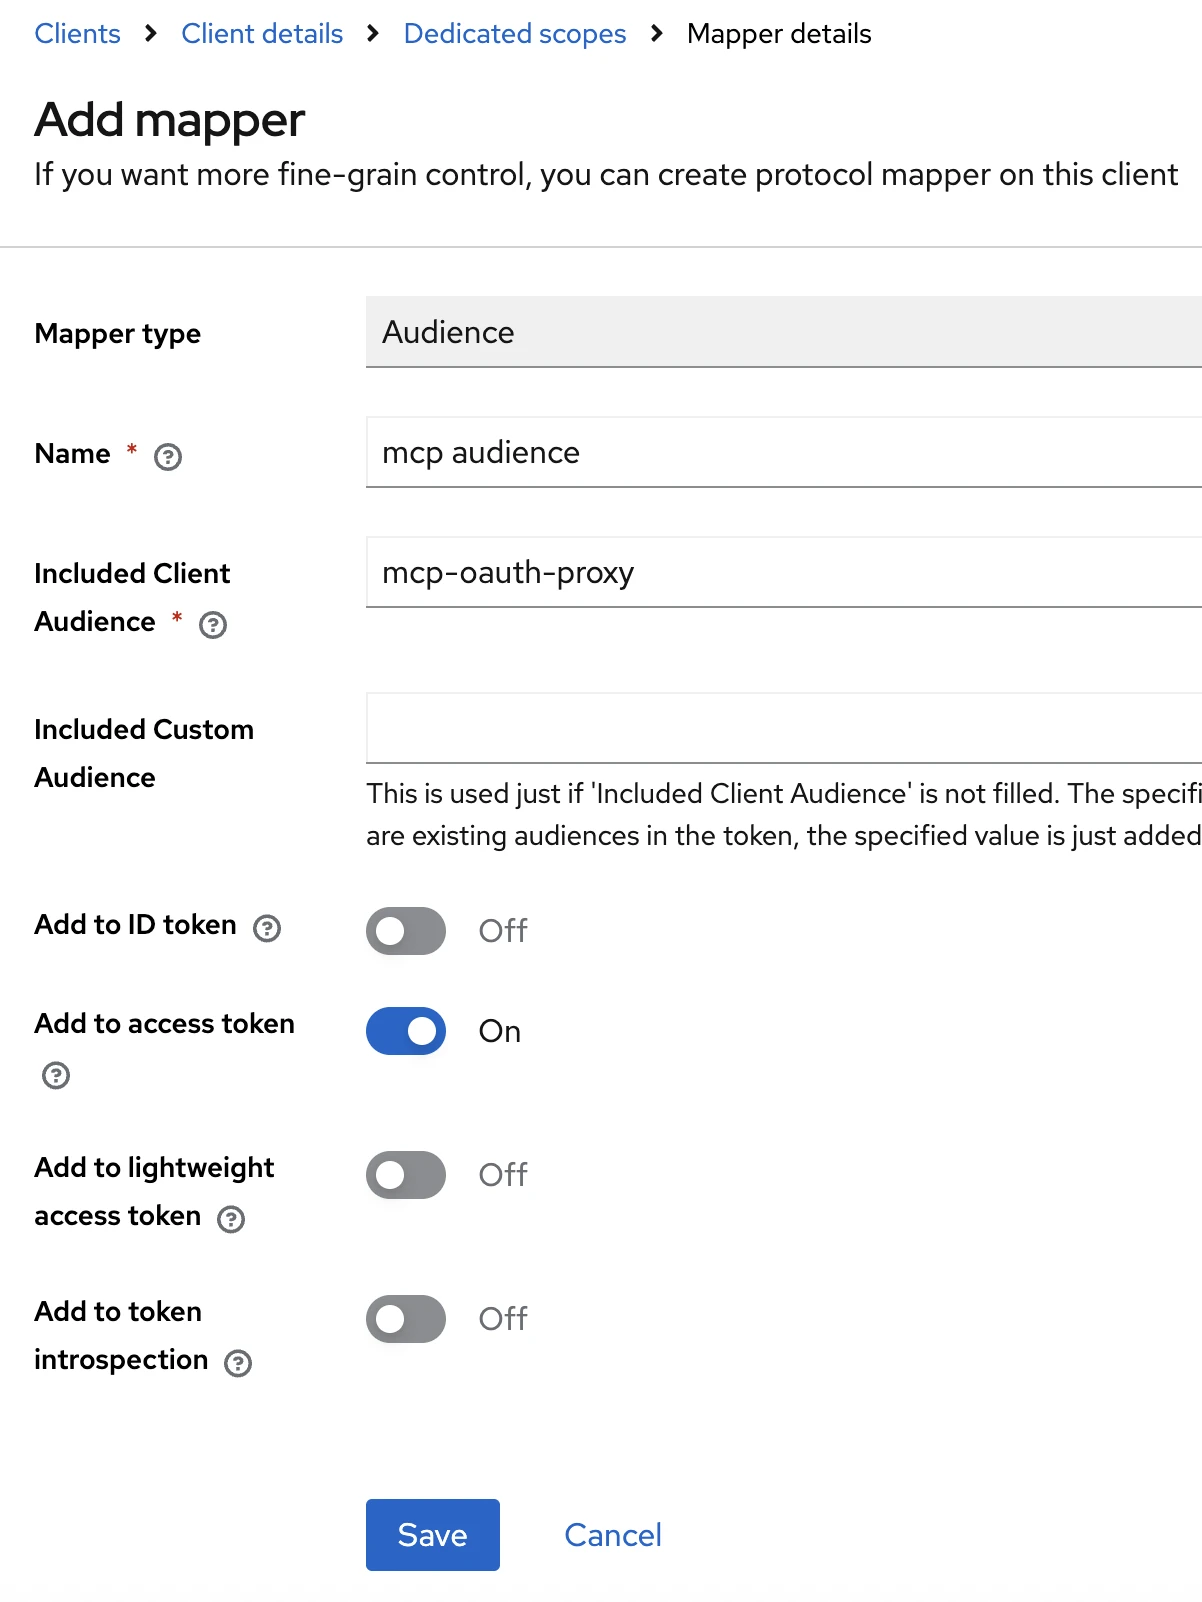
-
Switch back to the Client scopes tab, then mark every scope Optional except email and profile. These should be set to Default.
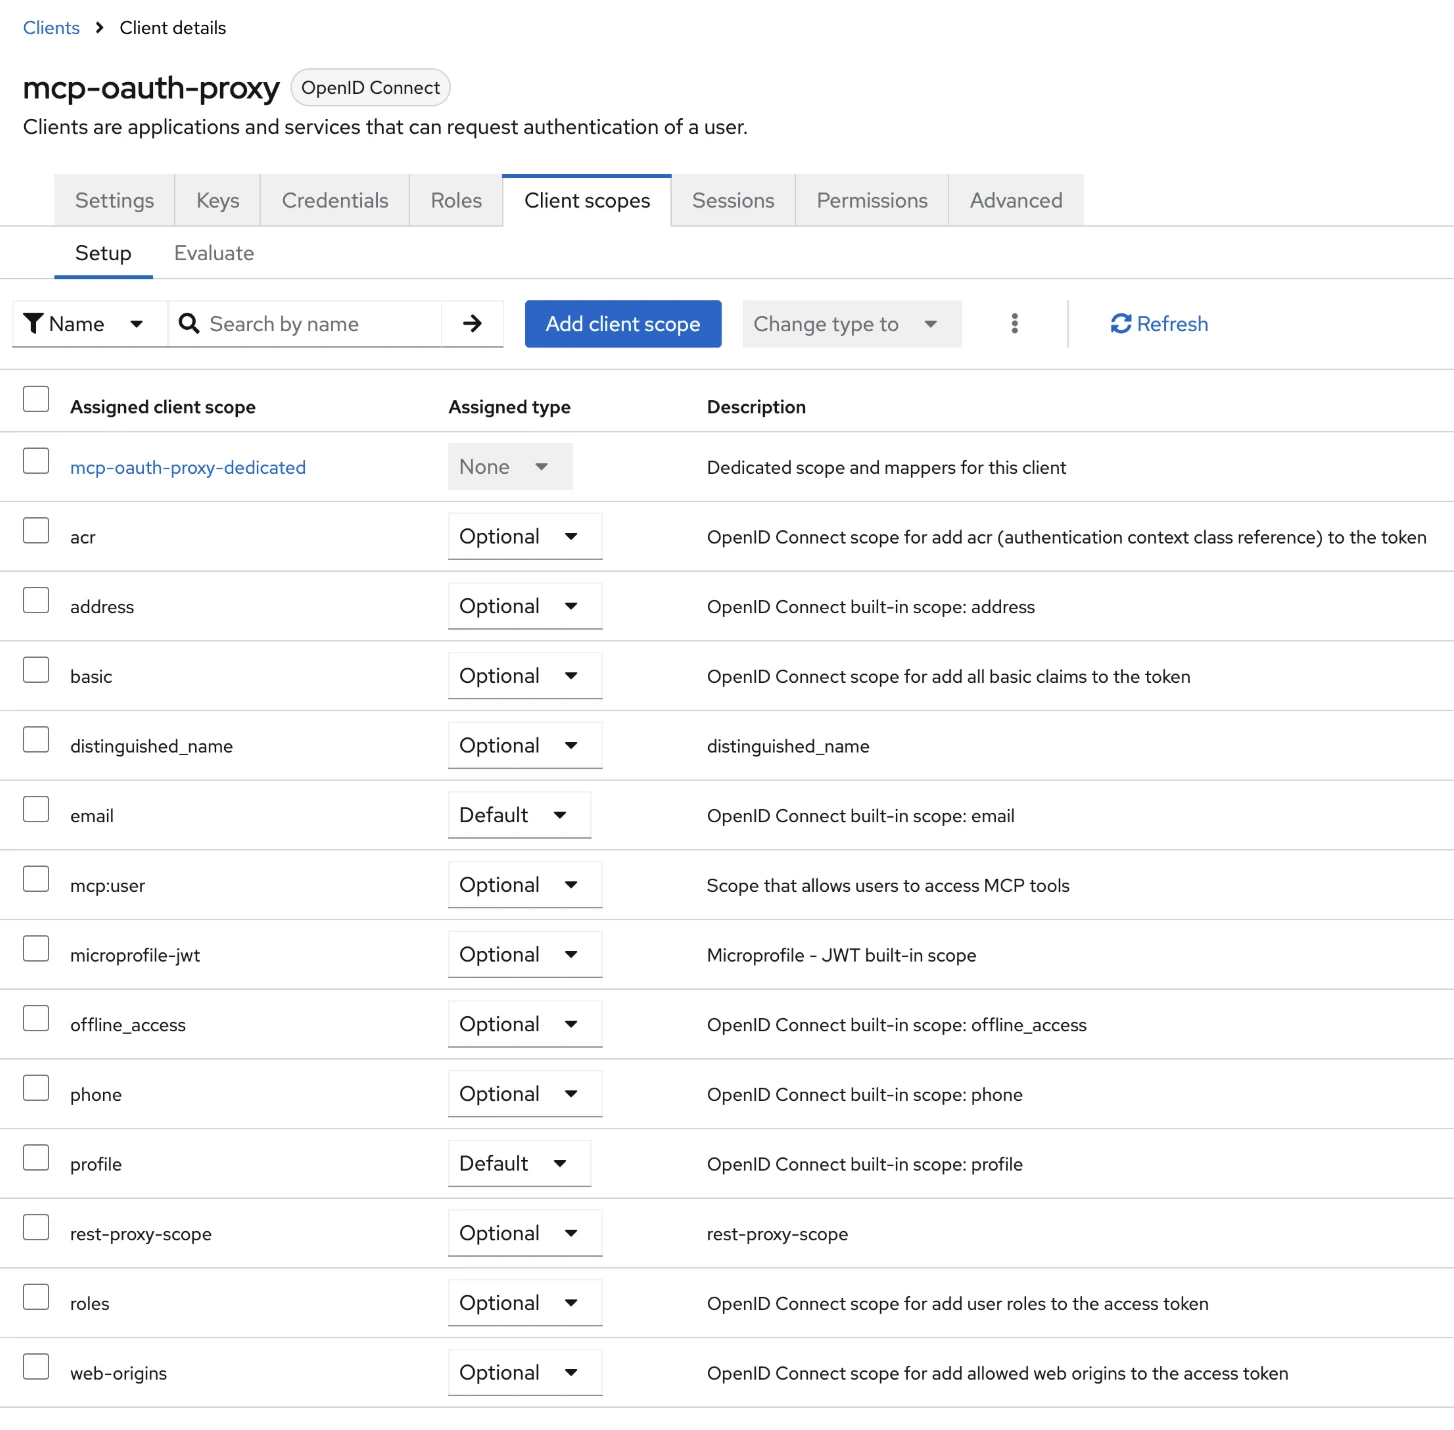
-
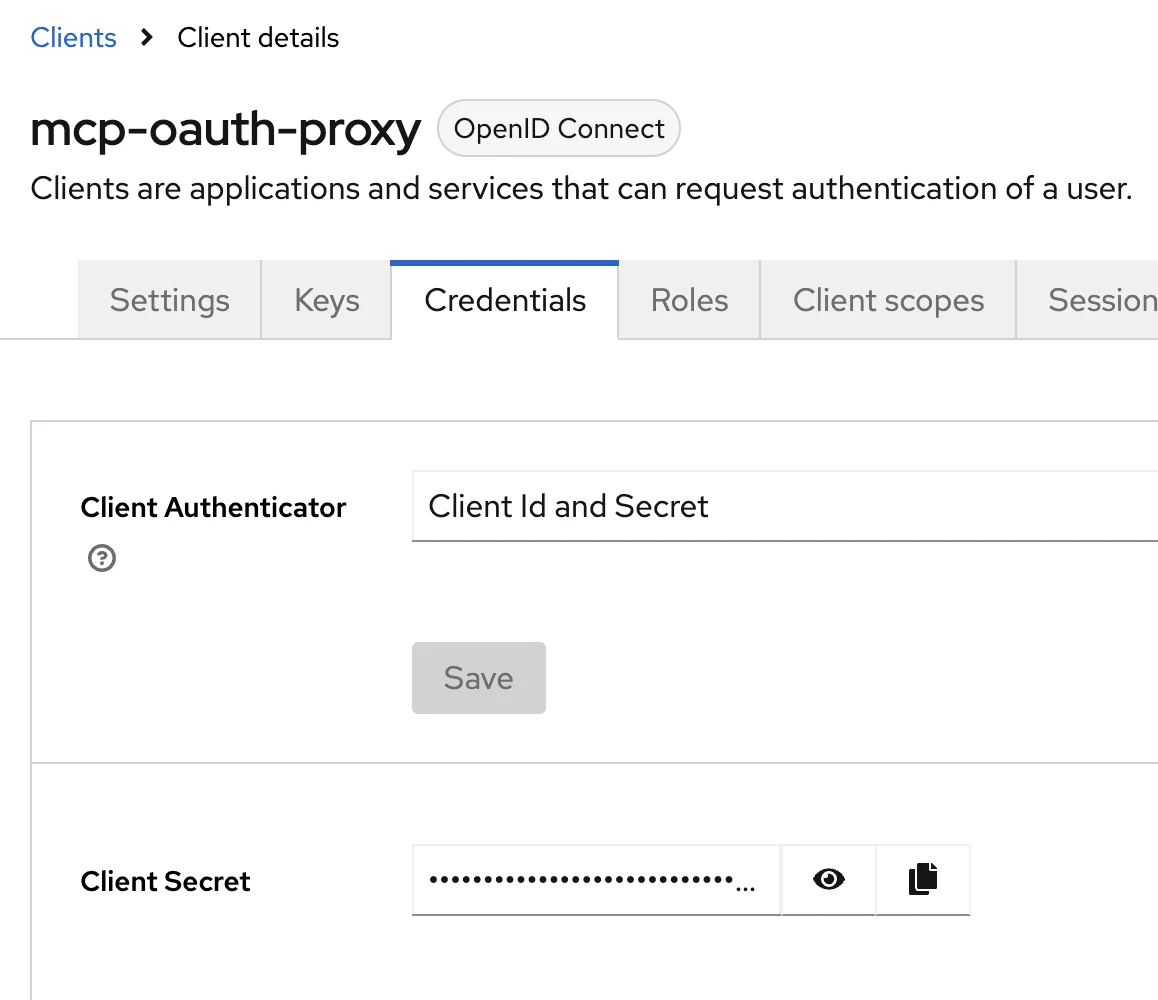
Switch to the Credentials tab and copy the value of Client Secret. This will be needed later.
-
To enforce PKCE, switch to the Advanced tab, then click on Advanced settings.
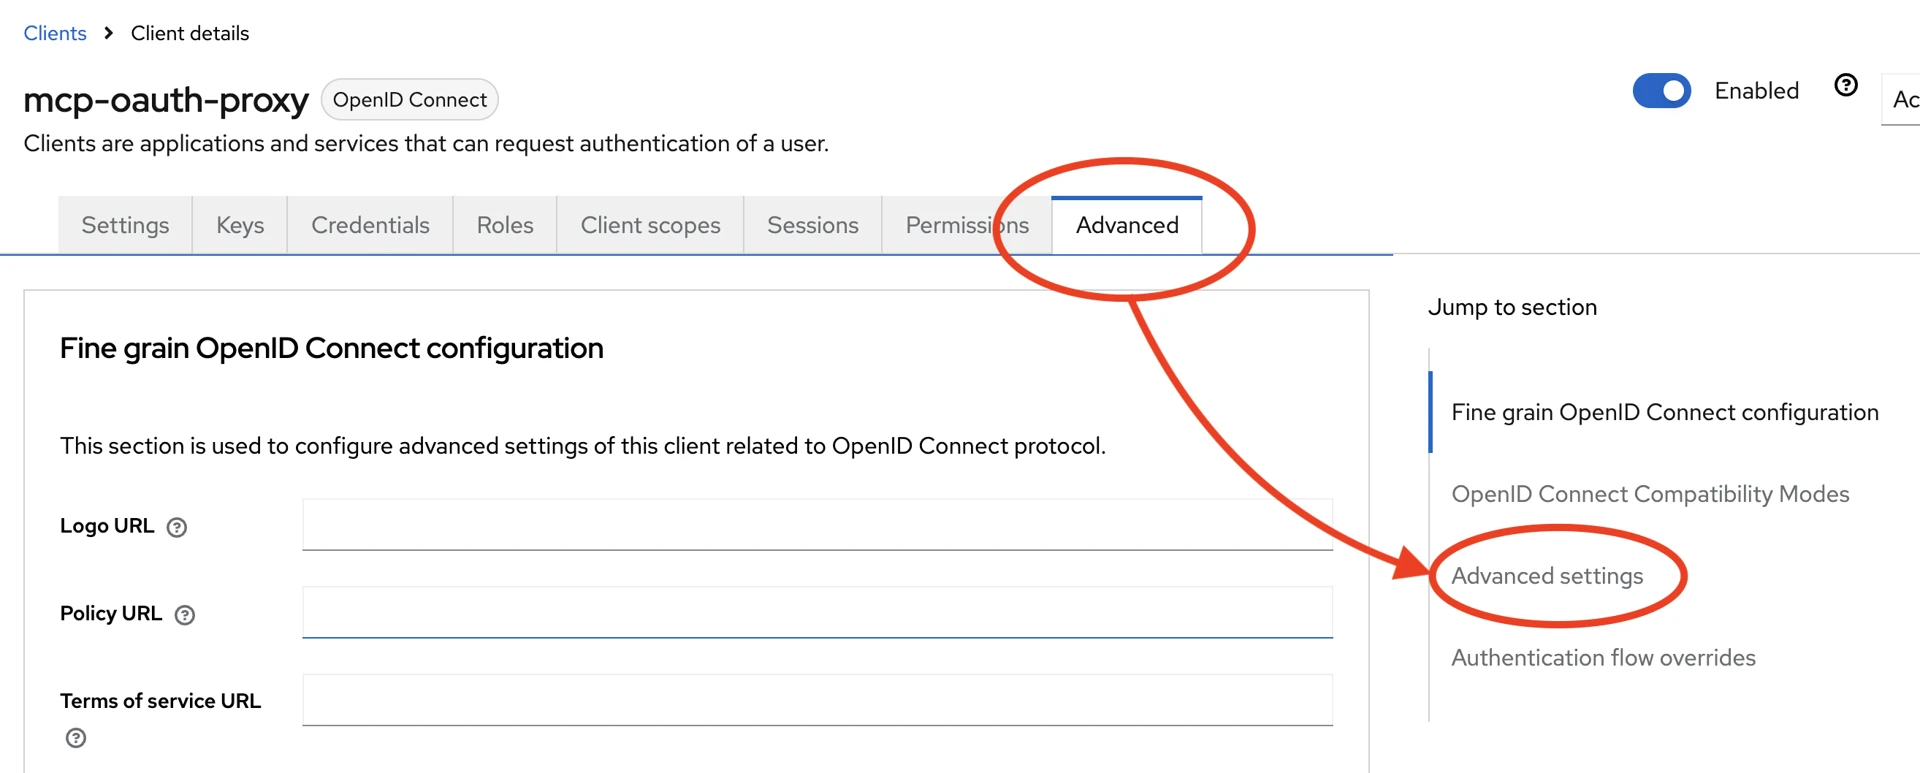
-
Locate the setting Proof Key for Code Exchange Code Challenge Method and set it to
S256. This will force the client to always present a code challenge when authenticating via Authorization Code flow.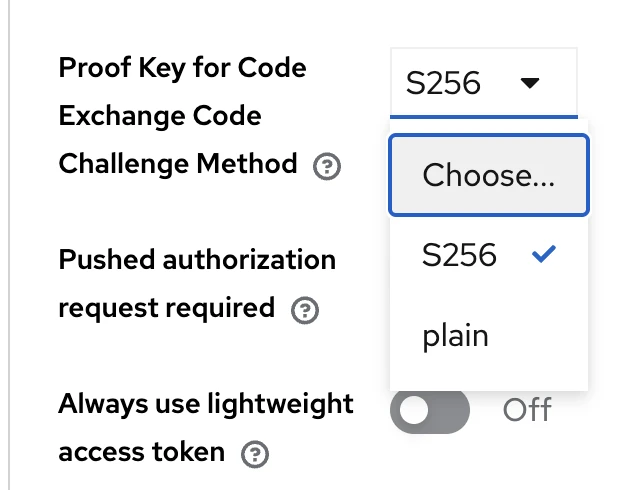
This completes the Keycloak setup for MCP. Next we will configure and deploy the MCP itself.
Axual MCP Setup
-
Finalize a location where
values.yamlwill be stored for the MCP deployment and the ArgoCD application name. -
Copy the content below into the
values.yaml. Go through it and replace values as necessary.# Copy this file and customize it for your environment replicaCount: 1 image: repository: registry.axual.io/public/axual/mcp-axual pullPolicy: Always tag: "0.1.0" # Ingress configuration ingress: enabled: true className: "nginx" hosts: - host: mcp-tenant1.example.org paths: - path: / pathType: Prefix tls: - hosts: - "mcp-tenant1.example.org" secretName: "secret-name" # Environment variables (non-sensitive) envSecrets: AXUAL_BASE_URL: https://governance.url AXUAL_TENANT: tenant1 MCP_OAUTH_ENABLED: "true" MCP_OAUTH_SERVER_BASE_URL: https://mcp-tenant1.example.org MCP_OAUTH_AUTHORIZATION_SERVER: https://governance.url/auth/realms/tenant1 MCP_OAUTH_CLIENT_ID: mcp-oauth-proxy MCP_OAUTH_CLIENT_SECRET: <client-secret> MCP_OAUTH_REQUIRED_SCOPES: mcp:user # Resource limits and requests resources: limits: memory: 512Mi requests: cpu: 250m memory: 256Mi -
Deploy it via Helm Charts / ArgoCD.
Verify Installation
Follow the MCP User Guide to test the installation and verify OAuth authentication with Claude Code.