Create and Configure a Keycloak Realms
This doc provides steps to create a Keycloak realm to be used with Axual Platform.
Local vs SSO Users
The Axual Platform will support two types of users.
-
Local Users — These are users who directly sign up via Google or email address to access the system.
-
SSO Users — SSO users originating from Customer’s identity system (like Azure AD, LDAP, etc.) and accessing the system via a dedicated URL. These users skip the signup stage and directly login to Axual Platform via SSO.
Before SSO users can log in, a local user must configure SSO settings for their Organization.
Local Realm
To sign up with the Axual Platform, a Local Realm is required to be available in the Keycloak with proper clients and mappers.
-
Access the Keycloak Admin Console (
/auth)
-
Press the
Administration Consoleand provide theadmincredentials
-
Open the Realm dropdown in the top left corner

-
Press the
Create Realmbutton -
Fill the
Realm namewith local and press theCreatebutton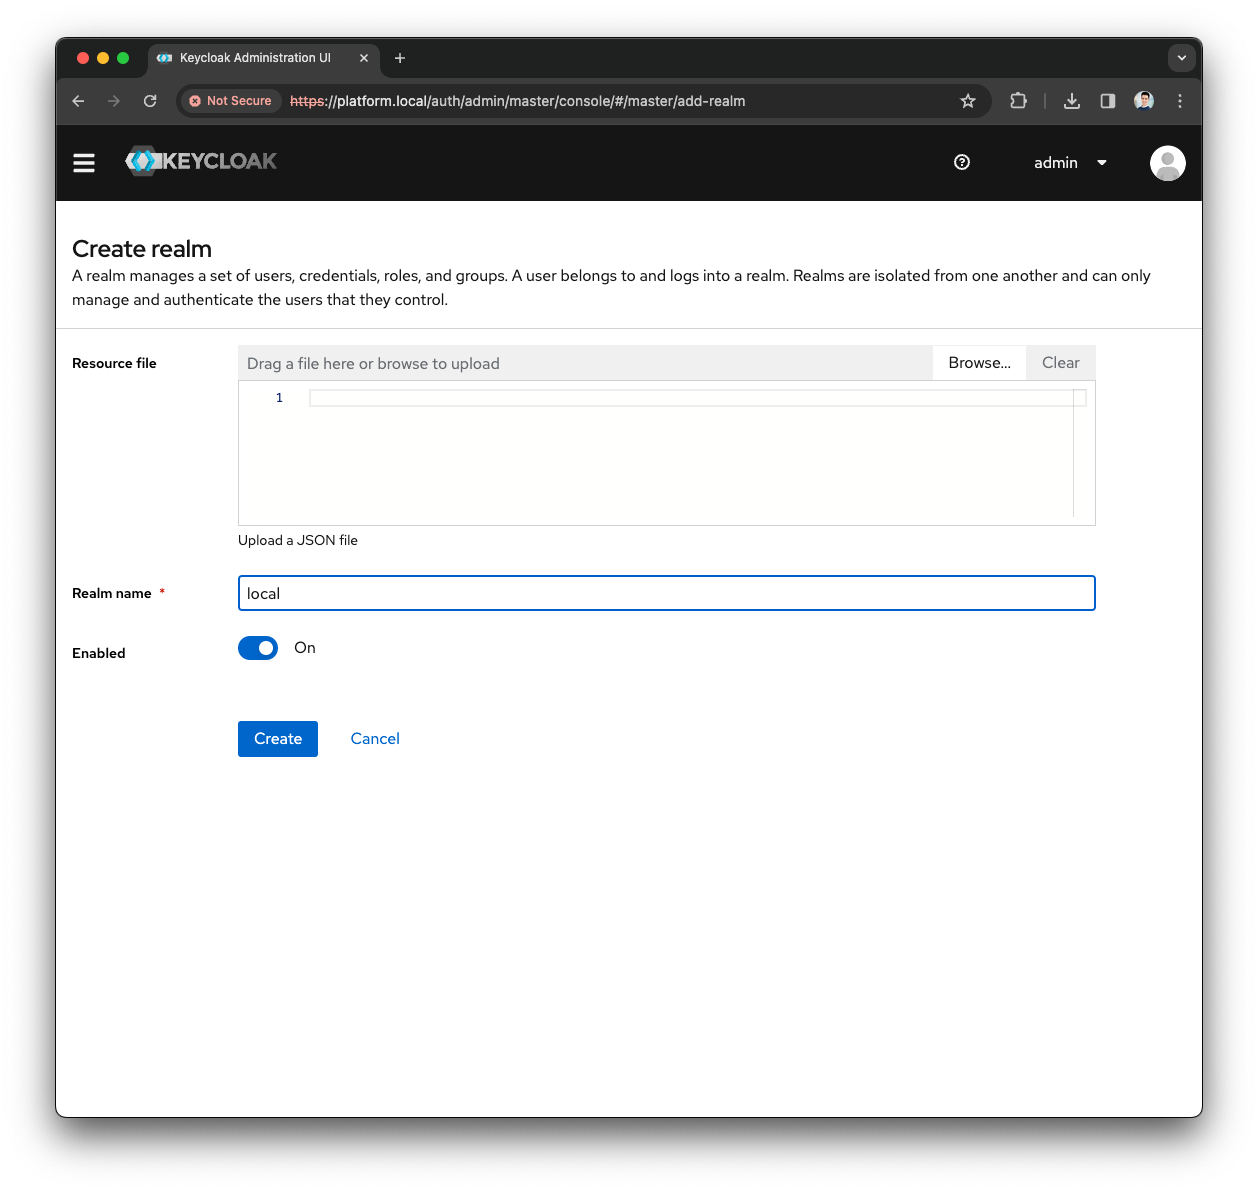
-
Open the Menu and press the
Clientsmenu
-
Press the
Create Clientbutton
-
Provide the following
General Configuration-
Select OpenID Connect as
Client Type -
Fill the
Client IDas self-service -
Fill the
Nameas Self Service Client -
Provide a meaningful
Descriptionas Client used by the Self-Service to authenticate users
-
-
Press the
Nextbutton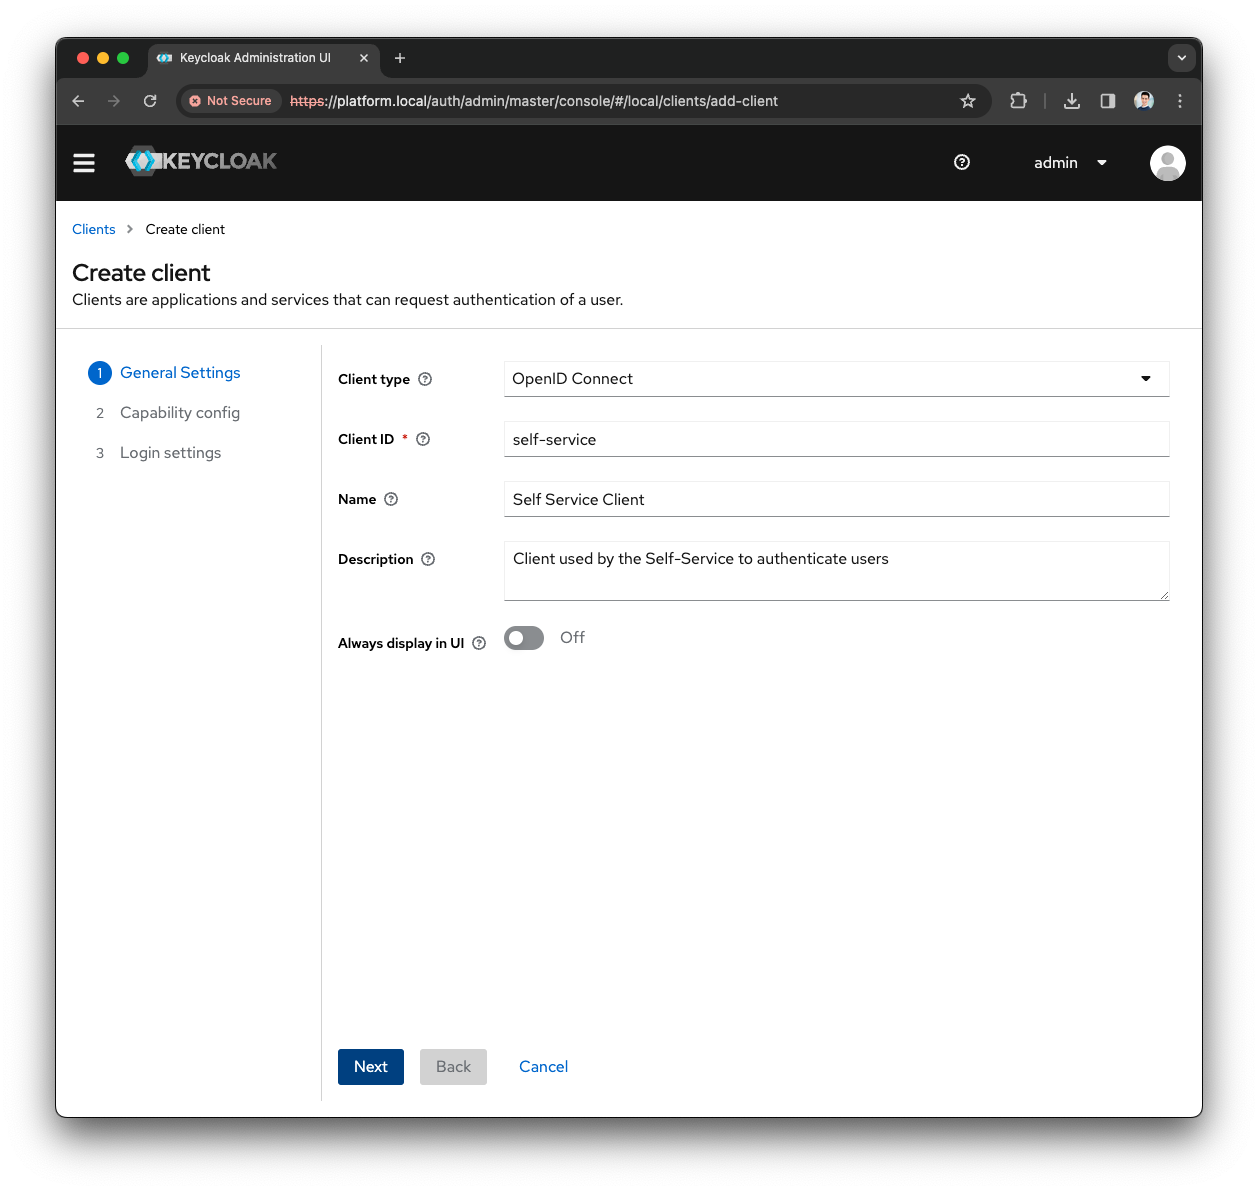
-
Keep the
Capability configas default and press theNextbutton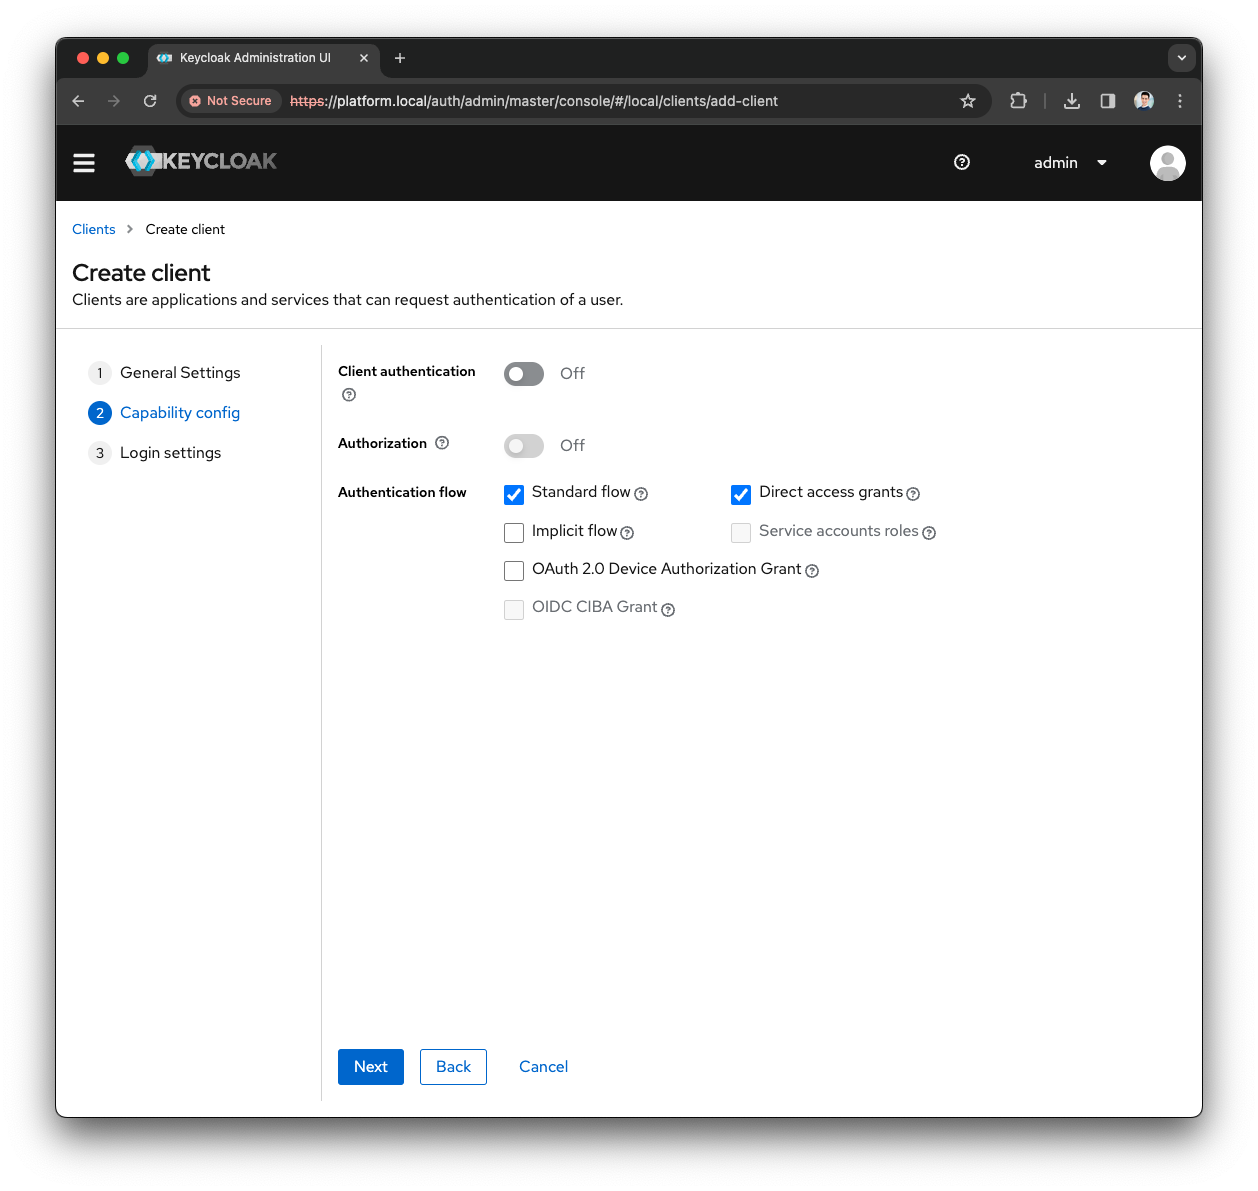
-
In the
Login Settingsprovide the following values-
As
Root URLuse the hostname of your installation (e.g., https://platform.local/) -
Leave
Home URLempty -
For the
Valid redirect URIs,Valid post logout redirect URIs, andWeb Originsuse the wildcard *
-
-
Press the
Savebutton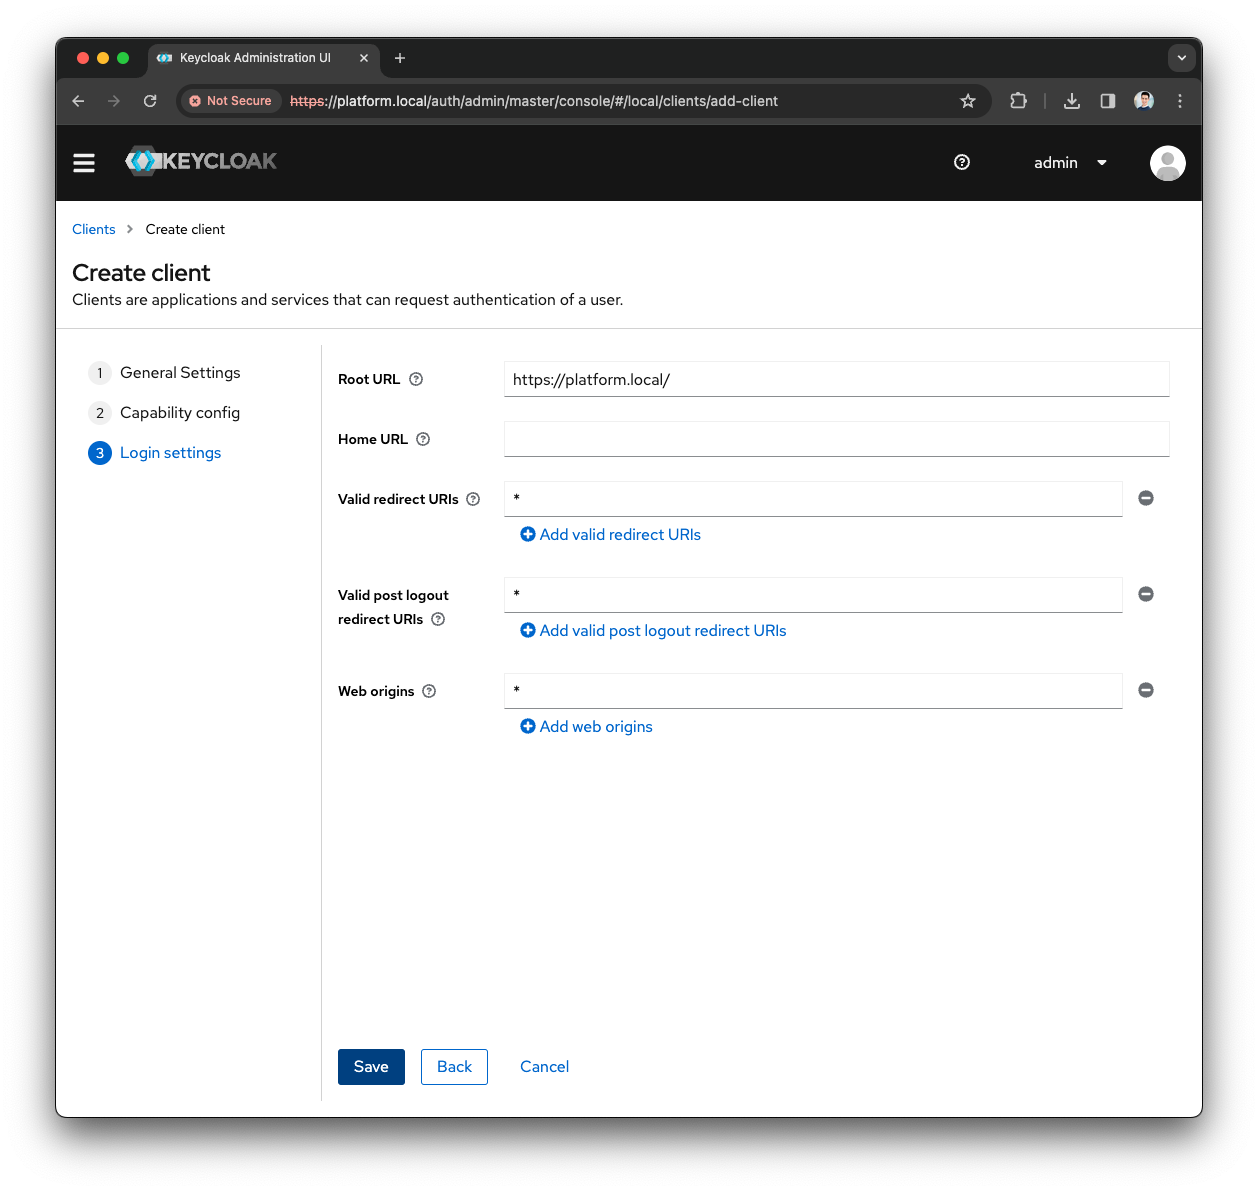
-
Press on the
Client scopestab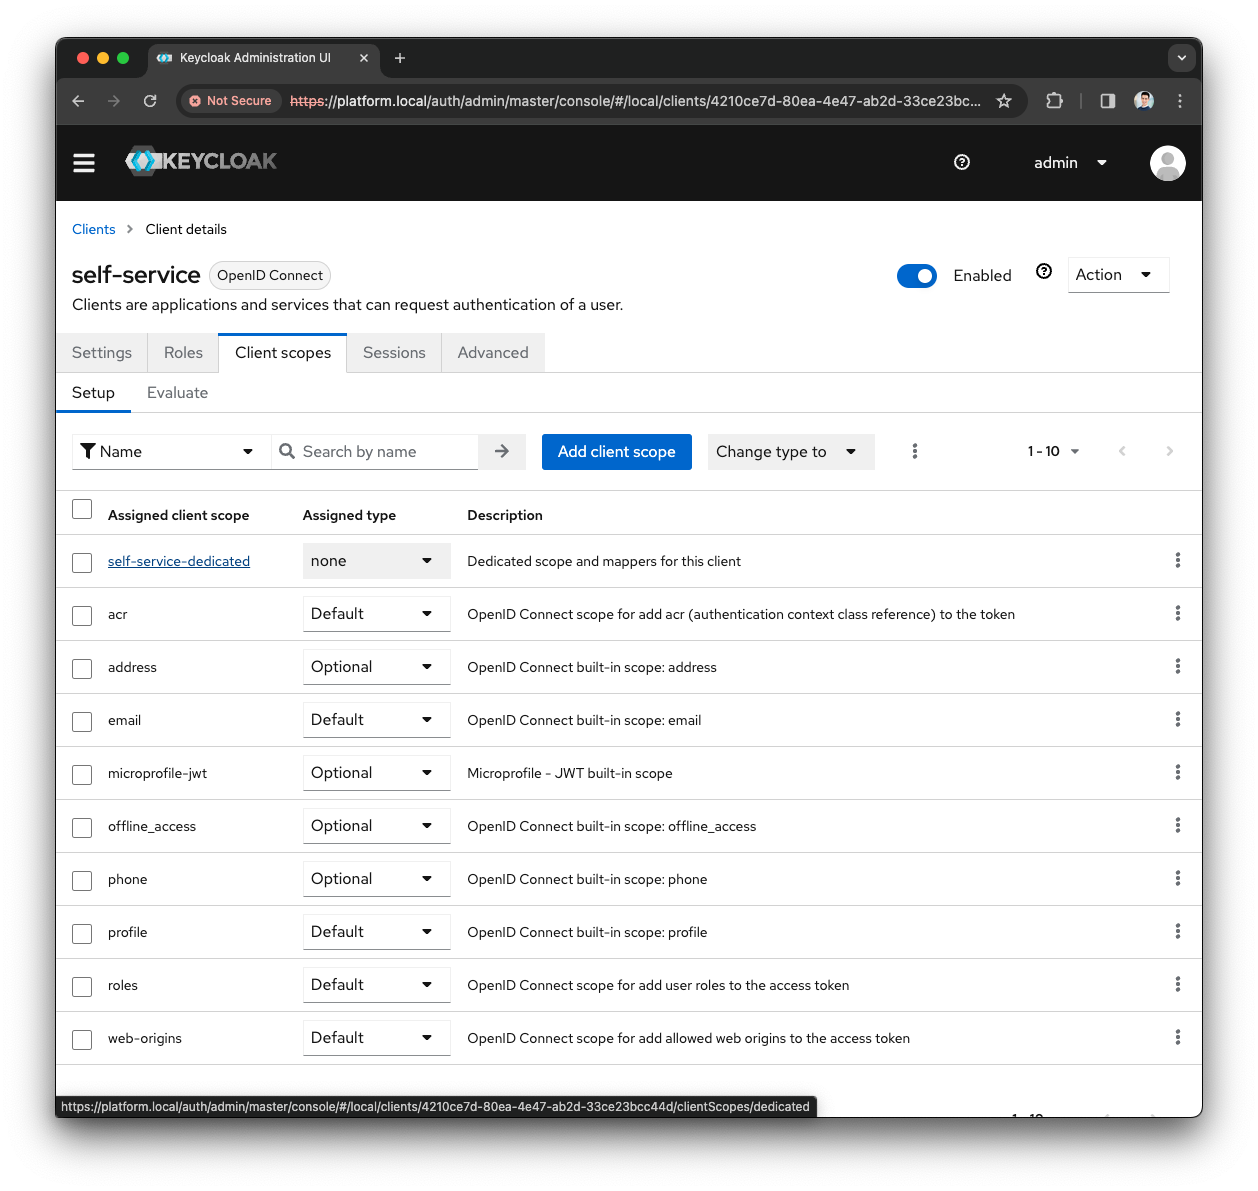
-
Press on the
self-service-dedicatedclient scope -
Select
Configure a new mapper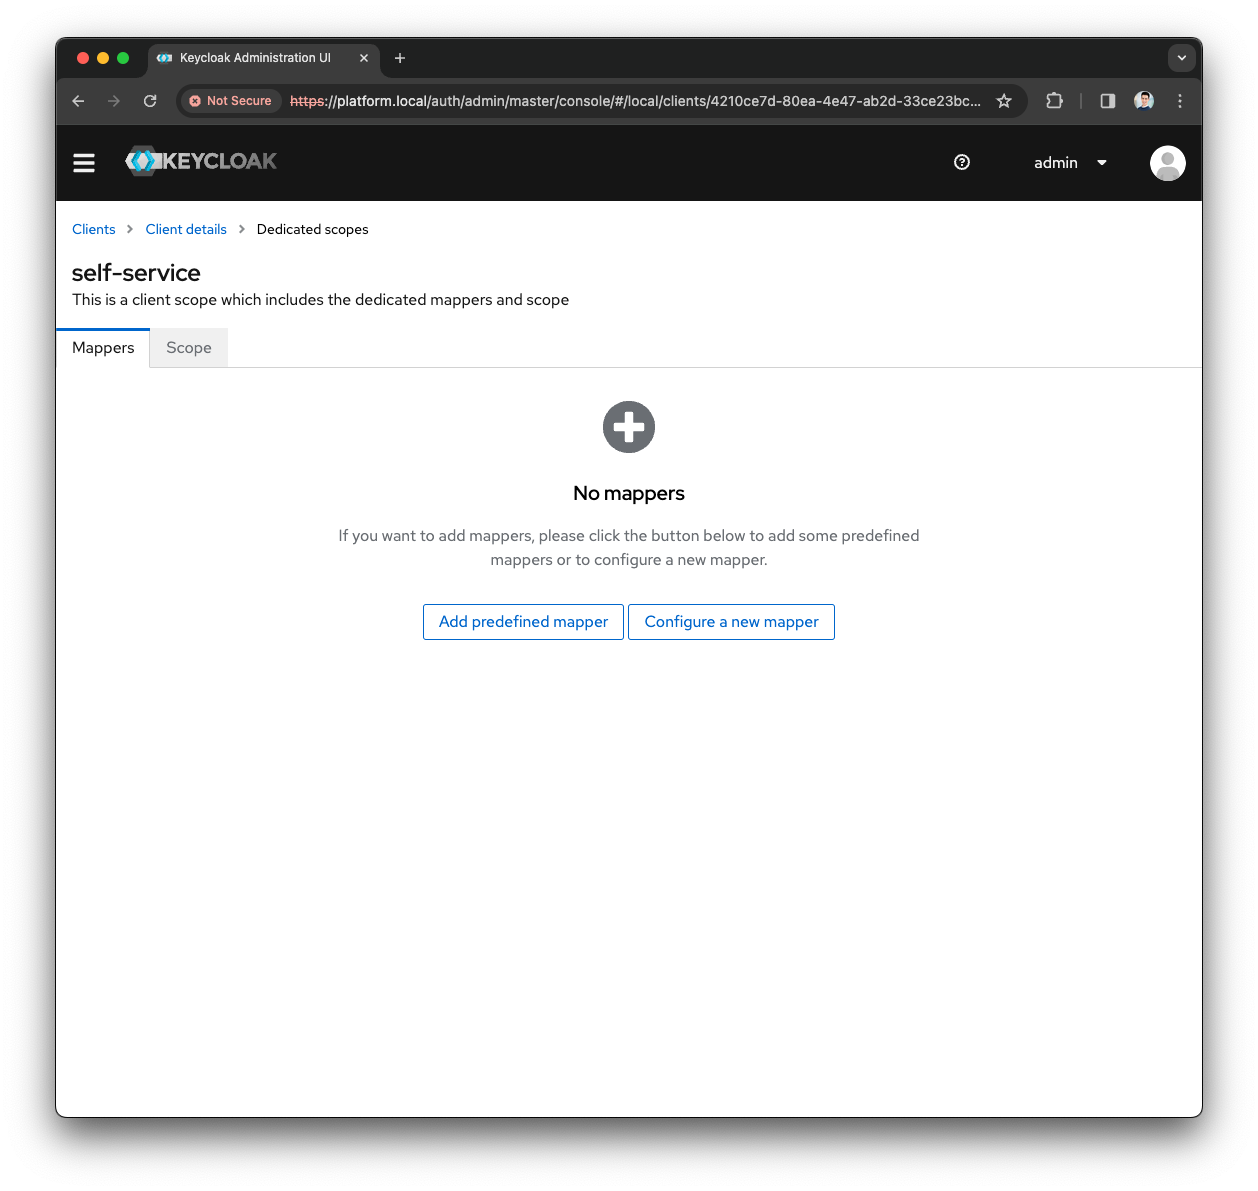
-
Select
User Attribute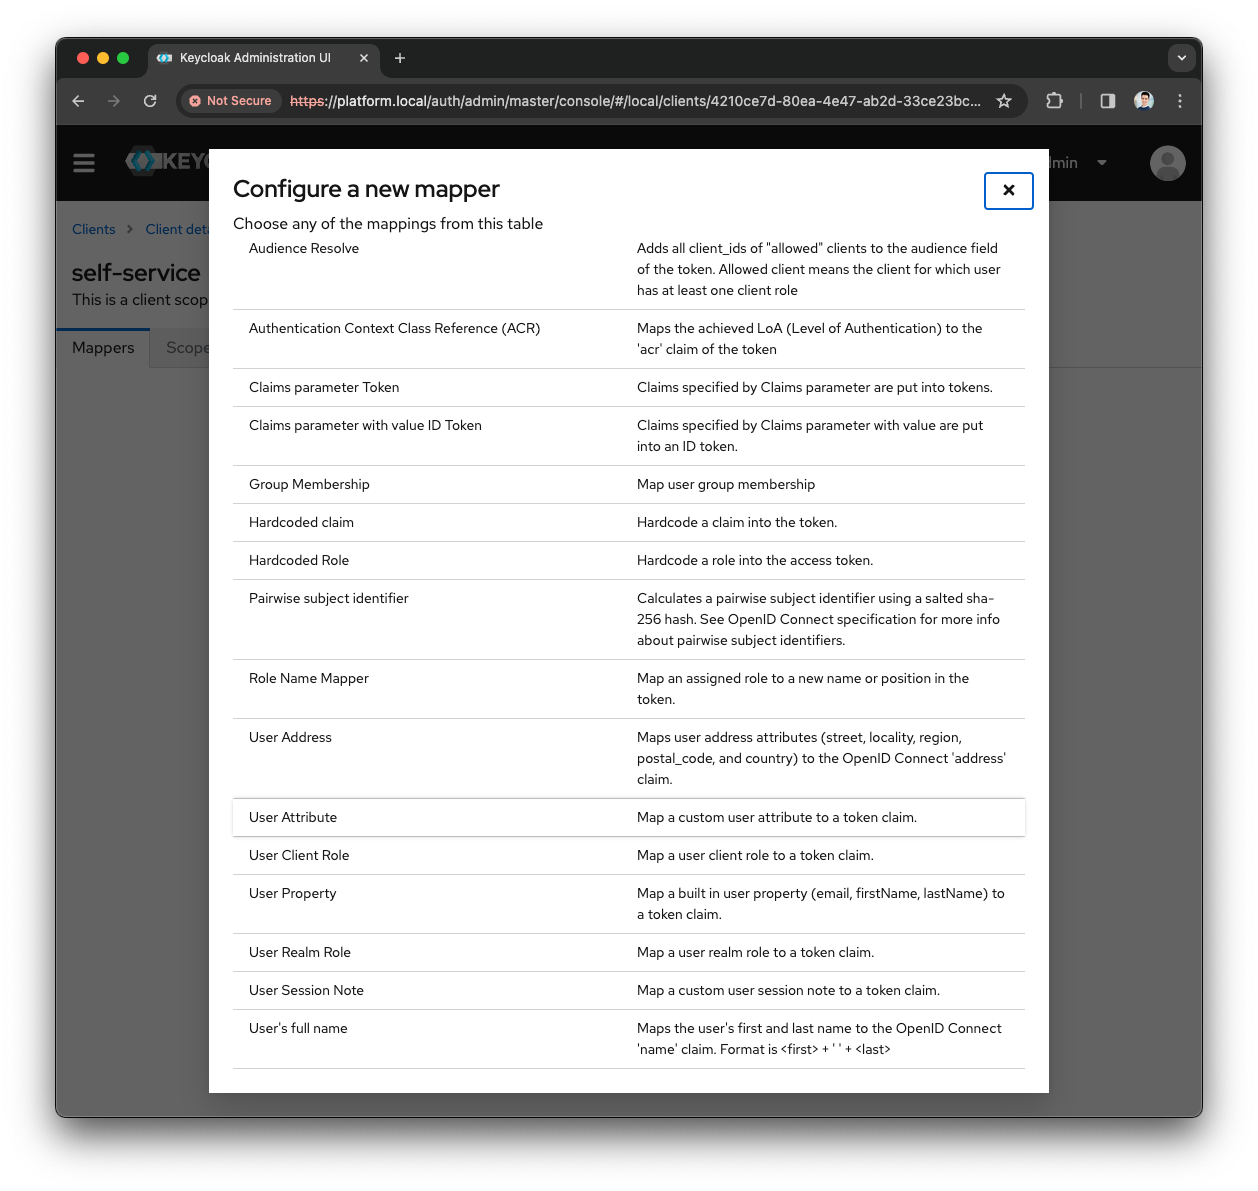
-
Fill the
Nameas Tenant Name Mapper -
Fill the
User Attributeas tenant-name -
Fill the
Token Claim Nameas tenant_name
-
-
Press
Savebutton
-
Press on the
self-service-dedicatedclient scope -
Press on the
Add Mapperand selectBy Configuration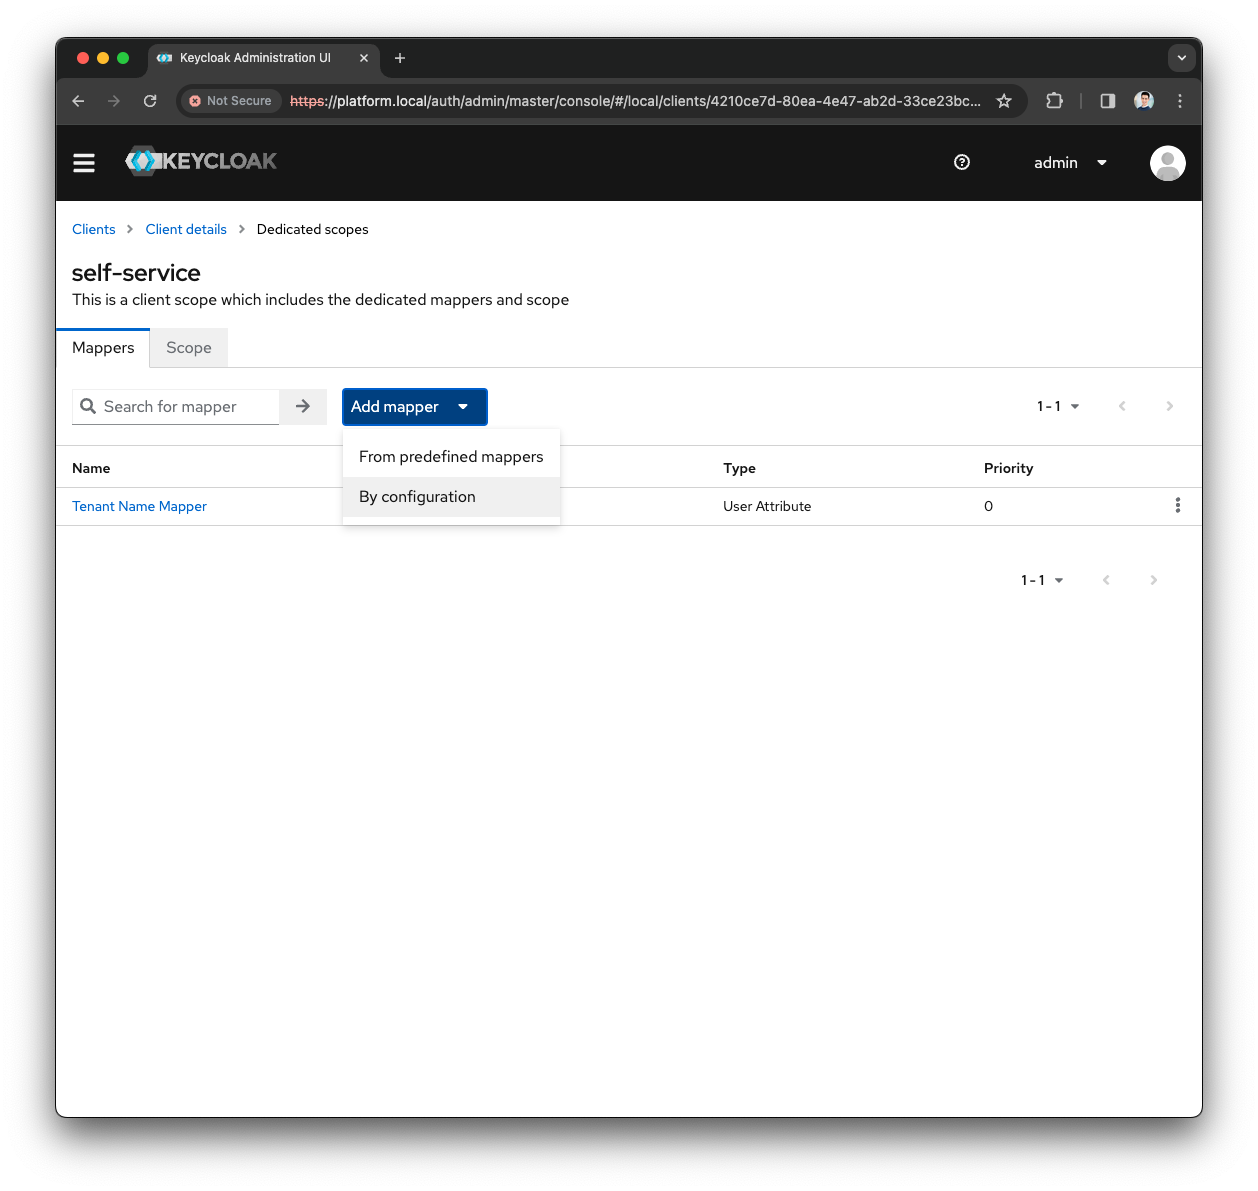
-
Select
User Attribute
-
Fill the
Nameas Tenant Short Name Mapper -
Fill the
User Attributeas tenant-short-name -
Fill the
Token Claim Nameas tenant_short_name
-
-
Press
Savebutton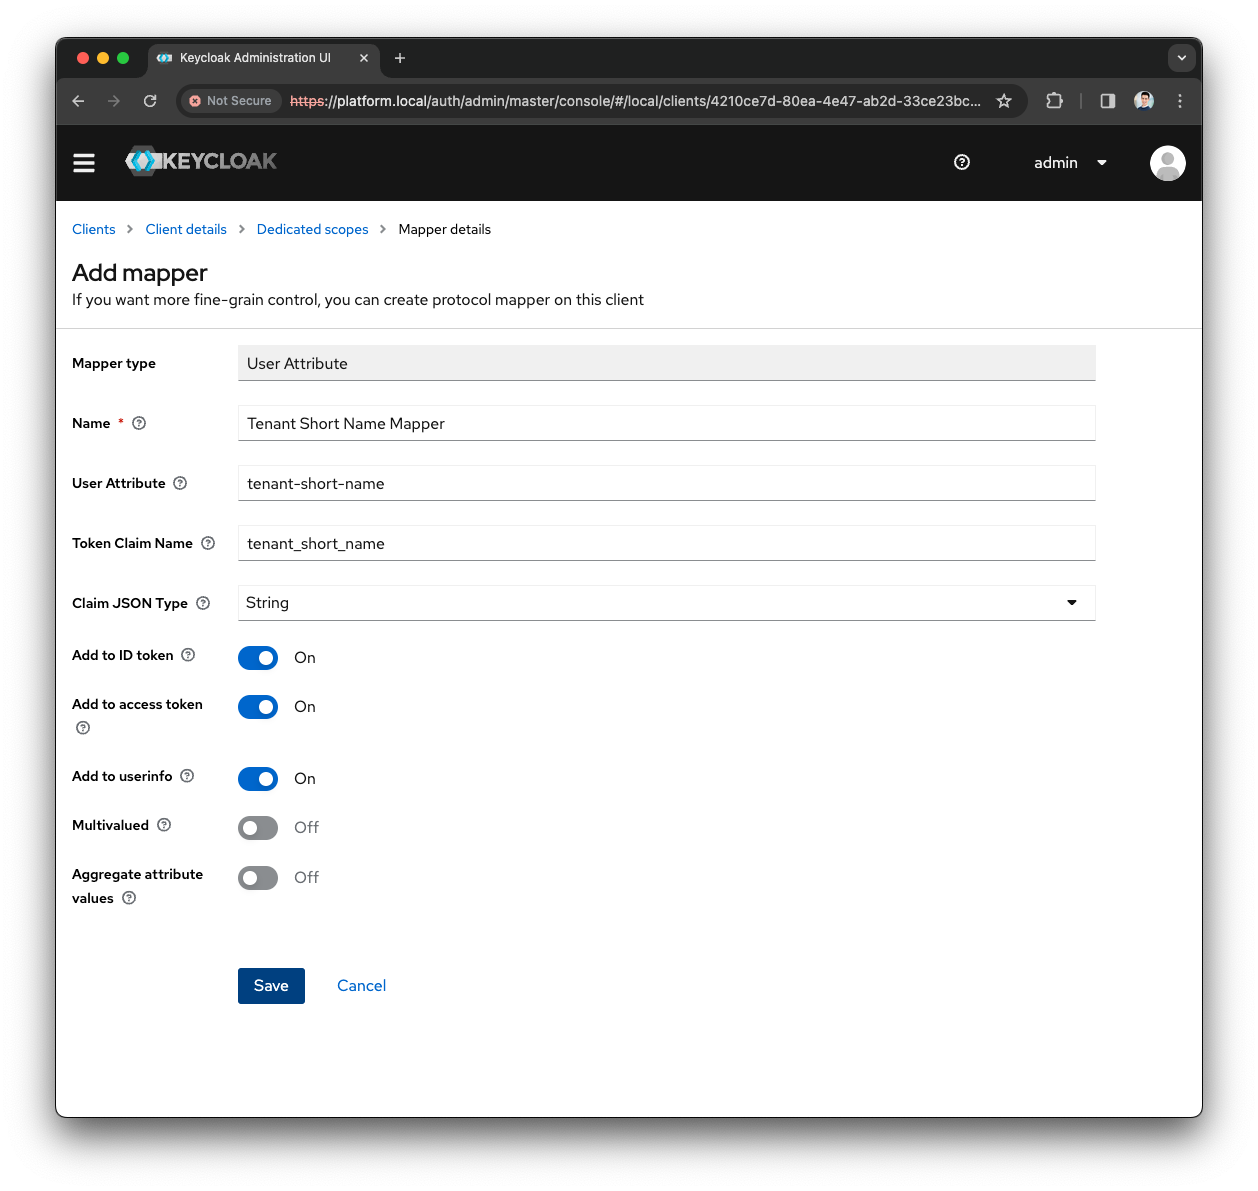
-
Now you have properly configured the
self-serviceclient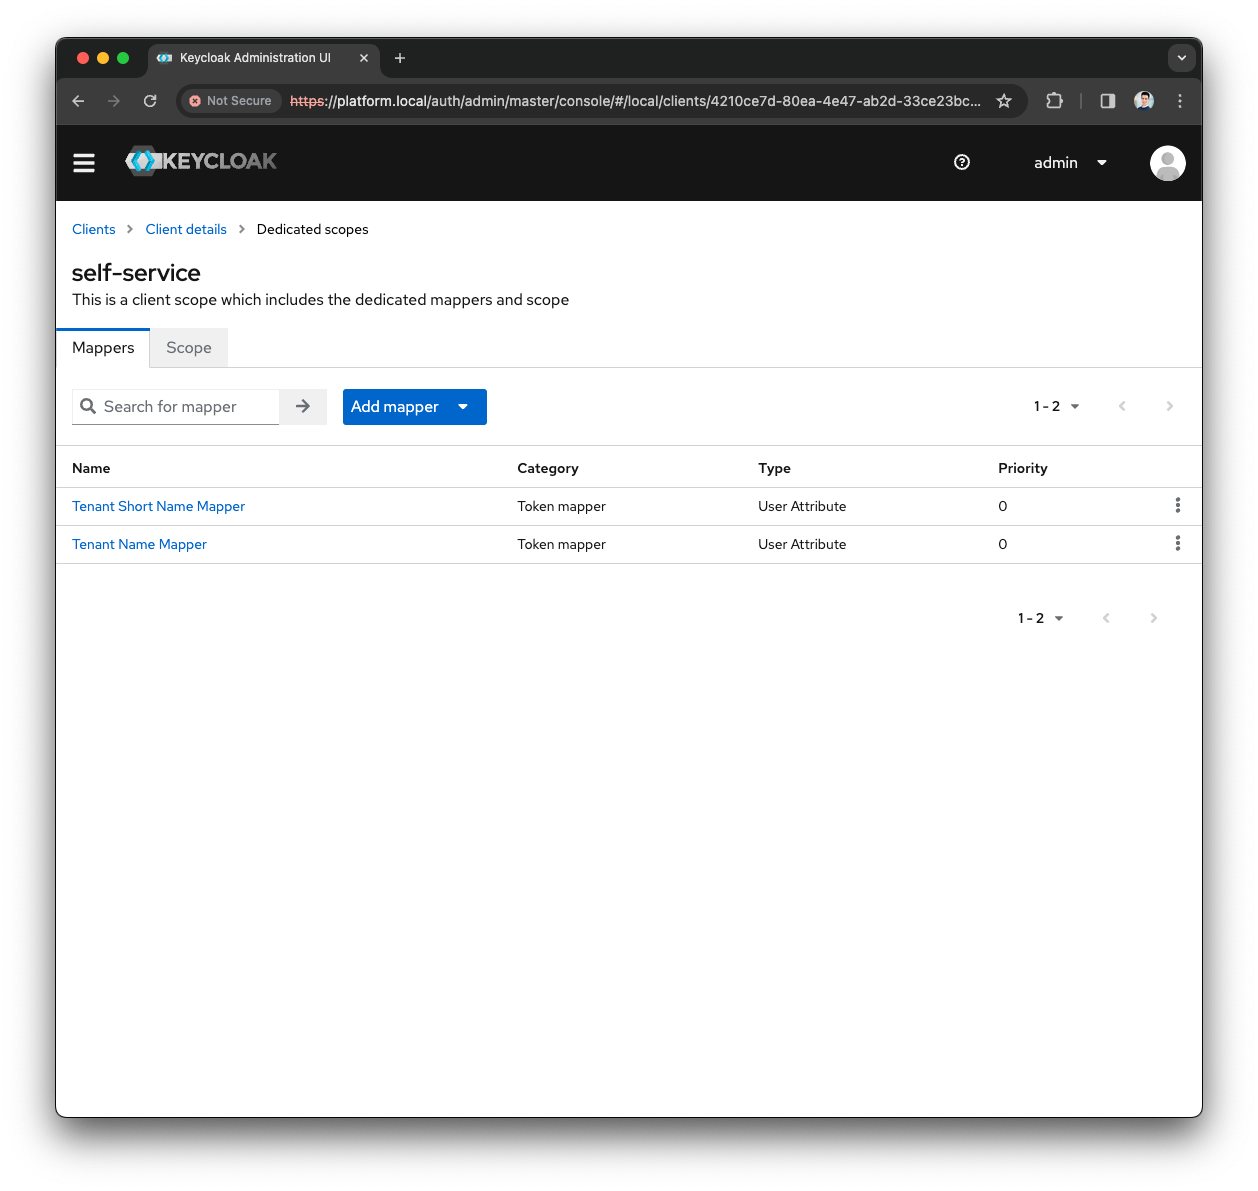
|
The Self-Service URL to access the Local Realm login screen is
or simply
|
SSO Realm
Once you have signed up with the Axual Platform using a local user, and you have provided your Organization information, you can configure your identity system for your Realm.
-
Access the Keycloak Admin Console (
/auth)
-
Press the
Administration Consoleand provide theadmincredentials
Before proceeding, note down the tenant-short-name for your Organization
|
-
Open the Realm dropdown in the top left corner and open the
Localrealm -
Open the Menu and press the
Usersmenu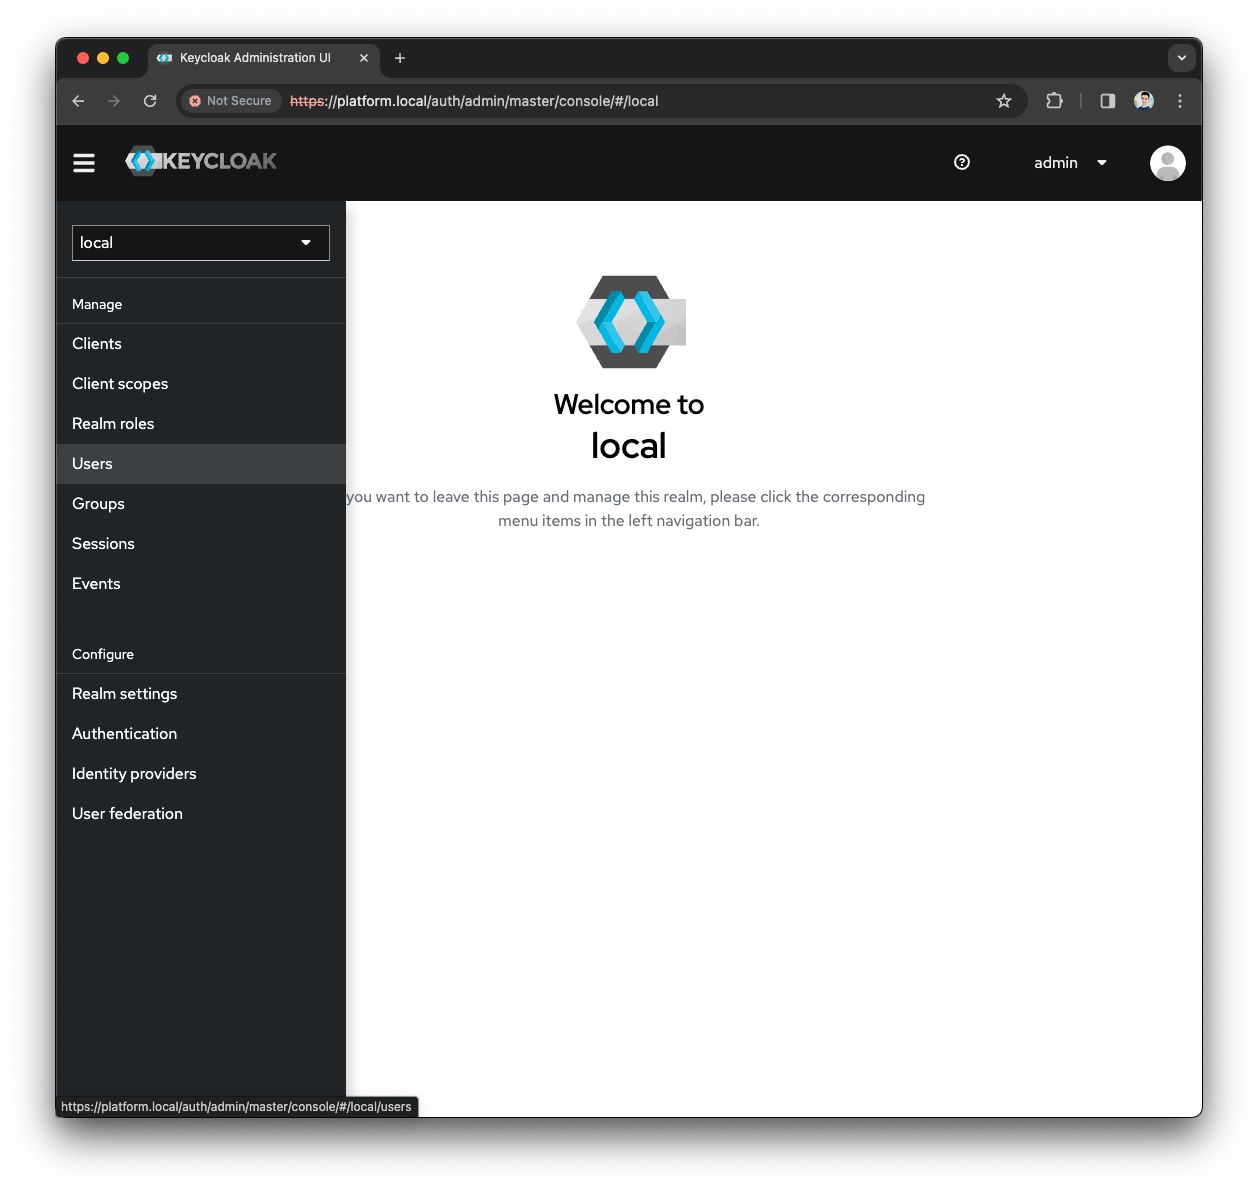
-
Click on the local user you are configuring the SSO Realm
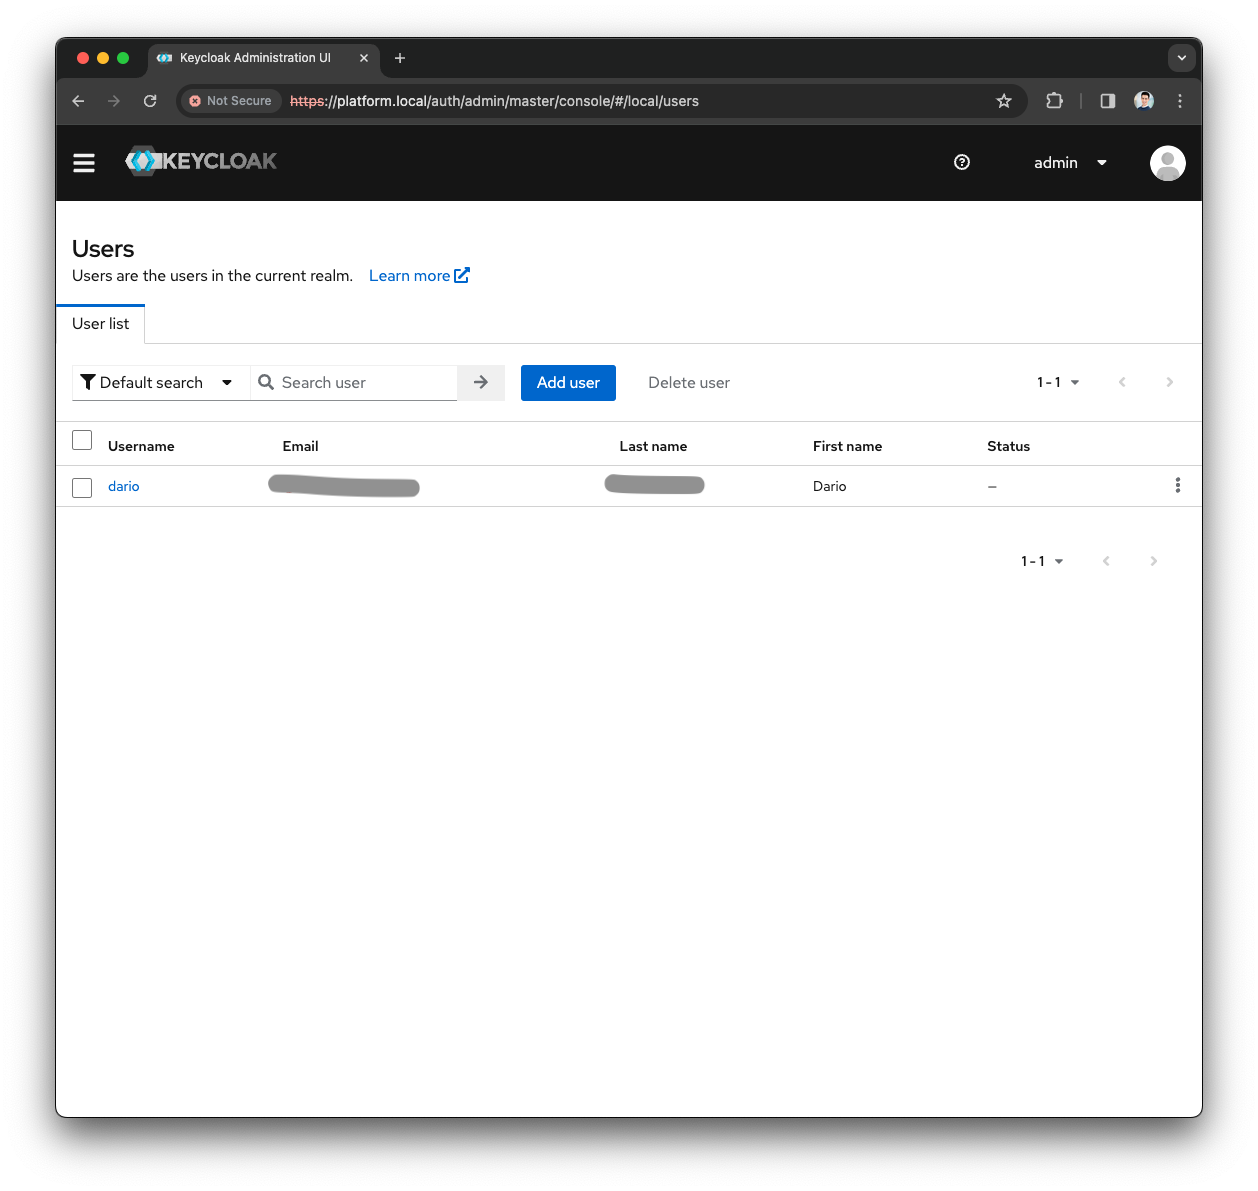
-
Click the
Attributetab
-
Note down the
tenant-short-namevalue, it will be used in the next steps
Let’s assume that the tenant-short-name you are configuring the SSO Realm is test123
-
Open the Realm dropdown in the top left corner
-
Press the
Create Realmbutton -
Fill the
Realm namewith test123 and press theCreatebutton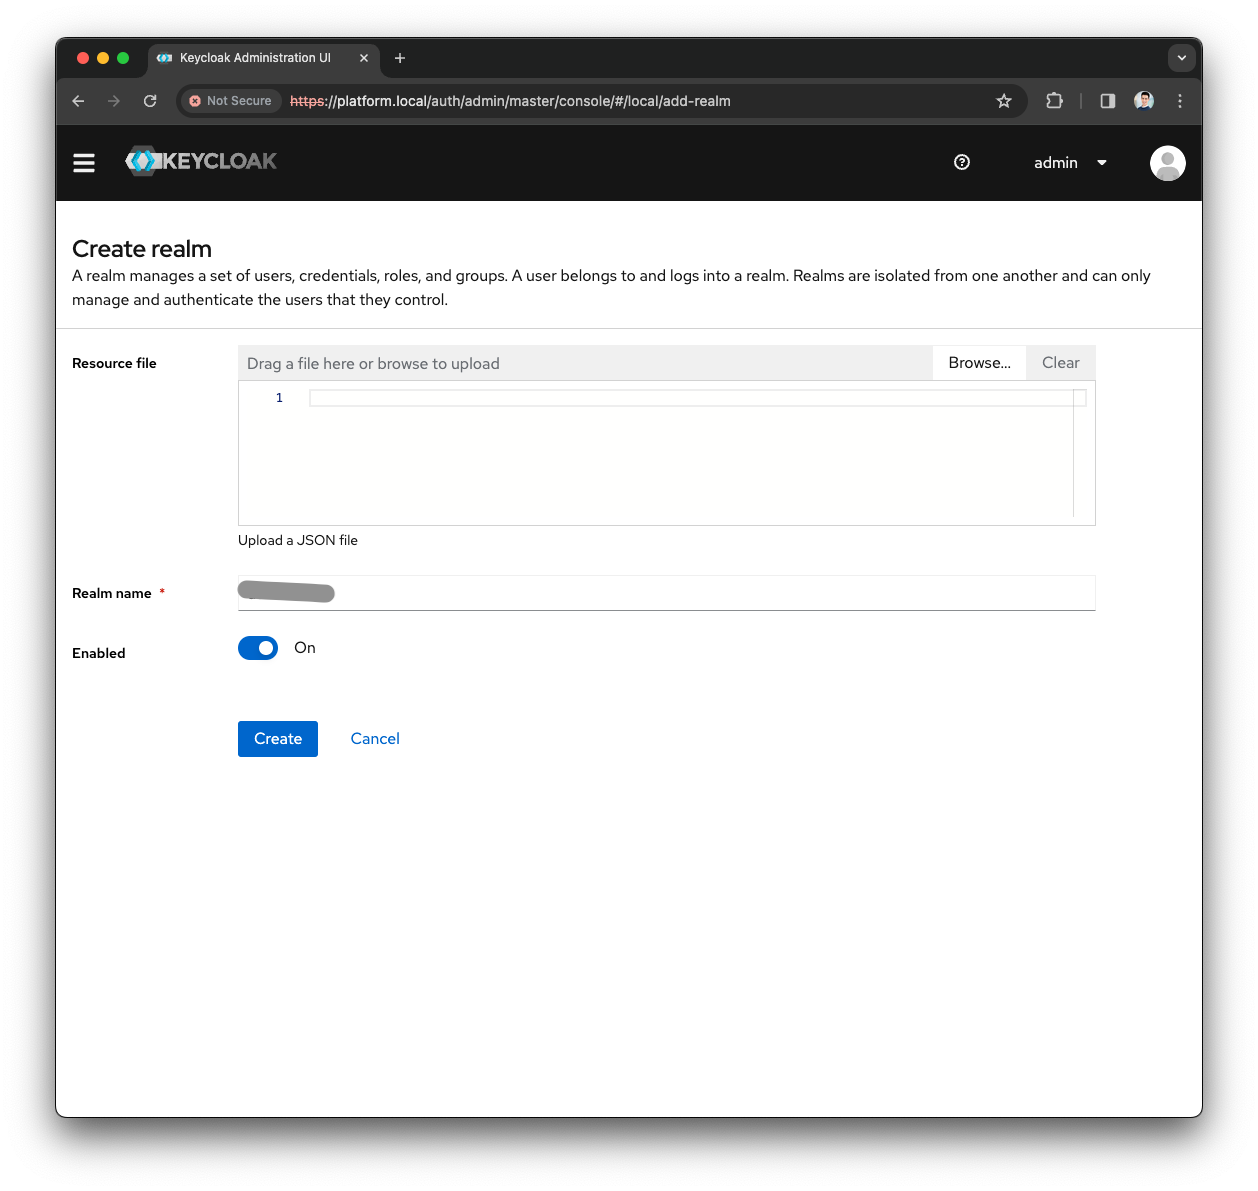
-
Open the Menu and press the
Clientsmenu
-
Press the
Create Clientbutton
-
Provide the following
General Configuration-
Select OpenID Connect as
Client Type -
Fill the
Client IDas self-service -
Fill the
Nameas Self Service Client -
Provide a meaningful
Descriptionas Client used by the Self-Service to authenticate users
-
-
Press the
Nextbutton
-
Keep the
Capability configas default and press theNextbutton
-
In the
Login Settingsprovide the following values-
As
Root URLuse the hostname of your installation (e.g., https://platform.local/) -
Leave
Home URLempty -
For the
Valid redirect URIs,Valid post logout redirect URIs, andWeb Originsuse the wildcard *
-
-
Press the
Savebutton
-
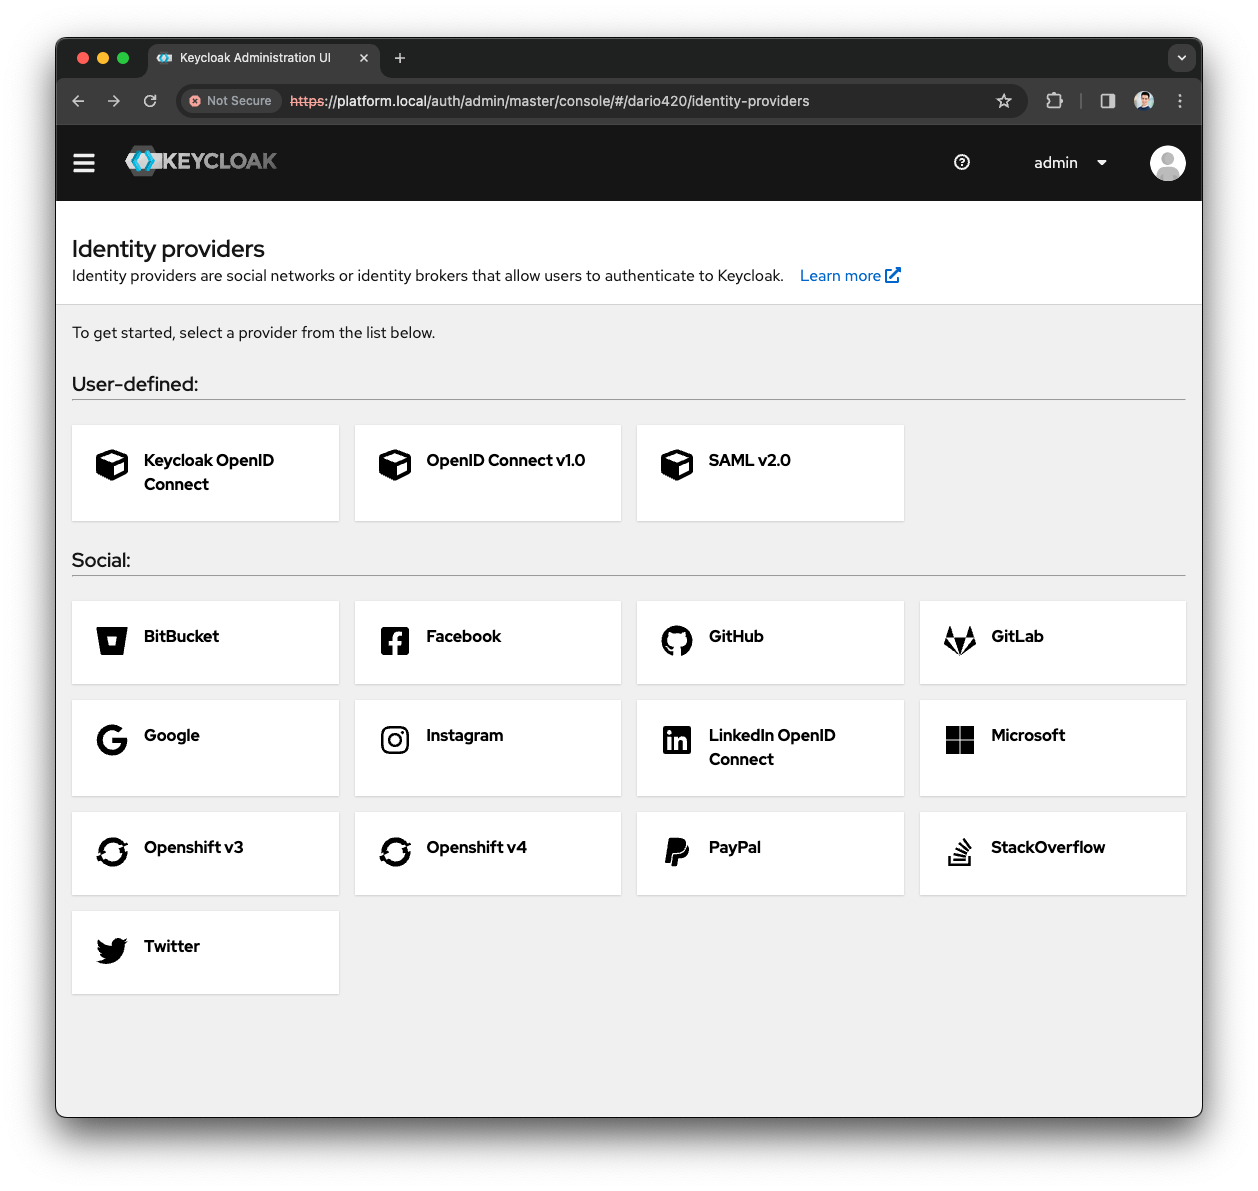
Open the Menu and press the
Identity providersmenu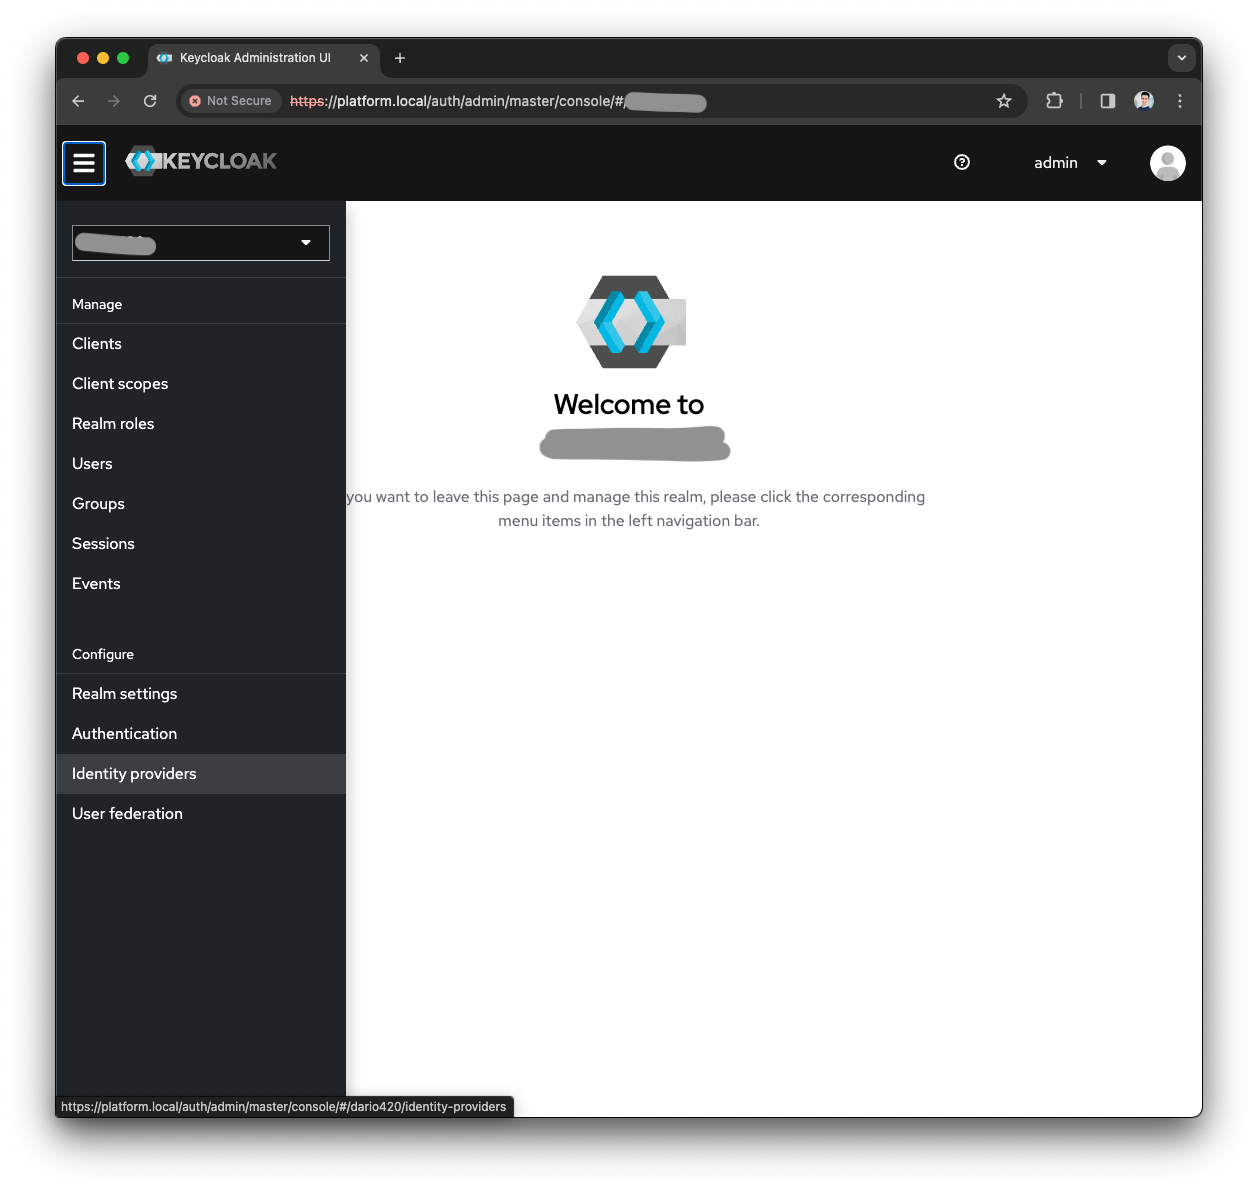
-
Configure the Identity Provider with the system of your choice (Azure AD, Google Auth, LDAP, etc.)
-
Once configured the identity provider, press the
Savebutton
You are now able to log into your existing Organization using the configured Identity provider.
|
The Self-Service URL to access the SSO Realm login screen is
In our example, given tenant-short-name equals to test123 the login URL will be
|