Initialize Management Services with Axual HELM
Management Configuration
After starting your cluster and instance services, it is time to set up the management services.
Start the Platform Manager without initSelfServiceJob
Be sure you have disabled the initSelfServiceJob for Management API and have provided to Management API the MASTER realm credentials to perform rest calls to Keycloak and check that realm and user exist.
-
Create a mgmt-values.yaml file in your working directory like below.
mgmt-values.yamlmgmt: api: # Disable mgmt-api init self-service job initSelfServiceJob: enabled: false axual: # Keycloak Admin Credentials keycloak: master: username: [YUOR_ADMIN_USER] password: [YUOR_ADMIN_PASSWORD] -
Issue a helm upgrade command with the mgmt-values.yaml as input file to install Management Services.
helm upgrade --install platform axual-stable/platform -f mgmt-values.yaml -n kafka -
Alternatively you can override a specific property with the
--setoptionhelm upgrade --install platform axual-stable/platform --set mgmt.api.initSelfServiceJob.enabled="false" --set mgmt.api.axual.keycloak.master.username=[YUOR_ADMIN_USER] --set mgmt.api.axual.keycloak.master.password=[YUOR_ADMIN_PASSWORD] -n kafka
Configure Keycloak Realm from scratch
-
Edit your mgmt-values.yaml file like below.
mgmt-values.yamlmgmt: keycloak: importDefaultRealm: false -
Issue a helm upgrade command with the mgmt-values.yaml as input file to install Management Services.
helm upgrade --install platform axual-stable/platform -f mgmt-values.yaml -n kafka -
Alternatively you can override a specific property with the
--setoptionhelm upgrade --install platform axual-stable/platform --set mgmt.keycloak.importDefaultRealm.enabled="false" -n kafka
Access the Admin console
Now that Keycloak has started we can access the Admin Console using the Admin credentials defined in your mgmt-values.yaml file.
-
Open your favourite web browser, access
https://<MGMT_KEYCLOAK_DOMAIN>/authand login with the Admin credentials -
From the Realm selection press
Add realmbutton -
Provide a name to the new Realm and press
save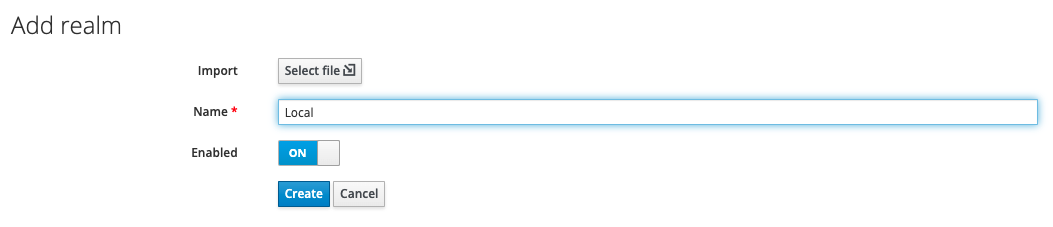
In case you have already a realm.json you can import here -
Click
Security Defenses -
Click
Brute Force Detection -
Enable the
Brute Force Detention, this is used to protect Keycloak from brute force login attempts -
Press
Save -
Go to
Clientspage using the sidebar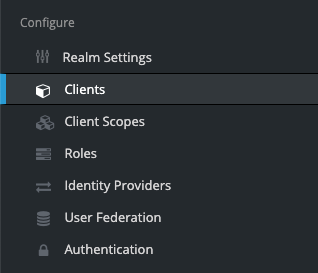
-
Click on
Create -
Fill in the
Client IDasself-serviceand theRoot URLas the domain where the Self-Service can be accessible -
Click
Save -
Check that
Valid Redirect URLsandWeb Originsmatches the URL of the Self-Service -
Go to
Userspage using the sidebar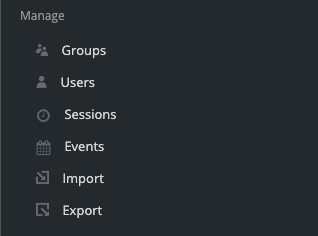
-
Click
Add User -
Fill in the form
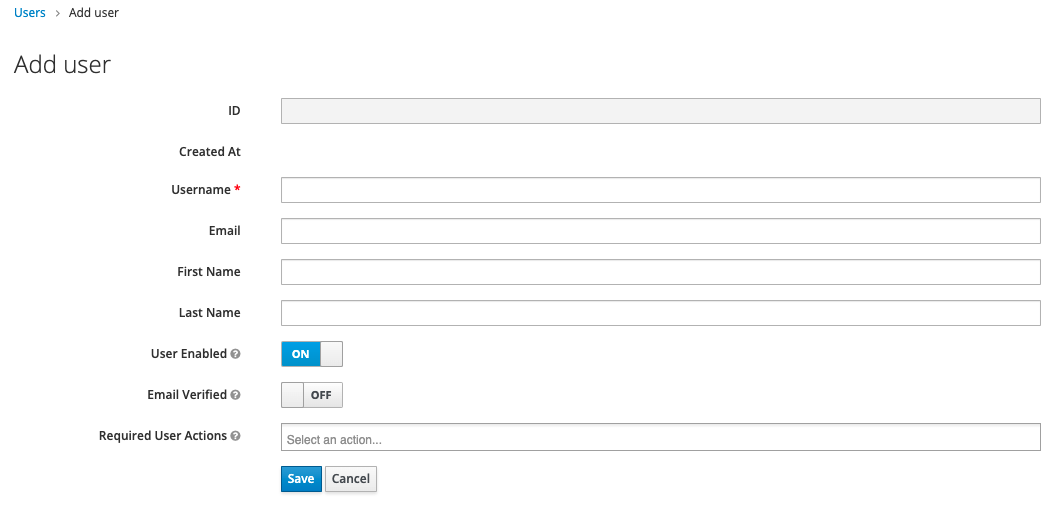
-
Press
Save
Initialize Platform Manager
Now that we have configured the Realm we can start and initialize the first Tenant in your Platform Manager.
Initialize the first Tenant in the Platform Manager
Now that selfservice-api has started, we need to initialize the first tenant
| Be sure you have started the Keycloak without restricting the Admin Console over a different port. This is the default behaviour of the Keycloak chart. |
-
Make a POST curl request to Platform Manager to initialize the Tenant
In a local installation you need to port forward the selfservice-api Service
|
curl --request POST \
  --url https://localhost:[local-port-forward]/api/initialize \
  --header 'Content-Type: application/json' \
  --data '{
  "tenantName" : [your-tenant-name],
  "tenantShortName" : [your-realm-name],
  "tenantUserEmail" : [email address of the user you have created in the realm]
}'
The user identified with the tenantUserEmail will get created in the Platform Manager DB, and it will receive SUPER_ADMIN role. This user is the most powerful user in the Self-Service
|
-
After received a
204 No Contentresponse, you can log in into the SelfService UI