Using the HELM charts
Introduction to Axual Helm Charts
With k8s deployments are getting easier, and here at Axual we try to make your life easier.
To achieve that we have developed our Axual Helm Charts to run the Axual Platform on your local machine.
The current helm charts support only a single cluster platform with no distribution in place. Be sure to have Use gRPC FUSE for file sharing disabled.
|
Preparation of the machine
| The following doc has been written based on Docker for Mac. |
Make sure you have the latest version of Docker for Mac installed as it now supports Kubernetes.
Enable k8s, install k9s and Helm
Enable k8s and set context to docker-desktop
-
Go to
Docker Preferencesmenu. -
Move to
Kubernetestab. -
Check
Enable Kubernetesoption.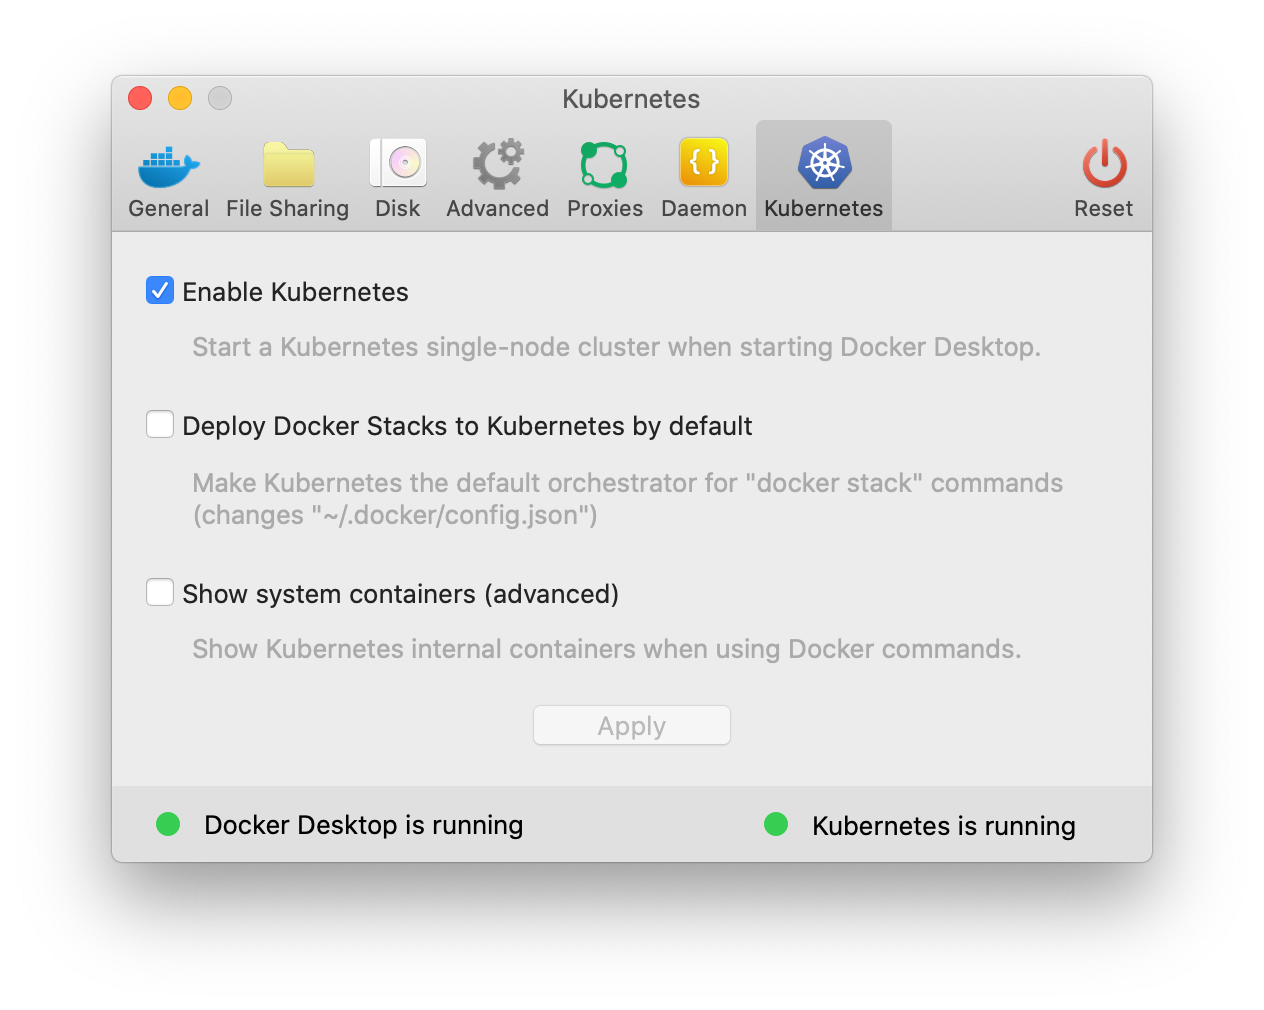
-
Wait for Kubernetes to come into running state.

-
Verify by running the command:
kubectl versionYou should get an output like one of the below output, based on your docker-desktop version:
Client Version: version.Info{Major:"1", Minor:"14", GitVersion:"v1.14.8", GitCommit:"211047e9a1922595eaa3a1127ed365e9299a6c23", GitTreeState:"clean", BuildDate:"2019-10-15T12:11:03Z", GoVersion:"go1.12.10", Compiler:"gc", Platform:"darwin/amd64"}
Server Version: version.Info{Major:"1", Minor:"14+", GitVersion:"v1.14.9-eks-c0eccc", GitCommit:"c0eccca51d7500bb03b2f163dd8d534ffeb2f7a2", GitTreeState:"clean", BuildDate:"2019-12-22T23:14:11Z", GoVersion:"go1.12.12", Compiler:"gc", Platform:"linux/amd64"}
Client Version: version.Info{Major:"1", Minor:"16+", GitVersion:"v1.16.6-beta.0", GitCommit:"e7f962ba86f4ce7033828210ca3556393c377bcc", GitTreeState:"clean", BuildDate:"2020-01-15T08:26:26Z", GoVersion:"go1.13.5", Compiler:"gc", Platform:"darwin/amd64"} Server Version: version.Info{Major:"1", Minor:"16+", GitVersion:"v1.16.6-beta.0", GitCommit:"e7f962ba86f4ce7033828210ca3556393c377bcc", GitTreeState:"clean", BuildDate:"2020-01-15T08:18:29Z", GoVersion:"go1.13.5", Compiler:"gc", Platform:"linux/amd64"}Client Version: version.Info{Major:"1", Minor:"22", GitVersion:"v1.22.5", GitCommit:"5c99e2ac2ff9a3c549d9ca665e7bc05a3e18f07e", GitTreeState:"clean", BuildDate:"2021-12-16T08:38:33Z", GoVersion:"go1.16.12", Compiler:"gc", Platform:"darwin/amd64"} Server Version: version.Info{Major:"1", Minor:"22", GitVersion:"v1.22.5", GitCommit:"5c99e2ac2ff9a3c549d9ca665e7bc05a3e18f07e", GitTreeState:"clean", BuildDate:"2021-12-16T08:32:32Z", GoVersion:"go1.16.12", Compiler:"gc", Platform:"linux/amd64"} -
Congratulations, you have Kubernetes running in your laptop!
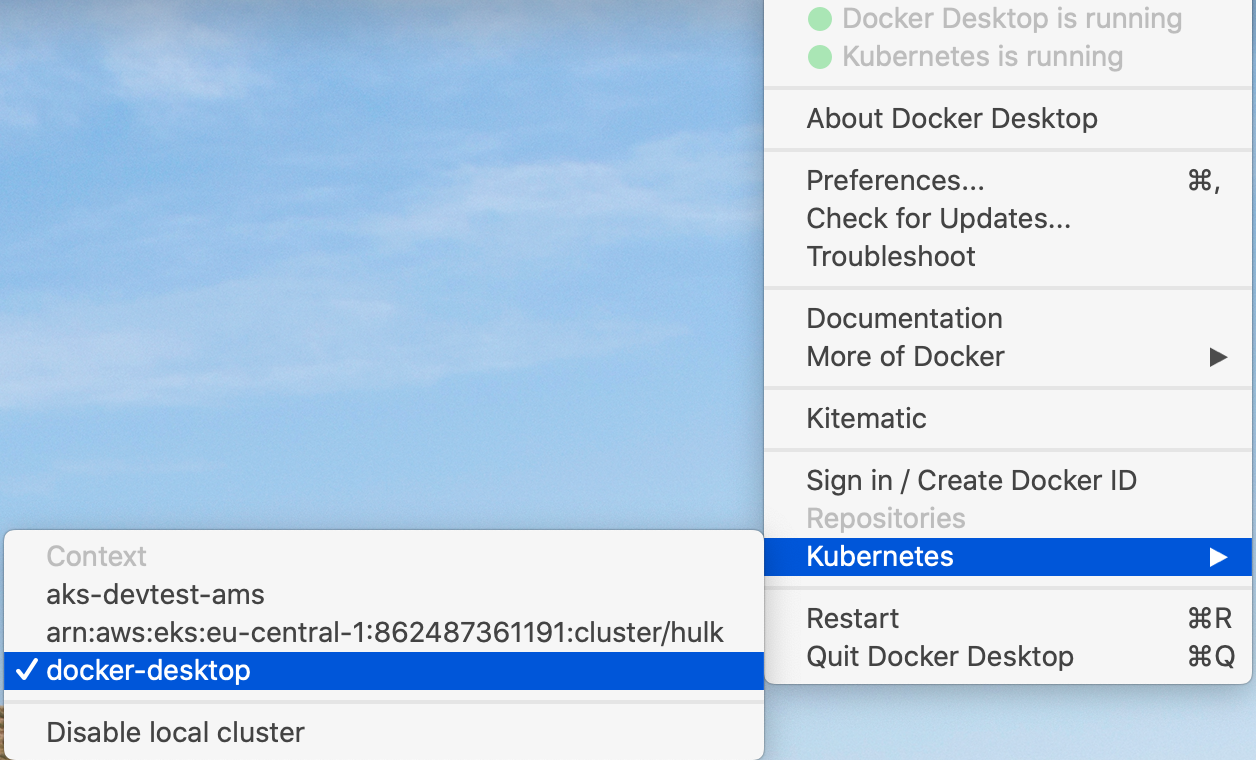
Please ensure your active context is set to "docker-desktop". You can verify by going to:
Docker → Kubernetes → docker-desktop (context ticked)
Install k9s
K9S is a powerful CLI tool to manage and interface with any Kubernetes cluster.
-
To install run the command:
brew install derailed/k9s/k9s -
To start the utility:
k9sYou can navigate to view pods, namespaces and other resources via keyboard shortcuts. Find more information at https://github.com/derailed/k9s
Install Helm v3.x
Helm is a package manager for Kubernetes. Version 3.x is required to set up the platform.
-
Install Helm via Homebrew:
brew install helm -
Once installation is complete, verify the version.
helm versionPlease verify that the version shown is v3.x.x version.BuildInfo{Version:"v3.5.2", GitCommit:"167aac70832d3a384f65f9745335e9fb40169dc2", GitTreeState:"dirty", GoVersion:"go1.15.7"}
Setup loopback alias
-
Create a script to add a loopback interface on the ip 192.168.99.100
#!/bin/bash ITF=lo0 ADDRESS=192.168.99.100 ifconfig "$ITF" | grep inet | grep "$ADDRESS" >/dev/null if [ "$?" = "0" ]; then echo "Removing alias $ADDRESS from interface $ITF" sudo ifconfig "$ITF" -alias "$ADDRESS" echo "Adding alias $ADDRESS to interface $ITF" sudo ifconfig "$ITF" alias "$ADDRESS/32" up else echo "Adding alias $ADDRESS to interface $ITF" sudo ifconfig "$ITF" alias "$ADDRESS/32" up fi -
Execute the script at every restart of your local machine
You can check if the loopback interface got successfully added by executing: ifconfig | grep 192.168.99.100It should be something like this:
inet 192.168.99.100 netmask 0xffffffff -
Add the following entry to your /etc/hosts file:
192.168.99.100 platform.local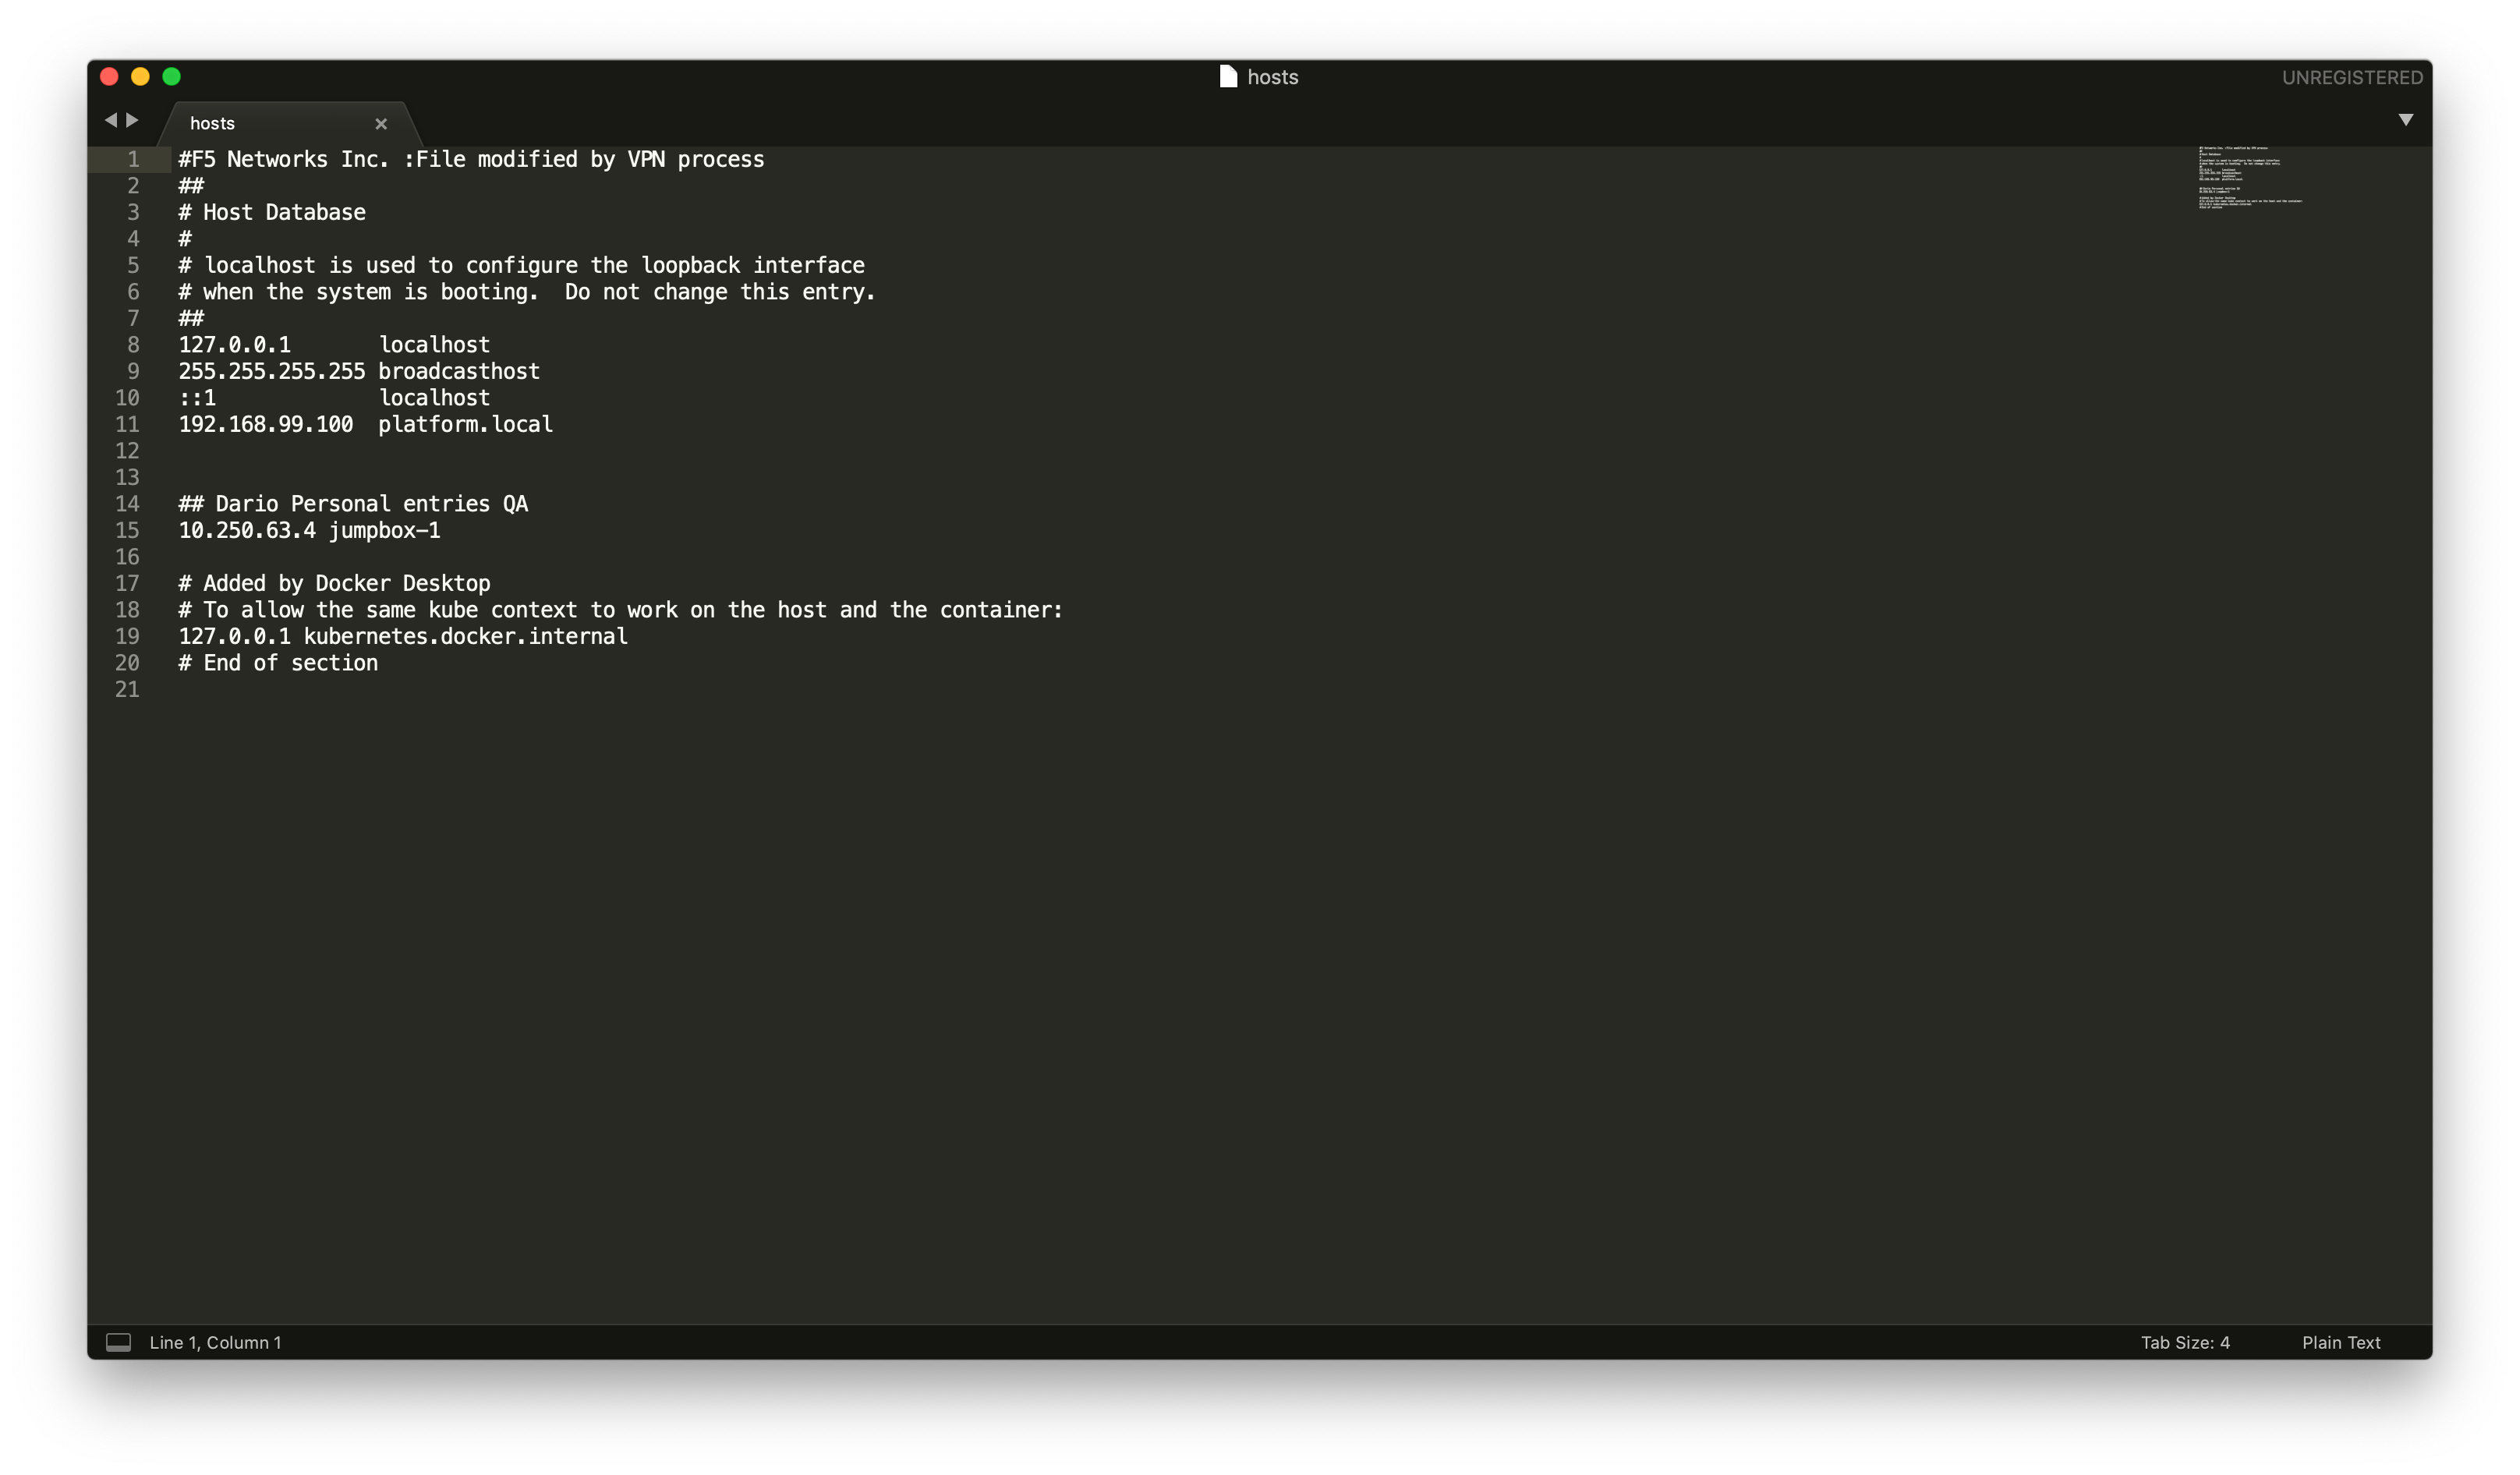
Create a namespace and Docker Registry Secret
Creating a namespace is optional but recommended. A namespace provides an isolation layer within a Kubernetes cluster.
-
Create a namespace.
kubectl create namespace kafka -
Create a secret for the Axual Docker registry.
kubectl -n kafka                                    \
    create secret docker-registry axualdockercred   \
    --docker-server=docker.axual.io                 \
    --docker-username=[your-username]               \
    --docker-password=[your-password]
Make sure to replace the username and password with your credentials for Axual Nexus.
Install nginx
We need to start nginx in order to make the Self-Service pod accessible from outside the kubernetes clusters.
-
Create a namespace for nginx.
kubectl create namespace nginxDepends on your kubectl client version, execute one command. -
Add the kubernetes-charts repository to your helm.
>= 1.22.0-0
Add the ingress-nginx repo.
helm repo add ingress-nginx https://kubernetes.github.io/ingress-nginxStart the ingress-nginx.
helm upgrade --install nginx ingress-nginx/ingress-nginx -n nginx --set controller.ingressClassResource.default=trueNext step: Deploy Axual services
This concludes the preparation for using Axual helm charts. You may now continue to Deploy Axual services.