Instances
Create the Instance
These steps are used to create an Instance in the Axual Self-Service.
We are writing the steps
to create a dta instance using the local cluster created in the previous step.
-
Open the
instancesmenu and press theAdd instancebutton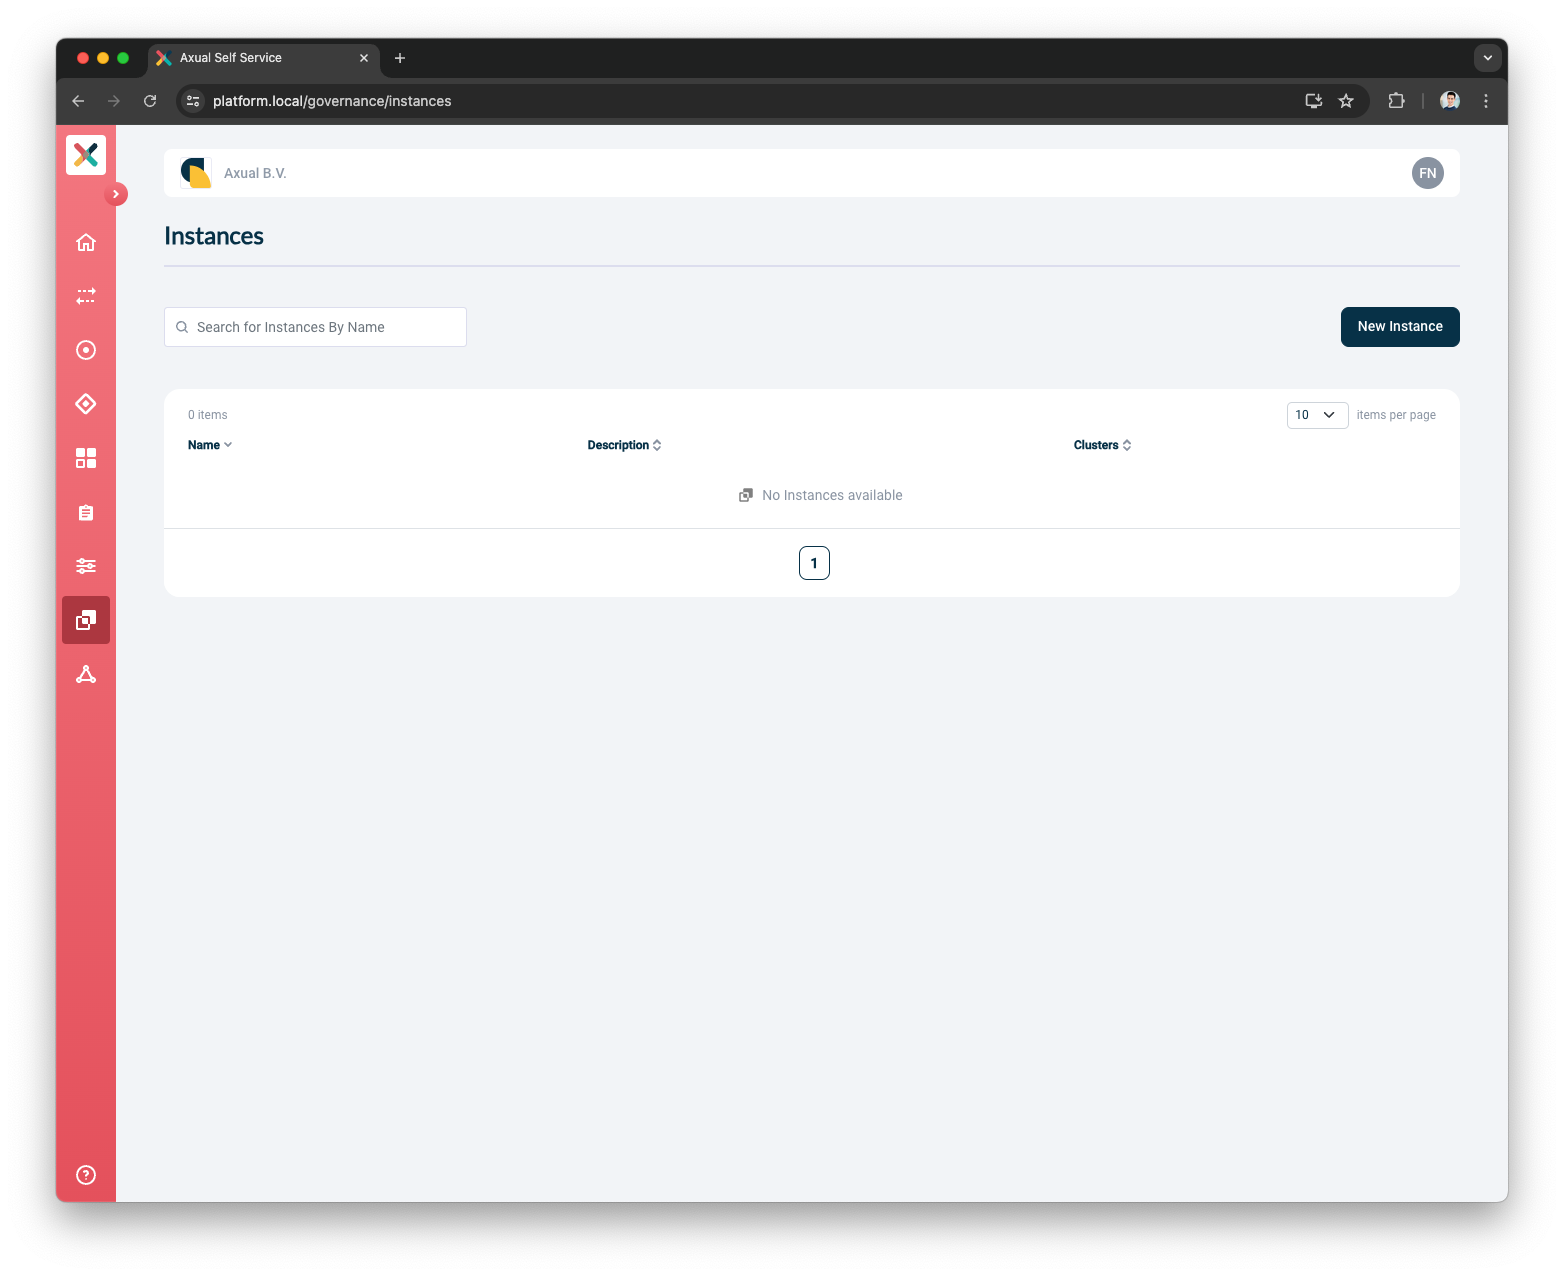
-
Provide the Instance Details and press the
Continuebutton-
Put
Dev Test Acceptanceas the Name -
Put
dtaas the ShortName -
Put
DTA Instanceas the Description
-
-
Press the
Select clusterbutton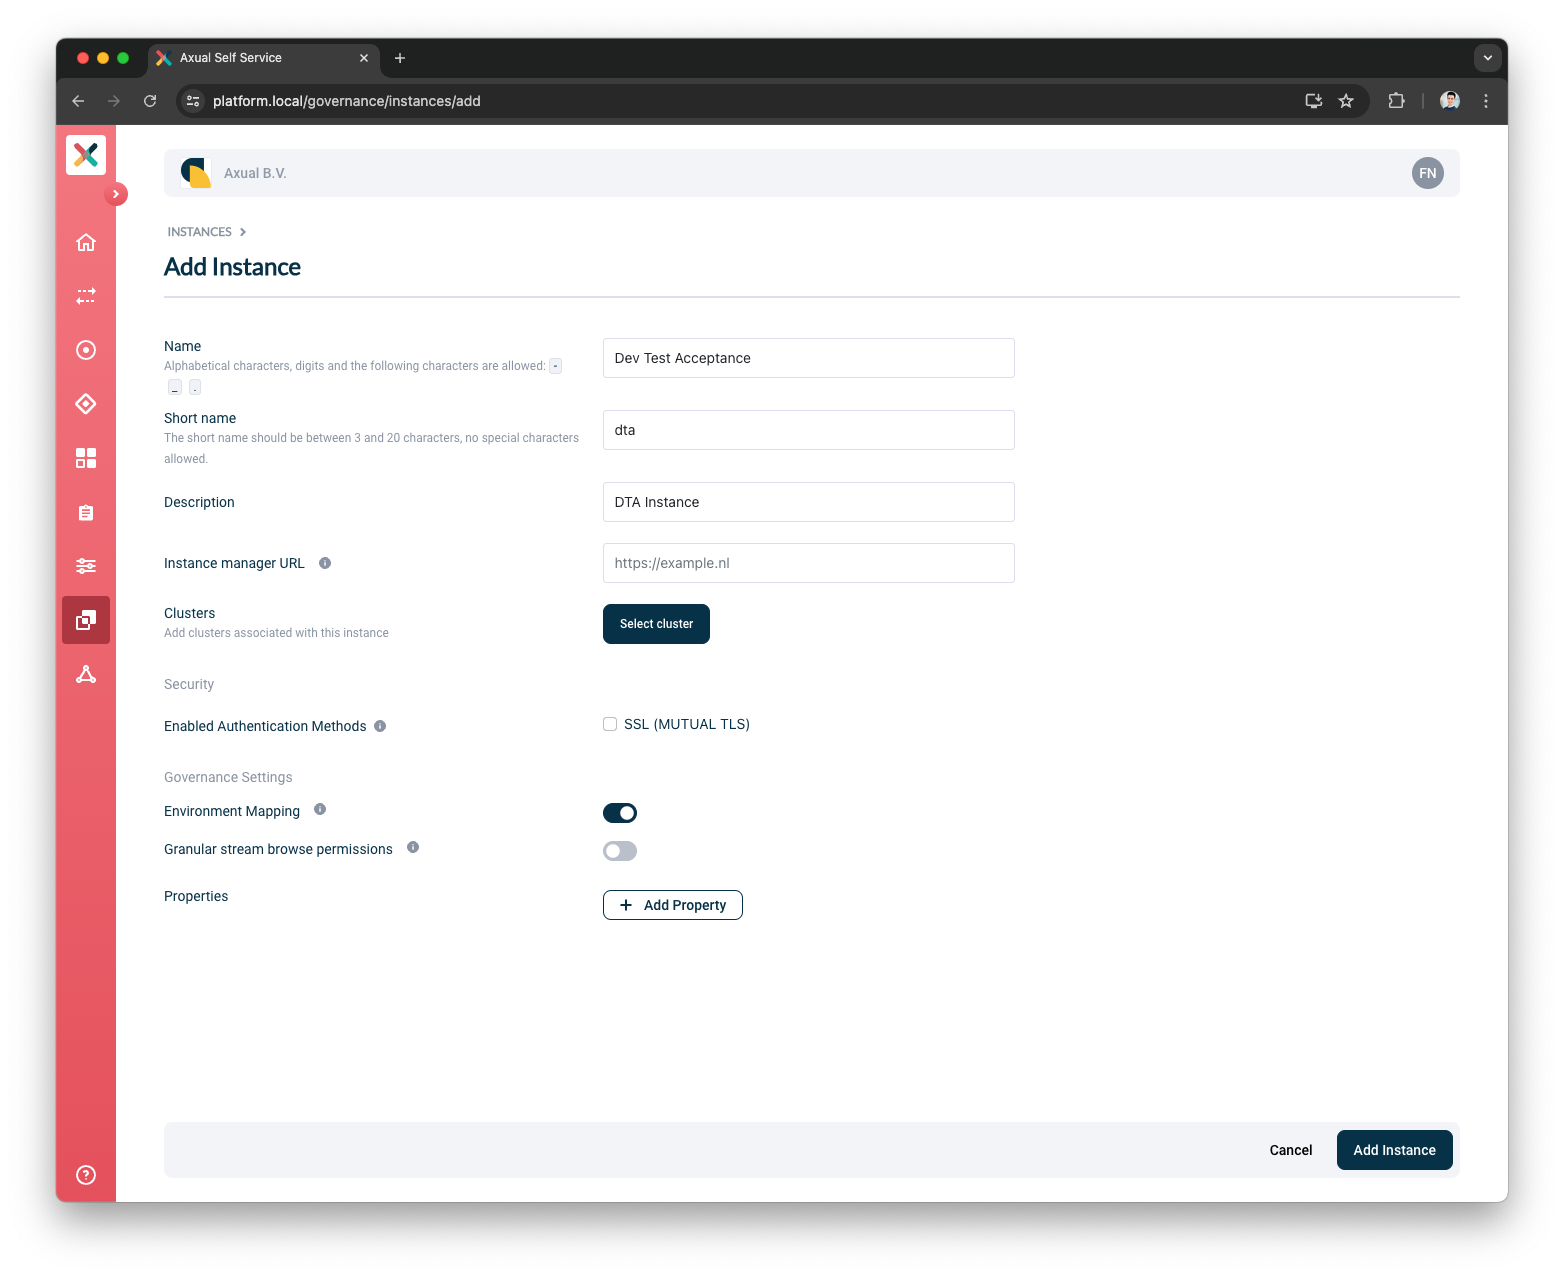
Do not fill the Instance Manager URL field, this field is for older installation. It will be removed in future releases. -
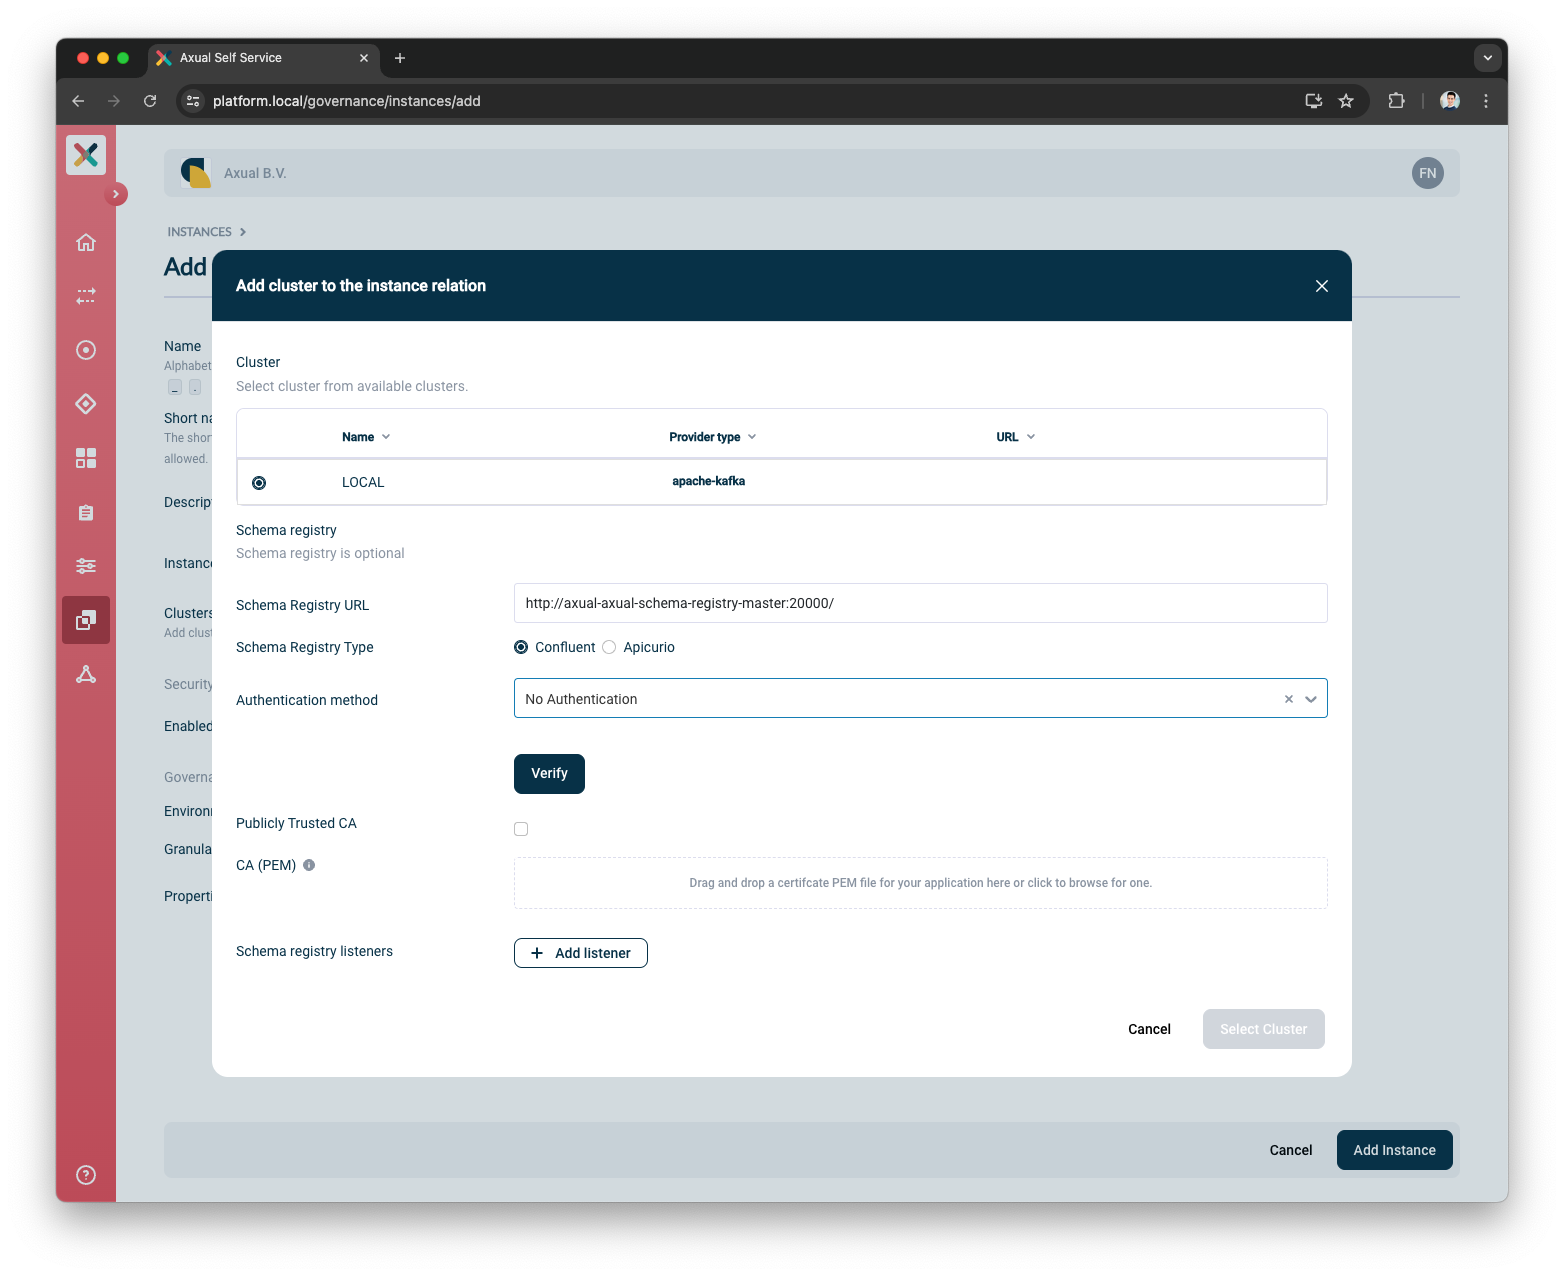
Select the
localcluster -
(Optional) Provide the Schema Registry Details for this Instance/Cluster
-
Put
http://axual-axual-schema-registry-master:20000/as the Schema Registry URL -
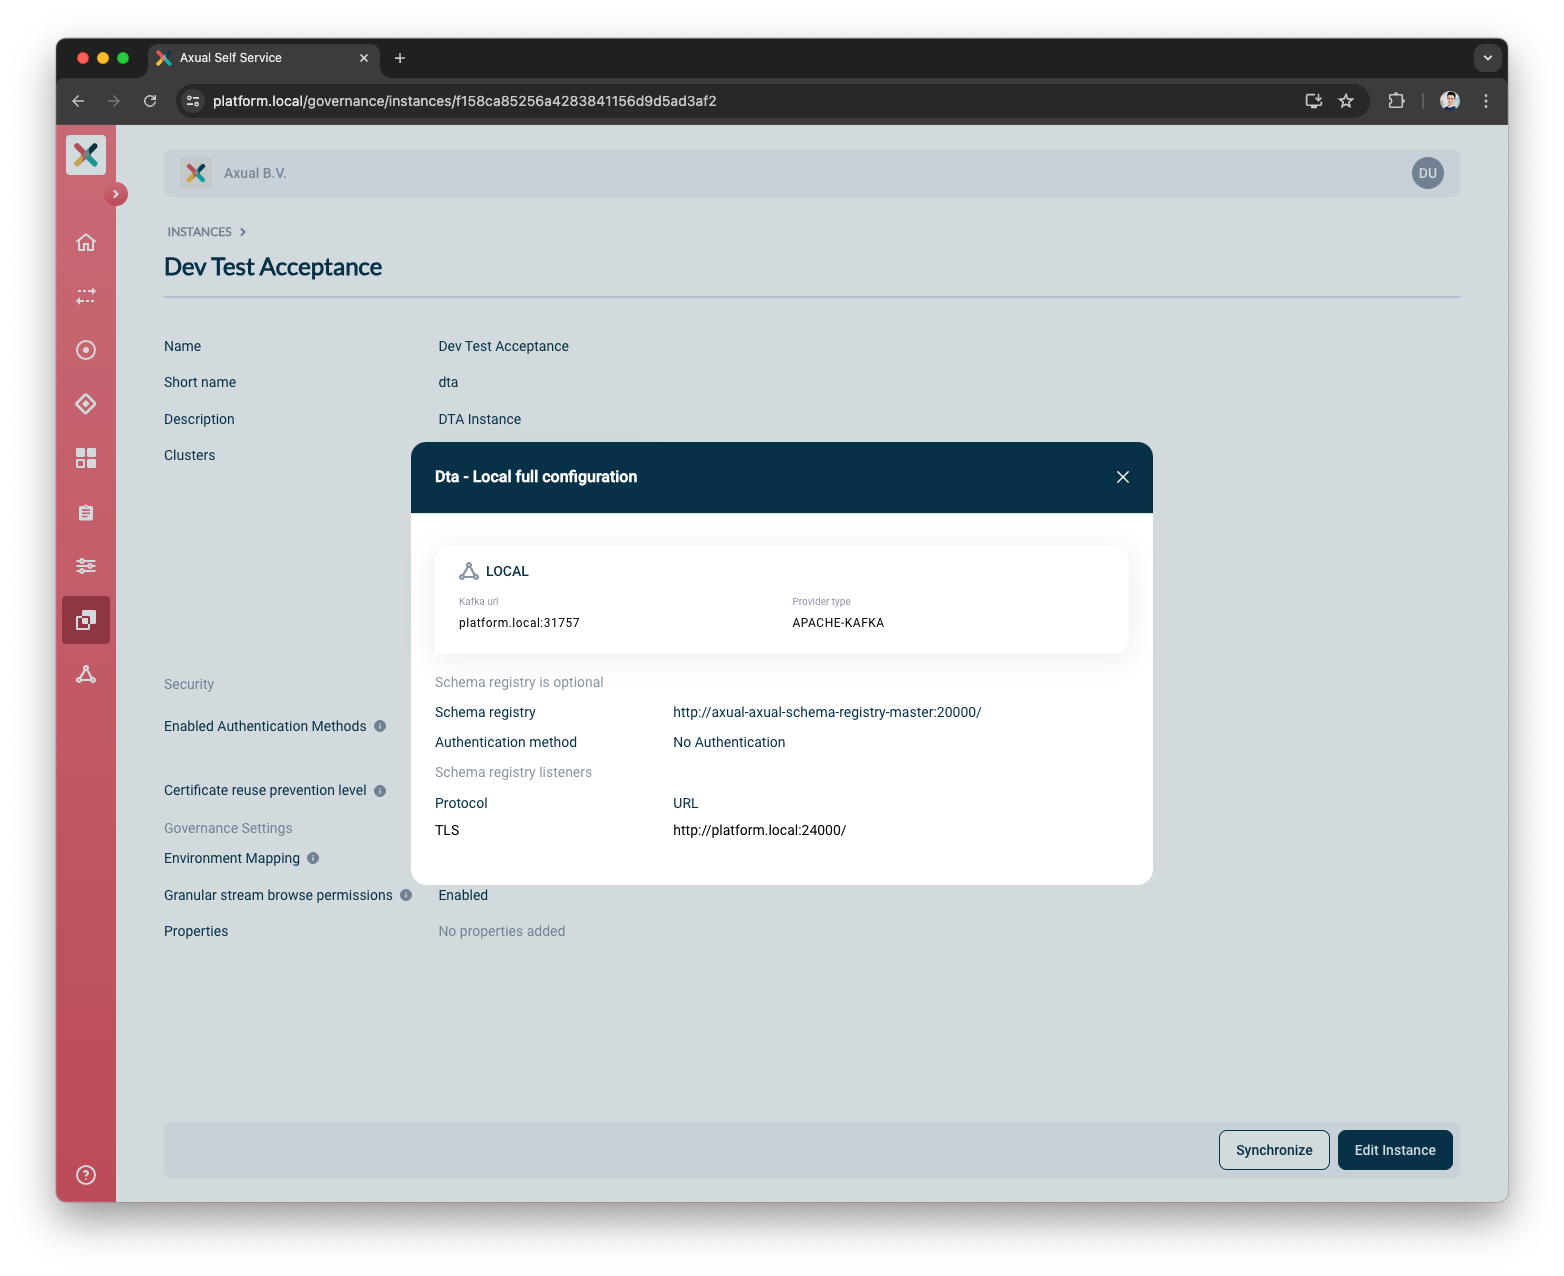
Select
Confluentas the Schema Registry Type -
Select
No Authenticationas the Authentication Method
-
-
Verify the Schema Registry details and connectivity by pressing the
Verifybutton
-
Once verified, you can press
Add listenersbutton to add Schema Registry Listeners. This step is optional.-
Input
TLSas the Protocol -
Input
http://platform.local:24000as the URL
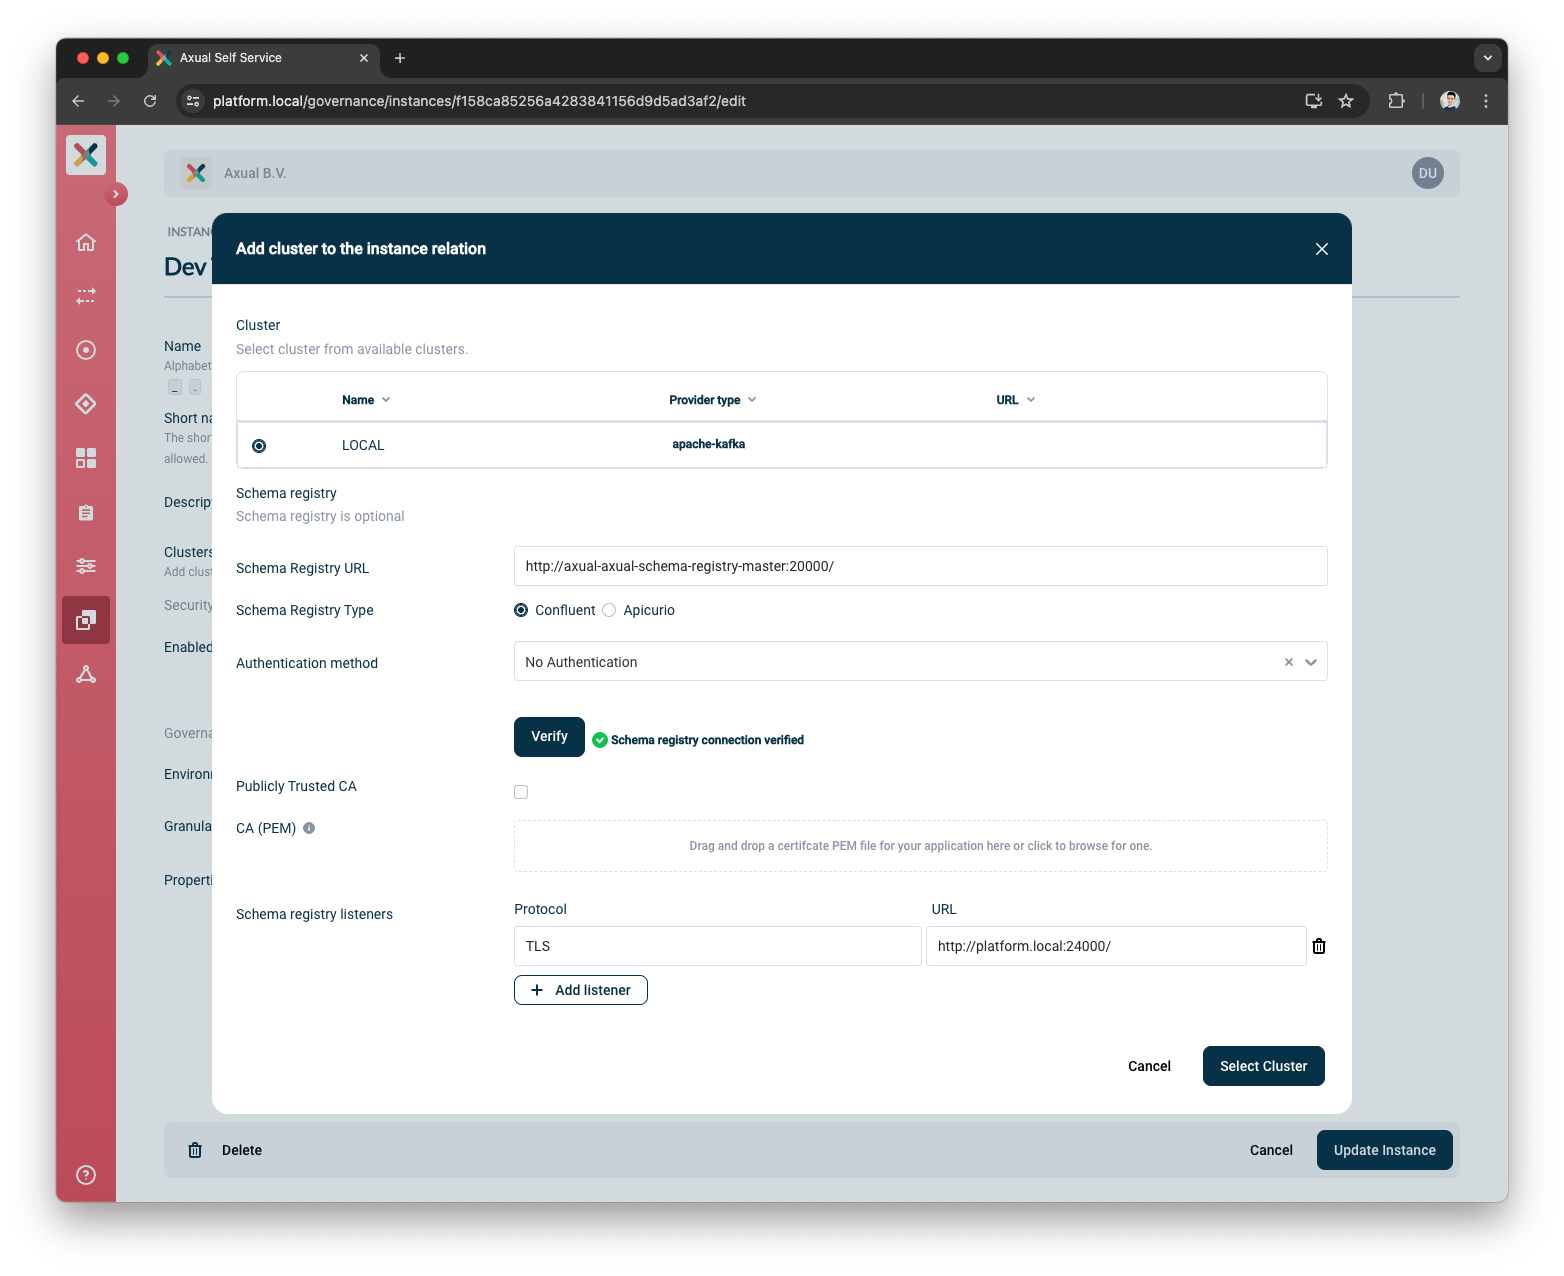
Schema Registry Listeners is a set of protocol:URL pair for setting various Schema Registry Listeners. They are used by the Kafka Clients to connect to the Schema Registry. You can add more listeners and there are no validation on our side. -
-
You can close the Instance/Cluster modal by pressing the
Select Clusterbutton -
You can click on
Show full configurationto validate the selected cluster details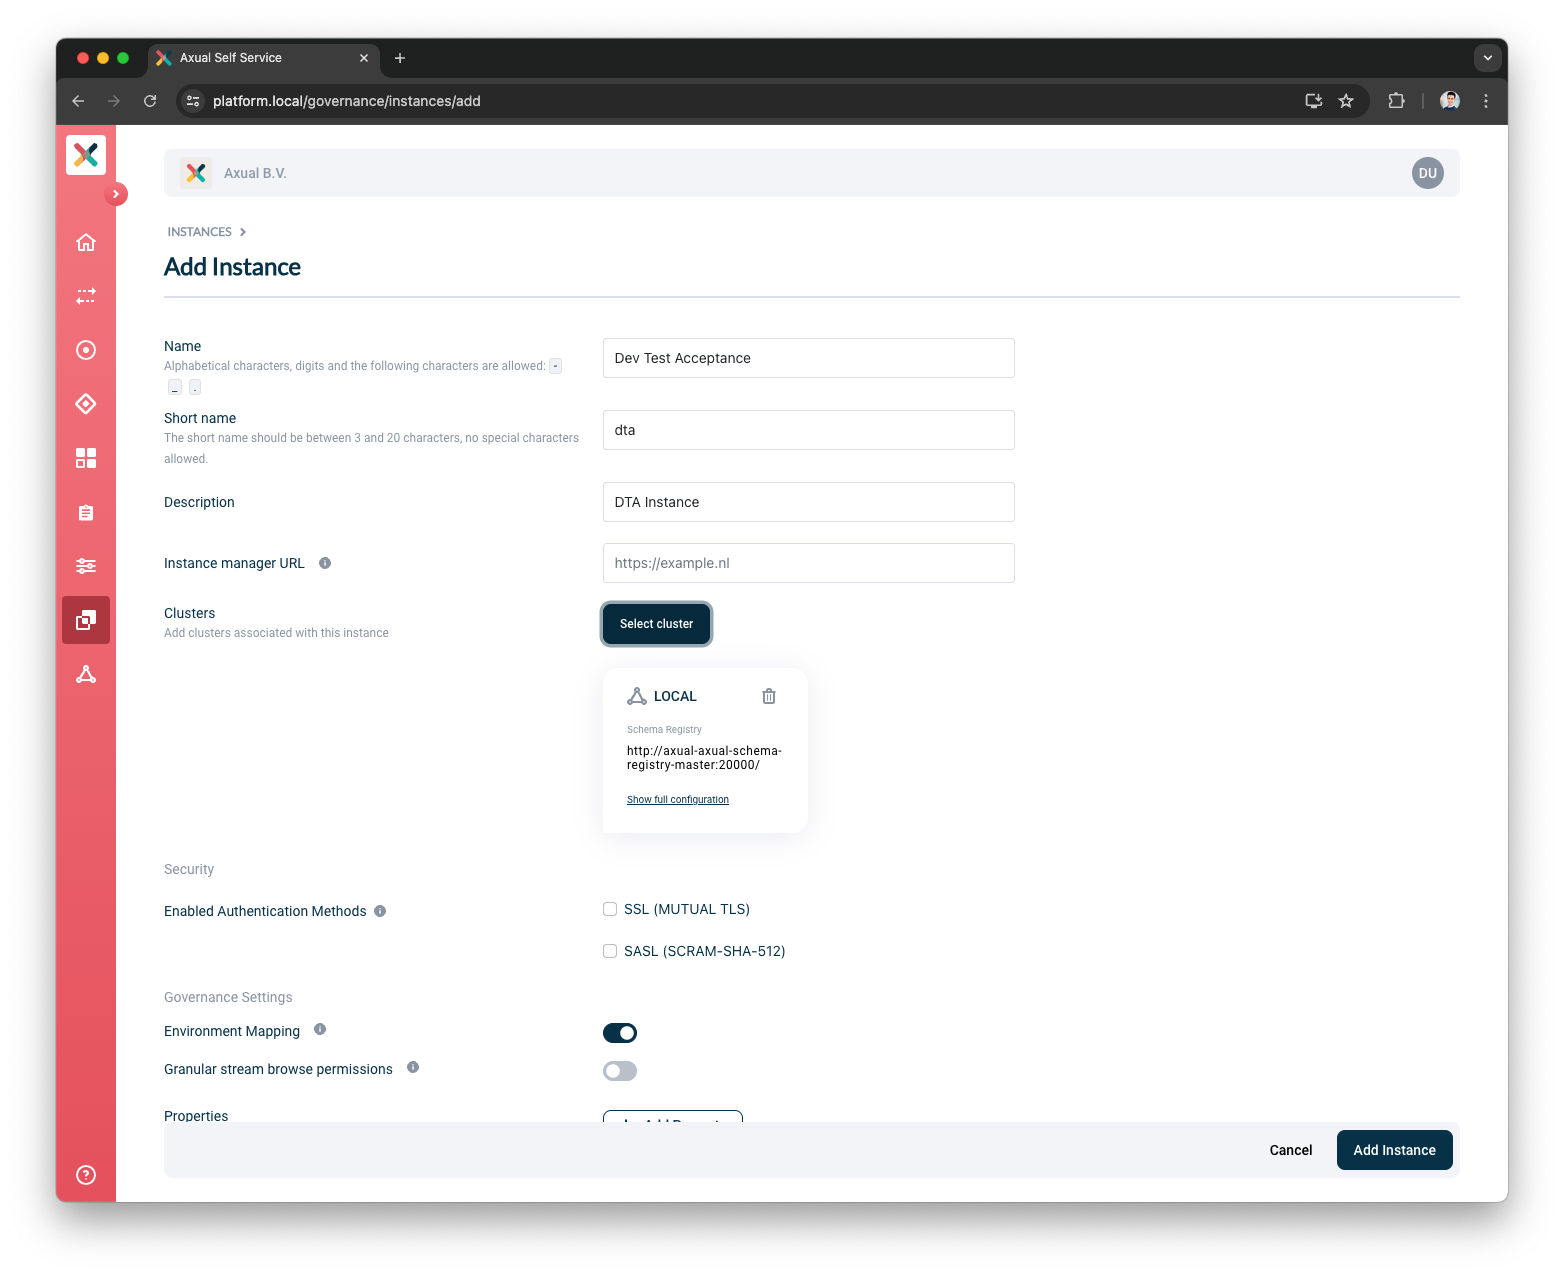
-
You can close the full configuration modal
-
Enable the Authentication Method for this Instance
-
Toggle the
SSL (MUTUAL TLS) -
Upload the Signing CA used to sign your application certificate
-
-
Press the
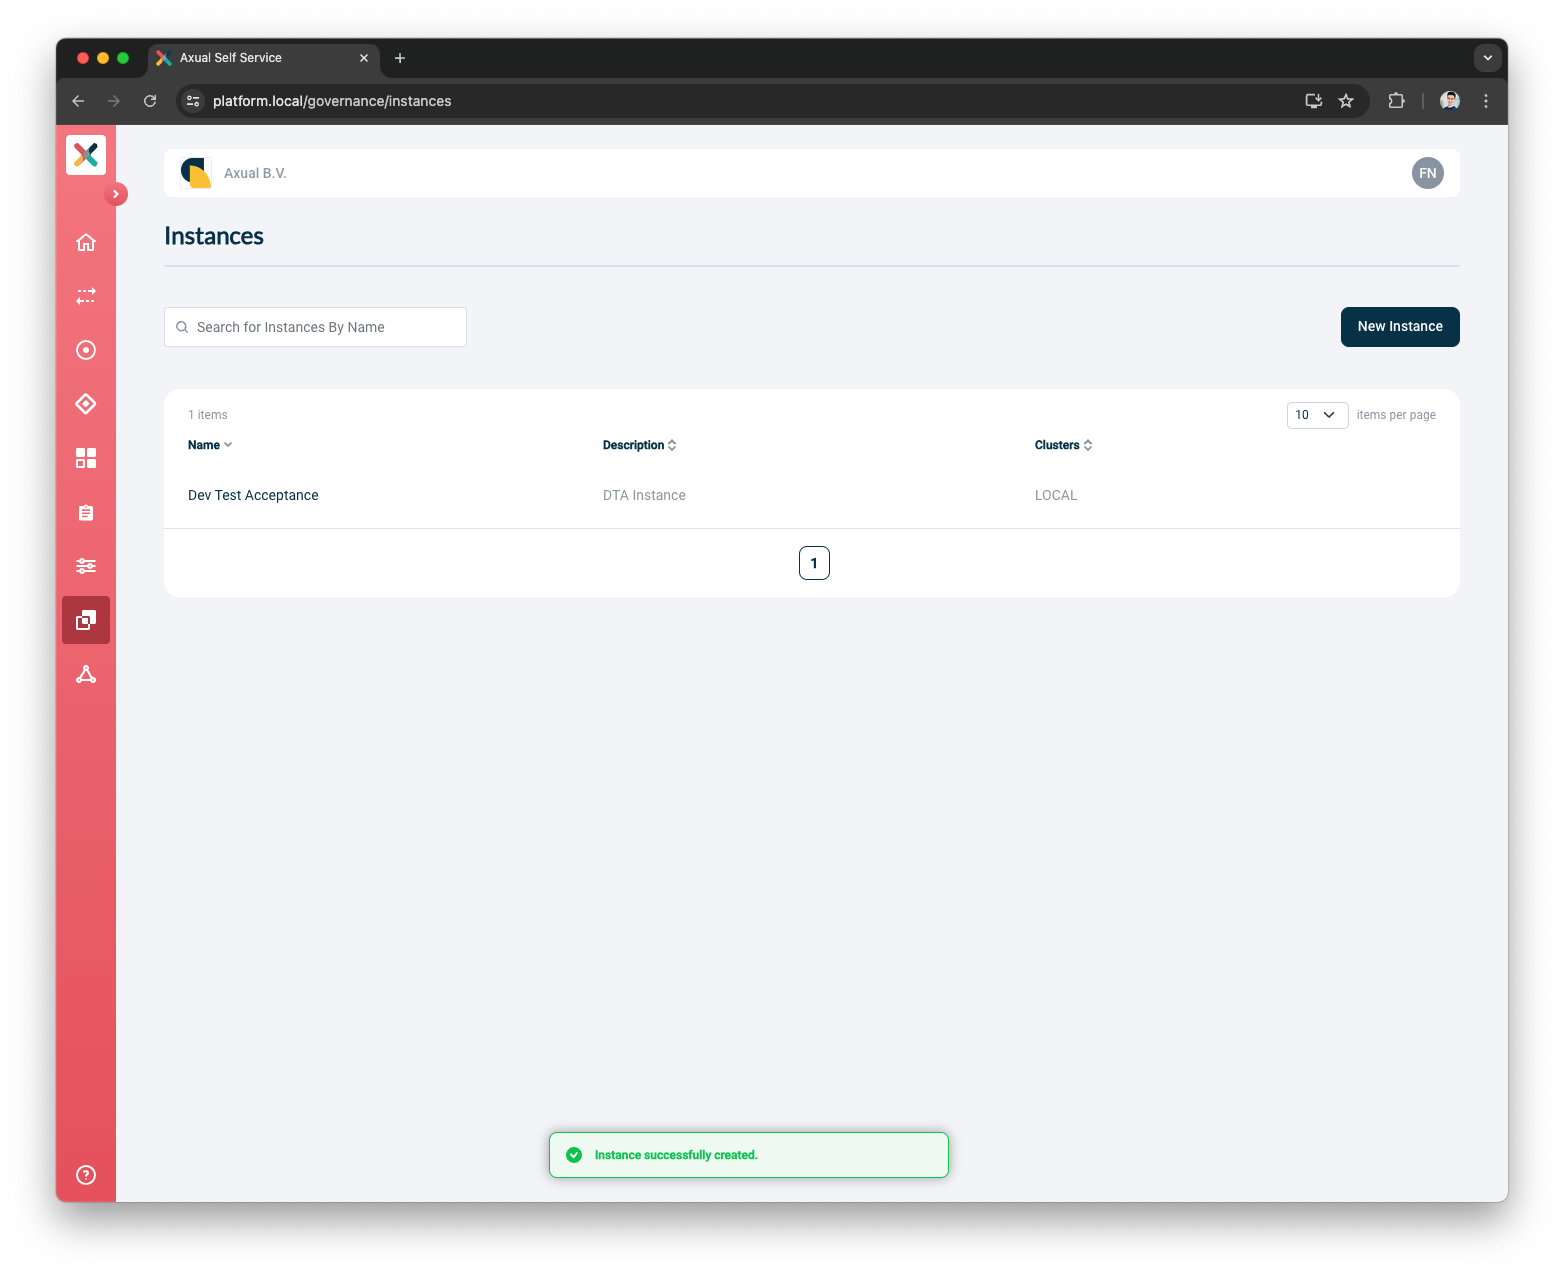
Add Instancebutton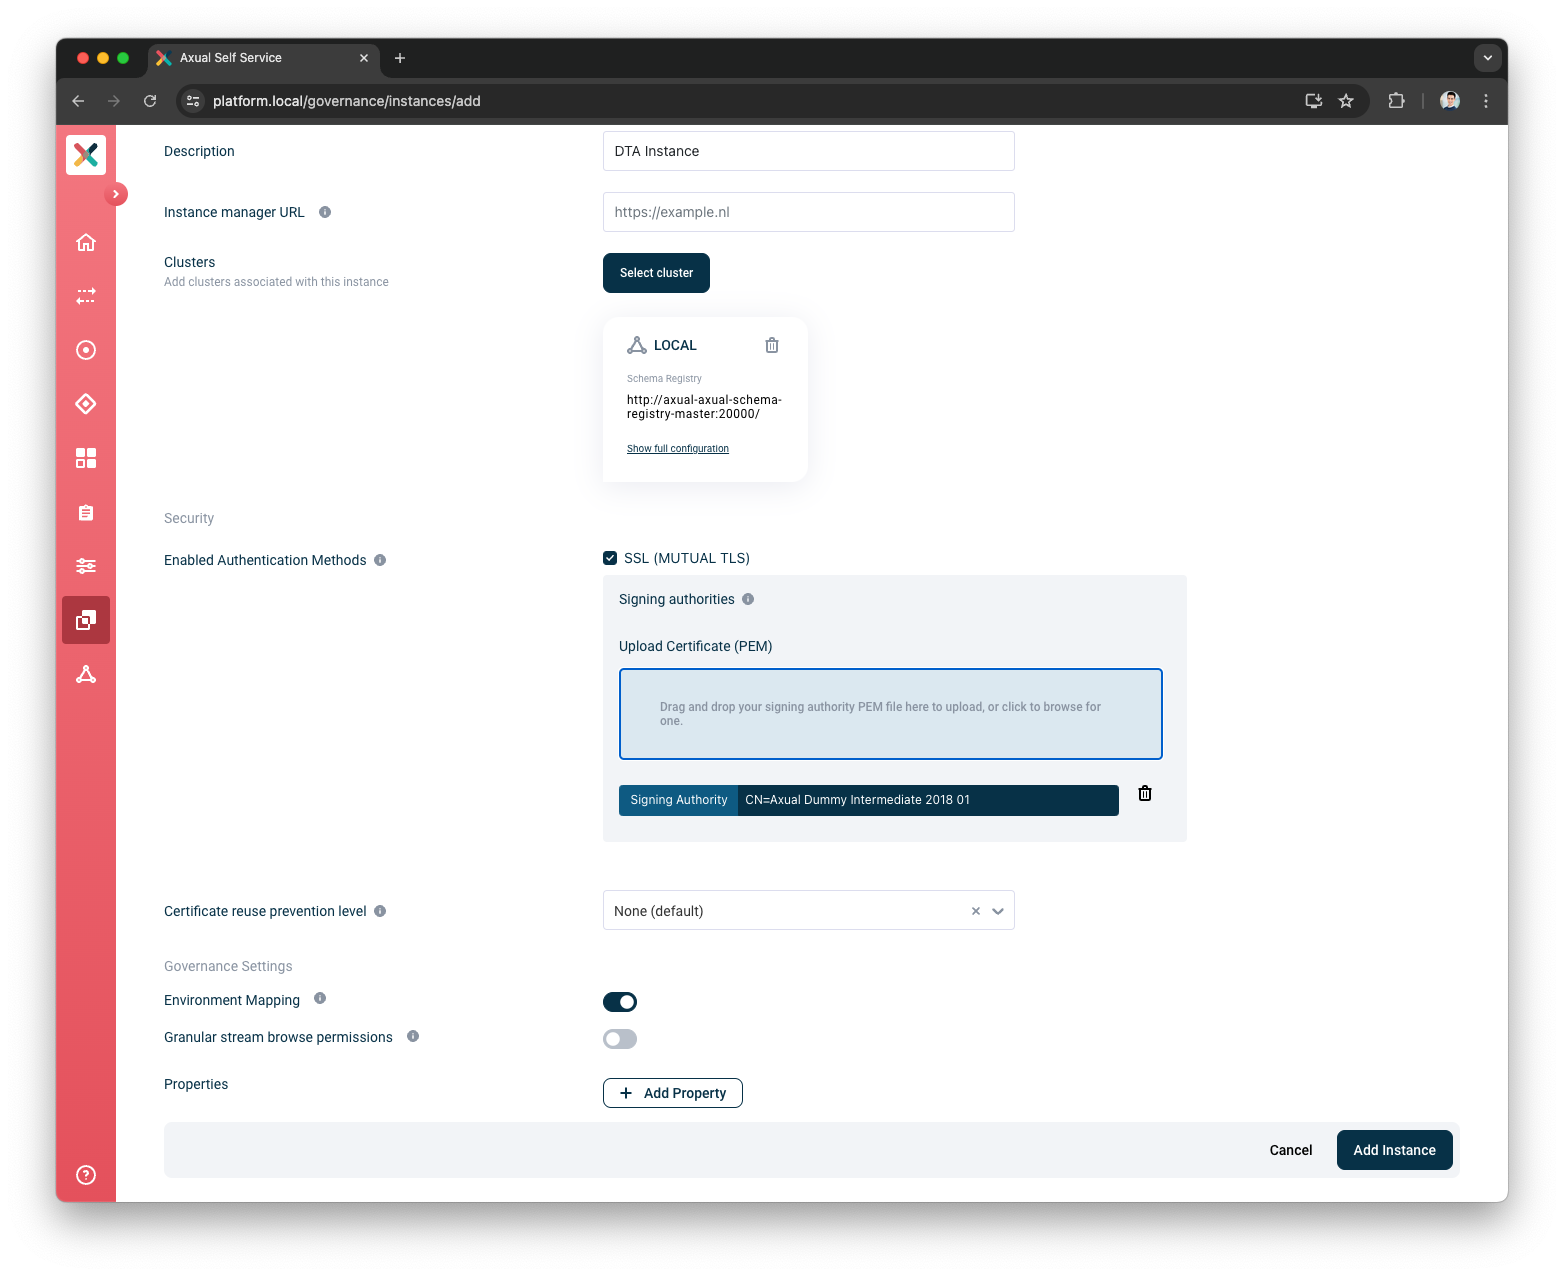
Now you have successfully created an Instance in the Self-Service
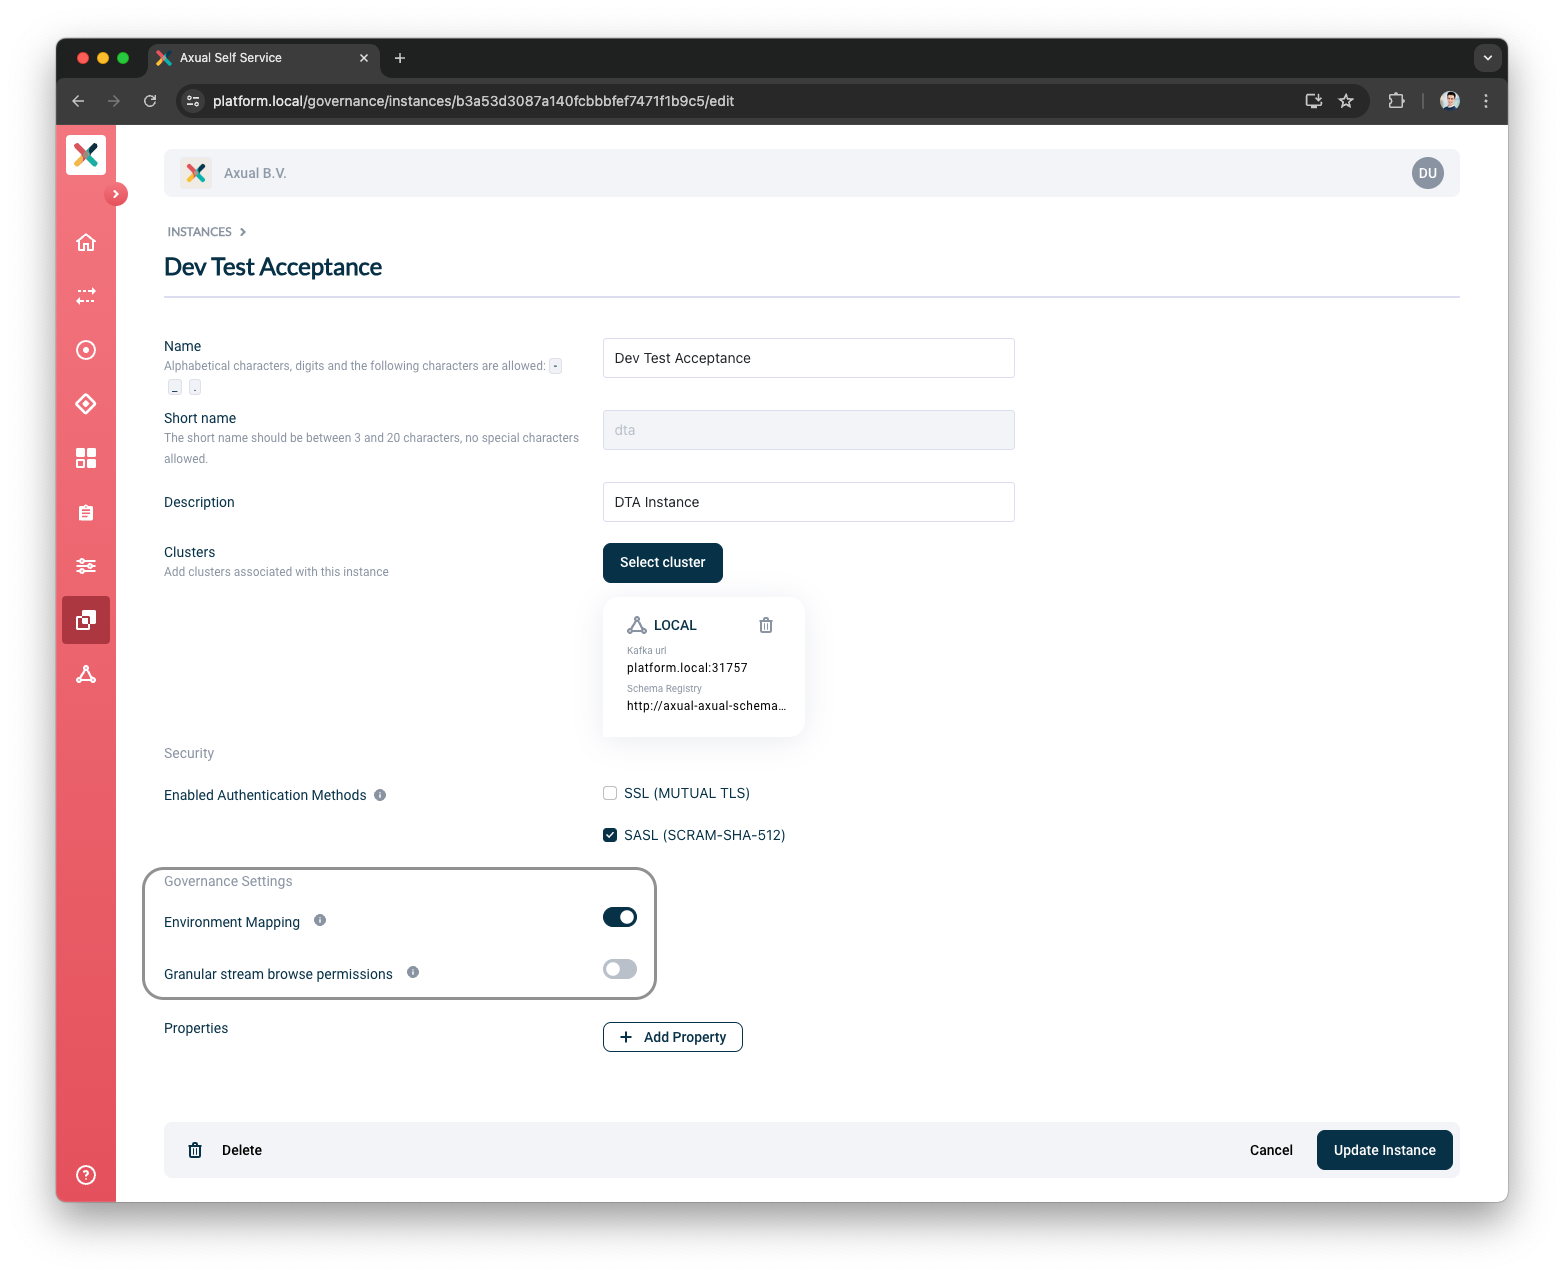
Environment Mapping
This setting allows Tenant Admin to enable or disable mapping environments under an Instance regardless of whether the user is an Environment Author.
When enabled (which is the default), Environment Author can create an environment under that Instance.
When disabled, creation of an environment under that Instance is not allowed regardless of whether the user is an Environment Author.
If Environment Mapping is disabled for Instance 1 then:
-
No user can create a new Environment using
Instance 1 -
No user can update an Environment to use
Instance 1 -
No user can update an Environment using
Instance 1to use a different Instance
To enable environment mapping for an Instance
-
Log in as a Tenant Admin.
-
Move to the Instance page.
-
Select the Instance.
-
Click Edit Instance button.
-
Under
Governance Settings, click on theEnvironment Mappingtoggle -
Click Update Instance button.
| You can also enable environment mapping when creating an instance from the Create Instance page. |
Granular Stream Browse Permissions For An Instance
Granular stream browse permissions allows Tenant Admin to have an instance level access control over topics configured on all environments mapped to it.
When enabled, all environments in the instance will support granular authorization.
When disabled (which is the default), all environments in the instance have the same authorization for both stream configuration and browse, which means there is no granular browse permission applied over a topic.
To enable granular stream browse permissions for an instance
-
Log in as a Tenant Admin.
-
Move to the Instance page.
-
Select the Instance.
-
Click Edit Instance button.
-
Under
Governance Settings, click on theEnable granular stream browse permissionstoggle -
Click Update Instance button.
| Disabling granular stream browse permissions on an instance that had it enabled leads to deleting of all existing Permission Groups. |
| You can also enable granular stream browse permissions when creating an instance from the create instance page. |
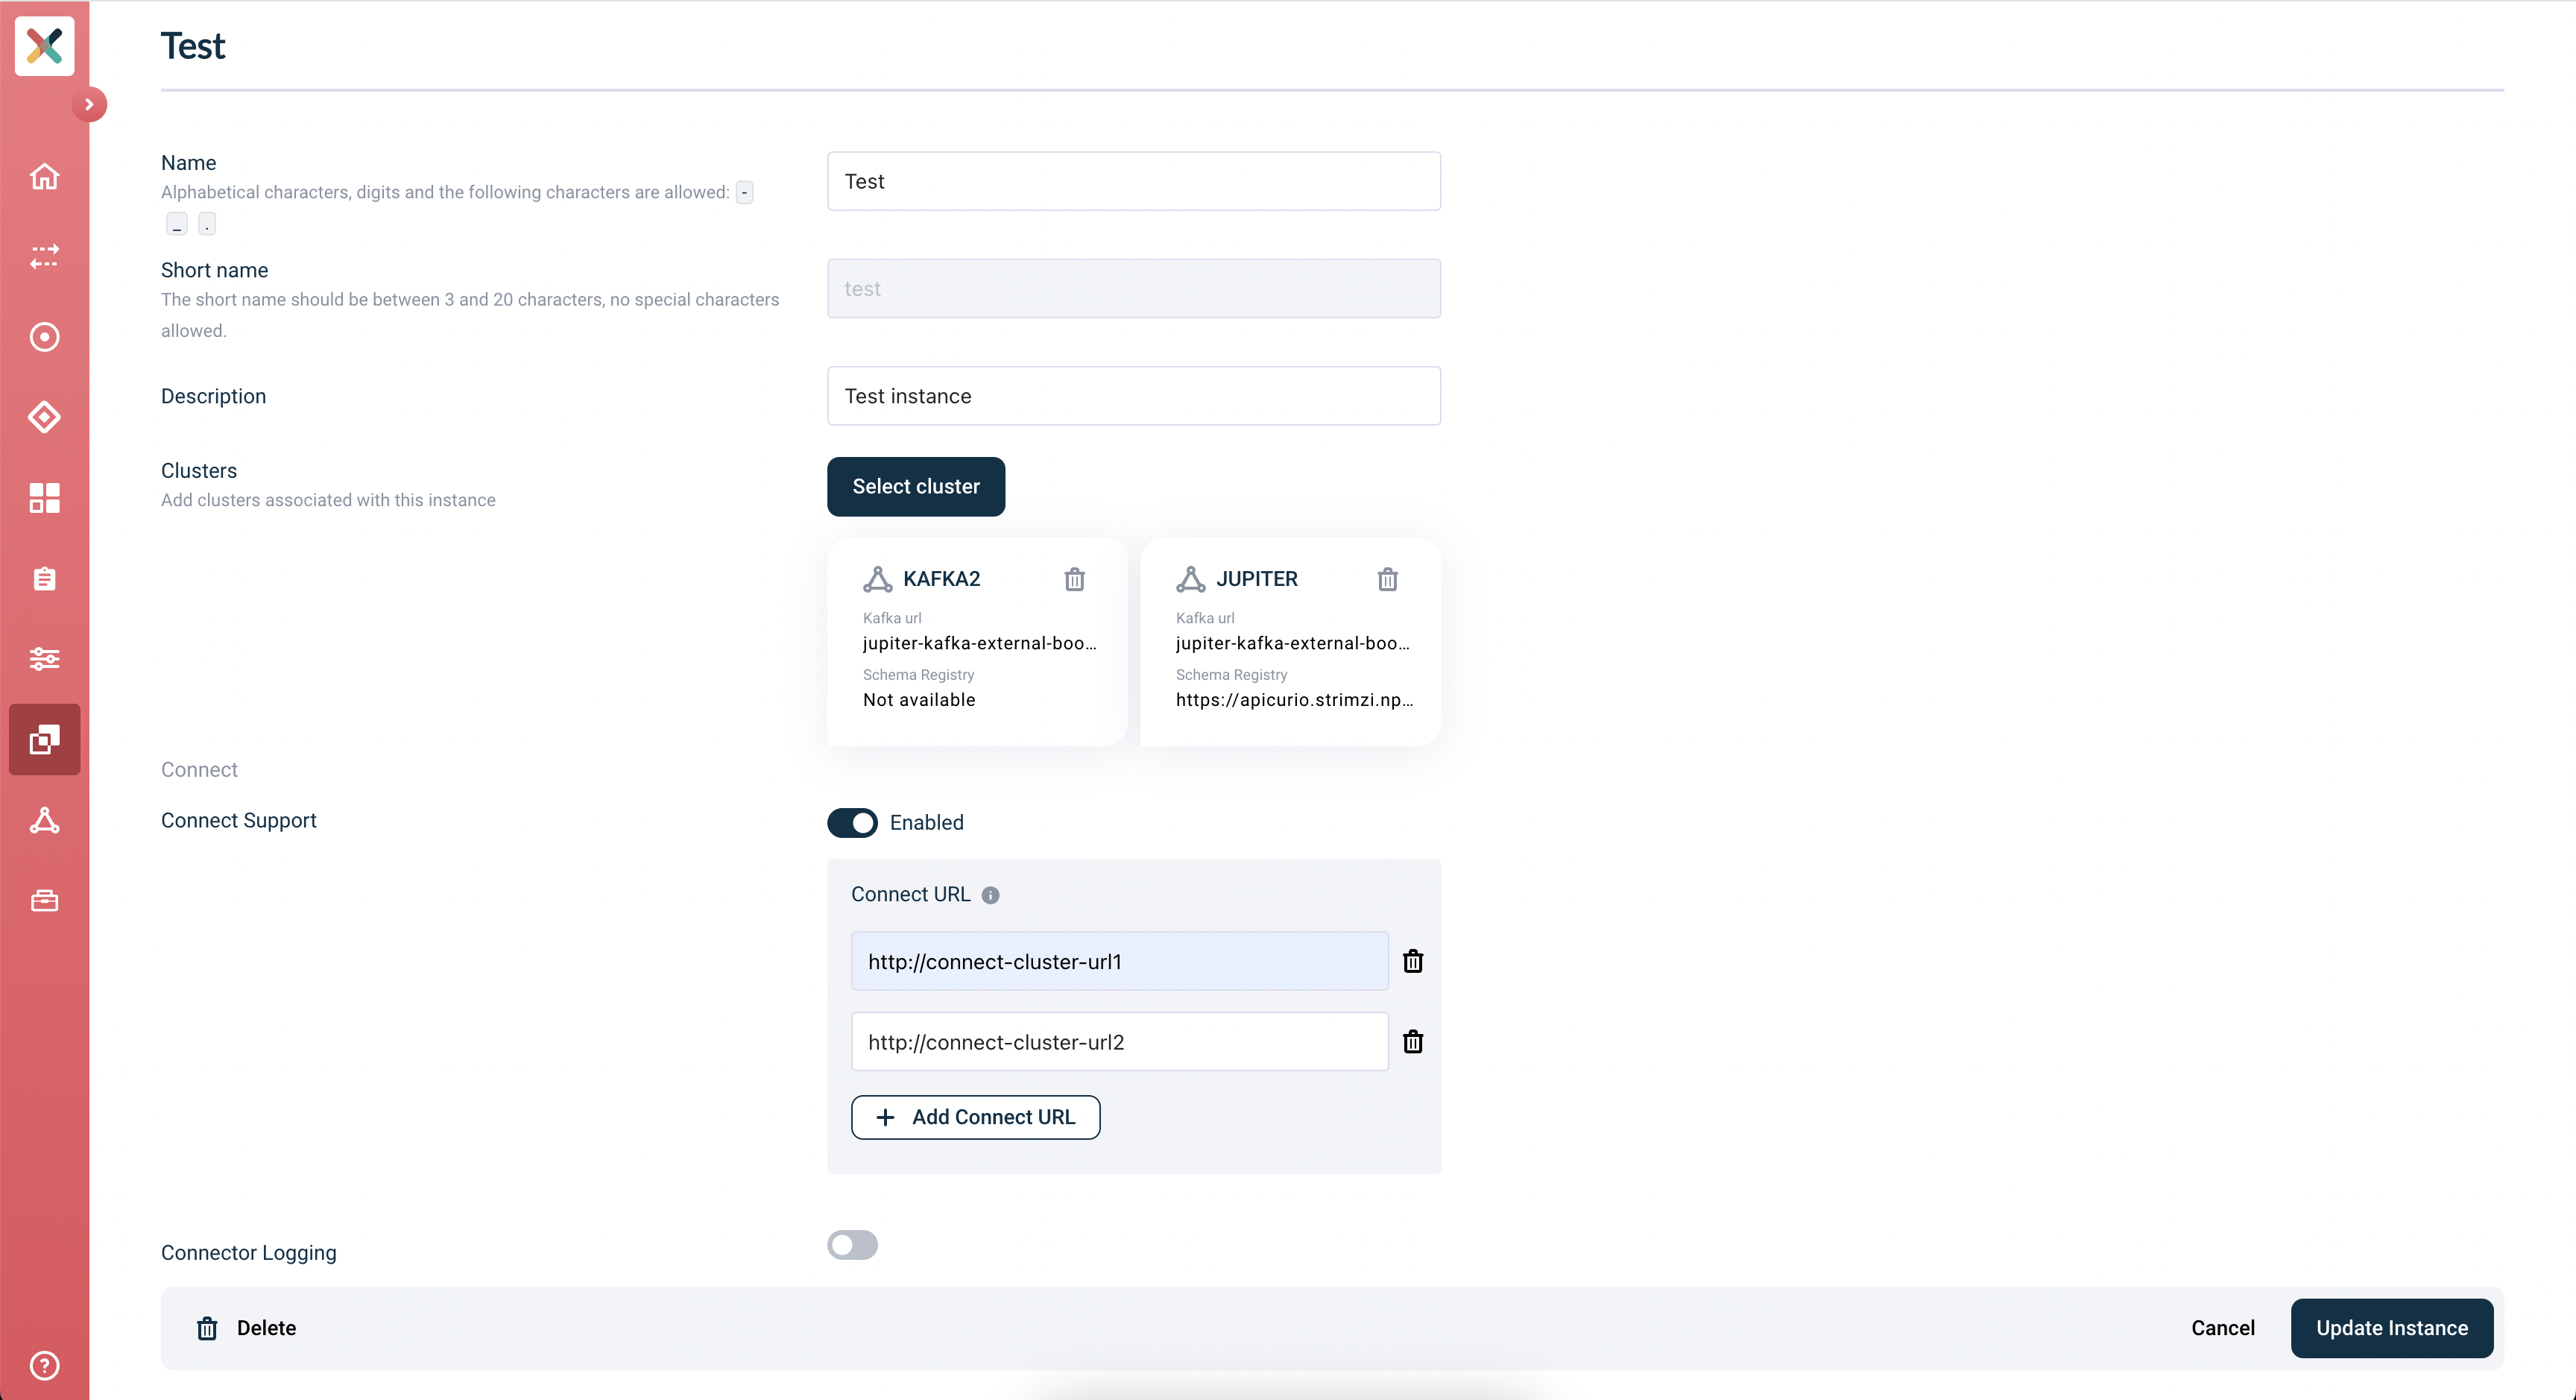
Connect support for an Instance
When Connect is enabled for an Instance, Connect applications can be created in the Instance.
If Connect is enabled, Connect URL must be provided. Connect URL is HTTP URL of the Axual Connect REST API for managing Kafka Connectors. The URL is used to interact with the Axual Connect cluster.
To enable Connect for an instance
-
Log in as a Tenant Admin.
-
Move to the Instance page.
-
Select the Instance.
-
Click Edit Instance button.
-
Under
Connect Support, click on theEnable Connecttoggle -
Provide
Connect URL -
Click Update Instance button.
| Please read more about installing connect plugins here: {xref-connectors-installing-plugins} |
Connect logging support for an Instance
When Connect logging is enabled for an Instance, Connect logging can be viewed for an Instance.
If Connect logging is enabled, Connect Certificates must be provided.
To enable Connect logging for an instance
-
Log in as a Tenant Admin.
-
Move to the Instance page.
-
Select the Instance.
-
Click Edit Instance button.
-
Under
Connect Support, click on theEnable Connecttoggle -
Provide
Connect URL -
Under
Connect Logging, click on theEnable Connect loggingtoggle -
Upload
Connect Certificates -
Click Update Instance button.

| Please read more about connector logging here: {xref-connectors-logging} |