Connector Applications
Custom vs. Connector applications
Connector applications are a bit different from a custom application in the sense that:
-
for a Connector application you need to select a "Plugin type" that is tightly coupled with the system you are connecting with
-
for a Connector application, you can set plugin defaults, which are used when setting up a connector in a particular environment
-
apart from a Certificate PEM file, a Connector application also needs a Private key
-
a Connector application and their tasks can be started and stopped from the Self Service interface
The instructions below help you to make efficient use of Connector applications.
Ask your TENANT_ADMIN to enable Connect for your instance, otherwise you won’t see any plugin available. See Enabling Connect For An Instance
|
Creating A Connector Application
| Are you building and deploying a producing/consuming app yourself? Please follow Creating A Custom Application |
-
To register your application, visit the Applications page and click the New Application button.
You will see a screen as below:
-
Start filling the form with required information:
-
ID: This represents the Application ID of your application. This is a string that uniquely identifies your application. We recommend to use a fully qualified package/class name as it is sufficiently unique within the organization, e.g.
com.company.division.AlertingApp. The maximum length is 255 and the value should be alphanumeric with no spaces. -
Name: The name of the application. It should not be more than 50 characters. Spaces are allowed.
-
Short Name: A unique human-readable short name of the application. This name is used as a label in Self Service. Only alphanumeric characters and underscore are allowed. Max length should not exceed 60 characters.
-
Owner: Choose the group which would be the owner of this application. Choose your DevOps team’s group. Is it not available yet? Please refer to Creating a group.
-
Type: choose "Connector"
-
Connector plugin: choose the plugin, depending on the system you want to connect to Axual. See here for a list of currently supported connectors.
-
Visibility: see Application Visibility
-
Description: A short summary describing the purpose of this application, e.g. "Enriching transaction events with transaction categories.". Must not exceed 200 characters.
-
At this point you have created your Application in Self Service. Once the application is successfully created, you will be directed to the application detail page.
Configuring Connector Plugin Defaults
The plugin defaults for a connector application are used to help configuring the connector application in multiple environments. Configuration items that are not environment specific, can easily be put in defaults.
To configure plugin defaults:
-
Go to the Application detail page
-
Click on the Configure button next to Plugin Defaults

-
Insert your desired plugin defaults configuration in the shown modal

-
Click Save, in case the configuration contains errors the UI will display the errors below the invalid fields
You have now configured plugin defaults, now you can configure the connector application for an environment.
Configuring A Connector Application
A connector application needs configuration on 2 levels, for every environment where the application is used:
-
Security: the certificate and private key PEM files, used for authentication and authorization of the connection with Axual
-
Plugin Configuration: plugin specific configuration, depending on the connector implementation
Security configuration
The certificate and private key are used to authorize the connector application to use a stream (either producing or consuming) in an environment.
To configure the connector security on the selected environment:
-
Go to the Application detail page
-
Select the environment for which you want to configure the certificate and private key.
-
Click on the Configure button in the application box. You will see a modal as below:
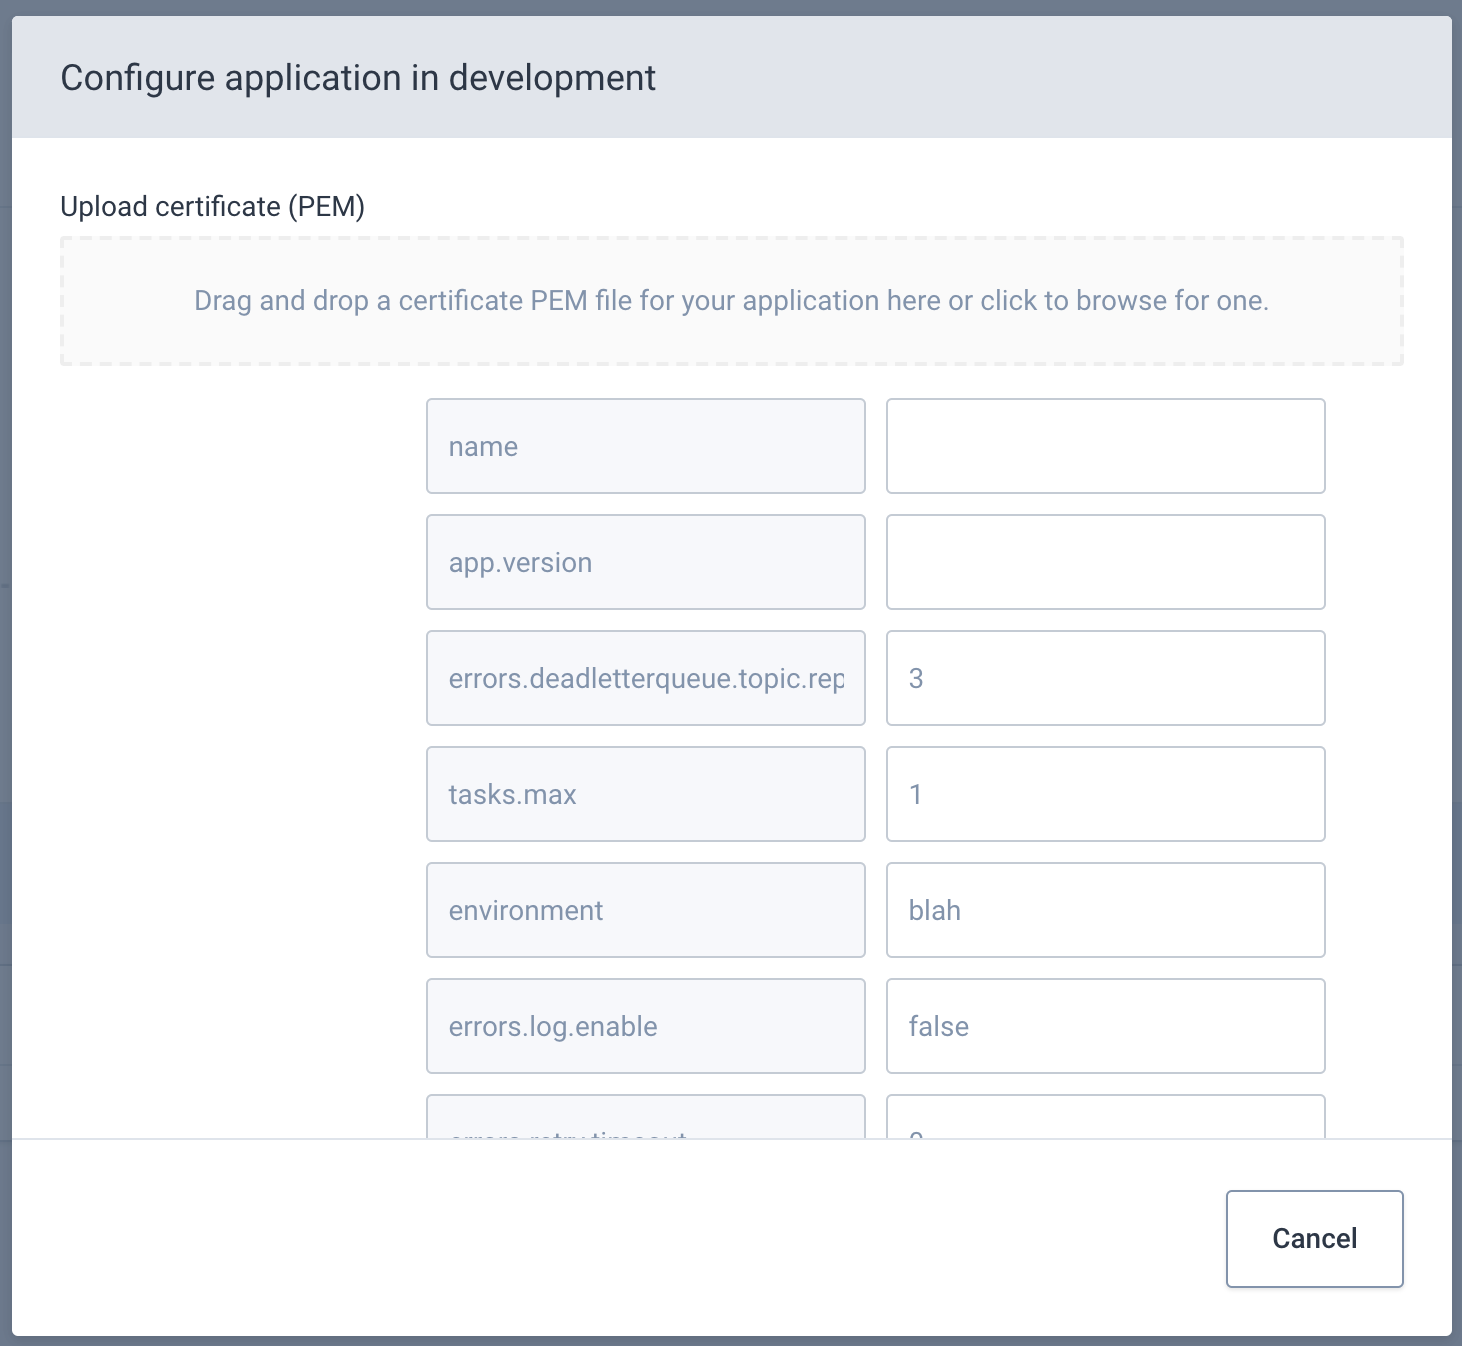
-
Upload the PEM file of your connector application certificate, see also Generating A Certificate PEM File
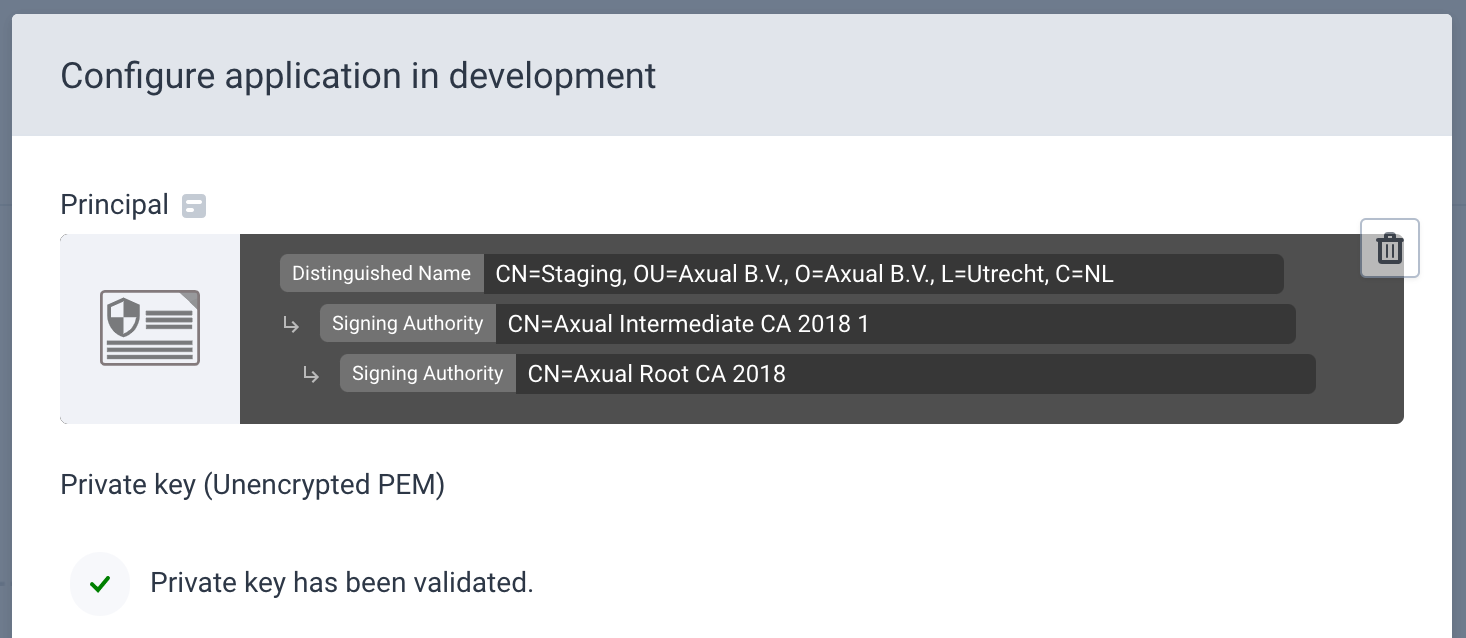
Any of those extentions are supported (CRT, CERT, PEM) -
The certificate chain will be shown, in a reverse order from Keystore Explorer, meaning the chain will start with your application certificate.
-
Upload the KEY file that matches your connector application certificate.
-
The private key will not be displayed, you will only see whether it was upload successfully
You can now resume with the remaining plugin configuration.
Plugin Configuration
As soon as the certificate and private keys have been uploaded, the remainder of the configurations can be set.
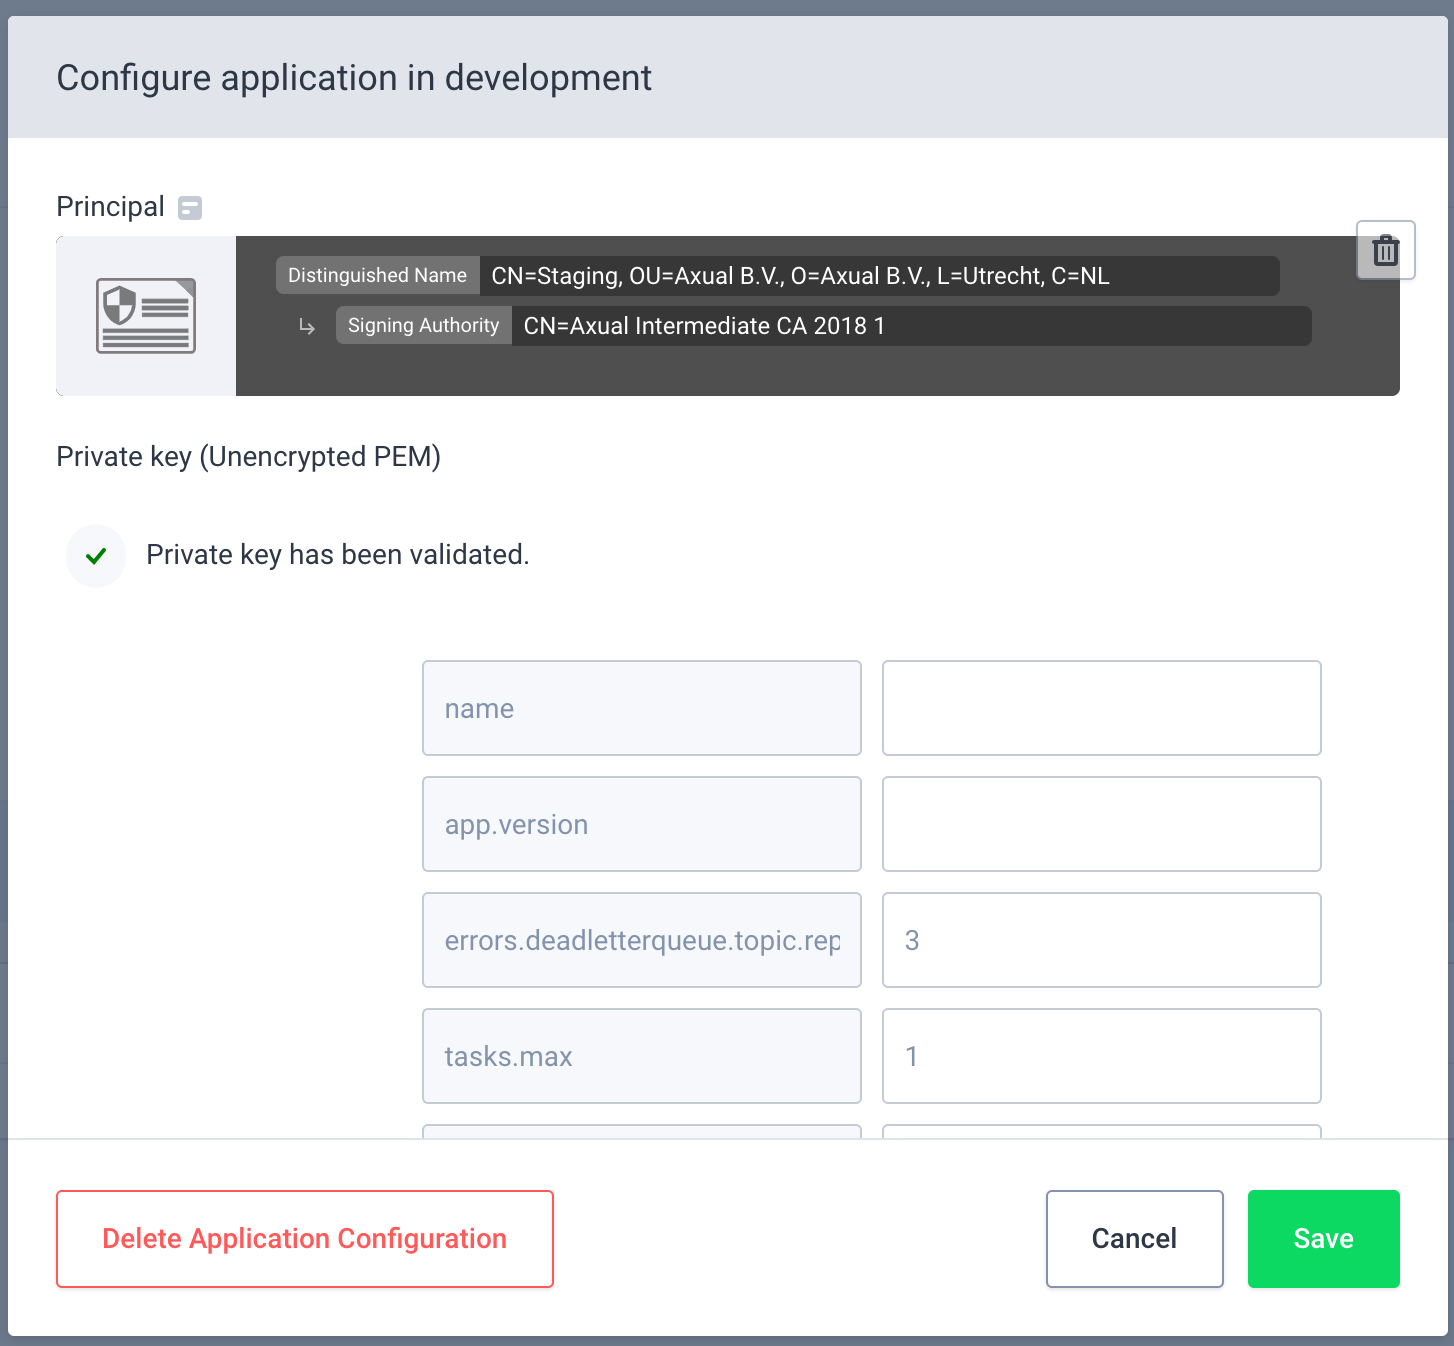
+ . Override the displayed "Plugin configuration" key/value pairs with the appropriate values for that environment.
+ NOTE: Only supported configurations are shown. If your configuration item is now shown, it might work, but it is not guaranteed.
+ . Click on Save
Managing A Connector Application
After you have upload a certificate and a private key and created a valid plugin configuration your connector application can be started.
To manage your connector on the selected environment:
-
Go to the Application detail page
-
Select the environment where you want to manage the connector
If your connector application was successfully configured in the selected environment, you will see an extra box at the bottom of the application box, as follows: 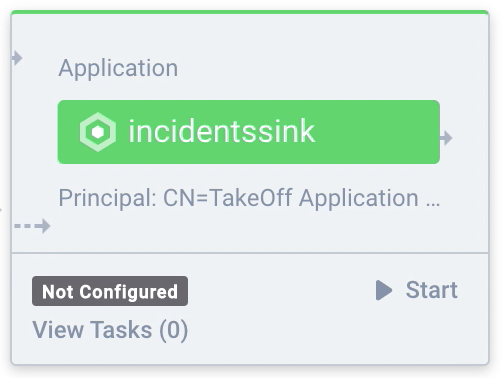
Starting And Stopping A Connector Application
Have you configured all that needs to configured? Then you can start the connector by clicking the 'START' button. Within seconds, the status should change to 'RUNNING'.
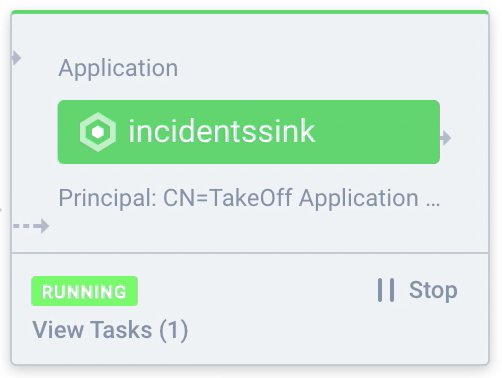
Did the status change to FAILED ? Then you can click "View tasks" to open up a modal which shows you a stack trace that should give you more information.
Available Connector Application Actions
The following actions are available for a Connector Application: START, STOP, RESET.
Connector action |
What it does |
|
start the connector application |
|
stop the connector application |
|
remove any existing active connector and its configuration (and offsets) |
For a Connector’s tasks, there are actions VIEW TASKS and RESTART TASKS.
Task action |
What it does |
|
view the task(s) and their status and trace (in case the status is FAILED) |
|
restart a task in a FAILED state |