Managing streams
Contents
Creating A Stream
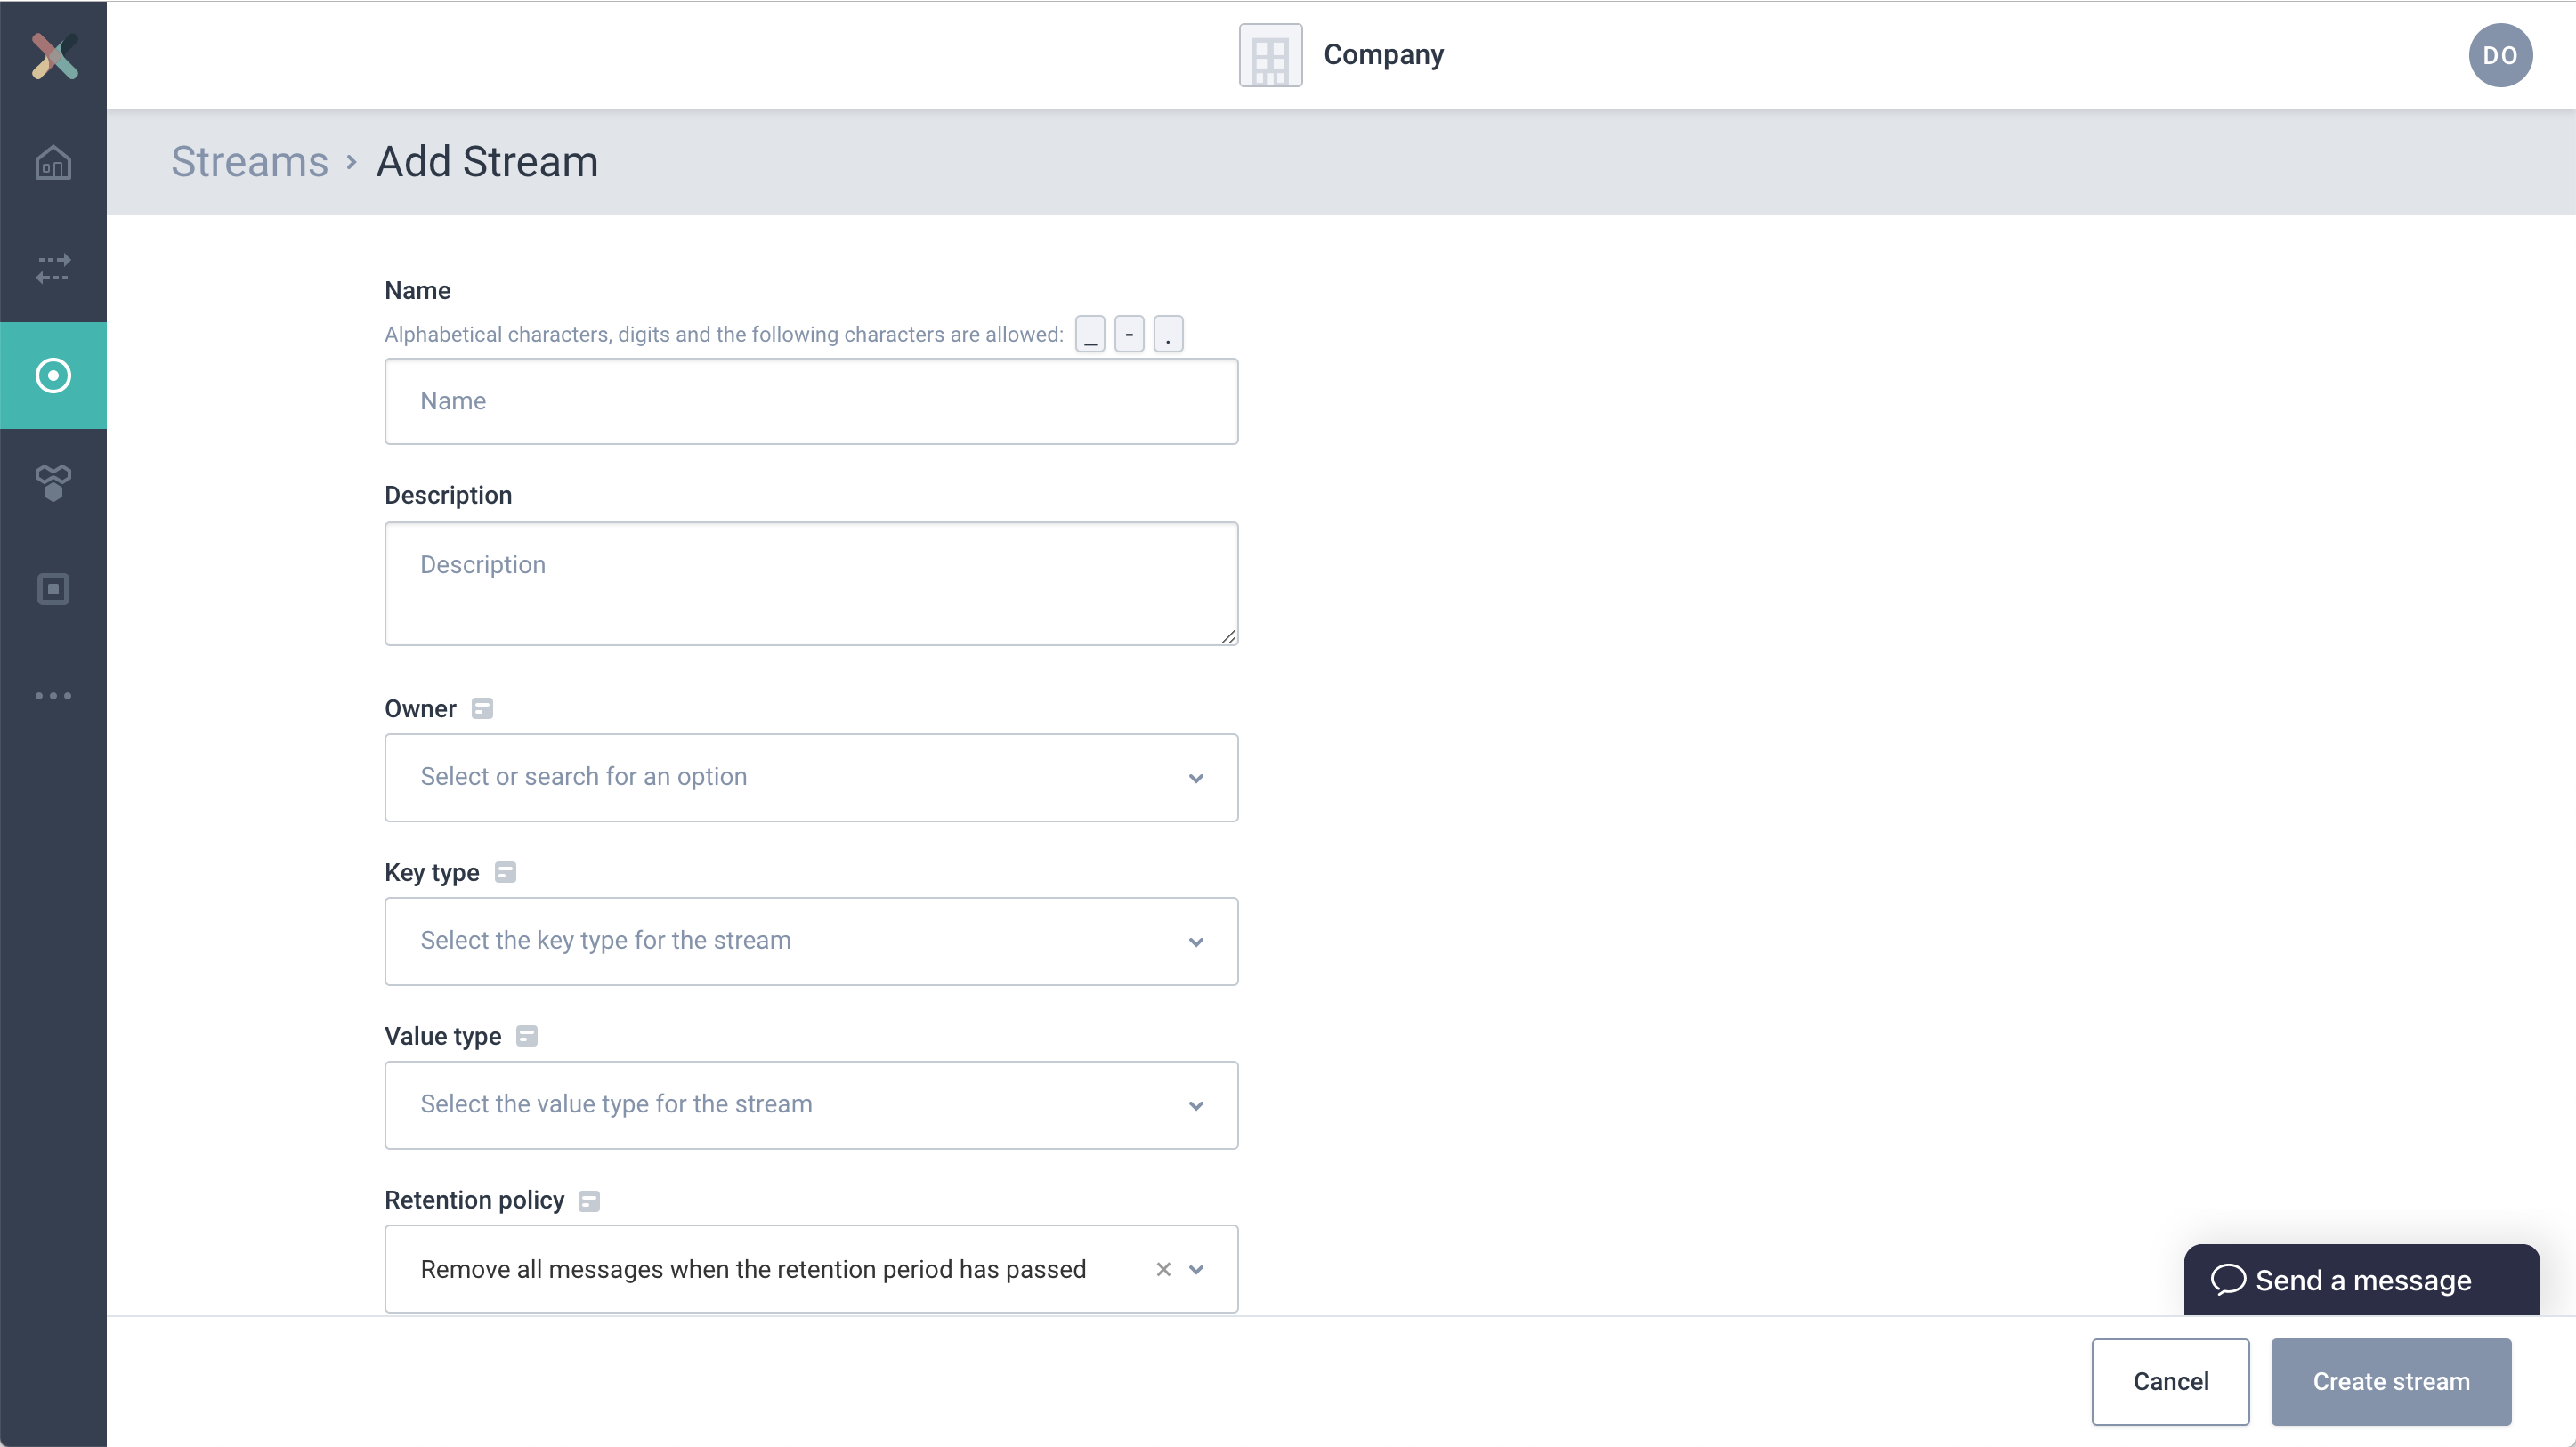
Visit the Streams page and click on New Stream button. You will see the below page:
-
Start filling the form with required information. If you are unsure about certain values, please contact the team supporting the Axual Platform within your organization.
| Make sure to be very descriptive when creating your stream, because that helps your colleagues finding your stream and implementing their data driven use case faster. |
-
Name: The name of the stream. This must be in the format string-string (Needs to contain exactly one dash). The stream name is usually discussed and finalized as part of the Intake session or a follow up.
-
Description: A text describing the purpose of the stream.
-
Owner: The group which will own this stream. All members of that group will be able to modify the stream. This group should be created before creating the stream. See also: Creating A Group.
| The list of groups shown are only the ones which the user is a member of. you cannot create a stream for a group that you are not part of |
-
Key Type: The type of data that will be stored in the KEY part of the stream. This is usually AVRO.
-
Key Schema: If Key type is selected as AVRO, a new input field Key Schema will appear. This will have a list of available AVRO schemas. Choose the correct schema. As part of Schema design and development, these values would be known. If the required schema is not available, please contact support.
-
Value Type: The type of data that will be stored in the VALUE part of the stream. This is usually AVRO.
-
Value Schema: If Value type is selected as AVRO, a new input field Value Schema will appear. This will have a list of available AVRO schemas. Choose the correct schema. As part of Schema design and development, these values would be known. If the required schema is not available, please contact support.
-
Retention Policy: This field determines if the stream will retain messages forever or the messages will be deleted after a certain period. This would have been discussed in the Intake session.
-
Remove all messages when the retention period has passed: Choose this option if the messages should not be stored forever. The actual retention time will be configured later per environment.
-
Keep latest value for each key forever: Choose this option if messages should be retained forever. This is also called COMPACTION topic.
-
-
Properties: This is a set of key:value pair for setting various properties of a stream. For now this can be kept empty.
If data classification is enabled the following must also be configured:
-
Confidentiality Level - The confidentiality level defined within the settings which corresponds with the C part of your organizations CIA policy.
-
Integrity Level - The confidentiality level defined within the settings which corresponds with the I part of your organizations CIA policy.
Note at this point in time it is not possible to have only an Integrity or Confidentiality level set, if data classification is enabled you are required to create and then select levels when creating a stream. See the following for creating and updating Confidentiality and Integrity classifications http://[]
-
Click on Create Stream. Once the stream is created, you will end up on Stream detail page.
At this point, you have created a Stream in Self Service Portal. The stream is not ready for use yet. It needs to be configured for an environment.
Configuring A Stream For An Environment
Once the Stream has been created, the next step to actually configure the stream for any environment is to configure the stream.
-
Visit the Stream page.
-
Select the environment from the dropdown for which the stream needs to be configured
-
If the stream has not yet been configured for the environment, a big bold + Configure Stream button will appear in the stream box. Click on it.
-
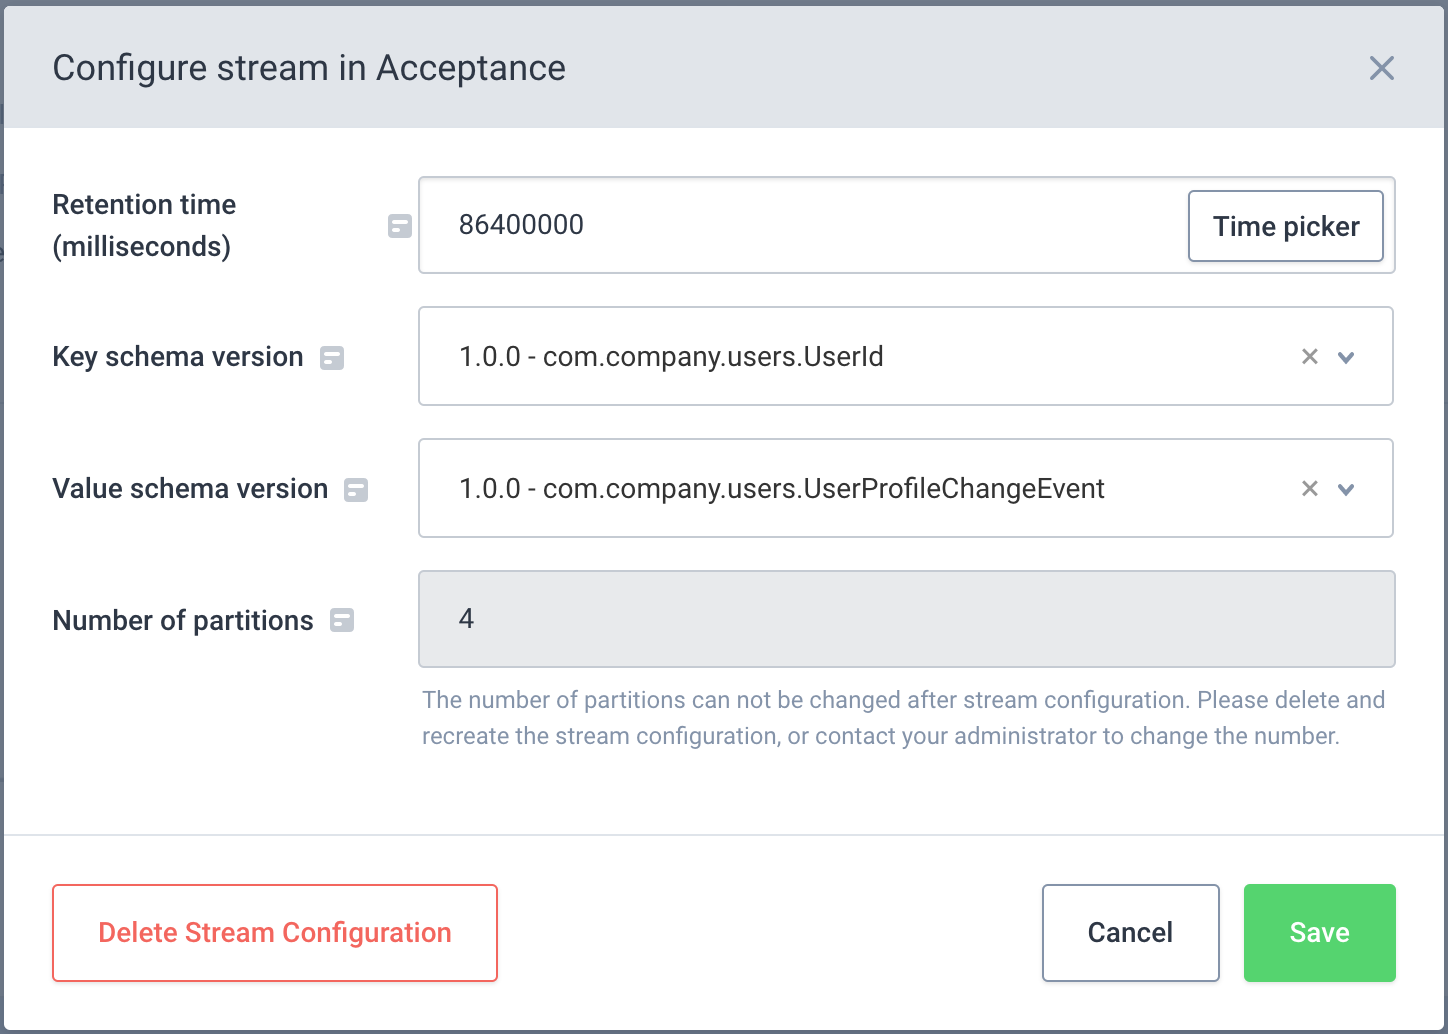
A pop up will show up with some information to be filled:
-
Retention time (milliseconds): Determine how long the messages should be available on a stream. There should be an agreed value most likely discussed in Intake session with the team supporting Axual Platform. In most cases, it is 7 days.
-
Key Schema Version: If the Stream Key Type is AVRO, then this field will show up. Choose the version of the key schema that should be used by the stream.
-
Value Schema Version: If the Stream Value Type is AVRO, then this field will show up. Choose the version of the value schema that should be used by the stream.
-
Number of partitions: Choose the number of partitions in which the stream must be split. If unsure, leave it empty. This values defines the maximum number of consumer instances that can read from the stream.
| The number of partitions can not be changed using Self Service after a stream configuration has been saved, due to technical limitations. However, there is a workaround: delete the stream configuration and re-configure the stream in a particular environment with the correct number of partitions. |
-
Click on Save button. The stream is now configured for the specific environment. Repeat this process for any other environment.
Viewing Stream Messages
When you are producing data on a stream and you would like to see whether messages have ended up on the platform correctly, you can use Browse & Search. This functionality is found on the Stream Detail in the top right navigation.

-
Open the Stream Detail page
-
Click Browse & Search in the top right. The following screen will be shown + image::self-service/stream-message-controls.png[Stream Messages Controls]
-
Select the environment on which you would like to search
-
Enter a keyword (optional)
-
Narrow down the search to a particular time window using Timestamp from (default: now - 1h) and Timestamp to (default: now)
-
Choose how many results you want to see per page, by choosing a Page size
-
Click Search to execute the search

| if you don’t have privileges to search on this streams' messages, the Search button will be greyed out. |
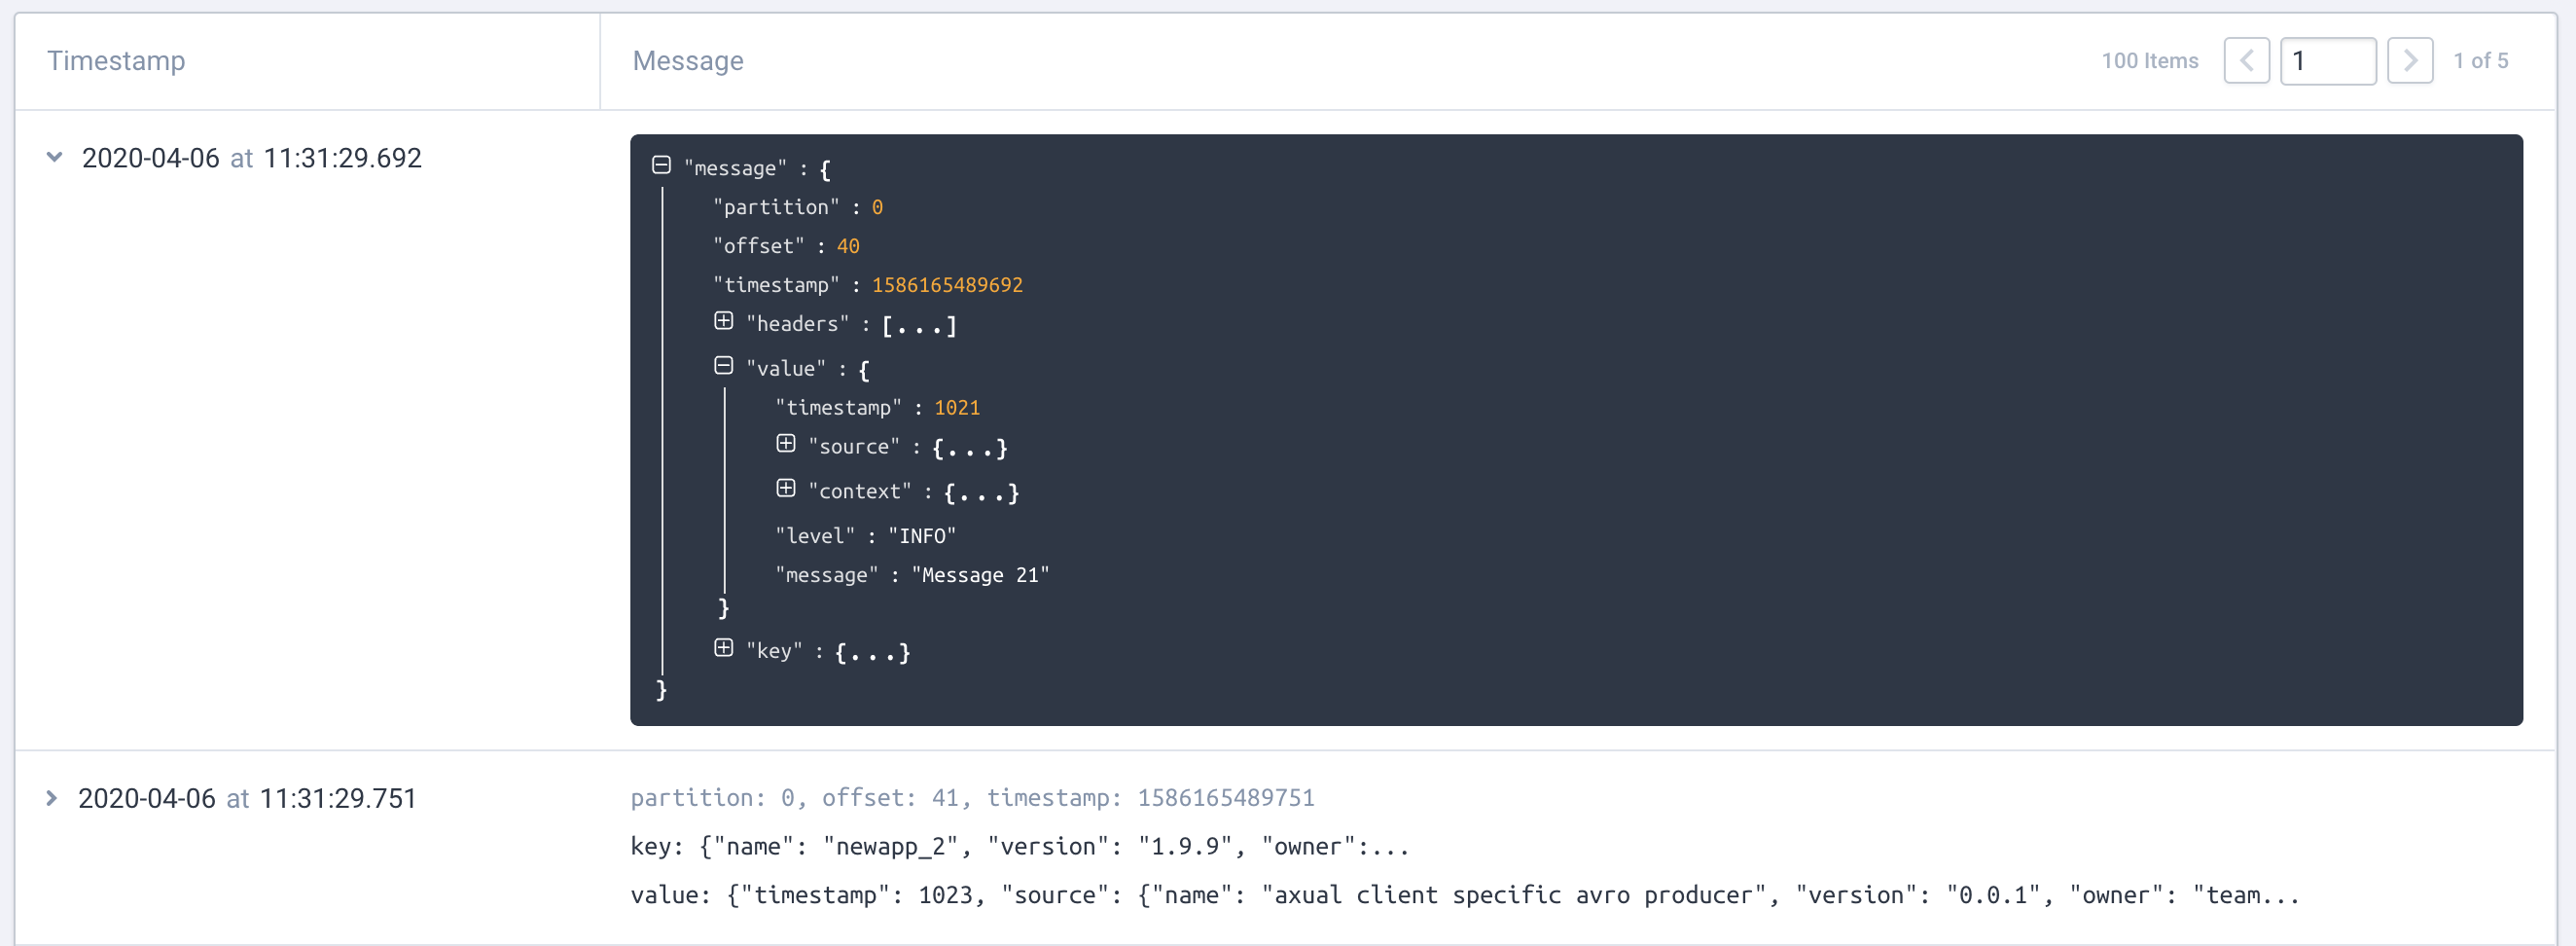
Providing there are messages available you will then be shown your results in a paginated table view such as below.

Every row shows: . Technical message details: technical details about the message, see also Technical message details . Key: the contents of the message Key (abbreviated with an ellipsis) . Value: the contents of the message Value (abbreviated with an ellipsis)
Click a row to expand the view and open a viewer that shows the full message details, for which you can expand or collapse individual fields.
Deleting Stream Configuration
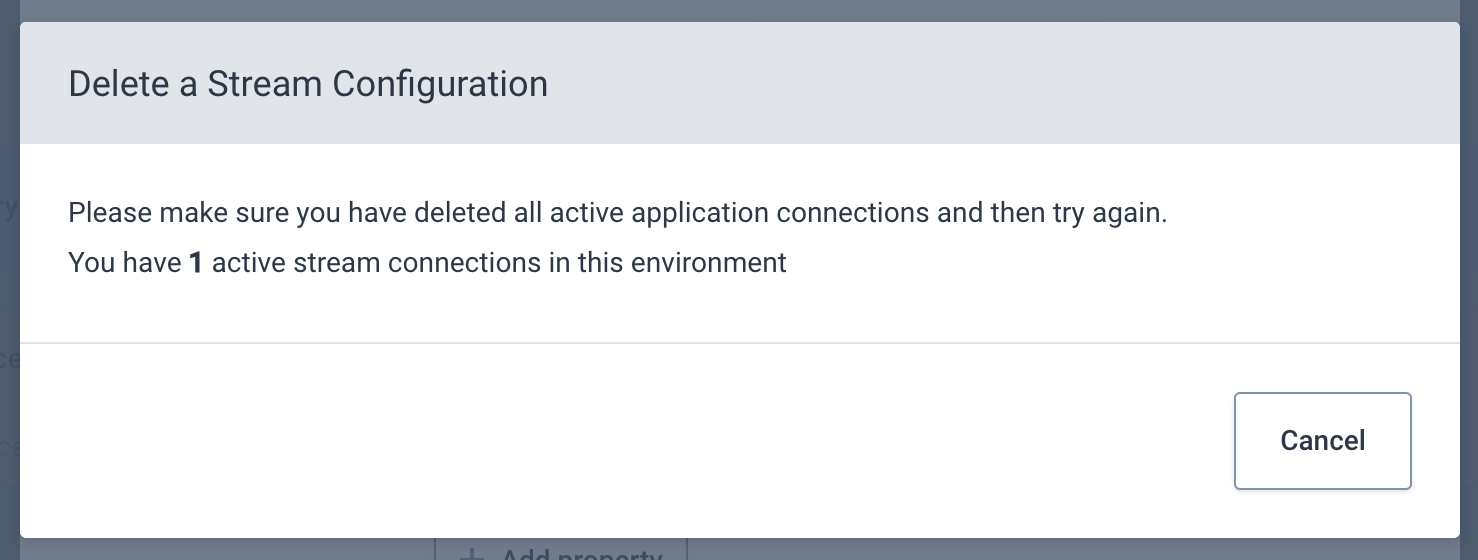
Stream configuration can be deleted from the configure stream modal. This can be done if there are no active producer/consumer application connections in the chosen environment.
| make sure you don’t have active stream connections in the environment for which you are deleting the stream configuration |
-
Visit the Stream Detail page and click on Configure button inside the stream box. The stream configuration modal opens as below:

-
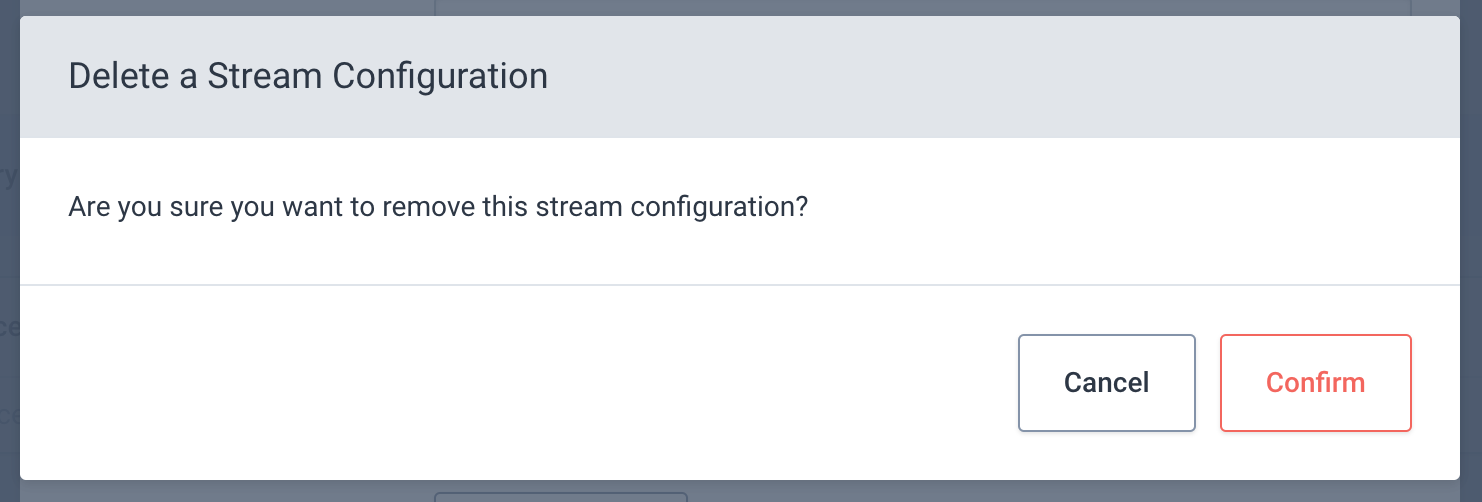
Click on the Delete Stream Configuration button on the bottom left of the modal. If all constraints are met and deletion is possible, a confirmation modal opens, as below:
-
Click "Confirm" to delete the stream configuration.
Deleting A Stream
A stream can be deleted providing that the stream does not have any active stream configurations currently active on the stream itself.
-
Navigate to the edit a stream page and then clickthe 'Delete Stream' Button
Note: The delete a stream button will only be visible to those who have the correct access which is typically a stream owner or administrator.
-
Click "Edit a Stream"
-
Click "Delete Stream"

-
Providing there are no active stream configuration present the following modal will be displayed:
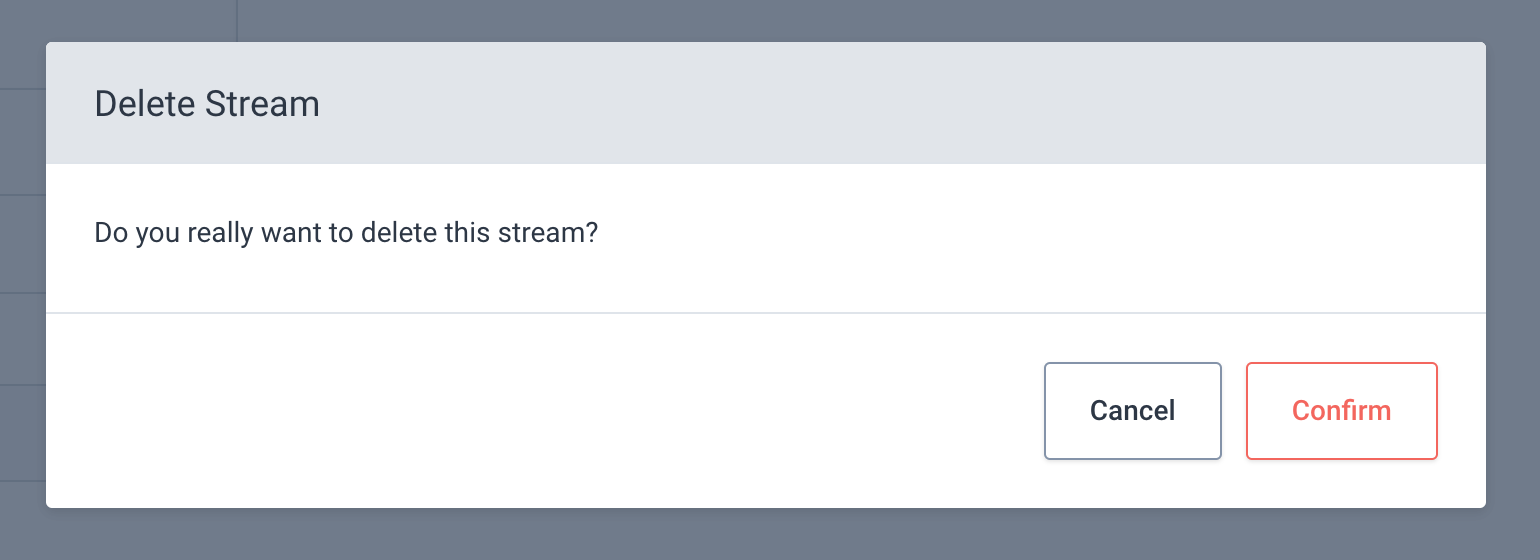
Once you’ve confirmed that you would like to delete the stream it will be removed and no longer accessible by any application.